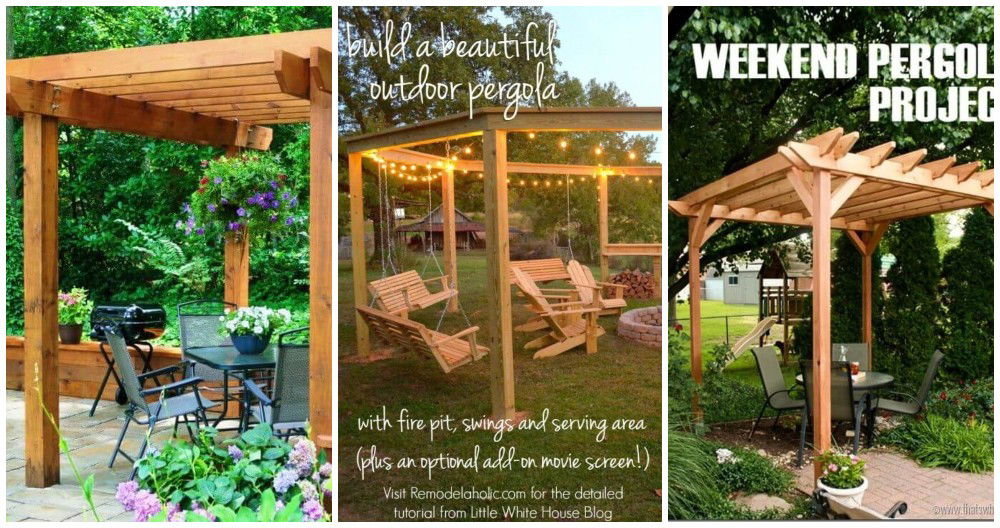
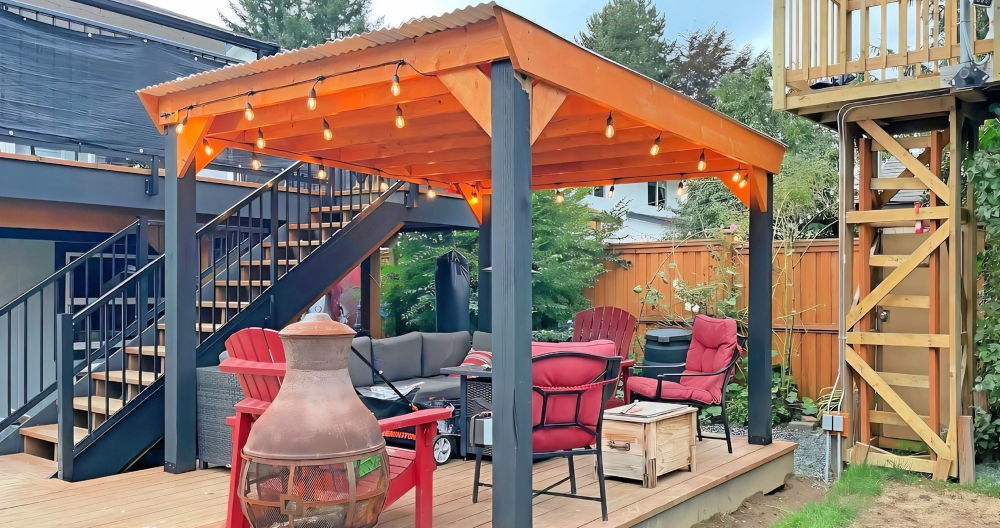
Learn how to build a pergola on a deck to transform your outdoor space into a cozy retreat, providing shade, aesthetics, and functionality. This guide will take you through the process based on the detailed walkthrough provided in the uploaded transcript. Whether you're an experienced DIY enthusiast or new to such projects, this guide will help you build a stunning pergola over a deck.
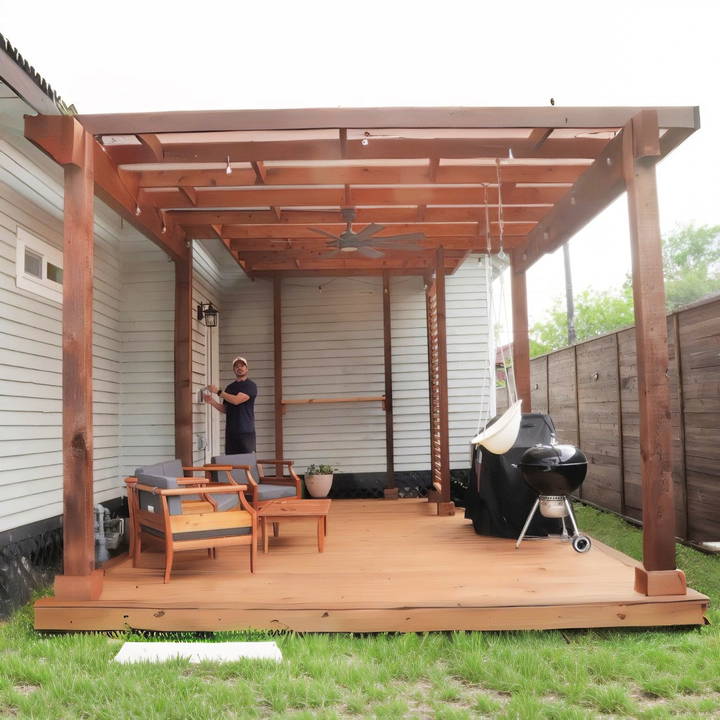
Planning Your Pergola and Deck Project
Before you grab your tools, it's crucial to plan your pergola and deck project meticulously. Begin with:
Materials Needed
For this project, we'll use treated materials for the deck and cedar for the pergola. Here's a breakdown of what you'll need:
Deck Materials:
- (30) 2x6x6 boards
- (10) deck blocks
- (50) 5/4-in x 6-in x 8-ft deck boards
Pergola Materials:
- (4) 6x6x12' posts
- (4) 4x4x12' posts
- (2) 2x8x16' beams
- (15) 2x6x16' rafters
- (2) 4x12x14' beams
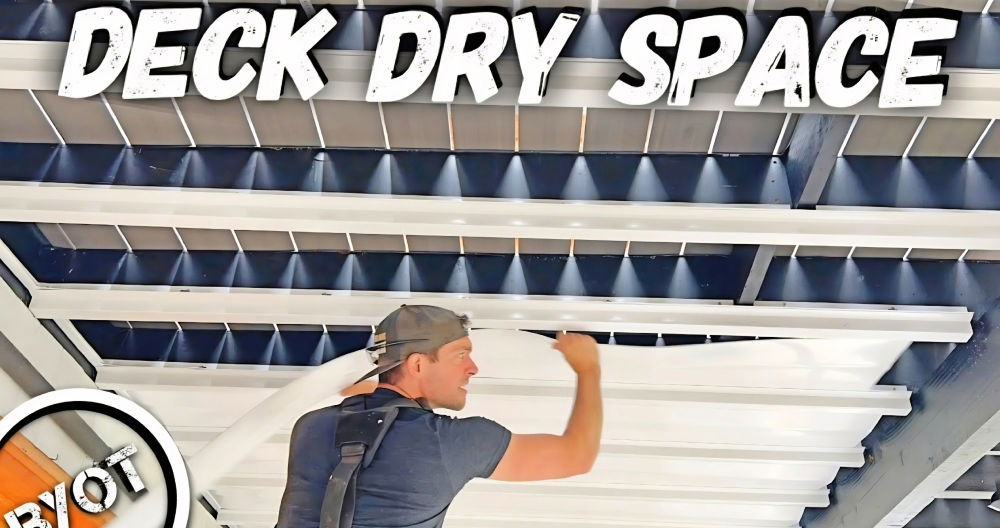
- Pergola cover materials (e.g., Apollo roofing)
- Hardware: anchors, bolts, screws, and brackets
Design Considerations
Sketch your desired pergola and deck layout, considering:
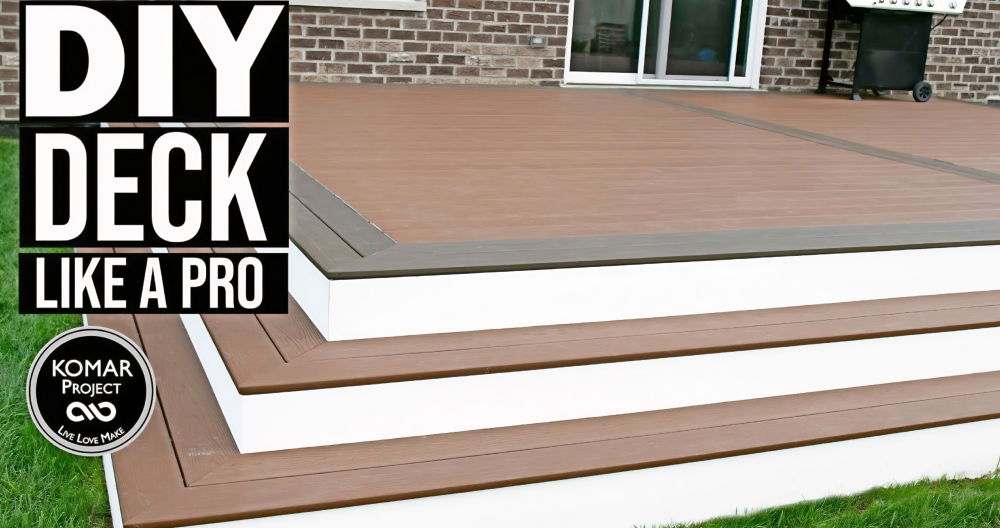
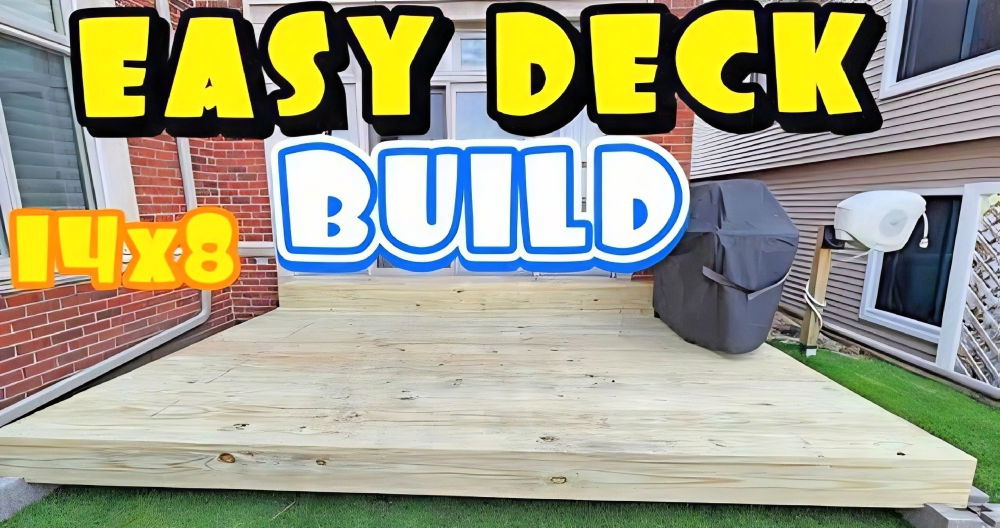
- Deck height and size: The deck in this project is a floating deck, about 2-3 inches off the ground, with two steps leading up to the backdoor.
- Pergola size and shape: Choose a design that complements your space and fulfills your needs for shade and aesthetics.
- Structural support: Ensure the foundation and framing can bear the load of the pergola.
Step by Step Instructions
Learn how to build a pergola on a deck with step-by-step instructions, covering foundation, finishing touches, and future upgrades.
Step 1: Building the Deck Foundation
Learn how to build a sturdy deck foundation with steps like site preparation, setting deck blocks, framing, and laying deck boards.
Prepare the Site
- Clear the area where the deck will be installed. Use stakes and strings to mark the deck's perimeter and ensure proper alignment.
Set the Deck Blocks
- Place deck blocks along the marked perimeter.
- Adjust the height of each block to build a level foundation.
Frame the Deck
- Use 2x6 treated boards to frame the deck's perimeter.
- Secure the corners with screws or bolts.
- Add joists within the frame, ensuring proper spacing for deck board support.
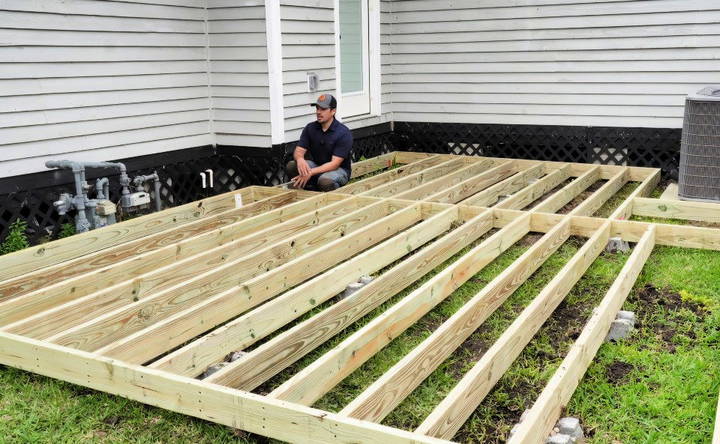
Add Blocking
- Install intermediate blocking between joists for additional strength. This step is essential, especially for decks supporting a pergola.
Lay Deck Boards
- Attach the deck boards perpendicular to the joists using deck screws.
- Trim edges for a clean finish.
Step 2: Installing Pergola Posts
Learn how to install pergola posts with steps like marking locations, securing posts, and trimming them to size for a perfect fit.
Mark Post Locations
- Identify where the pergola posts will be placed. Ensure these align with the deck's structural supports to bear the pergola's weight.
Secure the Posts
- Concrete Anchors: Dig holes for the posts and fill them with concrete to secure the anchors.
- Install Posts: Attach the 6x6 cedar posts to the anchors. Use a level to ensure the posts are vertical.
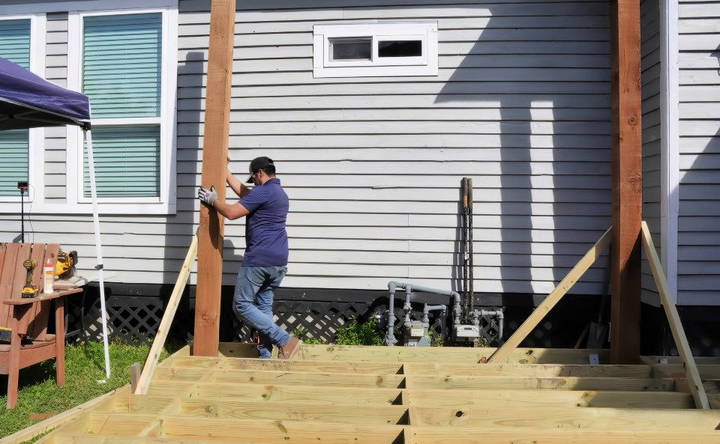
Trim Posts to Size
- Measure and cut the posts to the desired height. Precision is key to ensuring a balanced pergola structure.
Step 3: Adding Beams and Rafters
Learn how to add beams and rafters to your structure with step-by-step instructions for a secure and stable installation.
Install Beams
- Cut notches at the top of the posts to hold the beams securely.
- Place the beams (4x12x14 cedar) into the notches and secure with carriage bolts.
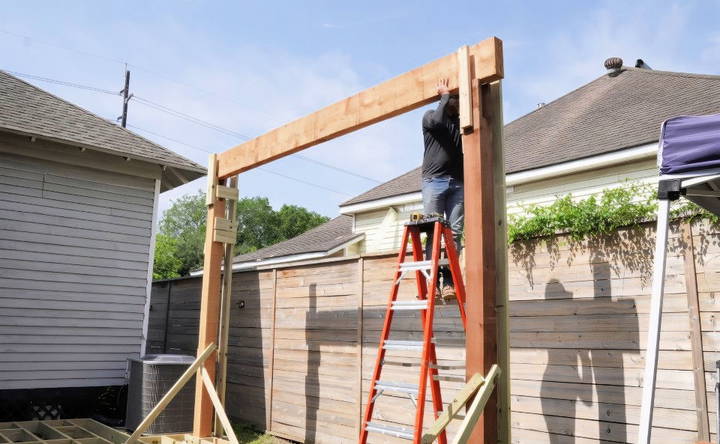
Add Rafters
- Space the rafters (2x6x16 cedar) evenly across the beams.
- Secure the rafters with screws or brackets.
- Ensure alignment for a symmetrical look.
Step 4: Attaching the Pergola Cover
Learn how to attach a pergola cover by installing roof panels and checking alignment for a secure and well-fitted finish.
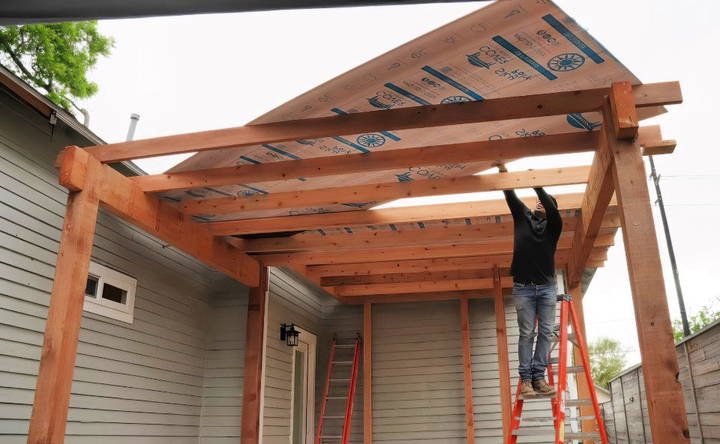
Install Roof Panels
- Position roof panels (Apollo roofing or similar) over the rafters.
- Use screws to fasten the panels to the rafters. Space screws according to the manufacturer's guidelines to prevent leaks.
Check Alignment
- Ensure the panels are centered and overlap properly for a seamless and weather-resistant finish.
Step 5: Final Details
Finish your pergola with final details like sanding, staining, and adding accessories for a polished and customized look.
Sanding and Staining
- Sand all wooden surfaces to remove rough edges.
- Apply a protective stain to enhance durability and aesthetics. For a cohesive look, consider staining the pergola and deck in complementary colors.
Add Accessories
- Install a ceiling fan or lights for added functionality.
- Consider adding furniture, plants, or décor to personalize your new outdoor space.
Step 6: Customizing the Pergola and Deck
Adding personal touches can transform your pergola and deck from functional to exceptional. Here's how to bring your space to life.
Decorative Details
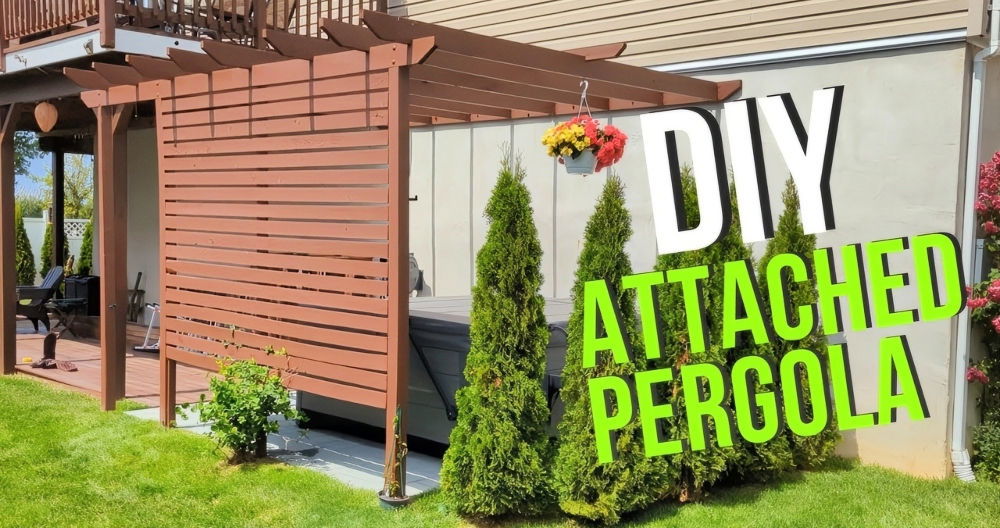
- Pergola Slats: Purpose: Install slats on one or more sides of the pergola for added shade and privacy.
- Placement: Attach slats at an angle to maximize shade while maintaining airflow.
- Materials: Use cedar or treated wood for durability and consistent aesthetics.
- Rafter Tail Designs: Add decorative cuts to the ends of the rafters (e.g., scallops or curves) for a polished look.
- Use a jigsaw and a pre-made template to ensure uniformity across all rafters.
- Pergola Top Detailing: Include intermediate rafters for added support and visual appeal.
- Align these rafters symmetrically and secure them with brad nails or screws.
Built-in Features:
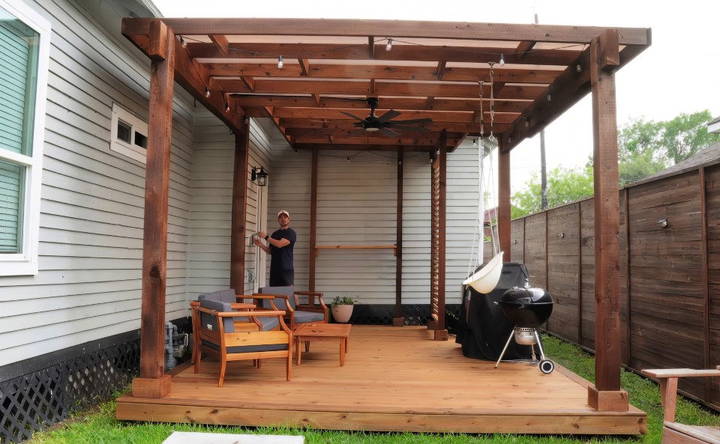
- Ceiling Fan: Purpose: Improve air circulation for comfort during hot summer days.
- Installation: Attach the ceiling fan at the pergola's center. Ensure it's wired correctly and weather-rated for outdoor use.
- Lighting: String lights: Add ambiance with weatherproof string lights along the pergola's beams and rafters.
- Recessed lighting: Install recessed fixtures into the pergola roof for a modern touch.
- TV or Entertainment System: Mount a TV on an adjacent wall or a custom-built structure near the pergola.
- Use a weatherproof TV enclosure to protect the electronics.
Step 7: Staining and Sealing
Learn the best tips for staining and sealing your wood surfaces for a durable, long-lasting finish and enhanced protection.
Staining
Staining not only enhances the natural beauty of the wood but also protects it from the elements.
- Deck Stain: Apply a lighter stain, such as pecan or natural cedar, for a bright and airy feel.
- Pergola Stain: Opt for darker tones like walnut for a striking contrast.
Application Tips:
- Sand the wood before staining for better absorption.
- Use a brush or roller for even coverage.
- Allow the stain to dry completely before applying a second coat.
Sealing
After staining, apply a water-resistant sealant to protect against moisture, UV rays, and mold growth. A high-quality sealant can extend the life of your deck and pergola significantly.
Step 8: Landscaping and Furniture Selection
Enhancing the surrounding area adds to the charm and usability of your new outdoor space.
Landscaping
- Plants: Add potted plants, climbing vines, or hanging baskets for a touch of greenery.
- Ground Cover: Use gravel, mulch, or a small garden area around the deck for a finished look.
Furniture
- Invest in weather-resistant outdoor furniture such as wicker, teak, or aluminum.
- Include a mix of seating options, such as chairs, a swing, and a dining table, to accommodate different activities.
Step 9: Maintenance and Care
Regular maintenance is essential to preserve the beauty and structural integrity of your pergola and deck.
Cleaning
- Sweep the deck and pergola regularly to remove debris.
- Wash with a mild soap and water solution to prevent dirt buildup.
Inspect for Damage
- Check for signs of wear, such as cracks or loose screws.
- Reapply stain and sealant every 2-3 years for optimal protection.
Address Weather Damage
- Replace damaged boards or beams promptly to prevent further deterioration.
- Consider adding a tarp or removable cover during harsh weather to protect the structure.
Step 10: Future Upgrades
Think about how you might expand or enhance your outdoor space over time.
Outdoor Kitchen
- Build a barbecue station or outdoor kitchen area adjacent to the pergola.
- Incorporate counters, storage, and a sink for added convenience.
Shading Enhancements
- Add retractable shades or curtains to the pergola for additional sun protection.
- Use motorized options for ease of operation.
Heating Solutions
- Install patio heaters or a fire pit for year-round usability.
Conclusion
Building a pergola on a deck is a rewarding project that enhances your outdoor living experience. By carefully planning, using quality materials, and adding personalized touches, you can build a space that's both functional and visually stunning. With proper maintenance, your pergola and deck will remain a centerpiece of your outdoor area for years to come.
Enjoy your new pergola and deck—your backyard will never be the same!
FAQs About Building a Pergola on a Deck
Find answers to common FAQs about building a pergola on a deck, from planning to installation and maintenance tips.
The most secure method is to use concrete anchors embedded in the deck's foundation. Position anchors within the post holes, pour concrete, and allow it to cure before attaching the posts. This ensures stability and long-term durability.
Use a laser level or a long spirit level during installation. Check the elevation of deck blocks, posts, and beams at each stage. Adjust components by trimming posts or adding shims to maintain a consistent level.
Space rafters about 24 inches on center to balance structural integrity and aesthetic appeal. For additional support or heavier roofing materials, reduce spacing to 16 inches on center.
If cuts are too shallow, you can carefully deepen them with a saw. For cuts that are too deep, reinforce the area by adding brackets or bolting an additional wood piece to the affected section.
Stain or seal all wood components to protect them from UV rays, moisture, and temperature changes. Reapply every 2–3 years and clean regularly to maintain its appearance and durability.
Yes, pergolas can be left open for a minimalist look or partial shade. However, for rain protection or better shade, consider installing a lightweight polycarbonate or Apollo roofing system.
Before digging or installing deck blocks, contact your utility provider for line location services. Always maintain access to utility meters and avoid placing structures directly over them.
Select complementary tones that suit your outdoor aesthetic. For instance, use a lighter stain for the deck and a darker stain for the pergola for contrast. Test colors on a small wood section before committing.
Install a weatherproof electrical box at the pergola's center. Use braces to support the fan and ensure all wiring is rated for outdoor use. Secure the fan tightly to prevent wobbling.
Consider adding string lights, a TV setup, a built-in barbecue area, or shading panels. These features elevate usability and make the space more functional for entertaining.


