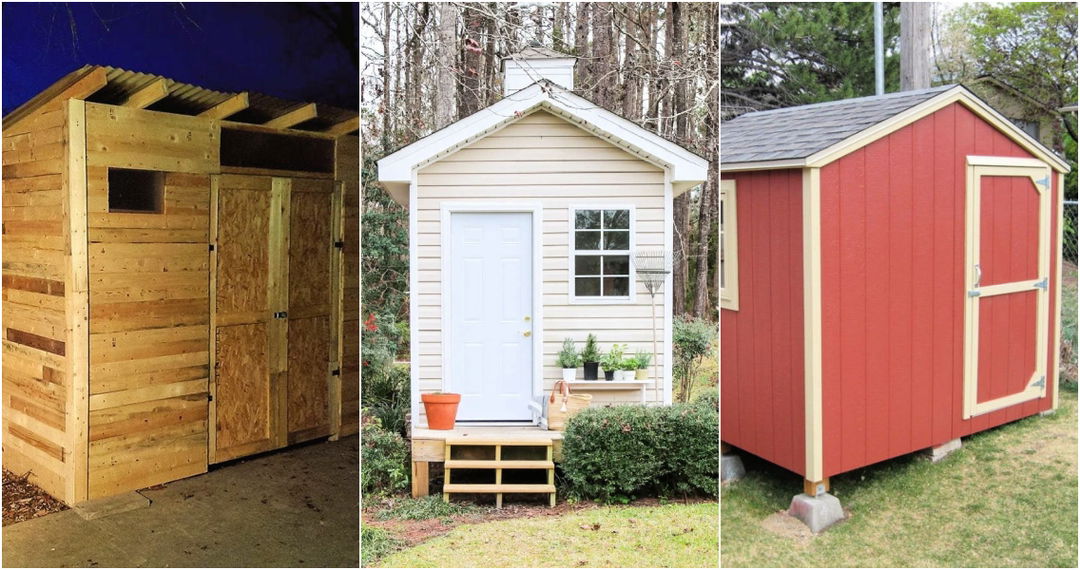
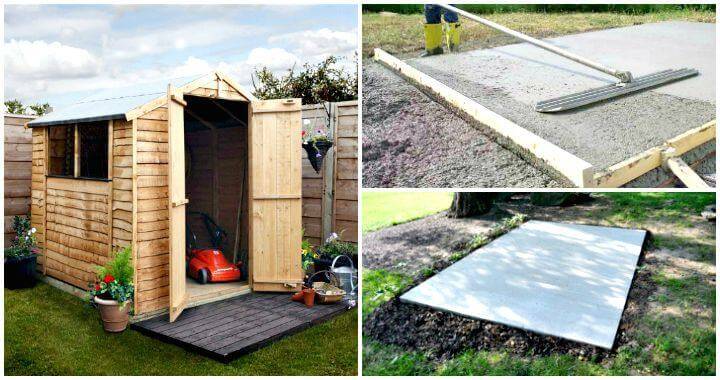
Learn how to build a DIY small shed with this easy guide. Whether you need a place to store garden tools, bikes, or other outdoor equipment, constructing a DIY shed can be a cost-effective solution. This guide provides a step-by-step approach to building a small storage shed, using insights from a DIY shed-building project. By the end, you'll have the knowledge to tackle your own shed project.
Planning and Gathering Materials
Before you begin, the first step is planning the shed size and gathering materials. For this project, a 3x7.5-foot shed was chosen, a compact but functional size for many backyards. To reduce costs, consider reusing materials you already have on hand, as this project demonstrated how to build a shed for free using leftover materials. Here's what you'll need:
Materials List
- Wood: Gather lumber such as 2x4s and plywood for framing, roofing, and siding. Any extra lumber lying around can be repurposed for the structure.
- Roofing Material: Metal roofing panels or shingles can be sourced from leftover projects.
- Concrete Blocks: These can serve as footings for the foundation.
- Hardware: Nails, screws, L-brackets, and hurricane ties for securing framing and roof rafters.
- Tyvek House Wrap: To protect the shed from moisture.
- Flashing Tape and L Flashing: For waterproofing the base and roof edges.
- Caulk and Paint: For finishing and protecting the exterior.
- Door Hardware: A door lock and handle, or even a keypad entry system for added convenience.
Tools You'll Need
- Hammer and Framing Nailer: For assembling the framing.
- Tape Measure and Speed Square: To ensure accurate measurements and straight cuts.
- Chop Saw or Circular Saw: For cutting lumber and siding.
- Drill: To fasten screws and hardware.
- Level and Laser Level: To ensure the shed is level during construction.
With your materials and tools ready, the next step is preparing the site and setting the foundation.
Step by Step Instructions
Build your own DIY small shed with step-by-step instructions, from foundation to finishing touches like caulking and painting. Perfect for any backyard.
1. Setting the Foundation
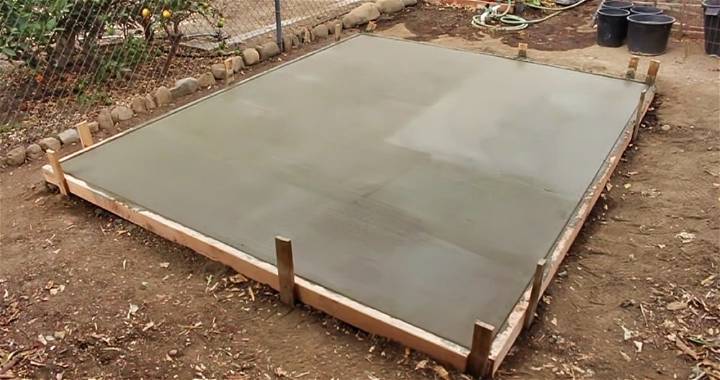
A sturdy foundation is essential for any shed, ensuring it remains level and stable over time. For this project, the shed was built on an unproductive space next to the house, utilizing concrete blocks for footings.
Clear and Level the Site
Begin by clearing the site of debris and vegetation. You want to expose the soil beneath. For this shed, the soil was tamped down using a hand tamper. Ideally, you would add crushed gravel to improve drainage, but this step can be skipped if you don't have gravel on hand.
Install Concrete Block Footings
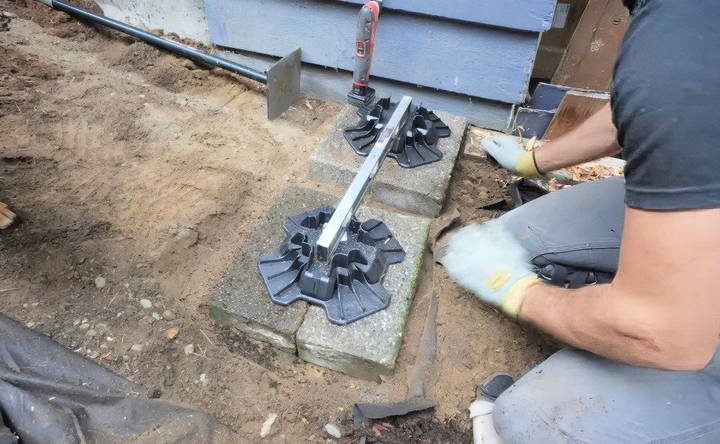
Use concrete blocks as footings for the shed. These blocks serve as the foundation, elevating the structure and keeping it off the ground. The footings should be level, so use a laser level to ensure accuracy. If necessary, add or remove soil to adjust the height of the footings.
Modify Footings as Needed
In some cases, you might need to modify the concrete blocks to fit the shed's dimensions. For instance, some blocks may need to be trimmed or reshaped. This can be done using a multi-tool or handsaw.
2. Framing the Shed
With the foundation in place, it's time to move on to framing. The frame provides the structural support for the walls, roof, and door.
Building the Walls
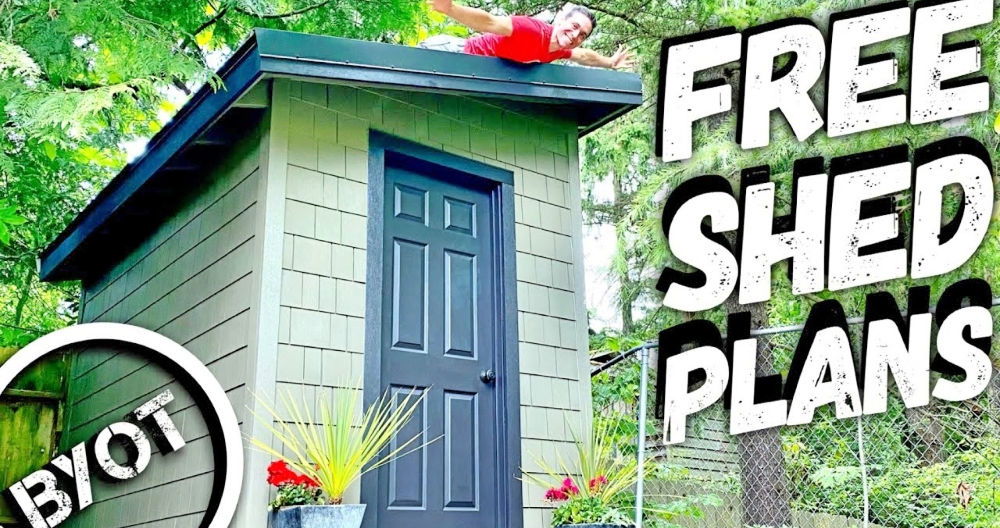
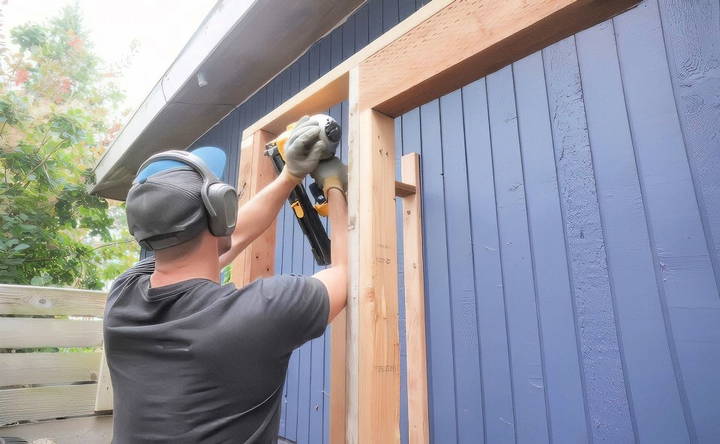
Start by constructing the wall frames using 2x4s. For this shed, the front wall was designed to be taller than the back, building a lean-to roof. This allows for water runoff and adds height to one side of the shed, ideal for storage. Here's a step-by-step guide to building the wall frames:
- Cut the 2x4s to the desired lengths for the walls.
- Assemble the frames on the ground, ensuring they are square by checking the diagonal measurements. Use nails or screws to secure the joints.
- Install the king and jack studs around the door opening to provide extra support for the header.
- Once the frames are built, stand them up and secure them to the concrete footings and the side of your house using long lag screws.
Roof Framing
Next, frame the roof using 2x4s as rafters. In this project, 10-degree cuts were made at the ends of the rafters to accommodate the roof's slope. Secure the rafters to the walls using hurricane ties and L-brackets for added stability.
3. Adding the Roof and Siding
Learn about adding the roof and siding with our guide on roof and siding installation for durable and efficient home exteriors.
Install the Roof
Once the frame is complete, it's time to install the roof sheathing. Use plywood or other sheathing materials you have on hand. For this shed, a full sheet of plywood was cut down to size and used for the roof, with an overhang on all sides to protect the walls from rain.
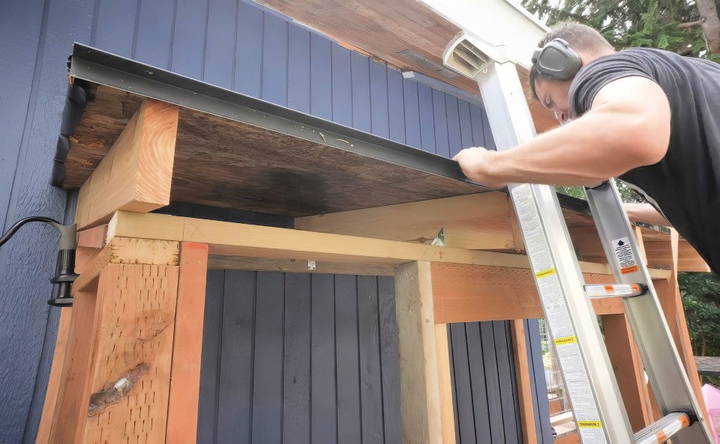
After the sheathing is installed, apply Tyvek house wrap or another moisture barrier over the plywood. Then, fasten the roofing material to the sheathing. In this project, metal roofing panels left over from a previous shed build were used. Be sure to apply flashing around the roof edges to prevent leaks.
Siding Installation
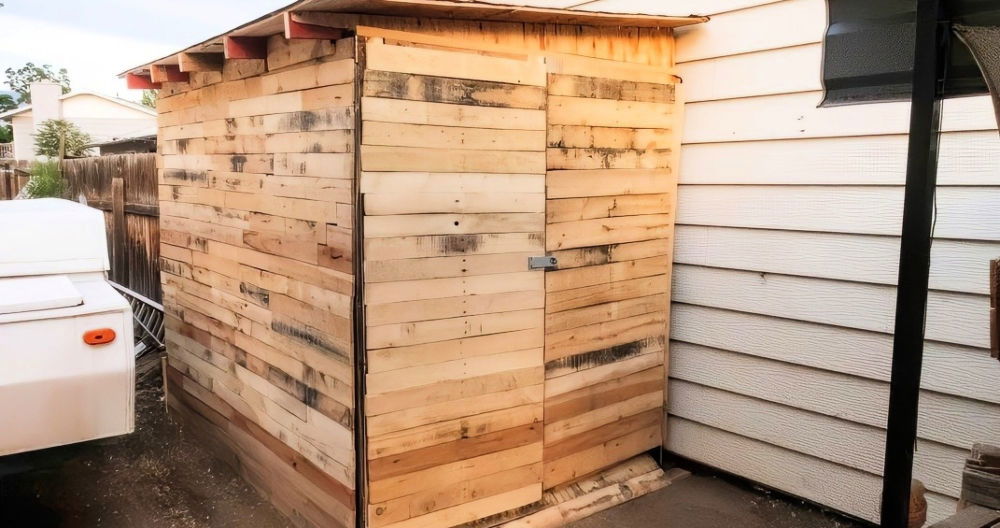
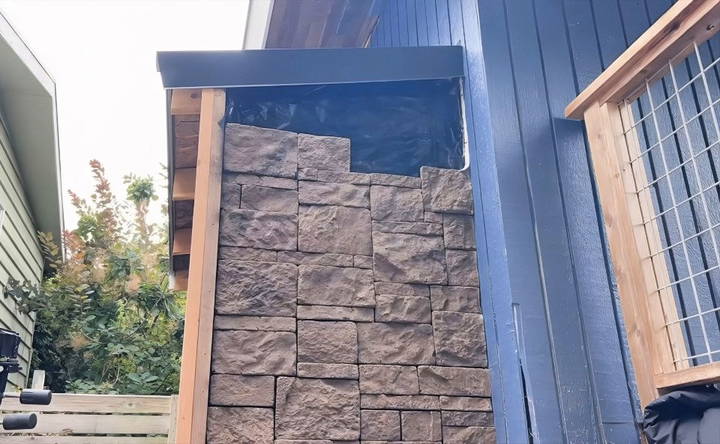
The siding can be made from various materials, such as plywood, OSB, or even decking boards. In this build, leftover decking boards were cut at a 45-degree angle and used as siding. This innovative solution not only saved money but also provided a unique look for the shed.
Start at the bottom and work your way up, overlapping each row to build a watertight barrier. Secure the boards with galvanized nails to prevent rusting.
4. Door Installation
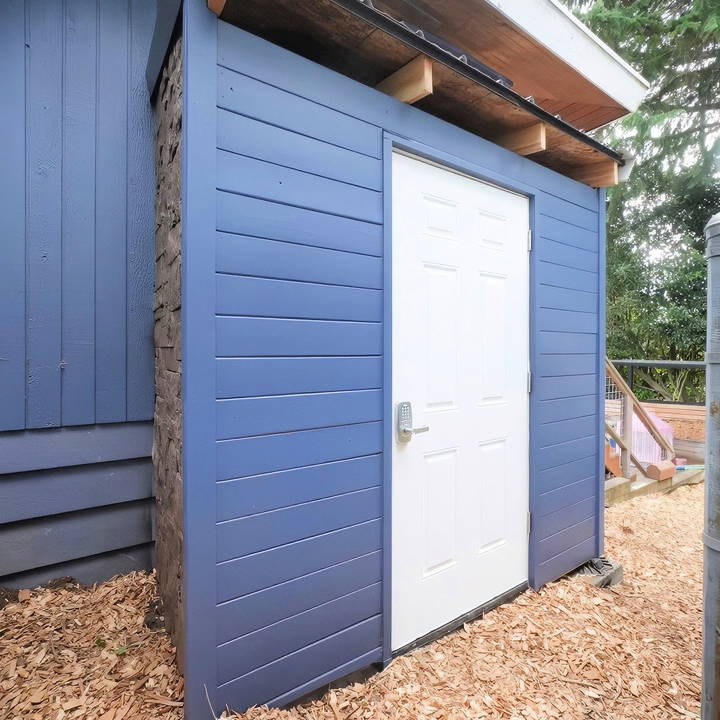
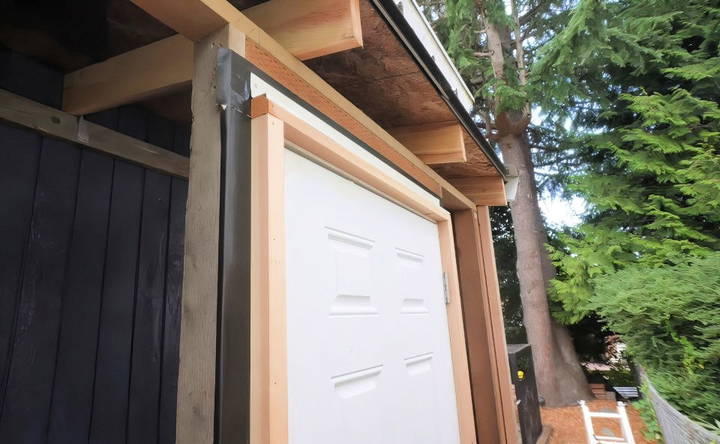
Now that the walls and roof are in place, it's time to install the door. For this project, a 36-inch door was chosen to maximize the shed's width.
Hang the Door
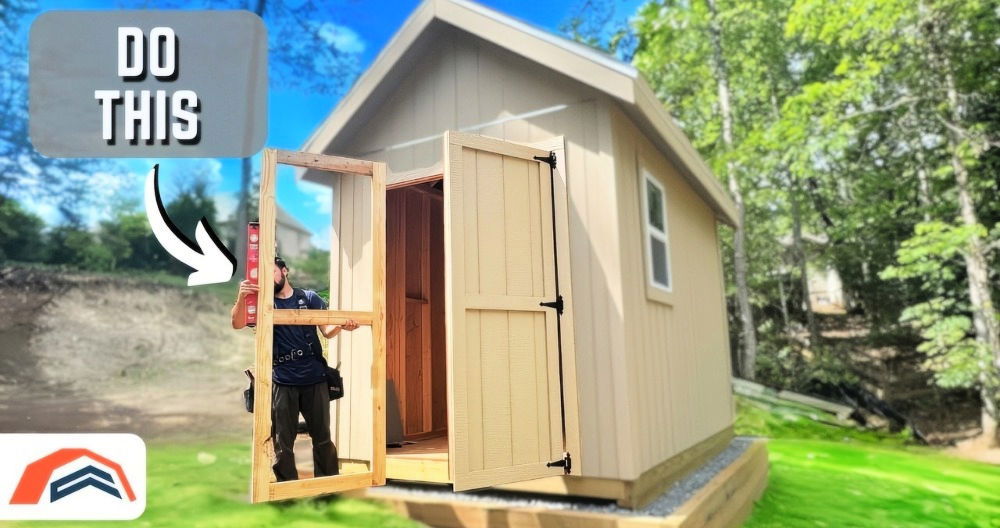
The door was installed to swing outward, maximizing the interior space. To install the door:
- Shim the door in place to ensure it's level and plumb.
- Secure the door frame to the shed with screws, making sure there are at least three connections on each side.
- Add door trim around the edges to provide a clean finish and additional weatherproofing.
Install Door Hardware
For security, install a door lock or keypad entry system. In this project, a Brinks keypad lock was used for convenience, allowing access without needing a key.
5. Finishing Touches
With the shed structure complete, the final steps involve sealing, painting, and adding trim.
Caulk and Seal
Apply caulk to all joints and seams where water could enter. Pay special attention to the corners, around windows, and between siding boards. Use a high-quality exterior caulk designed for siding.
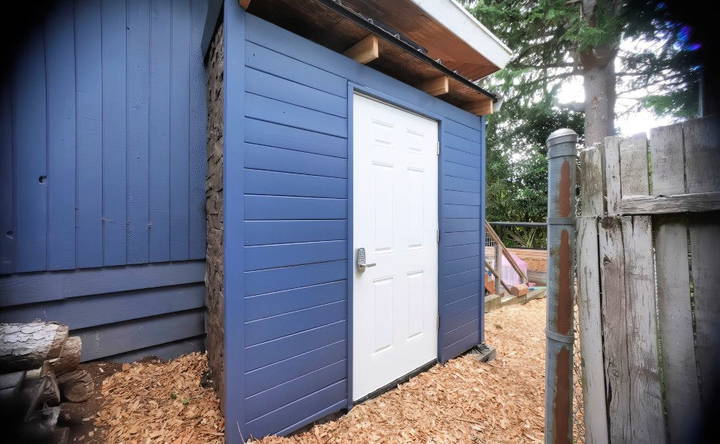
Paint the Shed
Once the caulk is dry, apply a coat of wood primer to all bare wood surfaces. After the primer dries, paint the shed in the desired color. Two coats of paint are recommended for long-lasting protection.
Add Trim
Add trim around the corners, roofline, and door to give the shed a finished look. This can be made from leftover wood cut to size. Ensure that all trim is securely fastened and painted.
Conclusion
Building a small DIY shed is a manageable project that can be done with minimal costs, especially if you repurpose materials you already have. This guide outlined the essential steps to constructing a small shed, from setting the foundation to installing the roof, siding, and door. By following these steps, you'll be well on your way to building a functional and attractive storage space for your backyard. With a little creativity and resourcefulness, you can build your shed without breaking the bank!
FAQs About DIY Small Shed
Discover answers to common questions about DIY small sheds, from materials to construction tips, to make your project a success.
If you don’t have leftover materials, try sourcing free or low-cost materials from platforms like Craigslist, Facebook Marketplace, or local construction sites. Many people give away scraps or sell them at discounted prices. Another option is visiting salvage yards where materials can often be purchased at a fraction of the cost.
To ensure your shed is waterproof, use materials like Tyvek house wrap and flashing tape around vulnerable areas such as the base, corners, and roofline. Additionally, applying a quality exterior caulk around seams and joints will help prevent water intrusion.
Yes, you can repurpose decking boards for siding by cutting them to size and overlapping them for a watertight seal. In this project, 45-degree cuts were made on the edges to ensure proper fit and protection from the elements.
To maximize space, consider hanging tools on pegboards or adding shelves along the interior walls. This helps keep the floor clear and provides easy access to frequently used items.
Yes, closing the gap is important for keeping out critters. You can install fascia boards or extra timber to seal these areas while maintaining airflow. This is especially critical if you live in areas with high pest activity.
Essential tools include a framing hammer, circular saw, drills, tape measure, and level. If you're working with metal roofing, you'll also need a diamond cutting disc and galvanized screws to secure the panels.
Use a laser level to ensure your footings are at the same height. Adjust the ground as needed by removing or adding soil, and recheck with the level before setting the framing.
Yes, attaching the shed to your house can save on materials and provide extra stability. However, make sure the attachment point is weatherproof by using flashing tape and caulking to prevent moisture damage to both the shed and house.
Sealing all gaps around the roof and installing screens over any necessary ventilation openings can help prevent insects, like hornets, from building nests in the shed.
Ensure the door is hung securely by using shims to keep it level. Install three fasteners on both sides of the doorframe, and use a weatherproof sealant around the edges to protect from moisture and air drafts.


