Building a temporary wall can be a cost-effective solution for making space partitions in your home or office. Using simple materials and tools, you can set up a DIY temporary wall that meets your needs. It's a straightforward process that involves planning, gathering materials, and assembling the wall. This guide provides step-by-step instructions to help you achieve a professional look without breaking the bank.
In the following sections, you'll find detailed advice on selecting the right materials, measuring and cutting accurately, and securely fastening your temporary wall. By following these steps, you can ensure a sturdy and functional partition.
Keep reading to learn more about the specifics and get started on your project with confidence.
Why a Portable Wall?
A mobile wall can transform your space instantly. Whether your background is cluttered or just uninspiring, this wall can add a professional touch. Plus, you can move it around, making it super flexible for different needs.
Materials You'll Need
- 1x3 Lumber: For the frame. It's lightweight, making the wall easy to move.
- Circular Saw: A versatile tool for cutting lumber.
- Pocket Hole Jig: Optional, but makes assembly easier.
- Wood Glue: Helps secure the plywood to the frame.
- Brad Nailer: For attaching plywood to the frame.
- Quarter-inch Plywood: Lightweight and smooth; perfect for the wall surface.
- Casters (Wheels): To make your wall mobile.
- Lag Bolts and Metal Brackets: For attaching wheels and providing extra support.
- Palettes and Paint: For the aesthetic finish of your choice.
- Clamps: For holding pieces in place while you work.
- LED Accent Panels: Optional, but adds a modern touch with adjustable lighting.
Step by Step Instructions
Learn how to build a temporary wall with step-by-step instructions. Follow our guide, from cutting frame pieces to adding LED panels. This project is perfect for DIY projects.
Step 1: Cutting the Frame Pieces
First, I used my circular saw to cut down the 1x3 lumber to build the frame. I laid out the pieces to get a visual of the assembly.
Step 2: Assembling the Frame
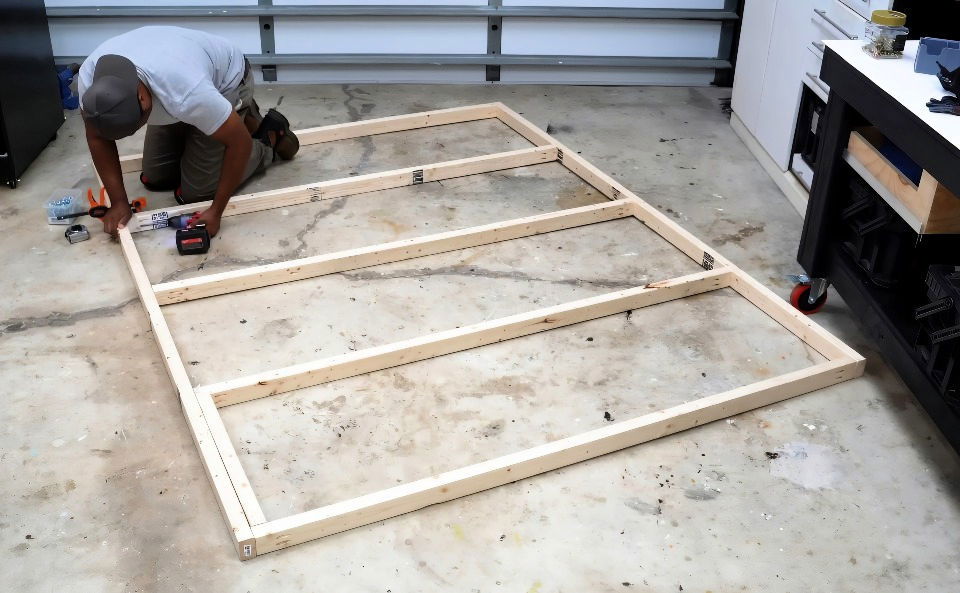
Although a pocket hole jig is optional, I found it handy. I drilled two holes on each end of the studs and repeated this until all the pieces were ready. Then, I assembled the frame, ensuring all studs were equally spaced. Remember to check for squaring before securing everything tightly.
Step 3: Securing the Plywood
With the frame built, I applied wood glue along the edges. The wood glue is crucial for holding the quarter-inch plywood. I chose plywood for its smooth surface and light weight, which makes the wall easy to handle. Lining up the plywood with the frame, I used a brad nailer to secure it. Since I needed a full sheet of 4x8 plywood and due to the height, I used four sheets in total.
Step 4: Attaching the Casters
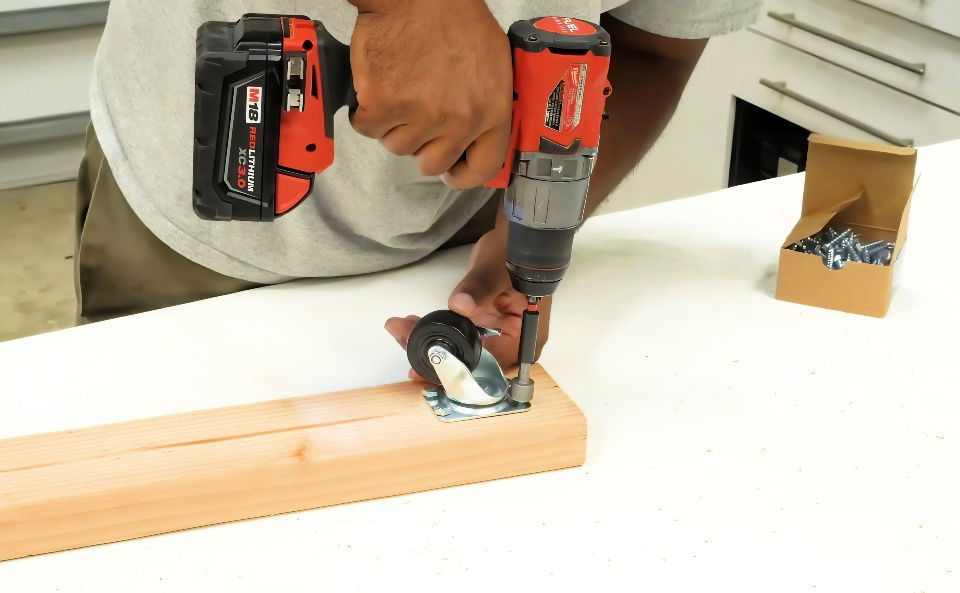
To make the wall mobile, I attached casters. After lining them up to the 2x4 and marking where the holes would go, I pre-drilled and then installed the lag bolts. Metal brackets provided extra stability.
Step 5: Prepping the Palettes
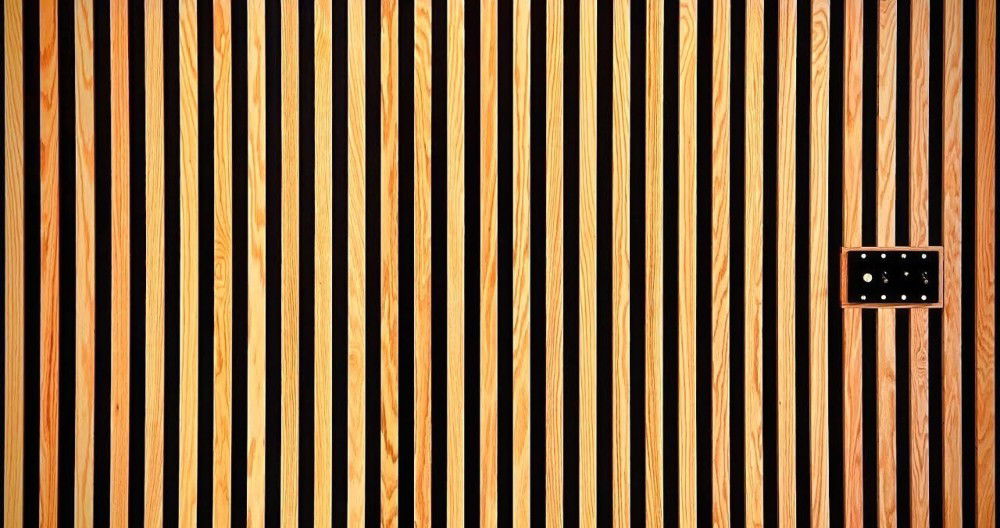
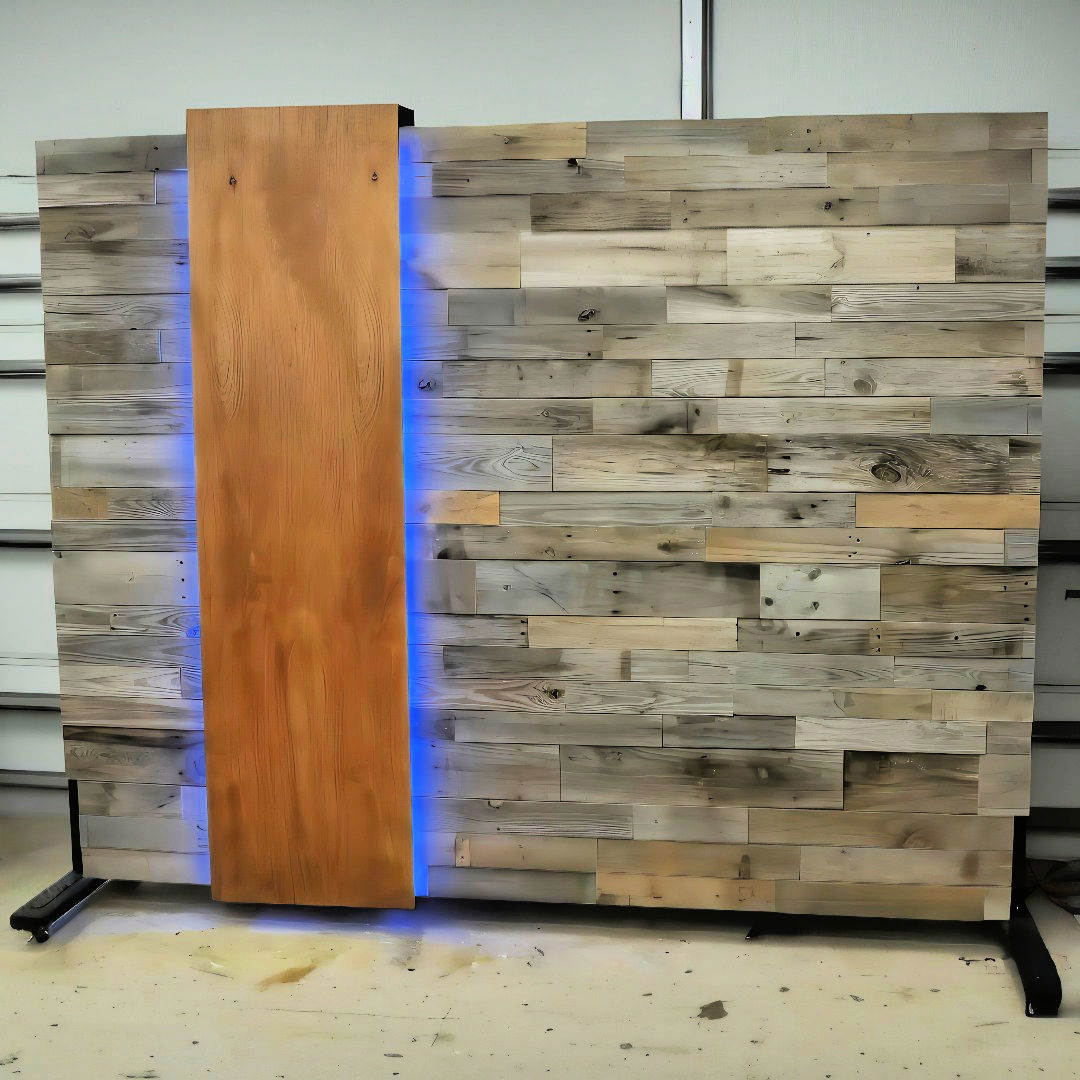
For the aesthetic finish, I wanted a mix of painted and palette wood. I used a circular saw to cut the ends of the palettes for a straight edge. This helped them fit together better. After cutting them to different lengths, I sorted them by width to keep a consistent look.
Step 6: Installing the Palettes
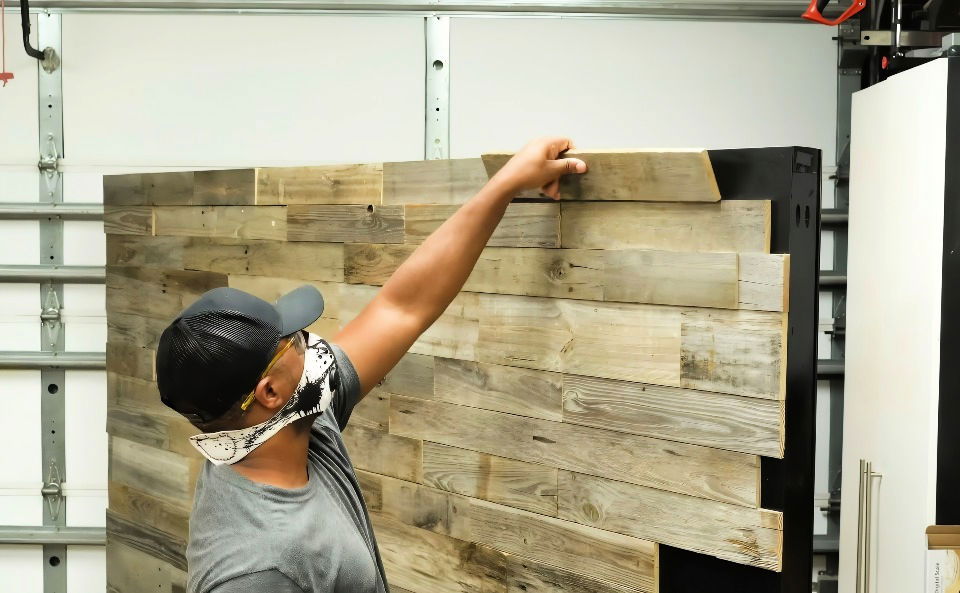
I began attaching the palettes to the plywood using a brad nailer and one-inch nails. Ensuring each row had the same thickness was crucial for a neat appearance. This step was repetitive, but taking it slow ensured a polished result.
Step 7: Painting the Other Side
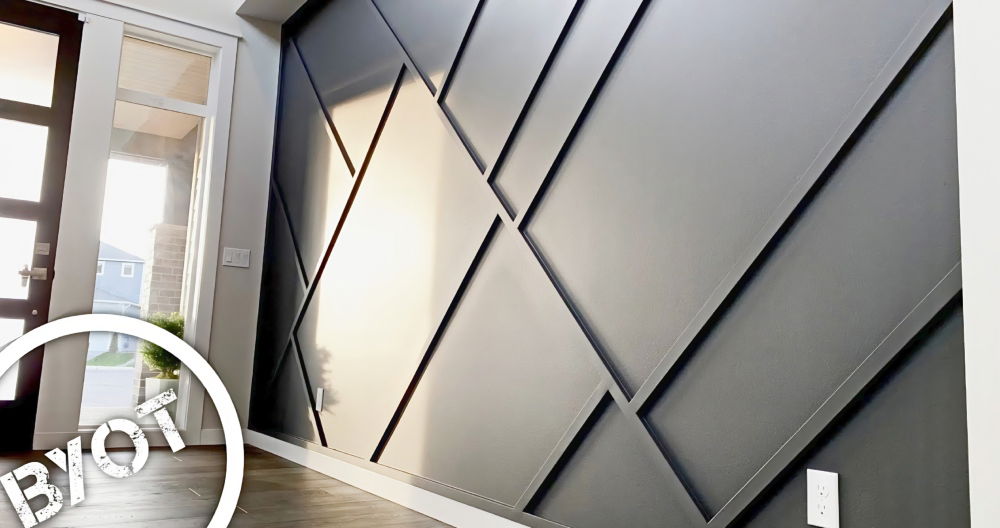
The other side was painted to add a clean, modern touch. I filled nail holes and plywood joints with wood filler, sanded them down, and applied Behr's Marquee paint in Iron Mountain. This paint includes primer, which speeds up the process.
Step 8: Adding LED Accent Panels
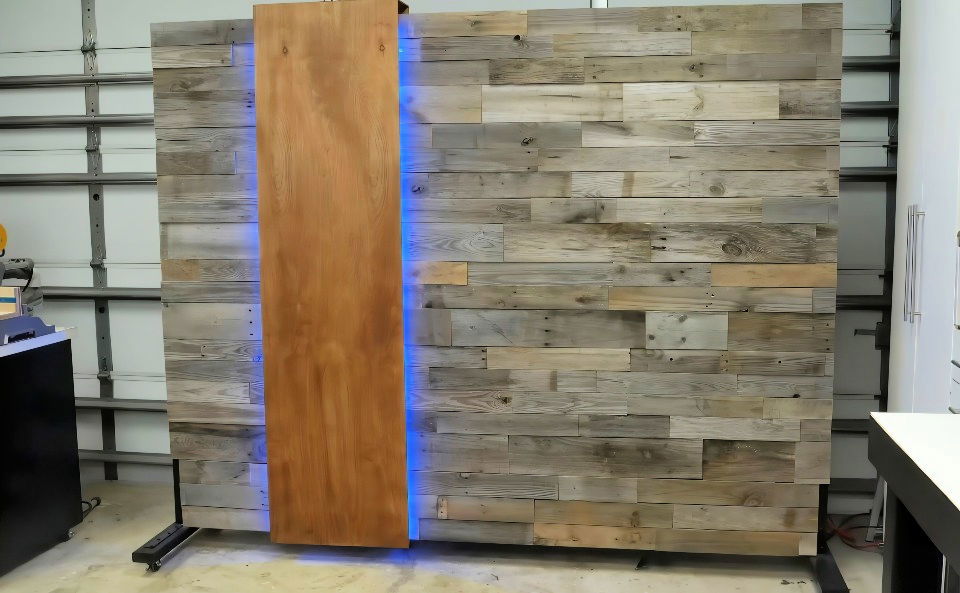
For an extra touch, I added LED accent panels. I built a frame for the LEDs, wrapped the strip around it, and attached it to the wall. The LEDs give a nice glow, enhancing the background's ambiance.
Step 9: Final Touches
The wall was nearly complete, but I added some final touches like brackets and hooks to stabilize it. Selecting finishes for the LED panels was fun. I experimented with off-white paint and green for one panel and used dark walnut Danish oil for another.
Customization Ideas for Temporary Walls
When it comes to making a temporary wall your own, the possibilities are endless. Here are some creative and practical ideas to customize your temporary wall that are not only easy to implement but also kind to your wallet.
Choose Your Color Palette
- Paint: A fresh coat of paint can transform your space. Opt for colors that complement the room's existing palette or go bold with a statement wall.
- Wallpaper: Removable wallpaper is a fantastic option for renters. It's available in various patterns and is easy to switch when you're ready for a change.
Add Texture and Depth
- Fabric: Hang a beautiful tapestry or fabric for a soft look. This can also double as a sound dampener in noisy areas.
- Shelving: Install lightweight shelves to add depth and display your favorite items. Ensure they are securely attached and don't overload them.
Functional Add-Ons
- Hooks and Hangers: Add hooks for hanging coats, hats, or decorative items. This is particularly useful if your temporary wall is near an entryway.
- Magnetic or Chalkboard Paint: Build an interactive surface for notes, drawings, or attaching magnetic organizers.
Lighting
- Fairy Lights: String lights can add a warm, cozy glow to your space. They're easy to install and can be draped over the wall or along its edges.
- Clip-on Lamps: If you need task lighting, clip-on lamps are a great solution. They're flexible and can be moved as needed.
Personal Touches
- Photos and Art: Display your personality with a gallery wall of photos or art prints. Use damage-free hanging strips to avoid nail holes.
- Decals and Stickers: Wall decals are a fun way to add character. They come in many designs and are easy to remove.
Eco-Friendly Options
- Recycled Materials: Consider using recycled or upcycled materials for a unique look and a greener footprint.
- Plants: Introduce greenery with hanging planters or vertical gardens. They'll freshen the air and bring life to your space.
Customize to make the space yours. Enjoy it and express your style. Ensure additions are removable, as the wall is temporary.
Safety Precautions
Building a temporary wall can be a rewarding DIY project, but it's crucial to prioritize safety to prevent accidents and ensure a successful build. Here's a straightforward guide to safety precautions that will keep you protected throughout the construction process.
Wear Protective Gear
- Always wear safety glasses to shield your eyes from dust and debris.
- Use gloves to protect your hands from splinters and sharp objects.
- Don sturdy shoes with slip-resistant soles to prevent falls.
Prepare Your Workspace
- Keep your work area well-lit and ventilated.
- Make sure the floor is clean and clear of clutter to avoid tripping hazards.
- Set up a first-aid kit nearby in case of minor injuries.
Handle Tools with Care
- Read the manuals for any power tools and understand their proper use.
- Inspect tools before use to ensure they are in good working condition.
- Unplug power tools when not in use or when changing attachments.
Lifting and Handling Materials
- Practice proper lifting techniques: bend at the knees and lift with your legs, not your back.
- If a piece is too heavy, don't hesitate to ask for help or use a dolly.
Wall Stability
- Ensure the temporary wall is securely anchored to prevent it from tipping over.
- Avoid hanging heavy objects on the wall that could compromise its stability.
Fire Safety
- Keep flammable materials away from heat sources.
- Have a fire extinguisher accessible in your workspace.
Chemical Safety
- When using adhesives or paints, follow the manufacturer's instructions for safe use.
- Store chemicals in a cool, dry place out of reach of children and pets.
Electrical Safety
- Be cautious of electrical outlets and wiring in your work area.
- Use ground-fault circuit interrupters (GFCIs) for power tools to prevent electrical shocks.
By following these safety tips, you'll build a safer environment for yourself and others around you.
FAQs About How to Build a Temporary Wall
Discover answers to FAQs about how to build a temporary wall. Learn how to easily build functional, temporary partitions in any space.
Stability is key for a temporary wall. Here’s how to achieve it:
Secure the top and bottom plates of the frame to the ceiling and floor using sill sealer to prevent damage.
Use a level to ensure your wall is perfectly vertical.
If possible, anchor the wall to existing structures for added support, but be mindful of causing damage.
Yes, you can install a door by:
Building a doorway frame within your wall frame.
Using pre-hung doors for easier installation.
Ensuring there's enough space for the door to swing open without obstruction.
Attaching the wall surface is straightforward:
Measure and cut your drywall or plywood to fit the frame.
Secure the panels to the frame using screws, spaced every 6-8 inches along the studs.
For a cleaner look, you can finish the surface with paint or wallpaper.
Safety and compliance are important:
Check local building codes for any restrictions on temporary walls.
Ensure the wall does not block any escape routes or cover smoke detectors.
If adding electrical components, consult a licensed electrician.
Finishing your temporary wall can give it a more permanent and polished look. Here's what to consider:
Drywall compound: Apply this to cover screw heads and seams between drywall panels.
Sanding: Once the compound is dry, sand the surface for a smooth finish.
Painting: Choose a paint color that matches your room and apply it to the wall surface.
Trim: Adding baseboards or trim at the top and bottom can hide gaps and give a clean edge.
Conclusion
Building a portable wall turned out to be a great DIY temporary wall project. It's flexible and functional and adds a professional touch to any space. Whether you're on video calls, making content, or want a new room divider, this wall is a game-changer.
If you decide to build your own, share your creations with me. I'd love to see your unique touch! A big shoutout to my Patreon supporters — your support means the world to me.


