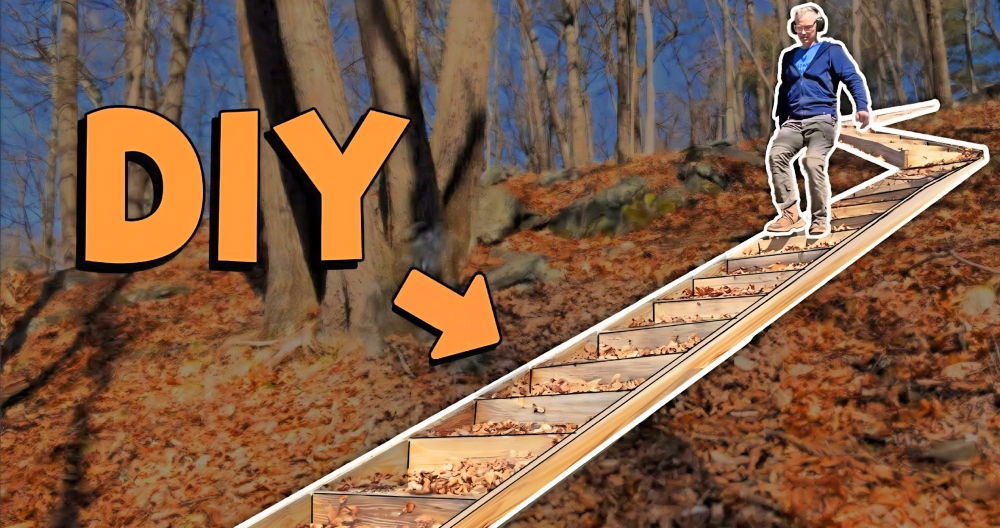
Starting with well-built plans makes all the difference. I remember when I first decided to build a DIY wheelchair ramp for my mother. She needed better access to the house after her knee surgery. I didn't know where to start, so I searched for step-by-step instructions. I found easy-to-follow DIY wooden wheelchair ramp plans.
Simple tools are key. With just a few tools and some wood, I started my project. It wasn't as hard as I thought it would be. I measured the slope and length, cut the wood, and assembled the ramp. My mom was overjoyed when we finally tested it. This guide can help you build a safe and practical ramp.
I'm helping with this guide to make your DIY wheelchair ramp building easier and more efficient. With clear steps and practical tips, these are sure to assist you.
Planning and Materials
Master planning and materials for your project. Learn how to choose the right materials, calculate the slope, and effectively lay out your plan.
Choosing the Right Materials
For a project as crucial as a wheelchair ramp, selecting the appropriate materials is paramount. I opted for treated lumber to ensure durability against the elements. My material list included:
- Treated 2x6s for the joists: These would form the support structure of the ramp.
- 4x4 posts for stability: These would be anchored to the ground, providing the necessary support.
- 5/4 decking boards for the ramp surface: These boards are not only durable but also provide a flat, stable surface suitable for a wheelchair.
- Brackets, screws, and tapcons: To secure everything in place.
Each material was chosen for its strength, durability, and suitability for outdoor conditions, ensuring the ramp can withstand heavy use and variable weather.
Calculating the Slope
An essential aspect of building a wheelchair ramp is adhering to ADA guidelines, which recommend a 1-inch rise for every foot of ramp length. For an 18-inch rise to my door, this meant constructing an 18-foot-long ramp. Ensuring the slope is gentle enough for easy wheelchair navigation while meeting these standards was a top priority.
Laying Out the Plan
With materials sorted and calculations in hand, I sketched a basic layout. The plan included a flat landing area out of the door, followed by the gently sloping ramp down to the ground, ensuring everything aligned with our space and needs.
Step by Step Instructions
Learn how to build a wheelchair ramp with our step-by-step guide, including setting the foundation, assembling, affixing decking, adding railing, and final touches.
Setting the Foundation
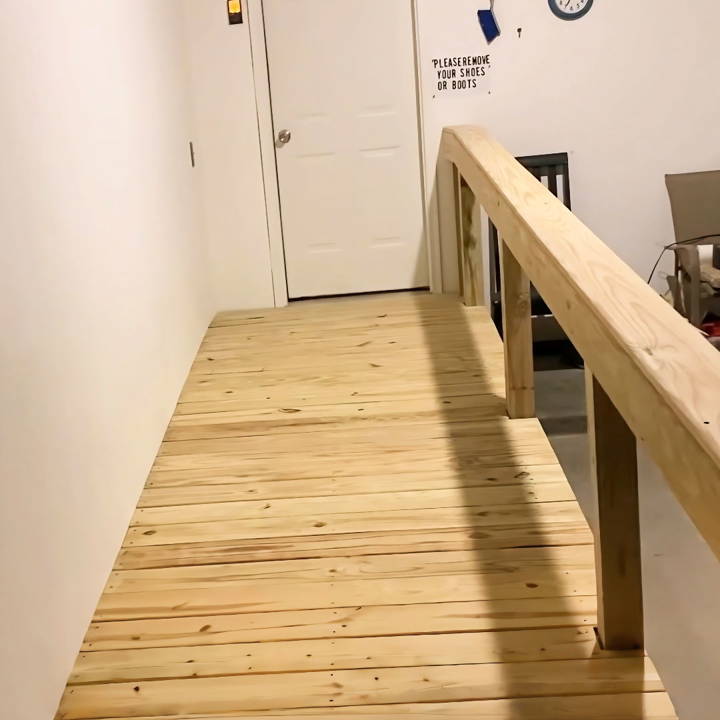
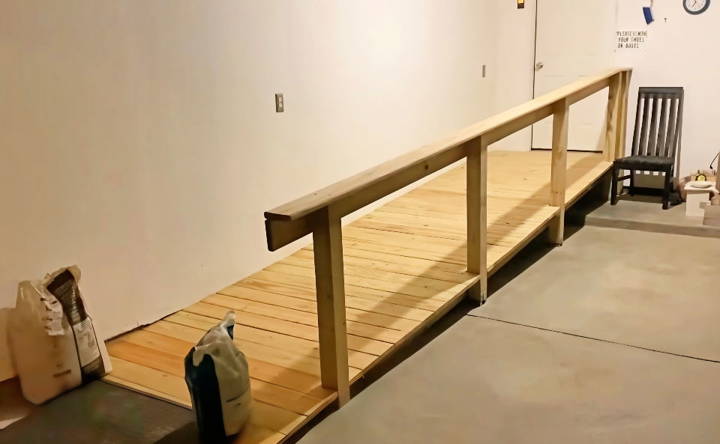
Starting with a solid foundation was key. I anchored 4x4 posts into the concrete floor of the garage using brackets and taps. This step ensured that the ramp would not shift or wobble underweight.
Assembling the Structure
Following the foundation, I laid out the treated 2x6 joists, making the frame structure of the ramp. Precision in measurements and cuts was crucial here to ensure that the slope was consistent and met ADA guidelines.
Affixing the Decking
After the frame was set, I moved on to affix the decking. Laying the 5/4 decking boards across the joists, I secured them with screws. A tip here is to place the boards close together. While the wood is initially wet and swelled from moisture, it will shrink over time, leaving a small, ideal gap between each board for drainage without compromising the smooth surface of the ramp.
Adding the Railing
For safety and ease of use, adding a railing was a must. I constructed it using additional 2x6 and 4x4 treated lumber, ensuring it was sturdy and provided ample support for users. The railing also served as a visual guide for navigating the ramp.
Final Touches
Learn the final touches for documents: smoothing, adjustments, and essential accessibility considerations for a polished, inclusive finish.
Smoothing and Adjustments
Once the main construction was finished, I revisited the entire ramp to make small adjustments and smoothen rough edges. This involved sanding down any rough spots on the wood to prevent splinters and making minor adjustments to ensure the ramp was perfectly level and stable.
Accessibility Considerations
The final consideration was ensuring the transition from the ramp to the door was seamless and accessible. This required precise cutting and fitting of the last few decking boards to ensure there was no threshold or step that could hinder a wheelchair's passage.
This project, from planning to execution, took approximately 8-10 hours, spread over a couple of days. It wasn't just about building a structure but about ensuring safety, independence, and accessibility for a loved one. If you're considering a similar project, here are a few pieces of advice:
- Measure Twice, Cut Once: Accuracy is crucial, especially when adhering to specific guidelines like the ADA slope recommendations.
- Quality Materials Matter: Opt for treated lumber and high-quality fasteners to ensure the longevity of your ramp.
- Safety First: Ensure your ramp has railings and a non-slip surface to prevent accidents.
- Local Regulations: Always check with your local building department to ensure your project adheres to all necessary codes and regulations.
Advanced Customizations
When it comes to DIY wooden wheelchair ramps, functionality is the priority. However, that doesn't mean your ramp can't be both practical and pleasing to the eye. Here are some ways to customize your ramp for a seamless blend with your home's aesthetics and smart technology:
Integrating with Home Design:
- Color Matching: Paint the ramp to match your home's exterior for a cohesive look. Use slip-resistant paint to maintain safety.
- Landscaping: Plant shrubs or flowers along the sides of the ramp to build a natural flow from the garden to the entrance.
Smart Technology for Ease of Use:
- Automatic Lighting: Install motion-sensor lights along the ramp for visibility at night without the need for switches.
- Voice-Activated Features: Consider adding voice-controlled elements, such as lights or a retractable cover, for hands-free operation.
Personal Touches:
- Decorative Elements: Add personal touches like patterned non-slip treads or custom handrail designs.
- Seasonal Decorations: Make provisions for easy decoration during holidays or special occasions without compromising the ramp's safety.
Enhance the ramp's functionality and home integration by customizing. Prioritize safety and accessibility, keep the design simple, and consult users for their needs.
Safety Features
Ensuring the safety of a wooden wheelchair ramp is paramount. Here's a guide to the essential safety features you should include:
Non-Slip Surface:
- Materials: Use materials like anti-slip tape or rubber mats that provide grip, even when wet.
- Application: Apply these materials evenly across the ramp's surface to prevent slips and falls.
Handrails and Edges:
- Handrails: Install handrails on both sides of the ramp. They should be sturdy and at an appropriate height for users.
- Edge Protection: Add curbs or edges to prevent wheelchairs from rolling off the side.
Regular Safety Audits:
- Inspections: Regularly inspect the ramp for any potential hazards, such as loose boards or protruding nails.
- Updates: Keep up with the latest safety standards and update your ramp as needed.
Clear Signage:
- Instructions: Post clear usage instructions at the ramp's entrance.
- Warnings: Include warning signs for any potential risks, like a steep incline.
Adding safety features ensures the ramp is both functional and secure. Safety requires ongoing commitment, with regular maintenance and updates to keep the ramp safe for all.
FAQs About DIY Wooden Wheelchair Ramp Plans
Explore essential faqs about DIY wooden wheelchair ramp plans to understand design, materials, safety, and construction tips for your accessible project.
The slope of the ramp is critical for safety and ease of use. The Americans with Disabilities Act (ADA) recommends a 1:12 slope, which means for every inch of vertical rise, there should be at least 12 inches of ramp run. If space allows, a gentler slope of 1:20 is ideal for easier navigation.
Most building codes require a permit if the ramp is more than 30 inches above the ground. Check with your local building authority for specific requirements. Some areas may also require frost-proof footings for permanent ramps, while others may allow ramps on treated plywood pads for temporary use.
Yes, with basic carpentry skills and tools like a miter saw, router, drill, level, and framing nailer, you can build a ramp yourself. However, it's crucial to follow ramp-building guidelines and handicap ramp codes to ensure the ramp is safe and functional.
There are many resources available online, including detailed construction guides and design plans. Websites like The Family Handyman and House Grail offer step-by-step instructions and plans for various ramp designs that you can adapt to fit your specific needs.
Safety and stability are paramount when constructing a wooden wheelchair ramp. To ensure this, use non-slip surfaces for the ramp decking, secure handrails on both sides, and make sure the ramp has edge protection to prevent accidental slips off the side. Additionally, regular maintenance checks are crucial to address any wear and tear. For detailed construction guidance, you can refer to resources like The Family Handyman or House Grail, which provide comprehensive instructions and safety tips for building your own ramp.
Conclusion:
Wrapping up, making a wheelchair ramp can be a fulfilling and essential project for enhancing accessibility. This step-by-step guide on how to build a wheelchair ramp provides clear instructions and necessary tips. Whether using DIY wooden wheelchair ramp plans or learning how to build a handicap ramp, these guidelines ensure a safe and effective solution. Enjoy the satisfaction of making your space more accommodating!


