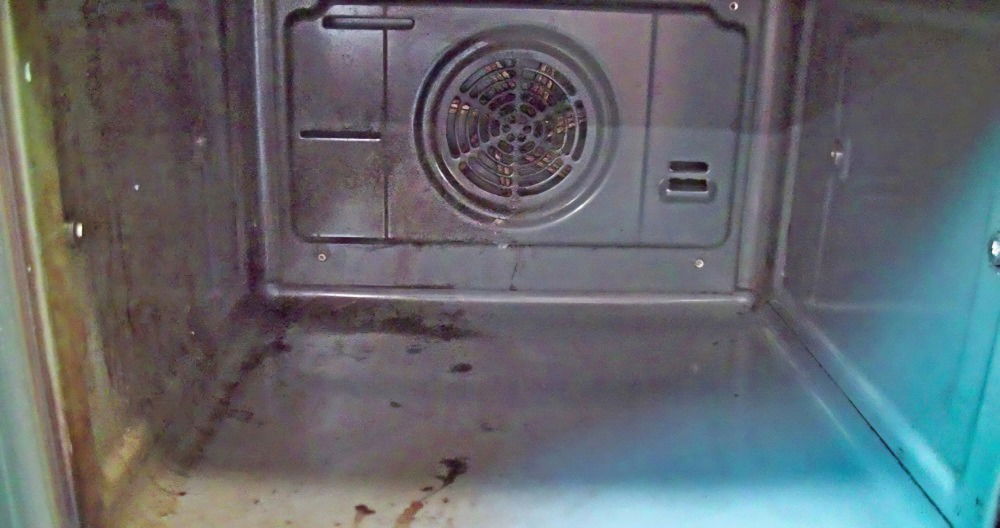
Last week, I noticed my oven was covered in grease and burnt-on food. It hadn't been cleaned in months, and the mess was starting to affect how it cooked. I decided it was time to clean my oven without spending hours scrubbing.
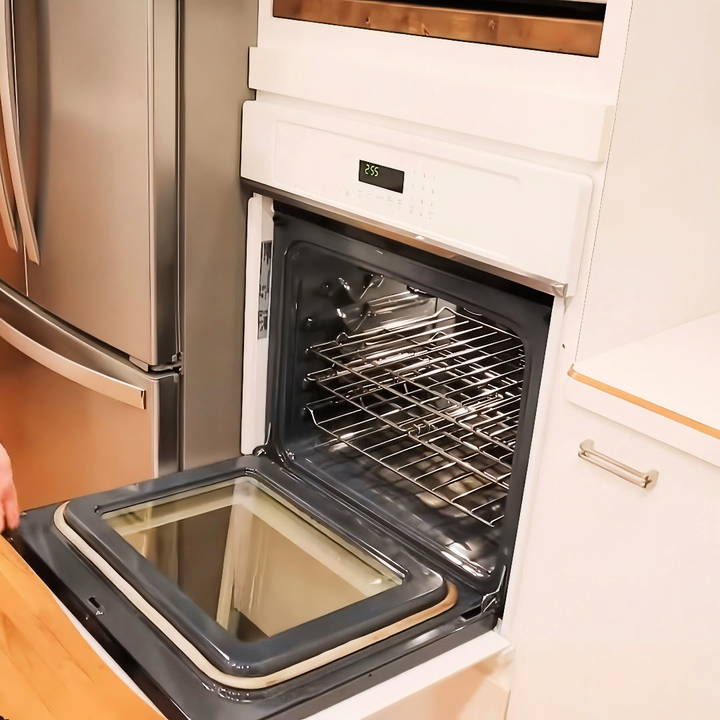
I discovered a simple way to clean the inside of the oven in just five simple steps. Using items I already had at home, like baking soda and vinegar, I made my oven look brand new. It was easier than I thought, and I didn't have to use harsh chemicals.
Materials Needed and Why
- Dishwasher Pods: Great at breaking down grease.
- Storage Tub or Bathtub: For soaking the racks.
- Cleaning Tools: These include a scrub mommy, a steel scourer (I used a scour daddy), a razor blade scraper, and microfiber towels for the detailing work.
- Oven Cleaner: Choose between a commercial cleaner or a DIY mix of vinegar, baking soda, and Dawn.
Each item plays a crucial role in tackling different aspects of the cleaning process. The dishwasher pods effectively dissolve grease, making it easier to scrub off later. The choice of cleaning tools ensures you have the right equipment for various cleaning needs, whether it's gentle scrubbing or tackling tougher spots.
Step by Step Instructions
Learn how to clean an oven with our step-by-step instructions. From preparation to finishing touches, get a sparkling clean oven effortlessly!
Step 1: Preparation Is Key
Firstly, I removed the oven racks and placed them in a large storage tub, although the bathtub is a good alternative if you need more space. I filled it with warm water, enough to cover the racks completely. Then, adding a couple of dishwasher pods into the water was a game-changer. I opted for Cascade Platinum pods, but any quality dishwasher pod should work. After tossing them in, I left the racks to soak, focusing my attention on the oven.
Step 2: Choosing the Right Cleaner
I learned that the cleaner you choose can significantly impact the effectiveness of your cleaning effort. Commercial cleaners are powerful but can be too harsh for some. Thus, I opted for a DIY approach, using baking soda and water to make an abrasive paste for the initial scrub. Contrary to what some might think, mixing vinegar and baking soda right off the bat is counterproductive, as they neutralize each other.
Step 3: Dwell Time
Patience is indeed a virtue when it comes to oven cleaning. After applying the paste, I let it sit. This 'dwell time' allows the cleaner to break down the grime, making the scrubbing process much more manageable. While waiting, I cleaned other parts of the kitchen, making efficient use of my time.
Step 4: Scrubbing Time
Equipped with my scrub mommy, I tackled the oven. The non-scratch feature was perfect for removing grease without damaging the surface. This step required the most elbow grease, but seeing the grime come off was highly satisfying. For tougher spots, I used the steel scour daddy and, very carefully, the razor blade scraper.
A Handy Bonus Tip
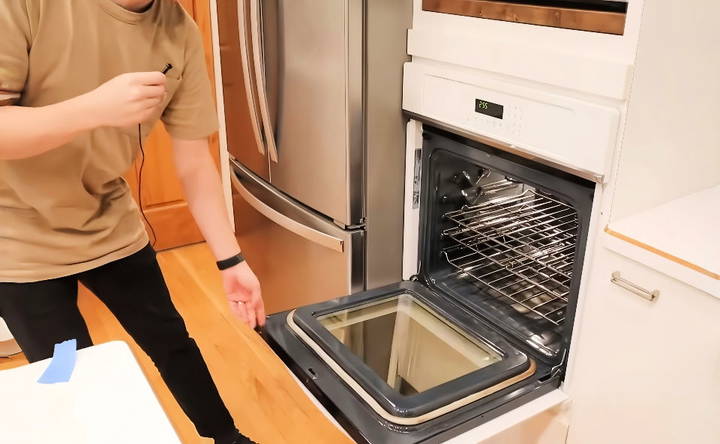
One pro tip that blew my mind was learning that the oven door can be easily removed. By unlatching two clips at the hinges, I lifted the door right off, allowing better access to the oven's interior. This made cleaning the harder-to-reach areas a breeze.
Step 5: Rinsing and Wiping
After all the scrubbing, I rinsed the oven interior with a damp microfiber cloth. This was to ensure all cleaner residue was removed, leaving the surface sparkling clean. It's essential to thoroughly rinse to avoid any cleaner from burning off during the next oven use.
Finishing Touches with the Racks
Returning to the racks, the dishwasher pods had done their magic. I only needed to give them a light scrub, rinse, and they were as good as new, ready to be placed back into the pristine oven.
The transformation was remarkable. The oven, which once was a source of distress whenever I opened it, was now shining, inspiring me to bake something immediately just to marvel at its cleanliness.
Advanced Techniques for Professional Results
To get professional oven cleaning results, use advanced techniques. These methods delve deeper than basic steps, employing specialized tools. Here's how to achieve a pro-level clean for your oven:
Use the Right Tools
Professional oven cleaners often use tools that are not typically found in the average household. These can include:
- Heavy-duty scrapers: To remove baked-on grime without scratching the surface.
- Steam cleaners: To loosen stubborn residue using high-temperature steam.
- Microfiber cloths: For a streak-free finish after cleaning.
Apply the Correct Cleaning Agents
Choosing the right cleaning agents is crucial for effective cleaning:
- Enzyme-based cleaners: These break down organic material at a molecular level, making it easier to wipe away.
- Industrial-strength degreasers: They cut through grease and oil that has been baked on over time.
Follow a Systematic Cleaning Process
A methodical approach can enhance your cleaning efficiency:
- Pre-clean: Remove loose debris and wipe down surfaces.
- Apply cleaner: Allow it to sit for the recommended time.
- Scrub: Use appropriate tools to scrub the oven interior.
- Steam: Apply steam to soften hard-to-remove spots.
- Wipe clean: Use microfiber cloths for a polished look.
Safety Precautions
Safety should always be a priority:
- Ventilate the area: Ensure good airflow to avoid inhaling fumes.
- Wear protective gear: Gloves and masks can protect against harsh chemicals.
- Read labels: Follow the instructions on commercial cleaners to prevent damage to your oven or harm to yourself.
Regular Maintenance
Maintaining cleanliness can reduce the need for deep cleaning:
- Wipe spills immediately: Prevents build-up of grime.
- Regular inspections: Catching spills and debris early makes cleaning easier.
Use advanced techniques for professional-level oven cleaning. Prioritize safety and eco-friendly products. With the right method, your oven will look and work like new.
Eco-Friendly Cleaning Solutions
Nowadays, being eco-conscious is crucial. For oven cleaning, using eco-friendly solutions helps the planet and is safer for your home. Here's how to clean your oven without harsh chemicals:
Baking Soda and Vinegar: A Powerful Duo
Baking soda and vinegar are staples in eco-friendly cleaning. They're effective, affordable, and safe.
How to Use Them:
- Make a paste: Mix half a cup of baking soda with water to make a thick paste.
- Spread the paste: Coat the interior surfaces of your oven, avoiding the heating elements.
- Let it sit: Leave the paste on overnight, or at least for 12 hours.
- Spray vinegar: After the waiting period, spray vinegar over the baking soda paste. It will react and help lift grime.
- Wipe clean: Use a damp cloth to wipe away the mixture, along with the loosened dirt.
Lemon Juice: Nature's Degreaser
Lemon juice is another natural cleaner known for its degreasing properties.
How to Use It:
- Heat lemon water: Place a pot with water and lemon slices in the oven.
- Steam clean: Heat at a low temperature to let the steam loosen the grime.
- Wipe down: Once cooled, wipe the interior with a cloth.
Salt: For Stubborn Stains
Salt is great for tackling tough spots.
How to Use It:
- Sprinkle salt: On spills or stains while the oven is still warm.
- Scrape off: Once cooled, scrape off the salt, which will have absorbed some of the mess.
Precautions and Tips
- Always ventilate: Keep your kitchen well-ventilated while cleaning.
- Test first: Try your cleaning solution on a small area before full application.
- Regular cleaning: The more often you clean, the less you'll need heavy-duty solutions.
Using eco-friendly cleaning, you're opting for a safer, healthier oven cleaning method that protects the environment. These simple, effective methods use common household items, making them accessible to all.
Troubleshooting Common Oven Cleaning Challenges
Cleaning an oven can be challenging, but with the right approach, you can achieve a sparkling clean oven. Here are common issues and how to tackle them.
Dealing with Stubborn Grease
Grease buildup can be stubborn. To remove it:
- Make a paste of baking soda and water.
- Apply the paste to the greasy areas and leave it overnight.
- Wipe it off with a damp cloth the next day.
Removing Burnt-on Food Residue
Burnt-on food requires a bit more effort:
- Soak the area with a wet cloth to soften the residue.
- Use a scraper designed for ovens to gently remove the burnt food without scratching the surface.
Clearing Up Smoke During Cleaning
Smoke can be a sign of leftover food particles burning off:
- Clean regularly to prevent excessive buildup that can smoke.
- Ventilate your kitchen by opening windows or using an exhaust fan.
Eliminating Unpleasant Odors
Unpleasant odors can linger after cleaning:
- Use a mixture of water and lemon juice in a spray bottle.
- Spritz inside the oven and heat it at a low temperature for a fresh scent.
Handling Streaks on Glass
Streaks on the oven glass can obstruct your view:
- Make a solution of equal parts water and vinegar.
- Spray it on the glass and wipe with a microfiber cloth for a streak-free shine.
Preventing Future Buildup
Prevention is better than cure:
- Line the bottom of your oven with aluminum foil or an oven liner to catch drips.
- Wipe spills as soon as the oven cools to prevent hardening.
Following the suggested solutions makes keeping your oven clean easier. Regular maintenance and correct techniques keep it in top condition and ready for your next dish.
Safety First: Oven Cleaning Precautions
Prioritize safety when cleaning your oven. Electrical, heat, and chemical risks require caution. Follow these precautions for safe, effective cleaning.
Turn Off and Unplug
Before you start cleaning, make sure the oven is turned off and unplugged. This eliminates the risk of electric shock and allows the oven to cool down if it was recently used.
Use Protective Gear
Cleaning chemicals can be harsh on your skin and eyes, so it's important to wear gloves and, if possible, safety goggles. This will protect you from any splashes or spills.
Ventilate the Area
Cleaning products can release fumes that are harmful if inhaled in large quantities. Open windows or use an exhaust fan to keep the air in your kitchen fresh.
Read Product Labels
Each cleaning product comes with its own set of instructions and warnings. Read these carefully to understand how to use the product safely and what to do in case of accidental contact or ingestion.
Avoid Mixing Chemicals
Mixing different cleaning products can cause dangerous reactions. Stick to one product at a time, and if you're using multiple products, rinse the area between applications.
Keep Children and Pets Away
The cleaning process can involve chemicals and tools that are dangerous for children and pets. Keep them out of the kitchen until the cleaning is complete and all tools and products are safely stored away.
Handle Glass with Care
The glass on your oven door can be delicate. Avoid using abrasive scrubbers or cleaners that can scratch or damage the glass.
Check for Gas Leaks
If you have a gas oven, be alert for the smell of gas when you move the oven or disturb the gas line. If you suspect a leak, stop what you're doing immediately and call a professional.
FAQs About How to Clean an Oven
Discover essential FAQs about how to clean an oven. Get expert tips and tricks for maintaining a spotless and efficient appliance.
The most effective natural method involves using baking soda and vinegar. First, make a paste with baking soda and water, apply it inside the oven, and let it sit overnight. The next day, spray vinegar over the paste, which will react and help lift grime. Finally, wipe the oven clean.
Yes, commercial oven cleaners are designed for tough grime and can be very effective. However, they contain chemicals that may require you to take safety precautions, such as wearing gloves and ensuring good ventilation during use.
It's recommended to clean your oven every three to six months or more frequently if you use it often. Regular cleaning prevents the build-up of grease and burnt food, which can affect your oven's performance and the taste of your food.
For oven racks, soaking them in hot water mixed with dishwasher detergent can help loosen the grime. For glass doors, a mixture of baking soda and water applied to the door can be wiped away after 30 minutes for a sparkling finish.
Avoid using harsh metal scouring pads, which can scratch surfaces. Also, if your oven has a self-cleaning function, do not use any other cleaning methods during the self-cleaning cycle.
Conclusion
Now that I've shared how I cleaned my oven, I hope you feel inspired to do the same. Using these simple steps, I was able to make my oven look new without much effort. It's amazing what a little time and some basic supplies can do. So go ahead, give it a try, and enjoy a sparkling clean oven again.


