Cleaning a car's interior can seem like a daunting task, especially if it's been a while since your last deep clean. However, the process can be made simple and straightforward when approached methodically. After years of detailing cars, I've developed a foolproof plan that tackles every nook and cranny from top to bottom, ensuring a thorough cleanup every time.
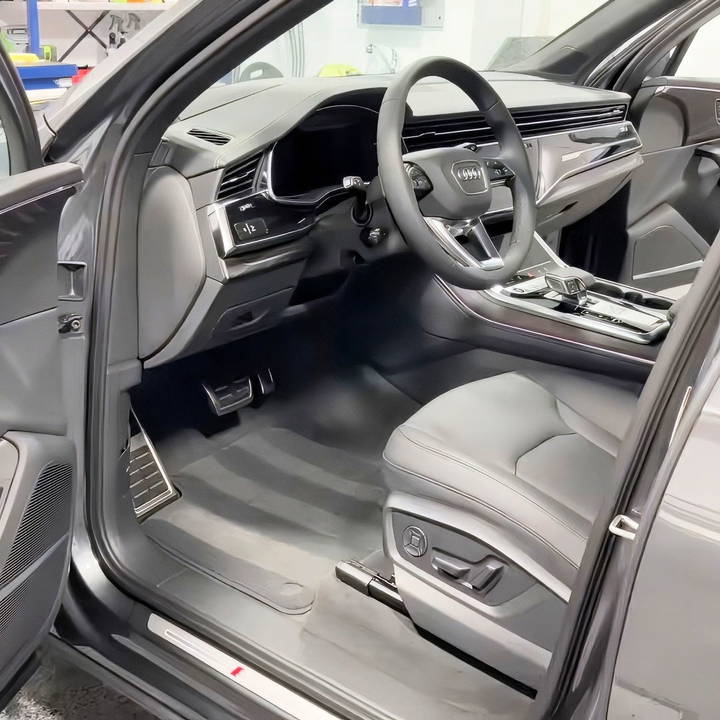
Materials You'll Need
Before diving into the cleaning process, let's gather the materials. Each item serves a specific purpose and contributes significantly to the cleaning efficiency and effectiveness.
- Trash Bags: For collecting trash and debris from inside the car.
- Vacuum Cleaner: Essential for removing dirt, dust, and debris from floors and seats.
- Microfiber Towels: Known for being lint-free and highly absorbent, they are perfect for wiping surfaces without leaving residue or scratches.
- All-Purpose Cleaner: For general cleaning of most surfaces.
- Upholstery Cleaner: Specifically designed for fabric seats and carpets; it's more effective than an all-purpose cleaner for these materials.
- Glass Cleaner: To ensure streak-free windows and mirrors.
- Detailing Brushes: Ideal for reaching those tricky crevices and vents.
- Floor Mat Cleaner: A specialized cleaner helps in rejuvenating both rubber and carpeted mats.
- Protectant Spray: To offer UV protection to your dashboard and leave a fresh and natural sheen.
- Leather Cleaner and Conditioner (optional): If your car has leather seats, these will keep them soft and supple.
- Pet Hair Remover (optional): For homes with pets, a lifesaver in eliminating stubborn pet hair.
- Air Freshener: For a lasting final touch of freshness in your car.
With your materials at hand, let's proceed with a detailed clean-up.
Step by Step Instructions
Learn how to clean your car interior with easy step-by-step instructions. From decluttering and vacuuming to upholstery care and glass cleaning—get a spotless finish!
Step 1: Declutter and Remove Trash
The first step always involves clearing out unneeded items and trash. Begin by removing everything from your car, including personal items you intend to keep, trash, and any leftover food wrappers or bottles. A clean workspace means you won't have to work around clutter and can tackle the real mess more efficiently.
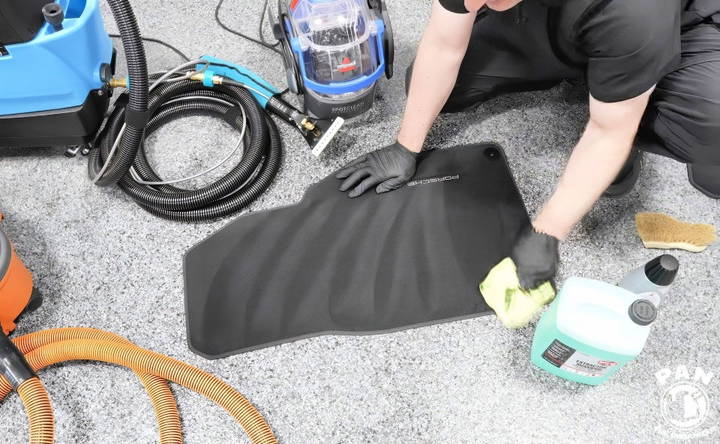
Step 2: Clean the Floor Mats
Next, remove the floor mats. This allows you not only ample space to clean them but also a better view of the floor beneath them. Use a specialized floor mat cleaner for rubber mats. Simply hose them down, apply the cleaner, scrub with a stiff brush, and rinse. For carpeted mats, vacuum them first, spray a carpet cleaner, scrub them, and then blot them with a microfiber towel.
Step 3: Cleaning the Door Jambs
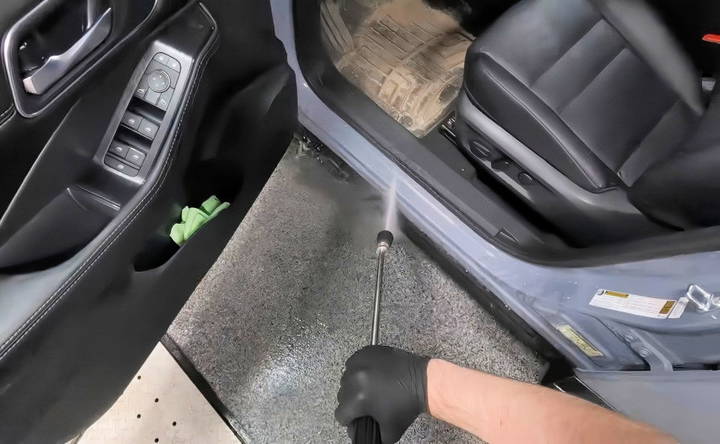
Door jambs often get overlooked, yet they are among the first areas you notice upon opening the car door. Use an all-purpose cleaner sprayed onto a microfiber cloth or a gentle brush to clean the nooks in the door jambs. Follow that by wiping with a clean microfiber towel for a squeaky finish. Having clean door jambs significantly improves the overall look and feel of your car when entered.
Step 4: Dust and Vacuum the Interior
Dust can settle in small crevices and on surfaces, making the interior look dull. Use a soft detailing brush to gently agitate dust and debris out of tight corners, vents, and seams. Follow this by a thorough vacuuming to capture the loosened particles. When vacuuming seats, be sure to get into the seams and under the seats thoroughly.
Step 5: Headliner Spot Treatment
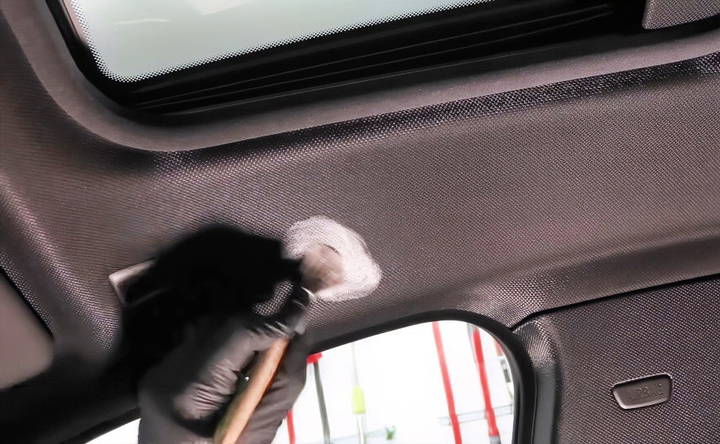
Headliners are sensitive, so go easy on them. For spot cleaning, lightly spray an all-purpose cleaner onto a microfiber towel and gently blot the stained areas. Avoid soaking the headliner, which can damage the adhesive.
Step 6: Clean and Condition Upholstery
For fabric seats, spray an upholstery cleaner, scrub using either a cleaning pad or a brush, and then blot the fabric to lift grime. For leather seats, apply a dedicated leather cleaner, scrub gently, and then condition to keep the leather soft. This step not only cleans but also prolongs the life of your car's seats.
Step 7: Clean Plastic and Vinyl Surfaces
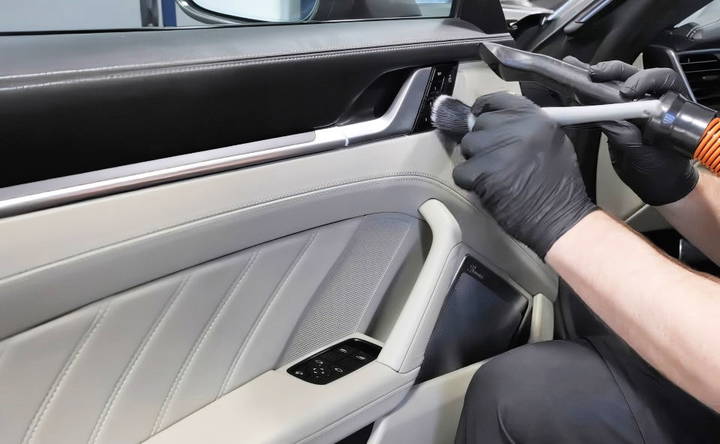
The dashboard, door panels, and center console require special attention as they are highly visible and often touched. Use a mild all-purpose cleaner and detailing brush or cleaning pad to lift dirt and grime. Dry with a microfiber towel. Apply a protectant to these areas to shield them against UV damage and keep them looking fresh.
Step 8: Clean the Steering Wheel and Other High-Touch Areas
High-touch areas like the steering wheel and gear shift accumulate huge amounts of dirt and oils. Clean these with a gentle interior cleaner and a detailing brush, followed by a microfiber towel to wipe them clean.
Step 9: Glass Cleaning
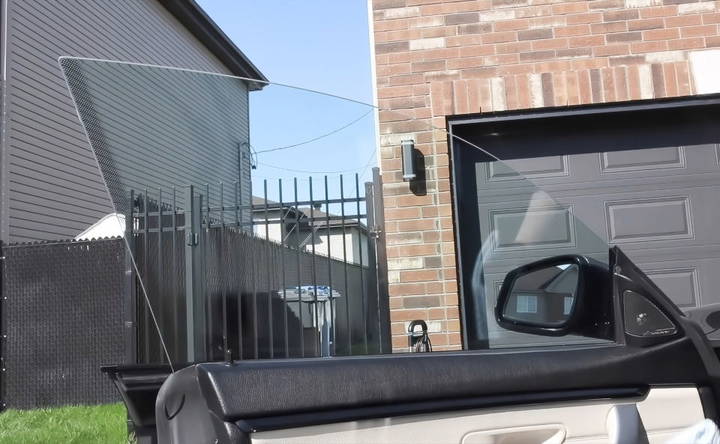
Your car isn't truly clean until the windows are spotless. Use a quality glass cleaner and a microfiber towel to clean both the inside and outside of the windows. Remember to roll down the windows slightly to clean the top edges.
Step 10: Final Vacuum and Air Freshener
Once all surfaces are cleaned, perform a final vacuum to catch any dirt that might have dislodged during previous steps. Finish by applying a modest amount of air freshener to enhance the fresh aspect of your newly detailed car.
Advanced Car Interior Cleaning Tips
Learn advanced car interior cleaning tips, from steam cleaning to detailing hacks, restoring interiors, and protecting your investment for a pro finish.
Steam Cleaning: Deep Clean & Sanitize
- Benefits: Steam cleaning uses hot water vapor to loosen dirt, and grime, and even kill bacteria. It's great for deep cleaning fabric seats, carpets, and hard-to-reach areas.
- How to: You can rent or buy a steam cleaner. Always test on a hidden area first, and use caution on leather and delicate surfaces.
Detailing Hacks for a Pro Finish
- Magic Erasers: These little wonders can remove scuffs, marks, and even stubborn stains from various surfaces. Always test on a hidden area first, and use a light touch.
- Toothbrushes and Cotton Swabs: Perfect for getting into tiny crevices and cleaning intricate details like air vents and buttons.
- Vinegar and Water Solution: This natural cleaner is great for removing fingerprints and light grime from windows, mirrors, and plastic surfaces.
Restoring Faded Interiors
- Leather Conditioner: Regular conditioning helps prevent leather seats from cracking and fading. Choose a product specifically designed for automotive leather.
- Plastic Restorer: Products like Armor All can help restore faded plastic trim and dashboards to their original luster. Apply sparingly and buff off any excess.
- Fabric Protectant: Spraying fabric seats with a protectant can help repel stains and make future cleaning easier.
Protecting Your Investment
- Regular Cleaning: Consistent cleaning prevents dirt and grime from building up and causing damage. Aim for a quick interior clean every week or two.
- Floor Mats and Seat Covers: These protect your car's original upholstery from wear and tear, especially if you have kids or pets.
- Sunshades: Using sunshades helps prevent your dashboard and seats from fading due to sun exposure.
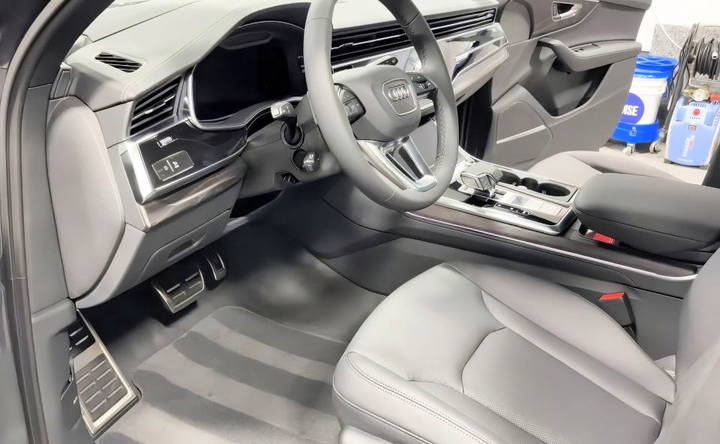
Car interiors require different cleaning approaches depending on the material. Always read product labels and test on a hidden area before applying any cleaning solution.
Deep Cleaning Specific Problem Areas
Every car owner faces those tough stains and lingering odors that regular cleaning just can't tackle. Let's target those specific problem areas.
Stains and Spills: Don't Panic, Just Clean!
- Coffee and Tea: Blot fresh spills immediately. Mix a solution of equal parts white vinegar and water, apply to the stain, and blot again.
- Juice and Soda: Club soda works wonders on fresh spills. For dried stains, mix one tablespoon of dish soap with two cups of warm water and blot.
- Pet Accidents: Clean up solids first. Then, mix one cup of white vinegar with two cups of warm water and a few drops of dish soap. Apply to the affected area and blot. For lingering odors, sprinkle baking soda on the area, let it sit for a few hours, then vacuum.
Pet Hair Removal: Fur-Be-Gone!
- Vacuum Thoroughly: Use a vacuum with a good upholstery attachment to remove most pet hair.
- Rubber Gloves: Dampen a rubber glove and run it over surfaces to collect stubborn pet hair.
- Lint Rollers: Great for quick touch-ups and removing pet hair from fabric seats and carpets.
- Fabric Softener Spray: Mix a bit of fabric softener with water in a spray bottle. Lightly mist the area and wipe it with a clean cloth. This helps reduce static and makes pet hair easier to remove.
Mold and Mildew: Fight Back!
- Prevention is Key: Keep your car dry and well-ventilated. Avoid leaving wet items inside.
- White Vinegar Solution: Mix equal parts white vinegar and water. Apply to affected areas, let it sit for 30 minutes, then scrub and wipe clean.
- Commercial Mold Remover: For severe cases, consider using a commercial mold remover. Follow the instructions on the product label carefully.
Odor Elimination: Freshen Up!
- Baking Soda: Sprinkle baking soda on carpets and fabric seats, let it sit overnight, then vacuum. It absorbs odors naturally.
- Activated Charcoal: Place activated charcoal bags in your car to absorb odors over time.
- Coffee Grounds: Place a bowl of fresh coffee grounds in your car overnight to neutralize strong odors.
Always test cleaning solutions on a hidden area first to avoid any damage. With these tips, you can tackle those tough problem areas and keep your car's interior fresh and clean.
FAQs about Cleaning Car Interiors
Discover answers to common questions about cleaning car interiors. Find tips and tricks for a spotless and fresh-smelling ride.
While some household cleaners can be used, it's best to stick with automotive-specific products. Household cleaners may contain harsh chemicals that can damage your car's upholstery, plastics, and leather. Look for cleaners designed for automotive interiors to ensure they're safe and effective.
Dust and debris can easily accumulate in your car's air vents. Use a soft-bristle brush or a can of compressed air to remove loose dust. For deeper cleaning, use a cotton swab dampened with a mild cleaning solution to reach into tight corners and crevices.
Leather seats require special care to keep them looking their best. Use a dedicated leather cleaner and conditioner to clean and protect the leather. Apply the cleaner with a microfiber cloth and gently buff the surface. Follow up with a leather conditioner to keep the leather supple and prevent cracking.
Sticky residue can be frustrating to remove. Try using a mixture of equal parts isopropyl alcohol and water. Apply the solution to a microfiber cloth and gently rub the affected area. Avoid harsh chemicals like acetone or nail polish remover, which can damage your car's interior surfaces.
No, using a pressure washer on your car's interior is not recommended. The high pressure can damage delicate surfaces and force water into electrical components, causing malfunctions. Stick to traditional cleaning methods like vacuuming, wiping, and using appropriate cleaning solutions.
A deep clean is recommended at least twice a year or more frequently if you have kids, pets, or frequently transport messy items. Regular maintenance cleaning in between deep cleans will help keep your car looking its best and prevent dirt and grime from building up.
Additional Tips
- For pet owners, tools like pet hair removers can assist in efficiently eliminating stubborn pet hair.
- For an extra fresh smelling car, put the air conditioner on recirculation and spray air freshener near the intake vents in the footwells. This allows the scent to circulate throughout the car.
- Always check and follow the removal and application instructions on all products for optimal effectiveness and safety.
In detailing your car, patience and attention to detail are your best allies. This comprehensive cleanup not only refreshes your vehicle but also adds to your peace of mind and driving comfort. Turning this process into a regular routine could significantly extend the life and enjoyment of your car's interior.


