Installing baseboards might seem straightforward, but achieving seamless corners—especially inside corners—can challenge even experienced DIYers. Traditionally, coping is used to fit baseboard corners perfectly, but it requires skill and patience. However, there's a simpler, faster way to achieve flawless inside corners without the hassle of coping. In this guide, you will find everything you need to know to cut and install baseboard corners using a miter saw and some clever tricks to get that professional, snug finish.
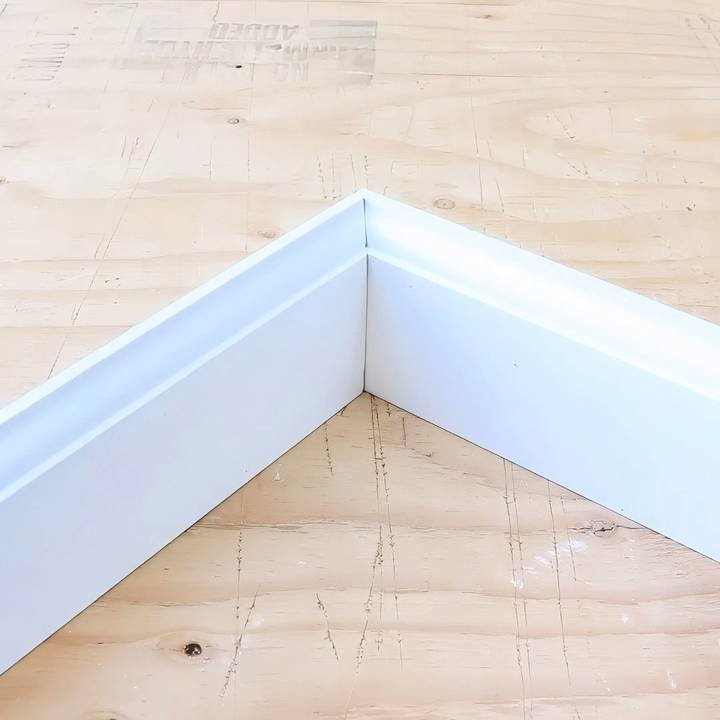
Why Avoid Coping for Inside Corners?
While coping has long been recommended for perfect inside corners, it's not always necessary. Coping involves cutting one piece of baseboard so it matches the profile of another, ensuring a perfect fit even when walls aren't perfectly square. But coping can be time-consuming and tricky, especially for beginners. Here's why avoiding coping could be beneficial:
- Speed and Simplicity: Coping each corner takes time and practice to master. For many, using a simple miter cut is easier and faster, especially if they're working with MDF (Medium-Density Fiberboard) baseboards, which don't expand or contract significantly.
- Consistent Fit with Simple Adjustments: With the right technique, mitered cuts can be adjusted to fit neatly, even on walls with slight imperfections.
- Efficient for Painted or MDF Baseboards: While coping is essential for stain-grade wood due to potential shrinking and expanding, it's less necessary for MDF, which doesn't react as much to temperature changes.
Now, let's get into how to achieve perfect inside corners using a miter saw and a few simple tricks.
Tools and Materials You'll Need
Before starting, gather these essential tools and materials to make the process smoother and more efficient:
- Miter saw: Allows precise angle adjustments for perfect cuts.
- Popsicle sticks or paint stir sticks: Used as shims to eliminate gaps between the baseboard and the wall.
- Tape measure: For accurate measurements.
- Pencil: Marking cut lines.
- Nail gun: To secure the baseboards to the wall.
- Razor knife: For trimming shims or excess material.
- Caulk or wood filler: Optional, for minor gap adjustments.
Step by Step Instructions
Learn how to cut baseboard corners with our step-by-step guide, from measuring and cutting to installation and finishing touches.
Step 1: Measure and Prepare Your Baseboards
Proper measurements are the foundation of a clean, snug fit.
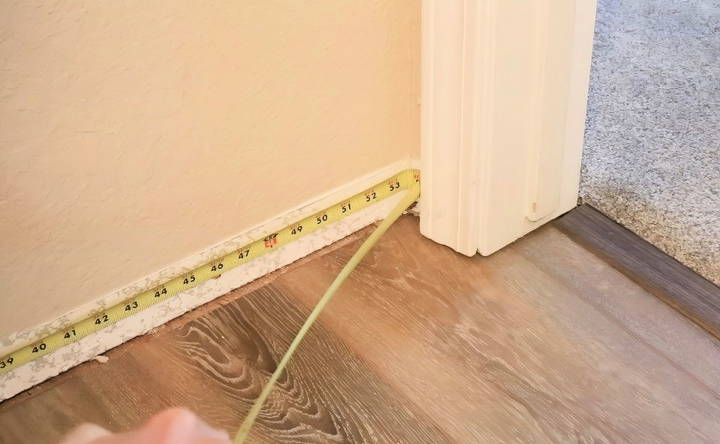
- Measure the Length of Each Wall Section: Use a tape measure to determine the length between corners. Take measurements carefully and make sure to round down to the nearest 1/16th of an inch. It's better for the baseboard to be slightly shorter than the exact distance to allow easier fitting.
- Mark Your Cut Lines: With your measurements in hand, mark where to cut each piece of baseboard, paying close attention to the angles for inside corners.
- Adjust for Drywall Buildup: Drywall mud can create a slightly obtuse angle in corners, so instead of cutting the baseboards at a perfect 45 degrees, set your miter saw to 44 or 44.5 degrees. This small adjustment compensates for the drywall mud and ensures that your mitered corners meet tightly.
Step 2: Cutting the Baseboards
Using a miter saw correctly will make all the difference in achieving neat inside corners.
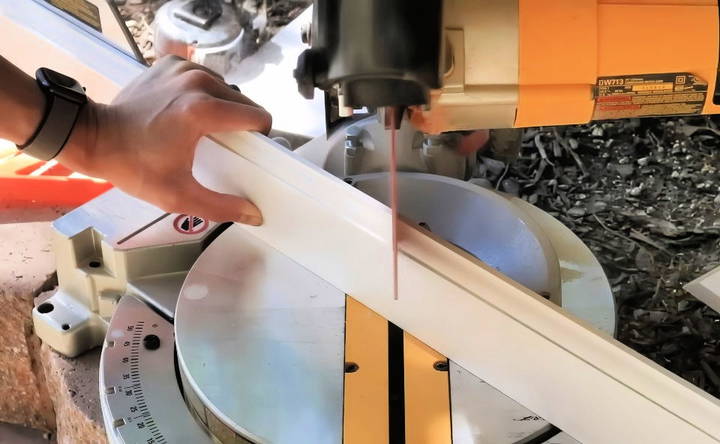
- Set the Miter Angle: Adjust the miter saw to 44 or 44.5 degrees for inside corners. For outside corners, you'll usually set the saw to 45 degrees.
- Cut Each Piece: Make sure to cut both pieces of the inside corner at the same angle, ensuring they will fit together neatly. Cut slowly and with precision, avoiding any splintering or chipping.
- Dry Fit Each Piece: Before moving forward, dry-fit the pieces in place to check for any gaps. If they don't fit perfectly, consider trimming small amounts or adjusting the angle slightly.
Step 3: Installing the Baseboards and Closing Gaps
One of the most useful tricks to eliminate gaps is using popsicle sticks as shims. Here's how to proceed:
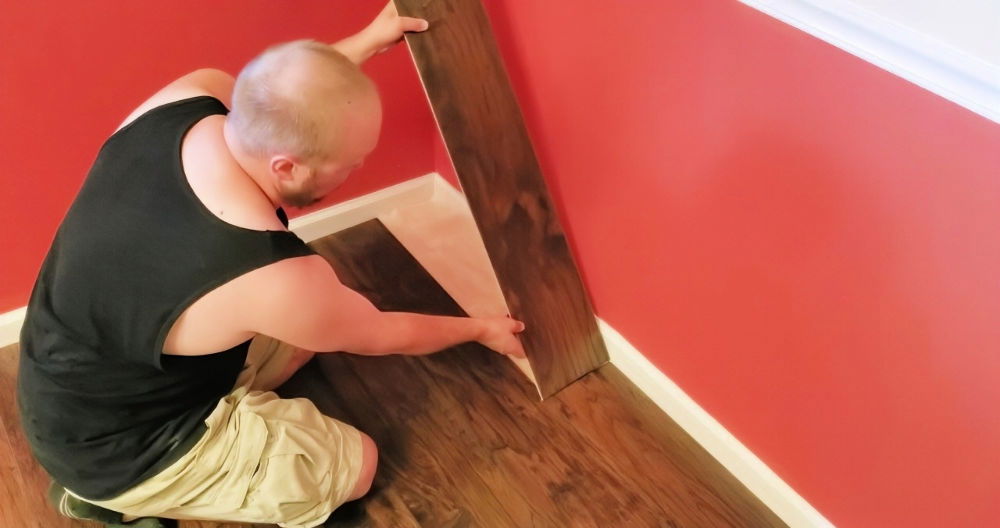
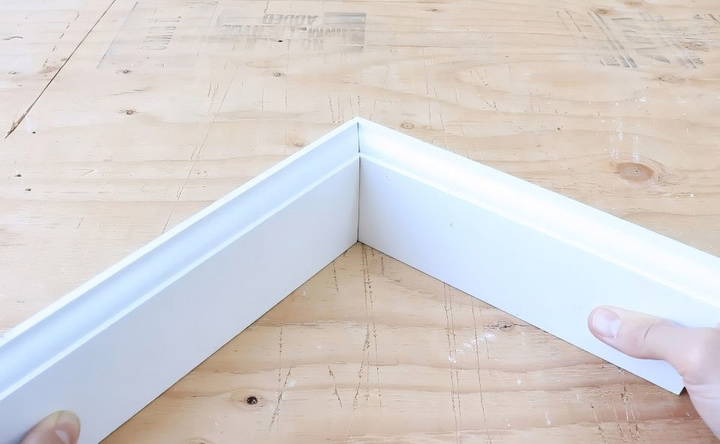
- Position the Baseboards: Place the baseboard pieces against the wall in their respective positions. Push them into the corner, ensuring the mitered edges meet as closely as possible.
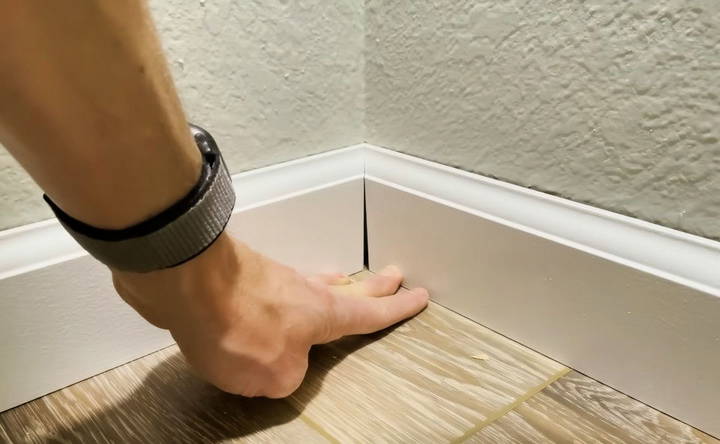
- Check for Gaps: After positioning, press the baseboards to see if any gaps appear, particularly toward the bottom. Gaps are common due to the irregularity of walls or floors.
- Use Popsicle Sticks as Shims: If there's a noticeable gap, especially along the bottom edge, insert popsicle sticks behind the baseboard until the gap closes. Popsicle sticks are ideal because they offer a consistent thickness, unlike wood shims, which need trimming to size.
- Nail in Place: Once the baseboards are properly positioned and the gaps are closed, use a nail gun to secure them to the wall. If you need additional stability, place nails along the length of the baseboard every 12-18 inches.
- Trim Excess Shim Material: If any part of the popsicle sticks protrudes above the baseboard, use a razor knife to trim the excess for a clean finish.
Step 4: Finishing Touches
Finishing touches help create a seamless look.
- Caulk or Fill Minor Gaps: If there are minor gaps in the corner seams, use caulk (for painted baseboards) or wood filler (for stained baseboards) to cover them. Apply the filler smoothly, wiping off any excess, and allow it to dry before painting or staining.
- Sand and Paint: For an even, professional look, lightly sand any filled areas after they're dry. Then, paint or touch up as needed for a flawless finish.
Tips for Getting Perfect Baseboard Corners Every Time
- Use Consistent Materials: If you start with popsicle sticks as shims, use them throughout the project for consistency.
- Adjust for Odd Angles: Not all corners are perfectly square. If you notice an angle is off, adjust your miter saw by a degree or two until you achieve the best fit.
- Double Check Each Cut: Measure twice, cut once! Ensure you're cutting each piece correctly to avoid wasting materials.
- Paint or Stain Before Installation: For a cleaner result, consider painting or staining baseboards before installation. This helps avoid touch-ups and provides a more uniform finish.
Conclusion: The Fastest Way to Perfect Baseboard Corners
By following these steps, you'll save time and effort while achieving smooth, professional-looking baseboard corners without coping. This technique is ideal for those looking to complete home improvement projects efficiently without sacrificing quality. Using a miter saw, popsicle stick shims, and careful adjustments to angles, you can install baseboards that look just as good as professionally coped ones.
Mastering baseboard corners doesn't have to be complicated. With a little patience, the right tools, and these expert tips, you'll be well on your way to achieving flawless corners in your next project.
FAQs About Cutting and Installing Baseboard Corners
Get answers to common questions about cutting and installing baseboard corners for a flawless finish in your home improvement project.
Traditional wood shims are tapered and can be difficult to trim to the perfect thickness. Popsicle sticks, on the other hand, are uniform in thickness, making them easier and quicker to work with.
Coping is ideal for stain-grade wood baseboards, where even minor gaps are visible. It’s also useful when baseboards are likely to expand and contract with humidity. However, coping requires more skill and time. If you’re working with painted MDF baseboards, this miter technique will save time and provide a clean, durable result.
Yes, this technique can work for outside corners as well, though outside corners generally fit better without shims. Just remember to use a precise 45-degree angle for outside corners.
For uneven floors, start by cutting the baseboards as usual. After fitting them, fill any gaps between the floor and baseboard with caulk for a smooth finish. Alternatively, consider scribing the bottom edge of the baseboard to follow the floor’s contour.
Yes, screws can work effectively, especially for precise adjustments. Drive a drywall or wood screw into the bottom plate behind the baseboard, then adjust its depth to create the perfect fit. This method allows fine-tuning, especially in challenging corners, but may take more time than using popsicle sticks.
For walls that aren't perfectly flat, consider using corrugated cardboard or compressed cardboard shims. These materials self-adjust slightly when compressed, allowing for a tighter fit against uneven surfaces. Additionally, cutting your baseboards a bit longer can create a "bowed" effect that presses the board snugly against the wall.
Gluing mitered joints in addition to nailing can provide extra strength and help prevent gaps over time. Applying a small amount of wood glue on the miter joint before installation keeps the corners stable, even if the baseboard material expands or contracts slightly.
Yes, this method works on PVC or plastic baseboards, which can be tricky to cope. The miter-and-shim technique provides a snug fit without the need to cope these materials, making it a good option for DIYers unfamiliar with coping techniques.
Yes, but for taller baseboards, it’s often helpful to use a level while positioning the board and any shims. This can ensure that the board stays plumb against the wall. Some users recommend using small screws to adjust taller boards more precisely.
If you're inserting popsicle sticks or shims from the top, trim them slightly above the baseboard's top edge, then push them down until they're not visible. If any gaps remain, a bead of caulk along the top can help achieve a clean, finished look.


