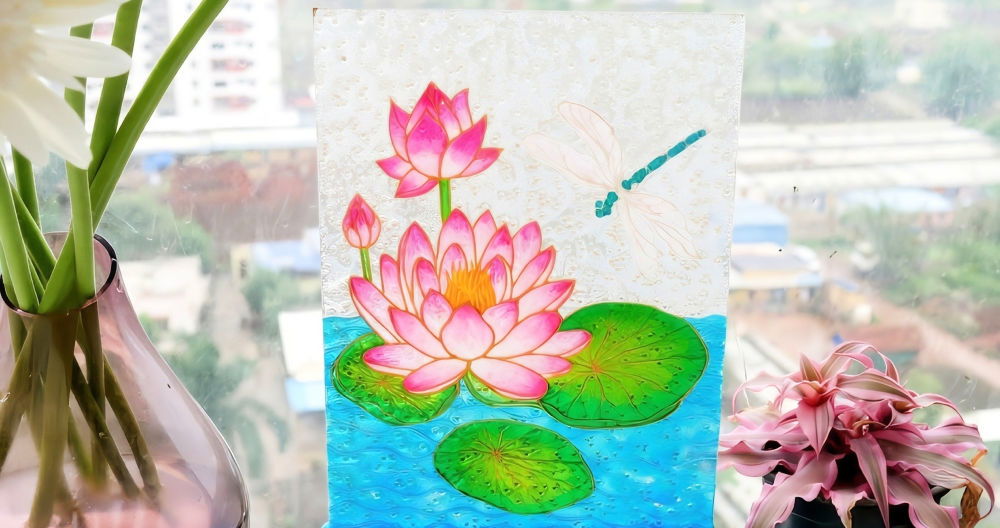
Learn how to cut glass bottles safely and easily with these step-by-step techniques, perfect for DIY projects and creative home decor. Glass bottles make beautiful, versatile materials for creating unique items like vases, drinking glasses, candle holders, and lamps. Learning to cut glass bottles can open up a range of creative possibilities, and fortunately, there are several techniques to make this happen. Below, we'll explore three popular methods to cut glass bottles, each with step-by-step instructions to help you safely and effectively get the job done.
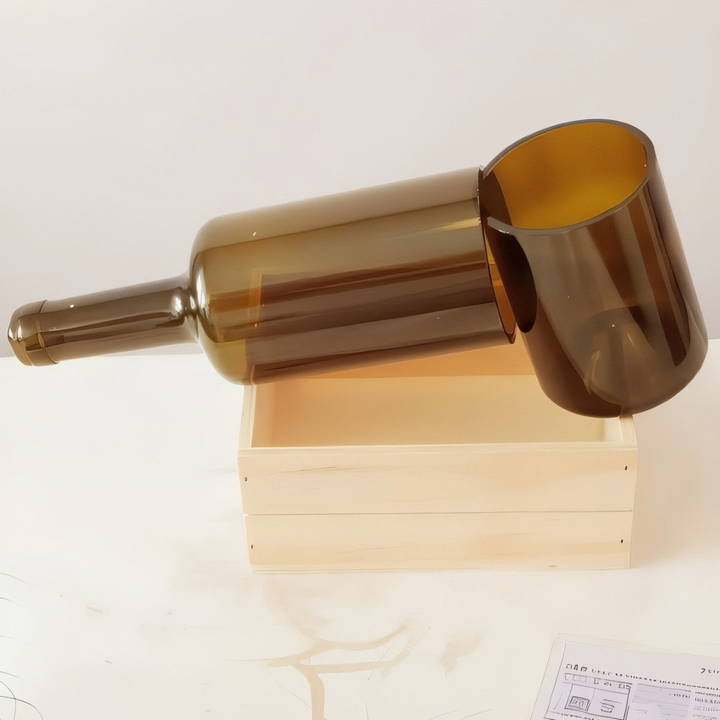
Why Cut Glass Bottles?
Recycling is an ideal way to manage glass bottles, but cutting and repurposing them gives these items a second life as beautiful, functional creations. You can use your glass-cutting skills to design custom home decor, save money by reusing glass materials, and enjoy the satisfaction of crafting something unique. Here are some popular items you can make with cut glass bottles:
- Drinking glasses and tumblers
- Flower vases
- Hanging lamps and candle holders
- Planters for succulents and small plants
This guide will cover three methods for cutting glass bottles:
- Cutting with a string soaked in acetone
- Using a glass cutter
- Utilizing a specialized bottle cutter
Each method offers a different level of precision, ease, and finish. Let's dive into the details of each one.
Step by Step Instructions
Learn how to cut glass bottles with step-by-step instructions. Explore methods using string, glass cutters, and more. Safe, creative, and fun!
Method 1: Cutting Glass Bottles with a String and Acetone
The string and acetone method is a popular choice due to its simplicity and the limited tools required. However, it may not produce the cleanest cut, so be prepared to sand the edges if needed.
Materials Needed
- Cotton string (long enough to wrap around the bottle multiple times)
- Acetone (nail polish remover works well)
- A lighter or matches
- A bucket or sink filled with cold water
- Safety glasses and gloves
Step-by-Step Instructions
- Prepare the Bottle: Wash and dry the bottle thoroughly to remove any labels or residue. Choose the spot where you want the cut, ideally around an area where the glass starts to curve or has a defined shape.
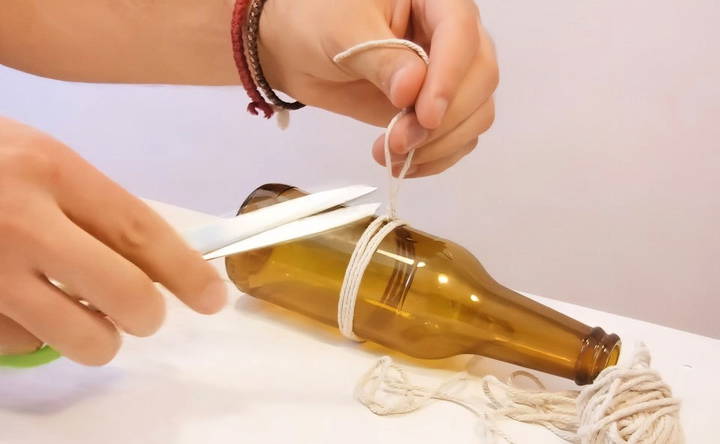
- Wrap the String: Wrap the cotton string around the bottle where you plan to make the cut. Wrap it tightly several times, ensuring it is snug against the glass. Tie it off, and cut away any excess string.
- Soak the String in Acetone: Carefully remove the string from the bottle and soak it in acetone. Let it absorb the liquid fully to ensure it will ignite well.
- Place the String Back on the Bottle: Return the soaked string to the bottle, positioning it precisely where you want the cut.
- Ignite the String: Light the string on fire and slowly rotate the bottle to ensure even heating. The acetone will burn for several seconds. Be cautious and wear gloves for this step to protect your hands.
- Submerge in Cold Water: Once the acetone has burned out, quickly dunk the bottle into the cold water. The sudden temperature change should cause the bottle to crack along the line where the string was wrapped.
- Repeat if Necessary: If the bottle doesn't separate on the first attempt, you may need to repeat the heating and cooling process. Some bottles may require multiple cycles for a clean break.
- Sand the Edges: After separation, use sandpaper to smooth the cut edge, reducing the risk of sharp edges.
Pros and Cons
- Pros: Easy to perform with common household items, minimal setup required.
- Cons: Cuts may be uneven or jagged, requiring extra sanding to finish. Inconsistent results depending on glass thickness.
Method 2: Cutting Glass Bottles with a Glass Cutter and Tape
Using a glass cutter allows for more control over the cutting line, resulting in a more precise edge. This method is ideal if you're looking for a cleaner cut without investing in specialized equipment.
Materials Needed
- Glass cutter
- Masking tape or duct tape
- Candle or other heat source
- Ice cubes or ice water
- Safety glasses and gloves
Step-by-Step Instructions
- Clean the Bottle: Wash the bottle thoroughly, removing any labels or residue to ensure a clear cutting line.
- Mark the Cutting Line: Wrap a piece of masking tape or duct tape around the bottle at the desired cutting height. This will serve as a guide, helping you score a straight, even line with the glass cutter.
- Score the Bottle: Place the glass cutter against the bottle, pressing down lightly and steadily. Rotate the bottle slowly, keeping the cutter in place. Try to keep the pressure consistent and score the glass only once; going over the same line can weaken the bottle and lead to uneven edges.
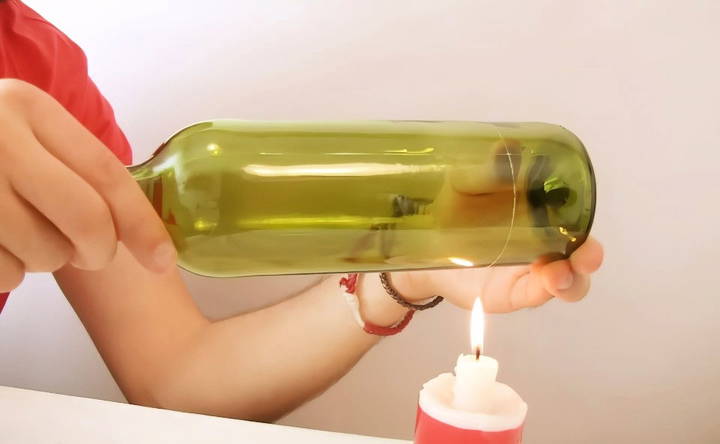
- Apply Heat and Cold: After scoring, place the bottle over a candle flame, rotating it along the scored line to heat it evenly. Then, immediately apply an ice cube or cold water along the scored line. The contrast in temperatures should help the bottle crack along the line.
- Repeat if Necessary: Like the string method, you may need to repeat the heating and cooling process until the bottle fully separates along the scored line.
- Sand the Edges: Once separated, sand the cut edges with sandpaper to smooth out any rough spots.
Pros and Cons
- Pros: Provides a more accurate cut than the string method, allows for control over cutting location.
- Cons: Requires steady hands and patience, and the cut may not be perfect on the first attempt.
Method 3: Cutting Glass Bottles with a Bottle Cutter
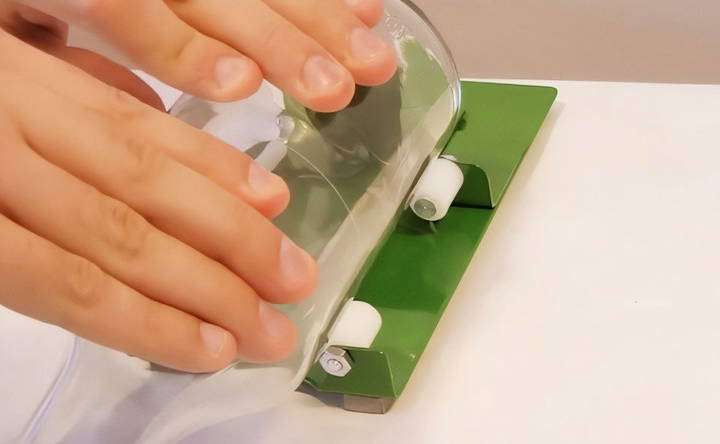
Using a bottle cutter is the most reliable way to achieve a smooth, even cut. These specialized tools are designed for bottle cutting, making them ideal for consistent results, especially for beginners or anyone looking to cut multiple bottles.
Materials Needed
- Bottle cutter (such as Ephrem's bottle cutter)
- Candle or heat source
- Ice or cold water
- Safety glasses and gloves
Step-by-Step Instructions
- Adjust the Cutter: Set the bottle cutter to the desired cutting height. Most bottle cutters are adjustable, allowing you to set the cut location with precision.
- Place the Bottle in the Cutter: Insert the bottle into the cutter and rotate it against the scoring blade. You should hear a slight crunching sound as the blade scores the glass. Ensure that the line is even and goes around the entire circumference of the bottle.
- Apply Heat and Cold: After scoring, heat the line over a candle or similar heat source, then immediately apply ice or dip the bottle in cold water. The bottle should separate along the score line due to the temperature difference.
- Inspect and Sand the Edge: Carefully remove any jagged edges with sandpaper, smoothing the edge to create a safe, clean finish.
Pros and Cons
- Pros: Provides the cleanest, most consistent cut, especially helpful for larger projects or multiple bottles.
- Cons: Requires an initial investment in a bottle cutter, which might not be ideal for one-time projects.
Tips for Cutting Glass Bottles Safely and Effectively
- Wear Protective Gear: Always wear safety glasses and gloves when cutting glass bottles to prevent injuries from sharp edges or broken glass.
- Choose the Right Bottle: Not all bottles are equally easy to cut. Thicker bottles tend to crack more easily than thin ones, so start with a medium-thickness bottle for practice.
- Work in a Well-Ventilated Area: When using acetone or working with open flames, ensure you're in a ventilated space to avoid inhaling fumes.
- Sand the Edges Carefully: After cutting, sandpaper or a glass sanding tool will smooth the sharp edges. Use a range of grits from coarse to fine for the best finish.
- Practice Patience: Glass cutting requires patience, especially if you're using the string or glass cutter methods. Rushing through the process can result in uneven cuts or broken bottles.
Crafting Ideas with Cut Glass Bottles
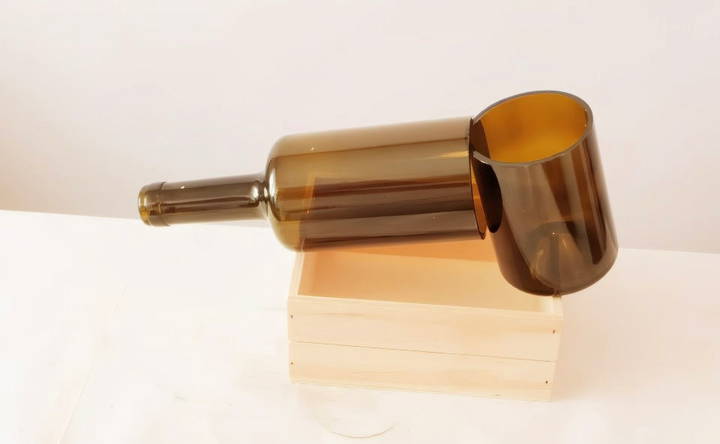
Once you've mastered the art of cutting glass bottles, a world of crafting possibilities opens up. Here are a few ideas to inspire you:
- Candle Holders: Use the bottom half of a bottle as a rustic candle holder or tea light holder.
- Lamps and Light Fixtures: Drill a hole in the bottom of the cut bottle and thread a light fixture through for a unique hanging lamp.
- Flower Vases: Tall bottles can make elegant vases for small bouquets or single-stem flowers.
- Planters: Cut-off glass bottles can serve as charming planters, especially for small succulents or herbs.
- Storage Containers: Glass bottles can also serve as decorative containers for dry goods or bathroom items.
Conclusion:
By following these methods and safety precautions, you'll be able to cut glass bottles with confidence and creativity. Whether you're looking to start a new craft project or give old bottles a new purpose, these techniques provide a hands-on way to upcycle with style.
FAQs About Glass Bottle Cutting Techniques
Discover essential FAQs about glass bottle-cutting techniques. Learn tips, safety measures, and methods for cutting glass bottles efficiently.
Yes, but make sure it’s a highly flammable liquid. Some users have successfully used alternatives like rubbing alcohol or lighter fluid. However, acetone is preferred for its strong, consistent flame.
Use a 100% cotton string, as it absorbs acetone well and burns evenly. Avoid synthetic materials, which may not ignite effectively.
Yes, scoring the bottle first, then wrapping the acetone-soaked string around the scored line, can create a more controlled break. This hybrid approach can offer greater precision.
Leaving a cork or lid on creates internal pressure when heated, which can lead to dangerous explosions. Always remove them to ensure safety.
A blowtorch can work, but it’s more intense and increases the risk of shattering the glass unexpectedly. For beginners, a candle or boiling water provides better control.
Use fine-grit sandpaper or a glass sanding block to smooth sharp edges. Gradually move from coarse to finer grit to achieve a smooth finish, especially if you’re making drinking glasses.
If this happens, try reapplying heat and cooling cycles on the score line. For best results, make sure the score line is consistent and complete around the bottle.
Yes, but they are more challenging. Score each side evenly, and try a combination of heating and cooling methods. A bottle cutter specifically designed for square bottles might also help.
Always wear safety gloves and goggles, especially when working with flammable materials or when cutting. It's best to work in a ventilated area, ideally outdoors, to avoid inhaling fumes and manage fire risks.
Yes, but thicker glass can be more challenging to cut evenly. It may require more heating and cooling cycles to create a clean break.


