Learn how to cut laminate flooring easily with this step-by-step guide. Cutting laminate flooring may seem straightforward, but getting clean, precise cuts takes skill and the right techniques. If you're embarking on a DIY flooring project, learning the proper methods for cutting laminate will make the installation smoother and leave you with professional-looking results. This guide covers everything from essential tools to detailed steps and tips for making accurate cuts.
What You'll Need to Cut Laminate Flooring
Before diving into cutting techniques, gather these essential tools to make the job easier and ensure accuracy in your cuts:
- Measuring Tape: For marking precise measurements.
- Pencil or Sharpie: To mark your cut lines.
- Laminate Cutter or Saw Options:
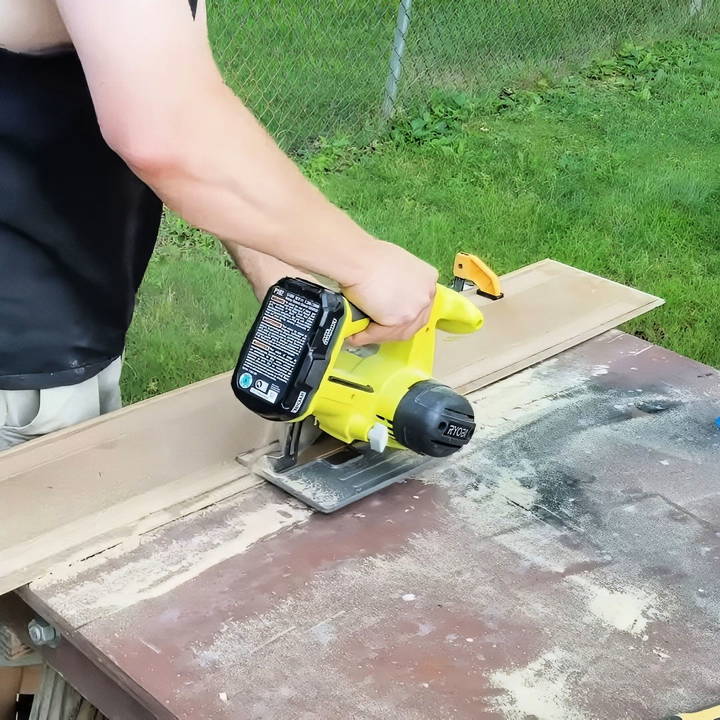
- Circular Saw: For quick, straight cuts.
- Jigsaw: For cuts around objects or irregular shapes.
- Miter Saw: For angled cuts.
- Table Saw: For lengthwise or rip cuts on multiple boards.
- Clamps: To hold the board steady during cutting.
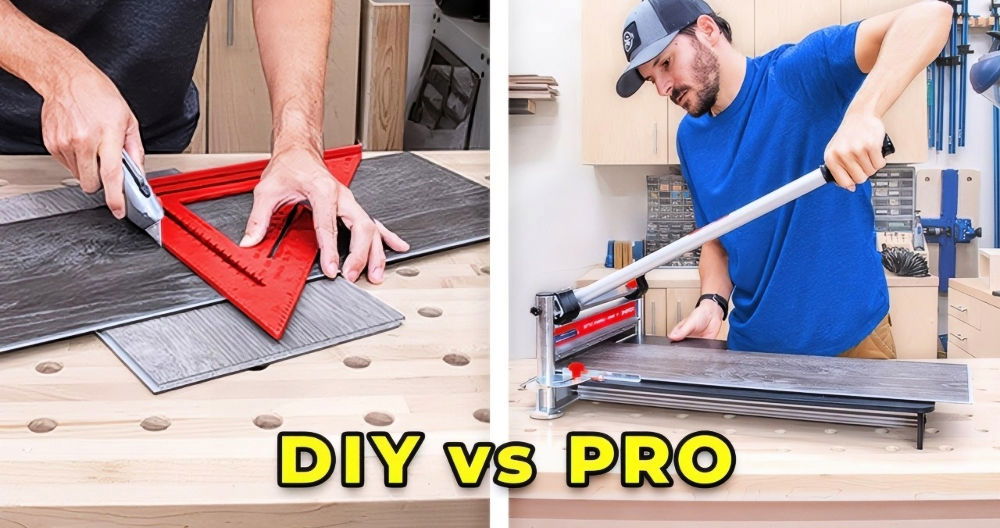
- Square or Spare Board: Useful as a guide for marking and cutting straight lines.
- Protective Gear: Safety glasses, dust mask, and ear protection.
Types of Cuts in Laminate Flooring
Laminate flooring often requires different types of cuts depending on the room's layout and obstacles like walls, doorways, and columns. The main types of cuts include:
- Straight Cuts: For the board's width, often to fit the board's length to the wall.
- Rip Cuts: Cutting along the length of the board, often for the last row or narrower spaces.
- Notch Cuts: For fitting around objects, like door frames.
- Angled Cuts: If installing laminate flooring on stairs or around uniquely shaped areas.
Step by Step Instructions
Discover how to cut laminate flooring with precision. Step-by-step instructions for various cuts and tips to tackle common challenges like a pro.
How to Mark Laminate for Cutting
Accurate marking is crucial for clean cuts and a precise fit. Here's a technique that experienced installers use:
- Align the Board in Place: Place the board where it will go, but flip it so the side that needs cutting faces you.
- Use a Spare Board as a Guide: Line up a spare board with the board in the previous row to ensure consistency in measurement.
- Mark with Precision: Use a Sharpie or pencil to mark where the board ends on the line to cut. Make sure the mark is visible and clear.
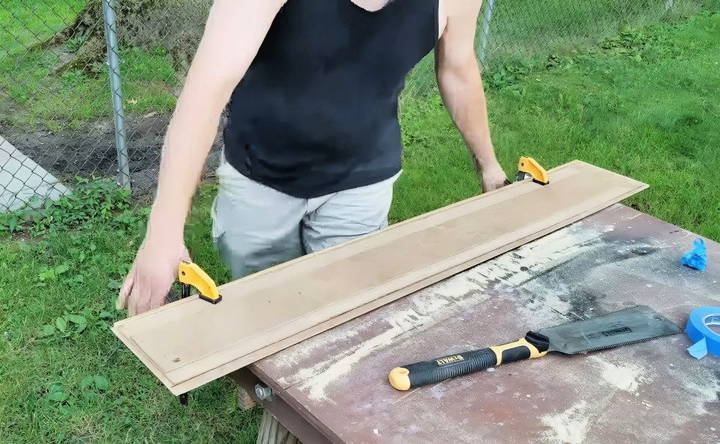
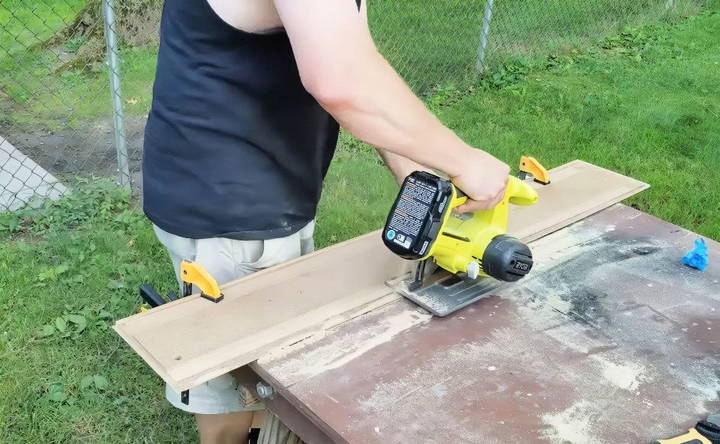
1. Straight Cuts with a Circular Saw
- Position the Board: Place it on a stable workbench with the marked side facing up.
- Secure with Clamps: Ensure the board doesn't move during cutting.
- Set the Blade Depth: Adjust the blade depth to just slightly deeper than the board's thickness.
- Guide the Saw Along the Mark: Hold the saw steady and follow the marked line slowly to ensure a clean cut.
2. Rip Cuts for Narrow Spaces
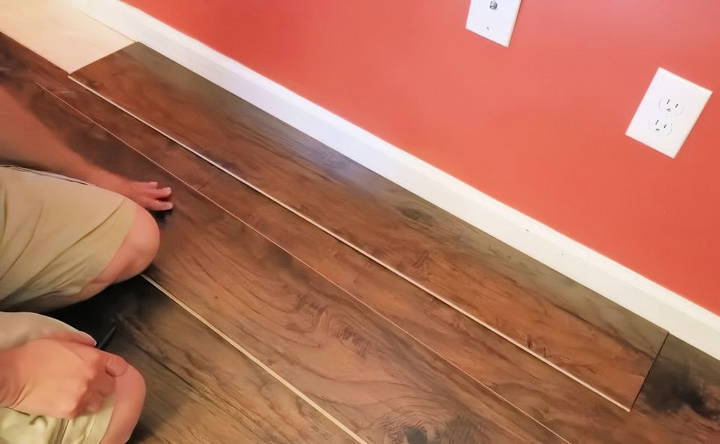
- Flip the Board Over: When cutting the last row, which is often narrower, flip the board so the cut side faces the wall.
- Measure and Mark Length: Use a straight edge to ensure the mark is straight for a clean line.
- Guide the Cut: Place a guide along your marked line, or use a table saw if you have one available to make a precise rip cut. After cutting, fit the piece to ensure it snaps into place correctly. With laminate, sliding the cut piece slightly can help it fit snugly into the click-lock system.
3. Jigsaw for Notch and Curved Cuts
For areas around pipes, door frames, or other obstacles, a jigsaw is the go-to tool.
- Draw the Cut Shape: Using the jigsaw's flexibility, mark out the shape to fit the irregularity.
- Cut Slowly and Steady: The jigsaw's blade can easily veer off, so keep a firm grip and cut at a slower speed.
- Test Fit: Place the cut board to see if it fits snugly around the obstacle. Adjust the cut if necessary.
4. Angled Cuts with a Miter Saw
Some rooms may require angled cuts for unique layouts or to install around stairs.
- Mark the Angle: Measure the angle accurately using a protractor or angle finder.
- Set the Miter Saw to the Desired Angle: Adjust the saw's angle to match your measurement.
- Cut and Fit: Cut the board along the marked angle and test the fit before locking it in place.
Pro Tips for Cutting Laminate Flooring Like a Professional
Even with the right tools and techniques, following these pro tips will make a noticeable difference in the final result.
- Cut Boards with the Good Side Facing Down: Laminate's coating can splinter on the side facing the blade. By cutting with the good side down, any splintering happens on the underside.
- Use Blue Painter's Tape: Tape over the line you're going to cut to prevent chipping, especially if you're working with a circular saw. Remove the tape carefully after cutting.
- Avoid Over-Cutting: When cutting to fit around objects, cut slightly smaller than the marked area. This prevents leaving gaps, and you can trim more if needed.
- Always Double Check Measurements: One incorrect cut can waste an entire board. Measure twice, mark once, and always double-check the fit before finalizing the cut.
- Leave Expansion Space: Laminate expands and contracts with temperature changes, so leave a small gap between the flooring and wall. This gap is typically covered by baseboards or trim.
- Use the Right Blade: A fine-tooth blade works best for laminate flooring as it produces a cleaner cut with minimal chipping.
Common Challenges and Troubleshooting
Discover solutions for boards not fitting, chipped edges, and cutting around obstacles with our troubleshooting guide.
Boards Not Fitting Properly
If a board doesn't fit well after cutting, check the following:
- Click-Lock Mechanism Alignment: Sometimes the pieces don't click in easily, especially with the last row. Slide the piece back and forth slightly to ensure it's fully seated.
- Too Tight Cut: If a piece fits too tightly, trim it lightly. Minor adjustments with a jigsaw can help make a better fit.
Chipped or Splintered Edges
Laminate flooring is susceptible to chipping. Here's how to prevent or handle this:
- Use a Fine-Toothed Blade: This reduces the risk of chipping when using a circular saw.
- File the Edges: For minor chips, use a fine file to smooth out rough spots on the edges after cutting.
- Always Cut with a Guide: Freehand cuts are more likely to splinter. Clamping down a guide ensures a straighter, cleaner cut.
Difficulty Cutting Around Obstacles
When cutting around obstacles like pipes or door frames, patience is key.
- Take Multiple Measurements: Make precise marks around the obstacle. Each mark helps refine the shape.
- Make Small Incremental Cuts: Rather than trying to cut out the entire shape at once, make small cuts and gradually remove excess material to ensure a better fit.
Final Fitting and Installing Cut Pieces
Once all your boards are cut, ensure each piece is fitted properly before finalizing:
- Slide Boards for a Tight Fit: Slide each board slightly to ensure it locks tightly with adjacent pieces.
- Align with Click-Lock System: Make sure the click-lock mechanism is fully engaged to prevent boards from shifting over time.
- Inspect Each Piece Before Securing: Before nailing in place (if required), inspect for alignment, gaps, and any imperfections in the cut.
Safety Tips for Cutting Laminate Flooring
- Wear Protective Gear: Safety glasses protect your eyes from dust and chips, and a dust mask prevents inhaling particles.
- Use Ear Protection: Power saws can be loud; ear protection is helpful, especially for prolonged use.
- Cut in a Well-Ventilated Area: Laminate can produce fine dust. Working in a ventilated area or using a dust extraction system keeps the workspace cleaner and safer.
- Keep Hands Away from the Blade: Always be cautious and never place hands near the blade's path.
Wrapping Up: Mastering Laminate Flooring Cuts
Cutting laminate flooring may be challenging initially, but with the right tools, techniques, and a few pro tricks, you can achieve clean, precise cuts for a flawless flooring installation. Following these steps and practicing on spare pieces first can help you gain confidence and avoid common pitfalls. Remember, taking time to measure, mark, and cut carefully will save you both time and materials in the long run. Happy flooring!
FAQs About Cutting and Installing Laminate Flooring
Discover expert answers to FAQs about cutting and installing laminate flooring for a seamless DIY home improvement project.
Removing baseboards is recommended but not required. Leaving baseboards intact can be faster, especially in rentals or if baseboards are in good condition. Many professionals use shoe molding or quarter-round trim to cover expansion gaps without removing baseboards.
Leaving a 1/4-inch to 1/2-inch gap along all edges allows the laminate to expand and contract with temperature changes. This gap is essential to prevent buckling. You can use spacers during installation to ensure a consistent gap.
Yes, most laminate flooring should acclimate for 48 hours in the room where it will be installed. This helps the boards adjust to the room's temperature and humidity, minimizing expansion or contraction after installation. Some products may advertise no acclimation needed, but it’s usually better to acclimate.
Use a fine-tooth blade specifically for laminate or plywood. Applying painter’s tape along the cut line can also help reduce splintering, especially with circular saws.
Yes, a circular saw can make straight cuts effectively, especially when paired with a guide or straight edge. For accuracy, make sure to clamp the board securely and cut slowly to avoid veering off line.
Yes, spacers are crucial to maintain the expansion gap on all sides, whether or not there’s trim. This helps ensure that the flooring won’t buckle or lift when humidity changes.
In areas with high humidity variations, leave a larger expansion gap (up to 10 mm) to accommodate seasonal shifts. Cover gaps with trim like shoe molding or quarter-round to conceal them without impeding expansion.
Yes, set the blade depth slightly deeper than the thickness of the laminate board to avoid overcutting into your work surface. This helps make cleaner cuts without damaging underlying surfaces.
Position the board in its installation spot, flip it over with the cut side facing out, and mark your line. This way, you only need one accurate flip to measure and cut, saving time and ensuring precision.
Both can cover expansion gaps effectively. Shoe molding provides a slimmer profile and is often preferred for its subtler look, while quarter-round has a larger, more rounded appearance. It's mainly a matter of aesthetic preference.


