Learn how to cut pavers at home with our step-by-step guide. Cutting pavers is a fundamental skill in hardscaping projects, whether you're installing a patio, walkway, or retaining wall. Achieving precise cuts ensures a clean and professional-looking finish, helping your project align perfectly with the landscape design. This guide covers five primary methods for cutting pavers: using a hammer and chisel, a guillotine, an angle grinder, a demo saw, and a table saw. Each technique comes with its pros and cons, making them suitable for specific applications and paver types.
Step by Step Instructions
Learn how to cut pavers with detailed step-by-step instructions. Explore methods using a hammer and chisel, guillotine cutter, angle grinder, demo saw, and table saw.
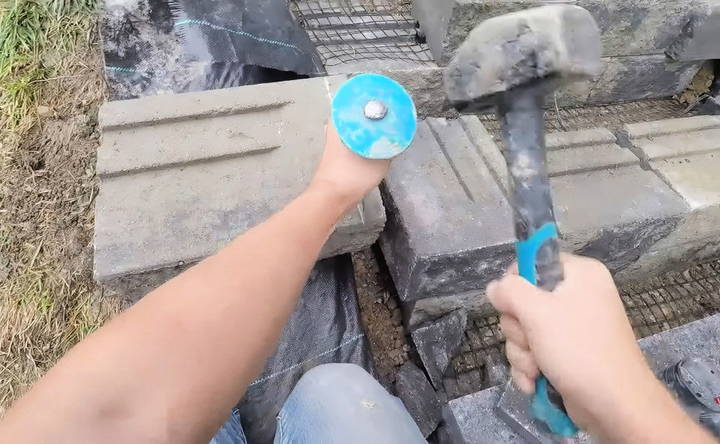
Method 1 - Hammer and Chisel: The Traditional Approach
The most basic way to cut pavers involves a hammer and chisel. While this method is time-consuming and requires patience, it's cost-effective and requires minimal equipment.
Step-by-Step Guide for Hammer and Chisel
- Gather Your Tools: You'll need a heavy-duty chisel and a three-pound hammer.
- Mark the Cut Line: Use a pencil or chalk to outline where you want to split the paver. Marking the line ensures that your chisel strikes are accurate.
- Score the Paver: Begin by lightly chiseling along the marked line. Make shallow scores across the surface by moving the chisel around the paver's edges.
- Deepen the Score: After completing a full circuit, apply more force with the hammer to deepen the chisel marks.
- Break the Paver: Once the line is deep enough, continue hammering along it until the paver snaps along the scored line, leaving a rough, rock-faced edge.
Pros and Cons of Hammer and Chisel
- Pros: Inexpensive as it only requires basic tools.
- Suitable for creating a rough, rock-like face ideal for corners in retaining walls.
- Cons: Time-consuming and labor-intensive.
- Inconsistent finish, especially if precision is needed.
- Requires practice to avoid chisel marks that might show on the finished surface.
This method works best for rough cuts and gives a natural look, making it a good choice for edges and corners that don't require a polished finish.
Method 2 - Guillotine Cutter: Efficient for Rock-Face Cuts
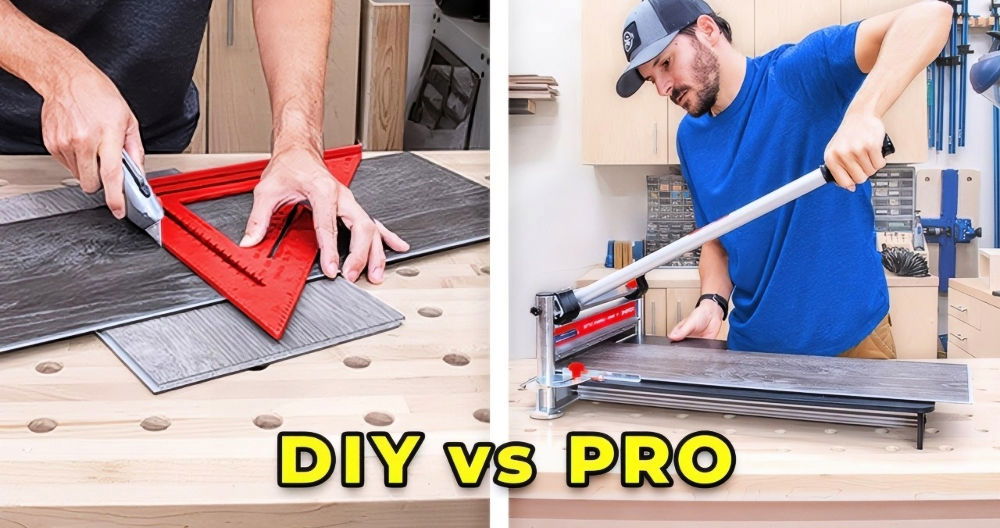
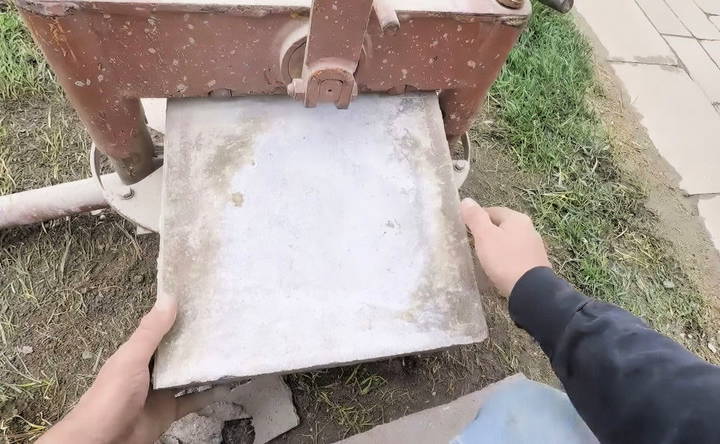
The guillotine cutter is a step up from the hammer and chisel. It's a manual tool designed to split pavers with a single downward force, creating a rock-face effect on the cut edge.
Using a Guillotine Cutter
- Set Up the Cutter: Place the guillotine on a stable surface where you can position your paver.
- Align the Paver: Position the paver beneath the cutter blade, aligning it with your desired cut line.
- Apply Pressure: Push down on the guillotine lever. The blade applies pressure to the paver until it splits along the line.
Pros and Cons of Guillotine Cutter
- Pros: Produces a perpendicular rock-face edge, ideal for retaining walls and coping units.
- Faster than a hammer and chisel and requires less skill to achieve consistent results.
- Minimizes dust and is quieter than power saws.
- Cons: Not suitable for cuts that need a polished or smooth finish.
- Higher initial cost, as renting or purchasing the tool can be expensive.
- Limited to straight cuts only.
The guillotine cutter offers speed and efficiency for those creating a rustic look. It's a favored choice for cutting retaining wall blocks or larger paver units with a rough finish.
Method 3 - Angle Grinder: For Precision and Detail Cuts
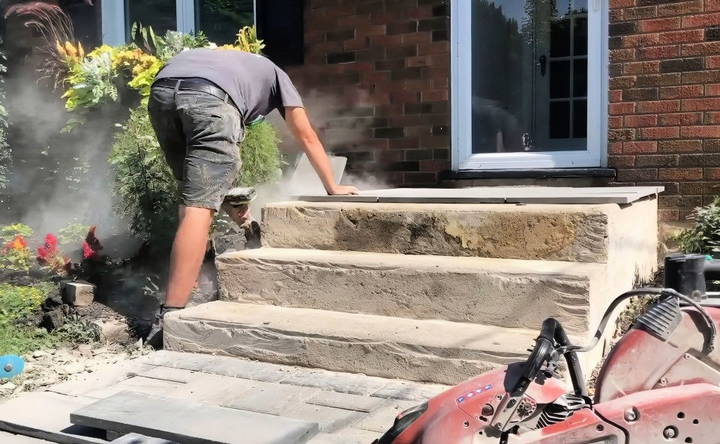
An angle grinder is a power tool that uses a rotating abrasive disc to cut through materials like stone, concrete, and metal. This tool is particularly useful for making intricate cuts or small adjustments.
How to Use an Angle Grinder for Pavers
- Select the Right Blade: Choose a diamond blade appropriate for masonry work to ensure clean cuts.
- Mark the Cutting Line: Mark the line to cut with chalk or a pencil, especially if working on tight or curved shapes.
- Position the Grinder: Hold the grinder at a slight angle for optimal control and maneuverability.
- Begin Cutting: Slowly follow the marked line, guiding the blade without applying excessive force.
- Final Adjustments: For tighter curves, switch to a smaller blade or adjust your angle to achieve a more precise cut.
Pros and Cons of Angle Grinder
- Pros: Allows for detailed, precise cuts, making it ideal for custom shapes or tight areas.
- Affordable and versatile for both small DIY projects and professional use.
- Portable, making it easy to handle and maneuver in tricky spots.
- Cons: Not efficient for large-scale cuts due to limited blade size and slower speed.
- Generates significant dust, especially when cutting dry.
- Can be tiring if used in a crouched or bent position for long periods.
Angle grinders excel in detail work and can complement other cutting methods for fine-tuning edges or making curved cuts around obstacles like downspouts and utility lines.
Method 4 - Demo Saw: Powerful for Quick, Large Cuts
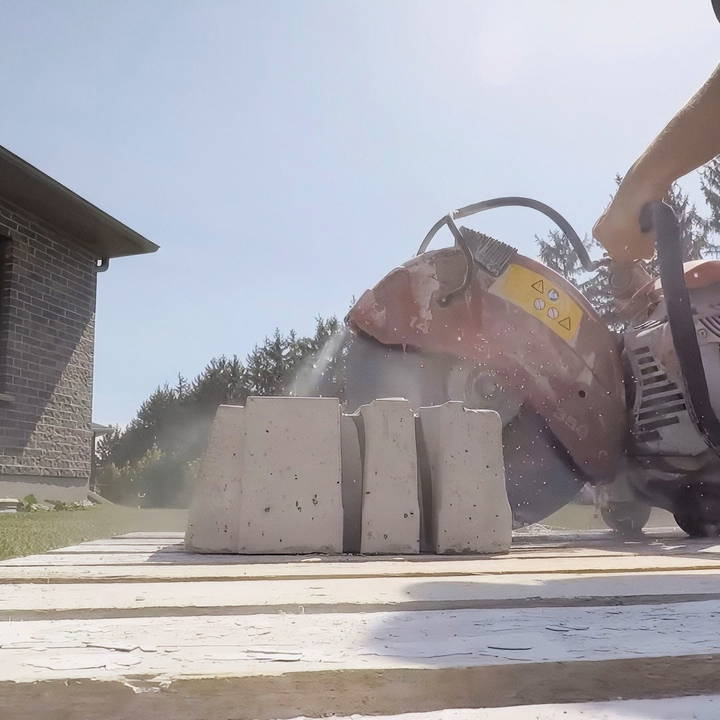
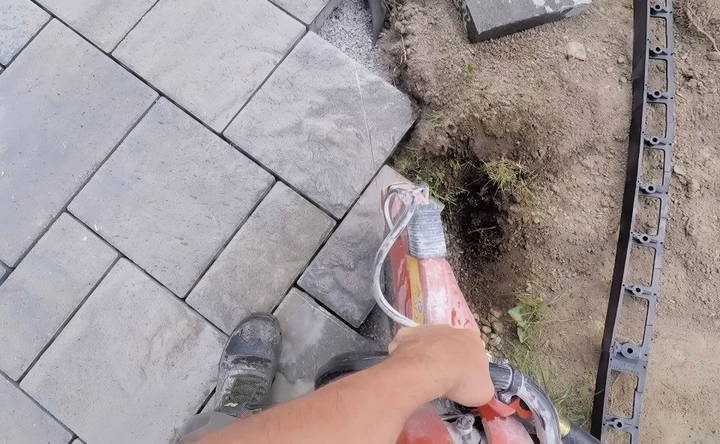
The demo saw, also known as a cutoff saw, is the go-to tool for many professionals. With a larger diamond blade, it's designed for heavy-duty cutting and is often used for cutting through thick pavers, concrete, or stone quickly and efficiently.
Steps for Using a Demo Saw
- Prepare Your Safety Gear: Demo saws are powerful, so wear protective gear, including gloves, eye protection, and a dust mask.
- Mark the Line: Draw a line across the paver where you intend to cut. For longer or curved cuts, a chalk line or soapstone is helpful for accuracy.
- Position the Paver: Place the paver securely on a flat surface. Many demo saws can cut pavers in place, which reduces handling time.
- Cut the Paver: Align the blade with the line, then let the saw do the work. Avoid applying too much force to prevent blade binding.
Pros and Cons of a Demo Saw
- Pros: High power and efficiency, capable of cutting through thick or hard materials.
- Reduces cutting time significantly for large projects.
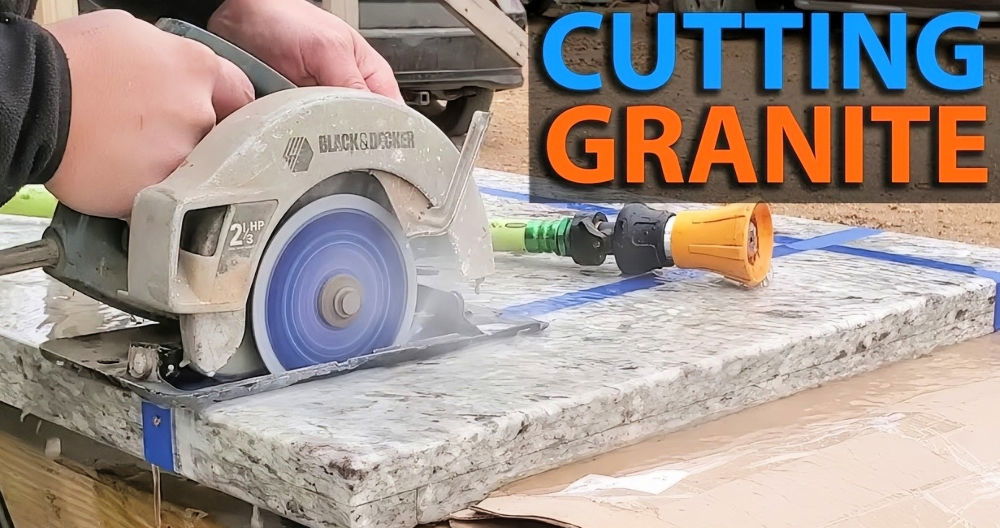
- Many models include a water hookup to minimize dust during wet cutting.
- Cons: Expensive and heavy, making it less accessible for casual DIY use.
- Requires experience and caution due to its power.
- Not ideal for detailed cuts; better suited for straight, larger cuts.
The demo saw shines in projects requiring speed and precision, especially for straight cuts across large surfaces.
Method 5 - Table Saw: Ideal for Smooth, Perpendicular Cuts
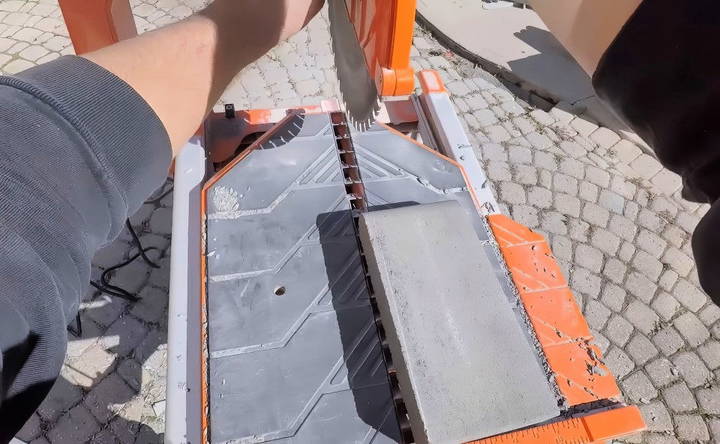
The table saw is the best option for achieving clean, perpendicular cuts, especially on pavers used for walls or coping. Professional-grade table saws, like those by IQ Power Tools, have integrated vacuum systems that help manage dust effectively, making them ideal for indoor or residential projects.
Using a Table Saw for Pavers
- Set Up the Saw: Ensure the table saw is stable and ready with the appropriate blade.
- Position the Paver: Place the paver against the saw's fence to guide it through the blade for a straight cut.
- Make the Cut: Push the paver slowly through the blade to achieve a smooth, even cut.
Pros and Cons of Table Saw
- Pros: Delivers smooth, perfect cuts, ideal for wall or coping units.
- Integrated dust collection systems reduce airborne particles when cutting dry.
- Ideal for cuts that require precision and uniformity.
- Cons: Less portable and heavier than other cutting tools.
- Expensive to purchase, making it more suitable for professionals or serious DIY enthusiasts.
- Generally limited to straight cuts.
Table saws are a significant investment, but for hardscapers requiring high-precision cuts on coping or retaining wall blocks, they offer an unbeatable finish.
Cutting Wet vs. Cutting Dry: Choosing the Right Approach
When cutting pavers, both wet and dry cutting methods have their advantages and disadvantages.
Wet Cutting
- Benefits: Wet cutting reduces dust by using water to cool the blade and capture particles, creating a cleaner work environment. It also prolongs blade life and is healthier for workers due to reduced airborne dust.
- Drawbacks: Wet cutting generates slurry—a mix of dust and water—that can settle and harden on paver surfaces. Frequent rinsing is required to prevent this mess from solidifying and leaving stains.
Dry Cutting
- Benefits: Dry cutting is quicker and avoids the mess of slurry. Some saws with integrated dust collection (like those by IQ Power Tools) make dry cutting cleaner and more manageable.
- Drawbacks: Without dust collection systems, dry cutting releases significant dust into the air, which poses health risks and requires more cleanup.
Conclusion: Choosing the Best Method for Your Project
Cutting pavers requires selecting the right method based on your project's scale, desired finish, and available tools. For small or detailed projects, an angle grinder or hammer and chisel will suffice. Larger projects benefit from a demo saw or table saw to expedite cutting and achieve clean lines. Wet cutting minimizes dust but can lead to slurry cleanup, while dry cutting is faster but requires adequate dust management.
By understanding these methods, you can ensure your pavers fit seamlessly , enhancing the durability and aesthetics of your hardscaping project.
FAQs About Additional Tips for Cutting Pavers
Discover essential faqs for additional tips on cutting pavers. Optimize your paver project with expert guidance and detailed answers.
To avoid cutting into the base, measure the paver’s height and mark this measurement on your saw blade using a permanent marker. When cutting, keep the mark visible and aligned to stop before reaching the base material. This technique is particularly useful when cutting on a synthetic base.
Dust stains can be challenging to remove once they set. Use a product like TechniSeal’s slurry remover for effective cleaning. Alternatively, keep a hose on standby and regularly rinse off the dust every few minutes to prevent it from hardening.
If your saw doesn’t reach the full depth, cut as far as you can on one side, then flip the block over and continue cutting from the opposite side. This approach ensures a complete and clean cut without needing a larger saw.
Power saws can sometimes trip household circuits due to their high power draw. While it’s possible to use them cautiously without a generator, many recommend using a generator to prevent power issues, especially on larger projects.
For dust protection, an N95 mask or an RZ Mask is recommended. Eye protection should include durable safety glasses, as even affordable models work well for short-term use. Professional-grade masks and eyewear are often worth the investment for consistent, longer projects.
A circular saw isn’t ideal for cutting pavers as it’s likely to burn out from the intense workload. Tools like demo or table saws are more suitable for handling the density and hardness of pavers without overheating.
A diamond blade is recommended for paver cutting with an angle grinder, as it's durable enough for masonry materials. Any standard diamond blade for masonry will provide efficient cuts and longevity, even with frequent use.


