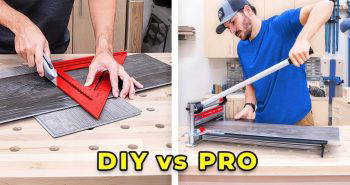
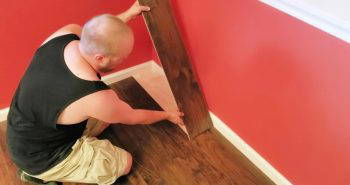
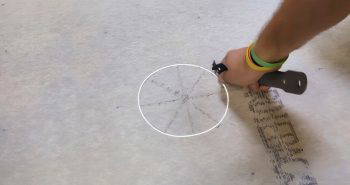
Learn how to cut tile accurately with essential tools and techniques. Cutting tile may seem intimidating, but with the right tools and methods, even beginners can achieve professional results. Whether you're dealing with ceramic, porcelain, glass, or stone, each type of tile presents unique challenges and requires specific tools and techniques. This guide introduces you to the core methods, tools, and tips for tile cutting, providing the skills you need to manage your tiling projects successfully.
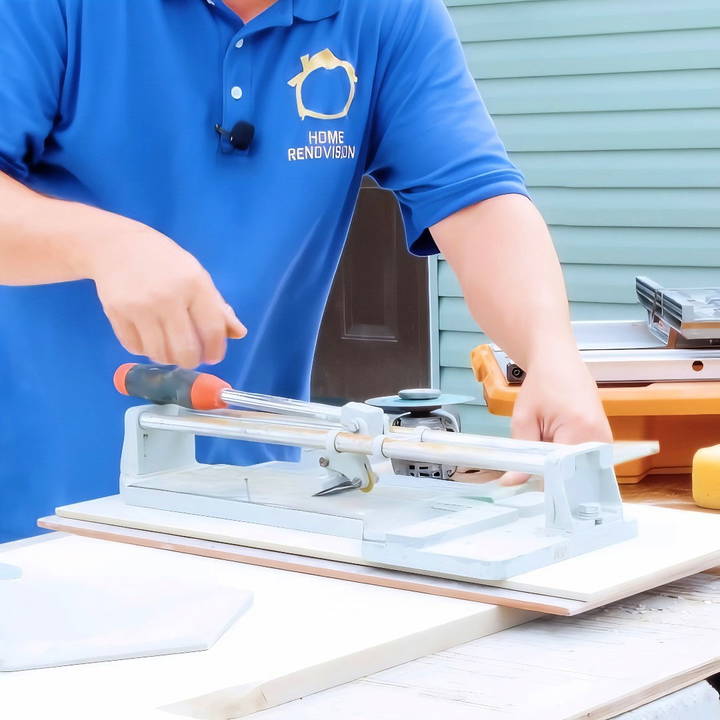
Tools You'll Need for Cutting Different Types of Tile
Discover essential tools for cutting various tile types, including ceramic, porcelain, and glass. Achieve precise cuts with the right equipment for your project.
Basic Tile-Cutting Tools for Beginners
To start with tile cutting, having a few basic tools on hand will simplify the process. Here's an overview of tools you'll need based on the tile type:
- Scratch Tool: For marking and snapping ceramic tiles, particularly useful for smaller, softer tiles.
- Tile Nippers: Great for small, detailed cuts, especially in ceramic tiles.
- Wet Saw: Essential for precise cuts in glass, porcelain, and harder materials.
- Grinder with a Porcelain Blade: An excellent tool for a variety of cuts, ideal for tougher materials and unusual shapes.
Choosing the Right Tool Based on Tile Material
Different tiles need different cutting tools. Here's how to select the best tools depending on the tile:
- Ceramic Tiles: A scratch tool and tile nippers are typically sufficient. Ceramic is softer, so these tools can handle most cuts effectively.
- Porcelain Tiles: Because porcelain is harder, it's best to use a wet saw for precise cuts. Scratch tools may work on wall-grade porcelain but struggle with thicker, floor-grade porcelain.
- Glass Tiles: Glass requires a wet saw to prevent chipping and achieve smooth edges. Using other tools often results in an uneven, jagged finish.
- Natural Stone (e.g., Ledgestone): For stone, a grinder with a porcelain blade offers versatility, allowing you to make straight cuts and curves.
Step by Step Instructions
Learn how to cut tile with step-by-step instructions, from basic to advanced techniques, ensuring safety and precision for unique challenges.
Preparing Your Work Area and Safety Precautions
Before you start cutting tile, prepare your workspace. Cutting tile can be messy, and some methods (like using a grinder) produce dust and debris. Follow these steps:
- Clear and Set Up Your Workspace: Ensure you have ample space, preferably outdoors or in a well-ventilated area.
- Wear Safety Gear: Protect yourself with gloves, goggles, and a dust mask, especially when using power tools or working with glass.
- Secure Your Tile: Use clamps or a stable surface to keep the tile from moving while cutting, particularly with power tools.
1. Cutting Ceramic Tiles: Basic Techniques
- Ceramic tiles are generally softer and easier to cut, making them ideal for beginners. Here are some of the methods to cut ceramic tile:
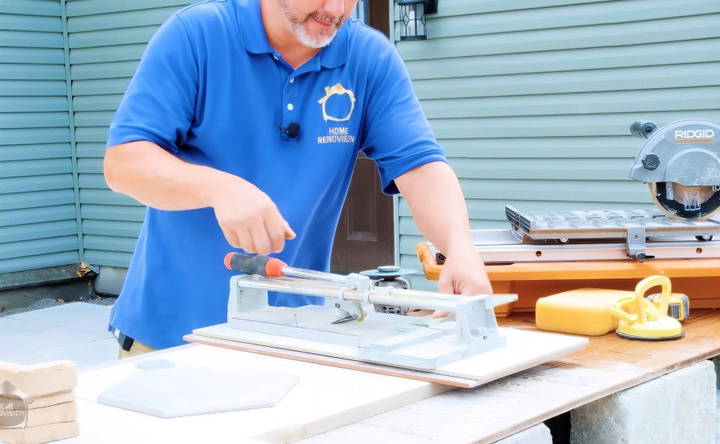
Using a Scratch Tool for Straight Cuts
- Mark the Line: Use a pencil or marker to draw the cut line on the tile.
- Scratch the Surface: Place the tile on a flat surface, align the scratch tool along the marked line, and apply pressure to score the tile.
- Snap the Tile: After scoring, position the tile on the edge of a flat surface and press down to snap along the line.
This method works well for simple, straight cuts and is suitable for smaller tiles like 4x4 or subway tiles.
Using Tile Nippers for Small Cuts and Shapes
Tile nippers are helpful for creating small, precise cuts or irregular shapes:
- Mark the Area: Draw the outline of the shape or small cuts on the tile.
- Start Nipping: Gently squeeze the nippers onto the edge of the tile, taking small bites to gradually shape the tile.
- Refine the Shape: Work slowly and make small adjustments, as nippers allow for detailed work around obstacles, like pipes or fixtures.
While slower, this method is ideal for unique shapes and rounded cuts, such as notches for plumbing fixtures.
2. Cutting Porcelain Tiles: Methods and Challenges
Porcelain is denser and tougher than ceramic, making it more challenging to cut. Here's how to handle it:
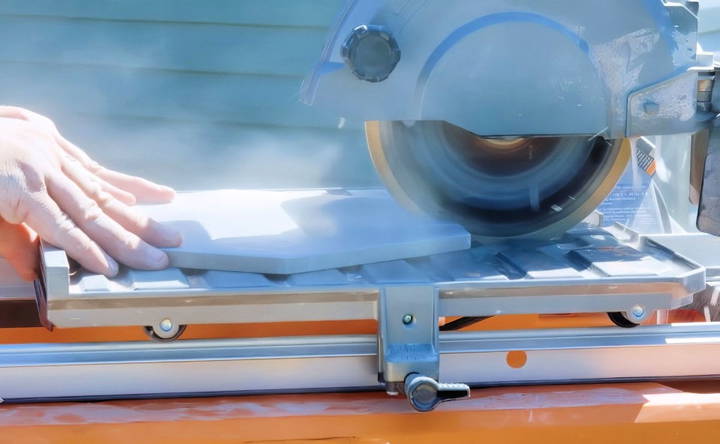
Wet Saw for Precision and Clean Edges
A wet saw is the best option for cutting porcelain. It prevents cracking and leaves a smooth edge, ideal for visible areas.
- Mark the Tile: Use a pencil to draw the line where you need to cut.
- Position the Tile: Place the tile on the wet saw table, aligning the blade with your mark.
- Start Cutting: Slowly guide the tile into the blade, allowing the water to cool the blade and reduce friction.
- Complete the Cut: Keep your hands steady, and let the saw do the work for a clean, precise edge.
This technique provides a clean finish, essential for larger tiles where imperfections would be noticeable.
Using a Grinder with a Porcelain Blade
If you don't have access to a wet saw, a grinder with a porcelain blade can be a flexible alternative:
- Secure the Tile: Clamp the tile to a stable work surface.
- Score the Cut Line: Slowly run the grinder along the marked line to create a shallow groove.
- Deepen the Cut: Repeat the process to deepen the groove until the tile separates.
While effective, this method requires more control to maintain a straight line and is better suited for experienced DIYers.
3. Glass Tile: Essential Techniques for Clean Edges
Glass tile is highly sensitive to breakage and chipping, so careful handling is necessary.
Using a Wet Saw for Glass Tiles
The only reliable way to cut glass tile without compromising its appearance is with a wet saw.
- Mark the Cut Line: Mark the line you need to cut on the tile.
- Position the Tile on the Saw: Place the tile on the wet saw, aligning the blade with your mark.
- Cut Slowly and Steadily: Guide the tile into the blade slowly, maintaining a steady pace to avoid chipping.
The wet saw will give the cleanest edge, crucial for glass tile, as any imperfections are visible through the transparent material.
4. Advanced Cutting Techniques with a Grinder
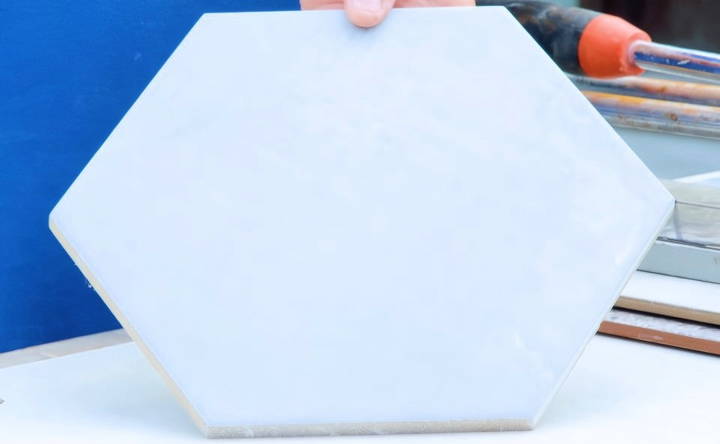
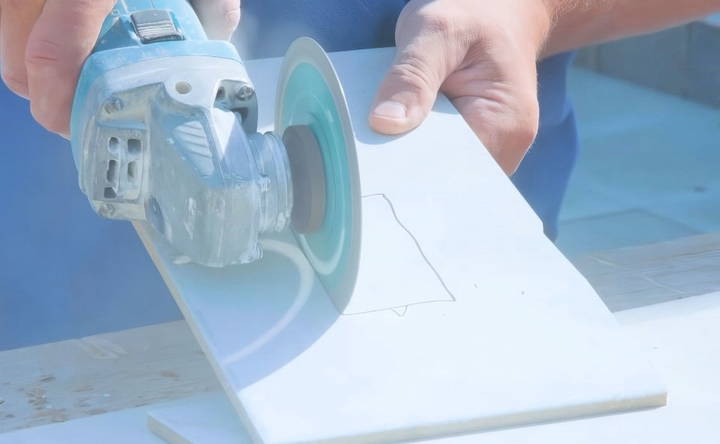
A grinder with a porcelain blade is a versatile tool that can tackle a variety of cuts, making it an excellent investment if you frequently work with tile.
Making Round and Curved Cuts
If you need to cut a circle for a pipe or outlet, a grinder can achieve precise results.
- Draw the Circle: Mark the area where you need a round cut.
- Score the Outline: Lightly score the outline of the circle with the grinder.
- Work Slowly Around the Circle: Gradually deepen the cut around the outline until the tile separates.
Cutting Large Tiles or Stone
For large or thick tiles that won't fit on a wet saw, use a grinder:
- Mark the Cut Line: Measure and mark your line.
- Score with the Grinder: Make a shallow groove along the mark.
- Finish the Cut: Continue working through the tile in passes until you've cut all the way through.
Grinders can cut both porcelain and natural stone, allowing you to work with thicker, outdoor-grade tiles that are too tough for traditional tile cutters.
Key Tips for Cutting Tile Efficiently
- Avoid Over-Cutting: When using tools like a grinder, work slowly and carefully to avoid over-cutting, which can make holes or shapes too large.
- Consider Rental Options: If you're working on a one-time project, consider renting tools like a wet saw for high-precision cuts.
- Practice on Scrap Tiles: Before cutting expensive tile, practice on a few scrap pieces to get comfortable with the tool and technique.
- Keep Tools Clean: Regularly clean your tools, especially the blade on the wet saw, to ensure smooth and precise cuts.
Summary: Match the Tool to the Tile
When cutting tile, choose your tool based on the tile type and the cut you need. Ceramic tiles are beginner-friendly, requiring only basic tools like scratch tools and nippers. For glass, always use a wet saw, while porcelain and stone may benefit from a grinder or wet saw. By choosing the right tools and practicing these techniques, even a beginner can achieve beautiful, professional-quality cuts in tile.
Common Mistakes to Avoid When Cutting Tile
Even with the right tools, some common mistakes can lead to frustration or wasted materials. Here are some tips to help avoid these pitfalls:
Rushing the Cutting Process
Tile cutting requires a steady, careful approach. Trying to cut too quickly can result in broken tiles, jagged edges, and wasted material. To avoid this:
- Apply Light Pressure: Let the tool do the work, especially when using a wet saw or grinder. Forcing the tool through the tile increases the risk of cracking or chipping.
- Take Multiple Passes: For large or thick tiles, make several shallow passes instead of one deep cut.
Using the Wrong Tool for the Tile Type
It's crucial to match the tool to the tile material. For example:
- Avoid Using Nippers on Porcelain: Porcelain is too hard for nippers and can cause the tile to shatter or crack unevenly.
- Stick to a Wet Saw for Glass: Glass tiles chip easily, so other tools like grinders or scratch tools will not provide a smooth edge.
Cutting Without Proper Measurements
Incorrect measurements can lead to poorly fitting tiles and wasted materials. Here are some ways to avoid measurement mistakes:
- Double-Check Dimensions: Always verify your measurements and mark them accurately on the tile before cutting.
- Consider Grout Lines: Factor in the grout line width when measuring cuts around fixtures or walls.
Improper Setup of Tools
Setting up your tools incorrectly can lead to poor cuts or even damage to the tile. Here's how to get it right:
- Check Blade Alignment: Make sure the blade on your wet saw is aligned with your measurements. A misaligned blade can create uneven cuts.
- Keep the Blade Wet: On a wet saw, ensure there's enough water flowing to cool the blade. This reduces friction and prevents overheating, which can cause chipping or cracking.
Tips for Efficient and Safe Tile Cutting
Working with power tools and sharp tiles can be hazardous without proper safety measures. Here's how to stay safe and work efficiently:
- Wear Protective Gear: Safety goggles, gloves, and a dust mask are essential, especially when using a grinder or wet saw.
- Secure the Tile: Always hold or clamp the tile firmly to prevent slipping, particularly on wet saws or with hand tools.
- Use a Backer Board: If cutting thick tiles or stone with a grinder, place them on a piece of plywood or a stable backer board for extra support.
- Have a Wet Rag Nearby: Wipe down your tools and tiles periodically to prevent dust buildup and keep the work area clean.
Summary: Putting It All Together for a Professional Finish
Cutting tile can be manageable, even for beginners, with the proper techniques and tools. Here's a quick recap:
- Choose the Right Tool: Match the tool to your tile type—scratch tools for ceramic, wet saws for glass, and grinders for large or thick tiles.
- Take Measurements Carefully: Double-check measurements, especially around fixtures and grout lines.
- Work Slowly and Steadily: Apply light pressure with power tools, letting the blade do the work to prevent cracking.
- Practice Safety First: Wear protective gear, secure the tile, and keep your workspace clean.
Conclusion: Mastering Tile Cutting Techniques
Learning to cut tile effectively is a valuable skill, enabling you to handle various projects with confidence. Whether tackling a bathroom remodel or a new kitchen backsplash, having the knowledge and tools to make precise cuts is key to a successful installation. Remember to take your time, choose the right tool for the tile type, and practice your techniques on spare pieces before cutting your main tiles. With patience and practice, you'll achieve stunning, professional-quality results every time.
FAQs About Cutting Tile
Get quick answers to FAQs about cutting tile. Discover tools, techniques, and tips for perfect tile cuts every time.
While technically possible, using a power saw not designed for tile can lead to uneven cuts, chipping, and potential safety hazards. Wet saws are ideal because they cool the blade, reduce friction, and create cleaner cuts.
To avoid chipping, use a wet saw for sensitive materials like glass and porcelain. For additional control, make multiple shallow passes instead of trying to cut through in one go.
For tiles in visible areas, polished edges provide a professional look. You can use sandpaper, a tile file, or polishing pads to smooth edges. Edge trims or bullnose tiles are also popular for a finished appearance.
No, a wet saw is essential for cutting glass tiles cleanly. Without it, edges will chip or shatter, leaving visible imperfections. For small adjustments, you may smooth edges with a fine tile file or sandpaper, but primary cuts should always use a wet saw for the best finish.
For detailed cuts around pipes or outlets, use a diamond-coated drill bit for circular holes, especially with porcelain or stone tiles. Alternatively, a grinder with a diamond blade works well for square cutouts. Secure the tile, mark the cut, and take multiple shallow passes to avoid breakage.
Large-format tiles require precision. Use a high-quality wet saw with a sliding table, or, if that’s unavailable, a grinder with a diamond blade. Secure the tile well and cut slowly to maintain accuracy. Always check your saw’s capacity, as some models may not handle larger tiles.
No, a grinder is unsuitable for glass due to the high likelihood of chipping. For curves in glass tile, use a wet saw with a diamond blade and make small, incremental cuts. For slight adjustments, specialized glass files can smooth the curve.
Always wear protective gear, including goggles, gloves, and a dust mask. When using a grinder or wet saw, avoid loose clothing and consider using ear protection, especially for prolonged use. Make sure to secure the tile and never remove the grinder’s safety guard.
Tile may break if too much pressure is applied, or if the tool isn't suited to the tile's hardness. Scratch tools work best on soft ceramics. For harder materials like porcelain, use a wet saw or high-quality snap cutter. Always practice on a spare tile first to ensure the right technique.
For hexagonal or other non-standard shapes, a grinder with a diamond blade is versatile. Mark your cuts carefully and proceed with shallow passes to avoid cracking. A wet saw can also help, but achieving exact angles may require extra guidance or experience with the tool.


