When working on electronics, knowing how to desolder properly can save your circuit board from damage. Desoldering removes unwanted solder, which may be necessary for various repairs or modifications. To preserve your circuit board, use a soldering iron and a desoldering pump or braid. Learning how to desolder safely involves heating the solder to a liquid state and then removing it swiftly.
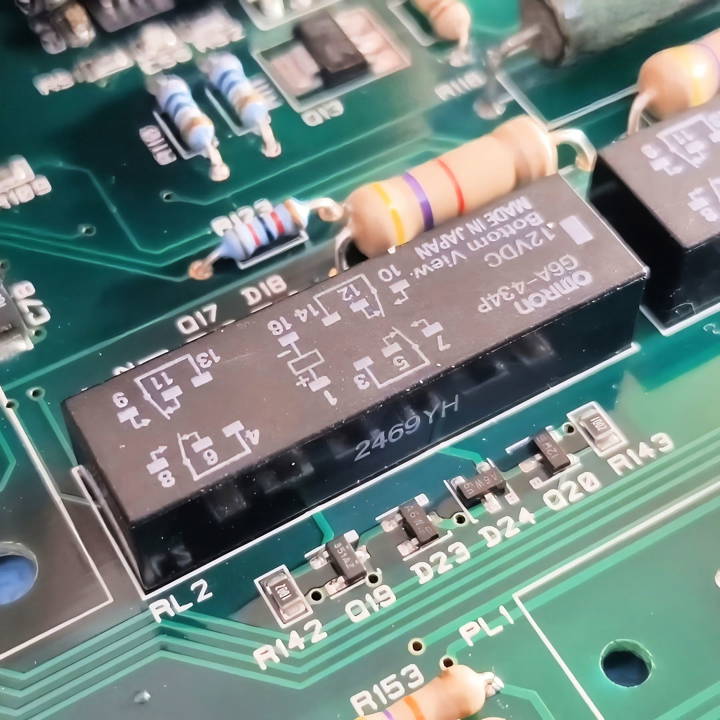
Proper techniques for desoldering protect sensitive components on your circuit board. A steady hand and patience are crucial. Start by heating the joint until the solder melts. Use a desoldering pump or braid to extract the liquid solder.
Read on to learn detailed methods and tools for a safe and efficient desoldering process.
Why is Desoldering Important?
In the world of electronics, desoldering is as crucial as soldering. It enables technicians and hobbyists to:
- Repair: Fix broken connections or replace faulty components on a PCB (Printed Circuit Board).
- Reuse: Salvage valuable components from old or damaged electronics.
- Recycle: Properly dispose of electronic waste by separating components and materials.
How Does Desoldering Work?
The desoldering process involves several steps:
- Heating the Solder: Apply heat to the solder joint you wish to remove. This is typically done with a soldering iron.
- Removing the Molten Solder: Once the solder melts, it can be removed using a desoldering pump (solder sucker) or desoldering wick (braided copper wire).
- Cleaning the Area: After the solder is removed, clean the area with isopropyl alcohol to remove any residue.
Choosing the Right Tools
Selecting the appropriate tools is essential for effective desoldering:
- Soldering Iron: A tool with adjustable temperature control is preferred.
- Desoldering Pump: A mechanical device that sucks up molten solder when triggered.
- Desoldering Wick: A braided copper wire that absorbs molten solder through capillary action.
Safety First
Always prioritize safety when desoldering:
- Work in a Well-Ventilated Area: Fumes from melting solder can be harmful.
- Wear Protective Gear: Safety glasses and gloves can protect you from hot solder and components.
Practice Makes Perfect
Desoldering requires practice to master. Start with old circuit boards to hone your skills before working on valuable electronics.
Essential Materials and Their Importance
Before we dive into the nitty-gritty, it's crucial to understand the materials needed and why each plays a key role in this process.
1. Copper Wire
The star of the show, a piece of copper wire acts as a bridge for heat distribution. It's vital because it allows the solder to melt uniformly across multiple joints, facilitating the seamless removal of components. I typically use the center strand of an earth cable, but even an off-cut from a through-hole resistor leg works wonders.
2. Soldering Iron
A reliable soldering iron is your bread and butter for any soldering or desoldering task. Ensure it's heated adequately to make the process smoother.
3. Solder
Leaded solder is my go-to due to its lower melting point, making the whole desoldering process more manageable.
4. Flux
Flux aids in solder melting and helps prevent oxidation during the desoldering process, ensuring cleaner removal of parts.
5. Desoldering Braid (Optional)
For cleaning up the pads and holes post-component removal, a desoldering braid soaked in flux can pull away any residual solder, leaving behind a pristine work area.
Step by Step Instructions
Learn step-by-step instructions on how to desolder components safely and efficiently with this comprehensive guide. Perfect for beginners and pros alike.
Preparing the Component for Removal
Start by inspecting the component and its soldered joints. Lay the copper wire across all the solder points you intend to desolder. Secure it in place with a bit of solder at each point, attaching it firmly to the pins of the component. The idea is to ensure that the wire touches all the relevant solder joints.
Adding Flux
A liberal application of flux over the joints and copper wire enhances the melting process, priming the area for an effortless desoldering experience.
Heating the Joints
With your soldering iron heated to around 340 degrees Celsius (for leaded solder), firmly press it against the copper wire. Move it along the wire slowly, ensuring even heat distribution. This method melts the solder across all joints simultaneously due to the heat transmitted through the copper wire.
Removing the Component
Once the solder melts, gently nudge the component you wish to remove. If done correctly, it should come off without resistance. Using tweezers can help with stubborn components that don't easily fall away.
Cleaning Up
After the component is removed, it's often necessary to clean out solder from the holes and pads for future use. This is where a flux-coated desoldering braid comes into play. Lay it over the solder-filled hole, apply your heated soldering iron, and watch as the solder wicks away, leaving behind a clean hole ready for new components.
Reflections on Efficacy and Additional Tips
This method has been a game-changer for me, significantly reducing the time and frustration associated with desoldering components. Not only is it effective for simple tasks like removing headers or discrete components, but with some creativity, it's also scalable to more complex parts like large ICs or connectors.
Remember, practice makes perfect. Initially, setting up the copper wire and flux might feel cumbersome, but with time, it becomes second nature. Maintenance of your tools is also crucial. Ensure your soldering iron tip is clean and tinned for optimal heat transfer.
Advanced Techniques
When you've mastered the basics of desoldering, you might be ready to explore some advanced techniques. These methods can help you tackle more complex tasks with precision and care.
Hot Air Rework Stations
A hot air rework station is a versatile tool that allows you to desolder without direct contact. It's particularly useful for:
- Removing Surface-Mount Devices (SMDs): The hot air can evenly heat all the pins on an SMD, making it easier to lift off the board.
- Working with Lead-Free Solder: Lead-free solder has a higher melting point, and hot air can provide the consistent heat needed to melt it.
Preheating the PCB
Preheating the entire PCB before desoldering can prevent damage by:
- Reducing Thermal Stress: Gradual heating minimizes the risk of warping or damaging the board.
- Improving Solder Flow: Preheated solder is more likely to flow freely when heated by the desoldering tool.
Using Low-Melting-Point Alloys
Low-melting-point alloys can be mixed with existing solder to lower the overall melting point. This technique is helpful for:
- Desoldering Multiple Pins at Once: By reducing the melting point, you can remove components with many pins more easily.
- Protecting Heat-Sensitive Components: Lower temperatures mean less risk of thermal damage.
Skillful Use of Flux
Flux is a chemical agent that facilitates soldering and desoldering by:
- Improving Heat Transfer: It helps the heat from your desoldering tool spread more evenly.
- Reducing Oxidation: Flux cleans the metal surfaces, which can prevent the formation of oxides that hinder desoldering.
Selective Soldering Techniques
Selective soldering techniques allow you to desolder specific components from densely packed boards:
- Shielding Other Components: Use heat-resistant tapes or shields to protect neighboring components from heat.
- Targeted Heating: Use specialized tips on your soldering iron to heat only the pins you want to desolder.
Use advanced desoldering techniques for challenging projects with confidence. Always prioritize safety and precision for the best outcomes.
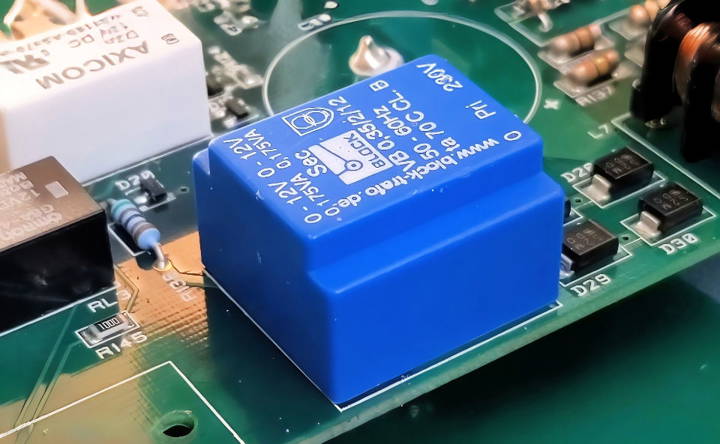
Desoldering Project Examples
Desoldering is a valuable skill that can be applied to various projects. Here are some practical examples where desoldering plays a key role:
1. Repairing a Smartphone Motherboard
Smartphones are intricate devices with tiny components soldered onto their motherboards. Desoldering may be necessary to replace a faulty microchip or connector. For instance, if a phone isn't charging correctly, desoldering the USB port and replacing it with a new one can solve the problem.
2. Salvaging Components from Old Electronics
Old electronics are treasure troves of useful parts. Desoldering allows you to remove components like capacitors, resistors, and ICs (Integrated Circuits) from an old TV or radio. These parts can then be used to make something new, like a DIY audio amplifier.
3. Making a Custom Keyboard
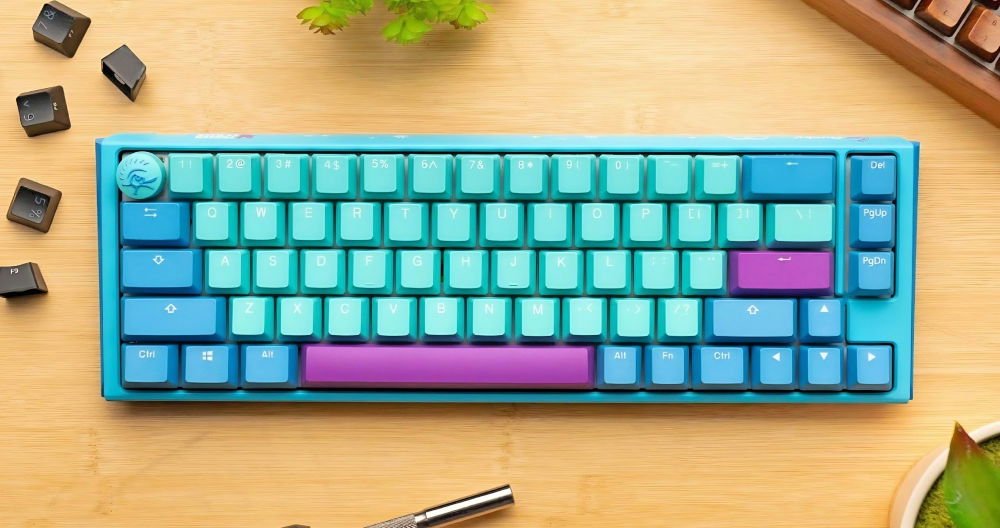
Mechanical keyboard enthusiasts often build custom keyboards. Desoldering is essential when modifying or repairing switches and keys. For example, you might desolder old switches from a keyboard PCB and replace them with ones that have a different feel or sound.
4. Upgrading Computer Hardware
Computer hardware, like graphics cards and motherboards, sometimes needs repairs or upgrades. Desoldering defective capacitors and replacing them with new ones can extend the life of your hardware.
5. Refurbishing Vintage Electronics
Vintage electronics, such as classic game consoles or stereo systems, often require maintenance. Desoldering allows you to carefully remove old, failing components and replace them with modern equivalents, bringing new life to old gadgets.
6. Educational Projects
Desoldering is also an excellent educational tool. Students learning about electronics can practice desoldering on old circuit boards to understand how different components are used and how they're connected.
Desoldering is versatile for repair, recycling, or creation. It empowers effective work with electronics, relying on patience, precision, and practice.
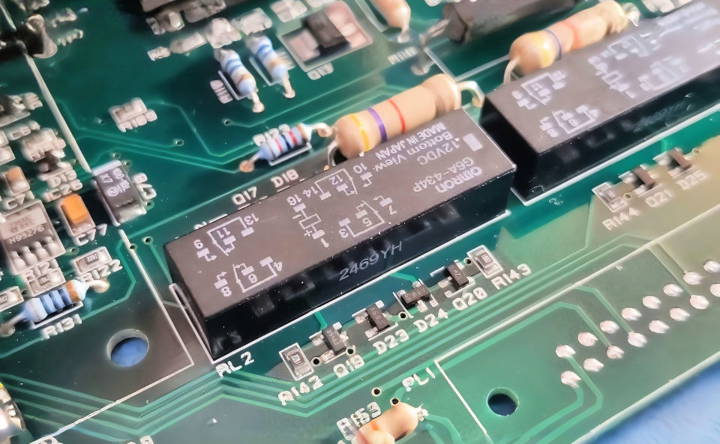
Troubleshooting Common Issues
Desoldering can sometimes be tricky, and you might encounter a few hiccups along the way. Here's how to troubleshoot some common issues with clear, straightforward solutions.
Lifted Pads
Lifted pads occur when the copper pad on the PCB gets pulled off during desoldering.
- Prevention: Use a lower temperature and be gentle when applying heat.
- Solution: If a pad lifts, you can often bypass it by soldering a wire directly to the trace or an adjacent component where the trace leads.
Damaged Components
Components can get damaged from too much heat or physical force.
- Prevention: Use the correct temperature and tools for the component size. Handle components gently.
- Solution: Replace the damaged component with a new one. Always have spares for components that are prone to damage.
Stubborn Solder
Sometimes, the solder won't budge, making it hard to remove a component.
- Prevention: Apply flux to the joint before heating. This helps improve heat transfer and solder flow.
- Solution: Add fresh solder to the joint, then try desoldering again. The new solder can help the old solder melt and mix, making it easier to remove.
Cold Joints
A cold joint is a solder joint that hasn't melted properly and can prevent a clean removal.
- Prevention: Ensure the soldering iron is at the correct temperature, and the tip is clean.
- Solution: Reheat the joint thoroughly and apply a little more solder if necessary, then attempt to desolder again.
Short Circuits
After desoldering, bits of solder can accidentally make a bridge between two points, causing a short circuit.
- Prevention: Clean the PCB with isopropyl alcohol and inspect your work after desoldering.
- Solution: Use a desoldering wick to remove excess solder and clear any bridges.
Patience and precision help you avoid and fix common desoldering issues. Keep practicing to become adept at solving problems.
Safety Precautions
When it comes to desoldering, safety is paramount. This section covers essential safety precautions to ensure that you can carry out your projects without risking harm to yourself or others.
Work in a Ventilated Area
Solder fumes can be harmful if inhaled, so always work in a well-ventilated space. If possible, use a fume extractor or open a window to keep the air clear.
Wear Protective Gear
- Safety Glasses: Protect your eyes from hot solder splashes and debris.
- Gloves: Use heat-resistant gloves to prevent burns from hot components or solder.
- Apron: An apron can protect your clothes and skin from hot solder or accidental spills.
Handle Tools with Care
- Soldering Iron: Always place the soldering iron in its stand when not in use. Never touch the tip, even if it appears cool.
- Desoldering Pump: Operate the pump with caution to avoid ejecting hot solder towards yourself or others.
Manage Heat Properly
- Temperature Control: Use a soldering iron with adjustable temperature to avoid overheating, which can make dangerous fumes and damage components.
- Heat Dissipation: Allow your tools and the PCB to cool down before touching them.
Electrical Safety
- Unplug When Not in Use: Always unplug your soldering iron and other electric tools when they're not in use.
- Inspect Equipment: Regularly check your tools for damaged cords or faulty electrical connections.
Chemical Safety
- Flux and Cleaning Solvents: Use these chemicals in a controlled manner and follow the manufacturer's safety instructions. Store them properly when not in use.
First Aid
- Burns: Keep a first aid kit nearby. In case of a burn, run cool water over the area and cover it with a clean, dry cloth. Seek medical attention for serious burns.
- Inhalation: If you feel dizzy or unwell from fumes, move to fresh air immediately and seek medical advice.
Keep a Clean Workspace
A tidy workspace helps prevent accidents. Keep your tools organized and your work area free of clutter.
Follow these safety measures to desolder safely and enjoyably. Preparing and protecting yourself and others is always worth it.
FAQs About How to Desolder
Desoldering is a valuable skill in electronics, allowing you to remove components from circuit boards. Here's a simple guide to help you understand and perform desoldering effectively.
Desoldering is the process of removing solder — the metal alloy that holds components in place on a circuit board — so you can take out or replace parts. It’s the opposite of soldering, where you add solder to create connections.
The basic tools for desoldering include:
A soldering iron to melt the solder.
Desoldering braid or wick to absorb the molten solder.
A desoldering pump or solder sucker to vacuum up the melted solder.
Flux to help the solder flow and clean the connections.
To use a desoldering braid:
Cut a small piece of the braid.
Place it over the solder you want to remove.
Press the heated tip of the soldering iron onto the braid.
Wait for the solder to melt and wick into the braid.
Lift away the braid, which now contains the solder.
Sure, here's how to use a desoldering pump:
Heat the solder joint with your soldering iron until the solder melts.
Quickly place the tip of the desoldering pump over the molten solder.
Press the pump's button to make suction and remove the solder.
Release the solder from the pump into a waste container.
When desoldering, it's important to:
Limit heat exposure: Too much heat can damage both the components and the circuit board. Always use the minimum amount of heat needed to melt the solder.
Use the right temperature: If you're working with lead-free solder, which has a higher melting point, adding a bit of leaded solder can lower the overall melting temperature and make the process easier.
Protect yourself: Wear safety glasses to shield your eyes from any splashes of molten solder.
Work in a well-ventilated area: Fumes from melting solder can be harmful if inhaled.
Handle components carefully: Use tools like tweezers or pliers to handle hot components and avoid burns.
In Conclusion
Wrapping up, mastering how to desolder without damaging your circuit board is a crucial skill for anyone working with electronics. By following the steps outlined in this guide, you'll be able to remove solder safely and efficiently. This not only protects your components but also ensures the longevity of your projects. Always remember to use the right tools, maintain a clean workspace, and exercise patience. Happy desoldering!


