Delving into DIY projects has always been a cherished hobby of mine. It's a realm where creativity knows no bounds, and the satisfaction of making something beautiful with your own hands is incomparably fulfilling. Recently, I embarked on a journey to make aesthetic DIY bookmarks, a project inspired by a need to bring a personal touch to my reading experience and to gift something heartfelt to my loved ones. Here, I'll share with you, step by step, how you can make these little pieces of art, drawing from my own experiences and experiments.
Gathering the Materials
- 300 GSM Hot Pressed Watercolor Paper: The thickness and quality of this paper make it durable and suitable for watercolor painting. It ensures that your bookmark won't fray or get easily damaged with use.
- Coffee and Water Mixture: To give the bookmarks a vintage, aged look, and an inviting coffee scent.
- Tombow Brush Pen and Acrylic Paints: For lettering quotes and painting designs. These provide a vibrant, long-lasting color finish.
- Watercolors: For making beautiful pastel gradients and dark, engaging backgrounds.
- Compass or Paper Punching Machine: For making a neat hole at the top of the bookmark to thread through.
- Thin Rope, Ribbon, or Yarn: This is used to make a decorative tail for the bookmark, making it easy to find your page.
Vintage-Inspired Bookmark
Step 1: Preparing The Coffee Mixture: I began with mixing coffee and water, aiming for a concentrated mixture.
Step 2: Painting The Paper: Gently, I applied the coffee mixture onto the watercolor paper, layer by layer, allowing it to dry naturally for a deeper color. For those short on patience, a heat tool can speed up the process.
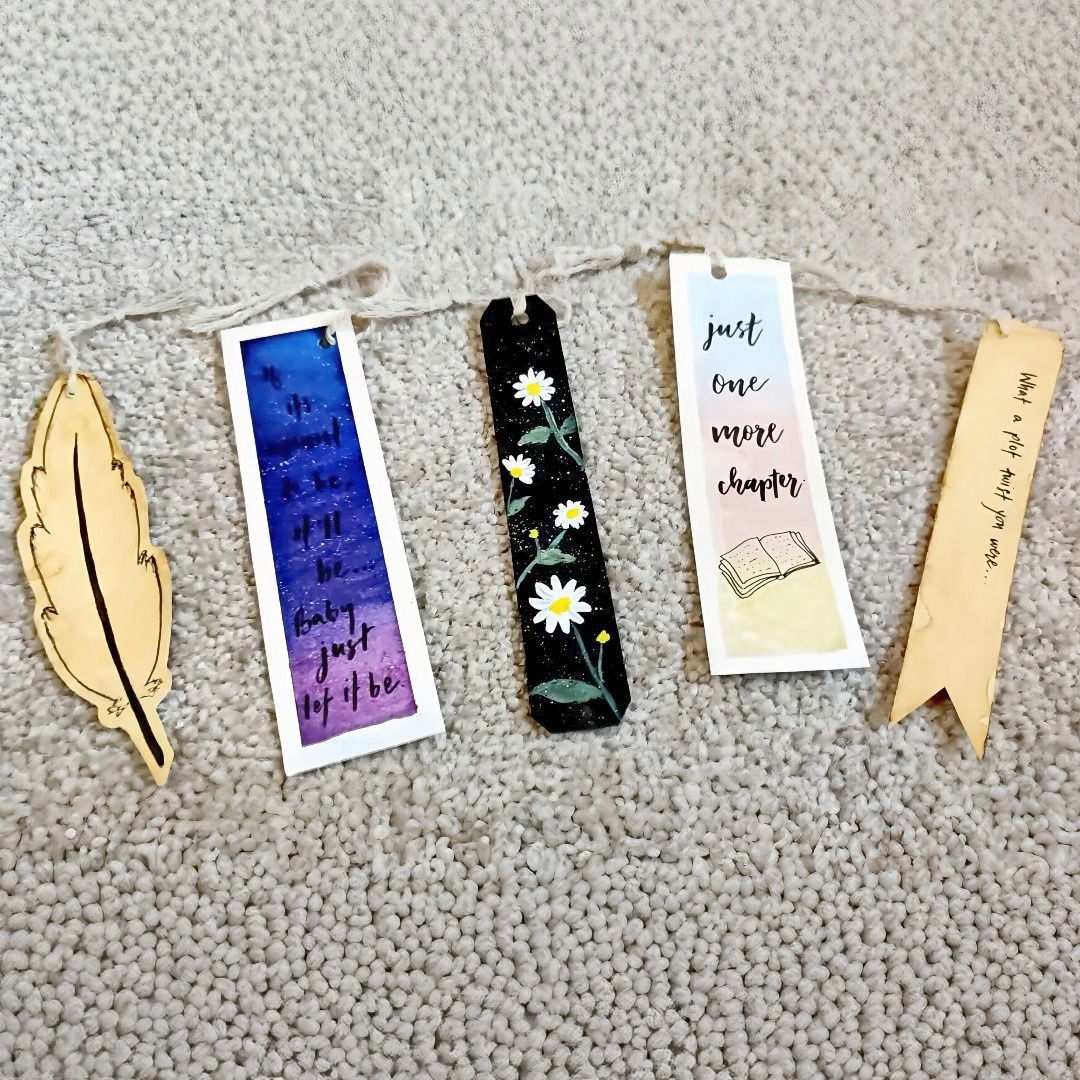
Step 3: Adding Details: Once dry, I cut one end of the bookmark into a triangle shape, wrote a favorite quote using the Tombow brush pen, and added a hole at the top with a compass.
Step 4: Finishing Touches: I threaded the thin rope through the hole, opting for a braided look for added charm.
Watercolor Magic
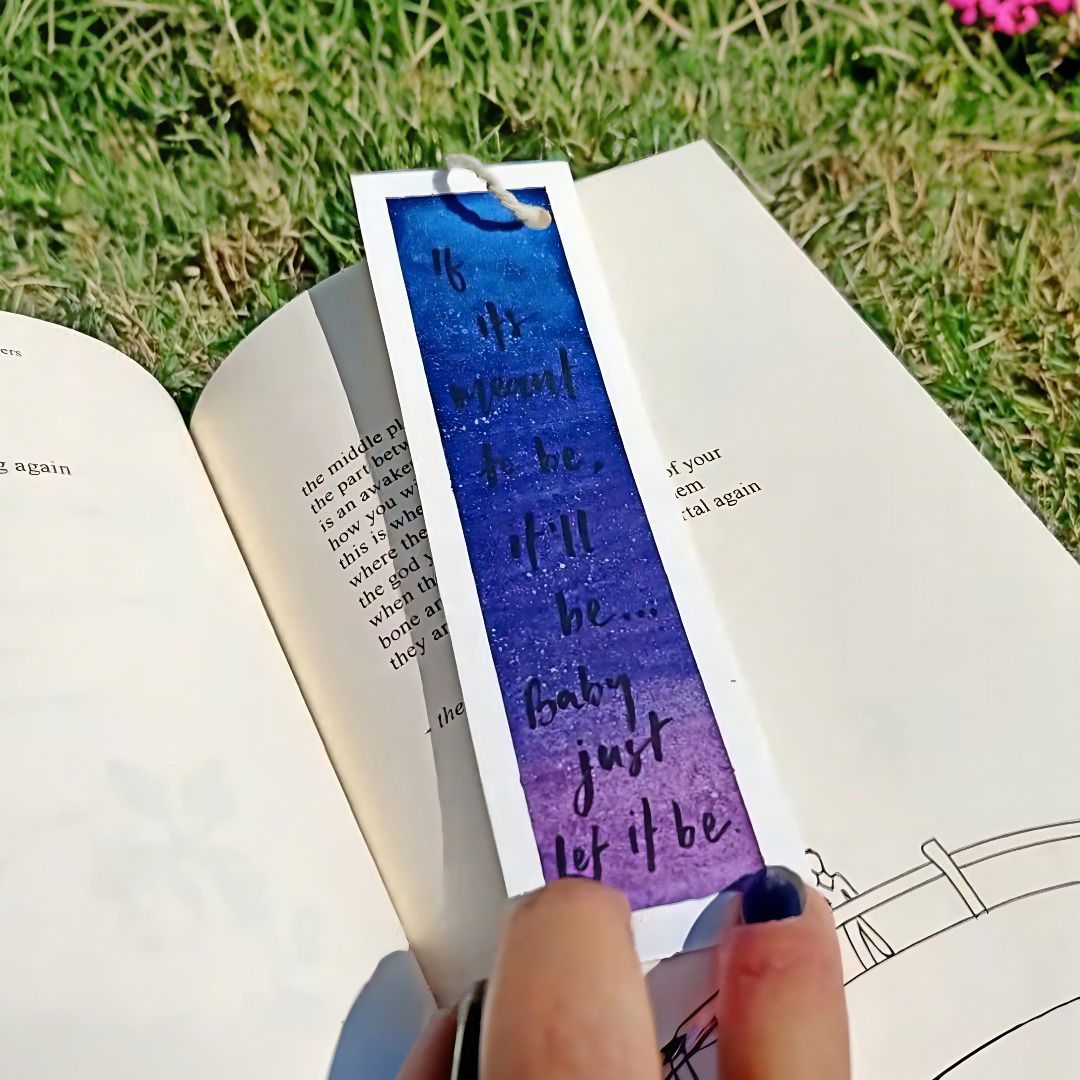
Making Pastel and Dark-Themed Bookmarks: With watercolors, I painted one bookmark with light pastel gradients and another with a solid black background. Patience is key here - wait for each layer to dry before applying the next.
Adding Quotes and Designs: Choosing quotes that resonated with me, I added them to the pastel bookmark. For the black one, I painted white daisies, adding a sprinkle of white paint for a starry effect.
Feathered Bookmark
Revisiting an Earlier Attempt: Not every first attempt turns out as expected. I took a bookmark I was initially unhappy with, flipped it over, and drew a feather design with a Tombow brush pen, cutting around it to leave a narrow margin.
The Final Touch: Adding the rope again did not affect the new design. This bookmark, with its feather silhouette, found its place among my Harry Potter collection.
Making Personalized DIY Bookmarks
When it comes to bookmarks, a one-size-fits-all approach doesn't do justice to the joy of reading. Personalized bookmarks add a delightful touch to your reading experience, making it uniquely yours. Whether you're an avid reader, a student, or simply someone who enjoys a good book, here are some easy steps to make personalized bookmarks:
1. Choose Your Base Material
Start by selecting a sturdy base material for your bookmark. Here are some popular options:
- Cardstock: Thick paper or cardstock is readily available and provides a solid foundation. Choose a color that resonates with you.
- Fabric Scraps: Raid your fabric stash for small scraps. They add texture and can be sewn or glued onto your bookmark.
- Leather or Faux Leather: For a more sophisticated look, consider using leather or faux leather. Cut it into bookmark-sized rectangles.
2. Add Personal Touches
Now comes the fun part—personalizing your bookmark! Here are ideas to make it uniquely yours:
- Hand-Lettered Quotes: Write down your favorite book quotes using colorful markers or calligraphy pens. Choose quotes that inspire you or evoke memories from beloved books.
- Initials or Monograms: Add your initials or monogram to the bookmark. You can use stickers, stamps, or even embroidery.
- Photos: Print small photos of loved ones, pets, or scenic views. Laminate them for durability and attach to your bookmark.
3. Decorate Creatively
Enhance your bookmark's visual appeal with creative embellishments:
- Pressed Flowers: Collect delicate flowers or leaves, press them between heavy books, and glue them onto your bookmark. They add a touch of nature.
- Washi Tape: Washi tape comes in various patterns and colors. Use it to make borders, stripes, or geometric designs on your bookmark.
- Beads and Charms: Thread beads onto a thin ribbon or string and attach them to the top of your bookmark. Charms like tiny keys or hearts also work well.
4. Laminate for Durability
To ensure your personalized bookmark withstands frequent use, laminate it. You can use a home laminator or take it to a print shop. Laminating protects against spills, tears, and creases.
5. Tassel or Ribbon Finish
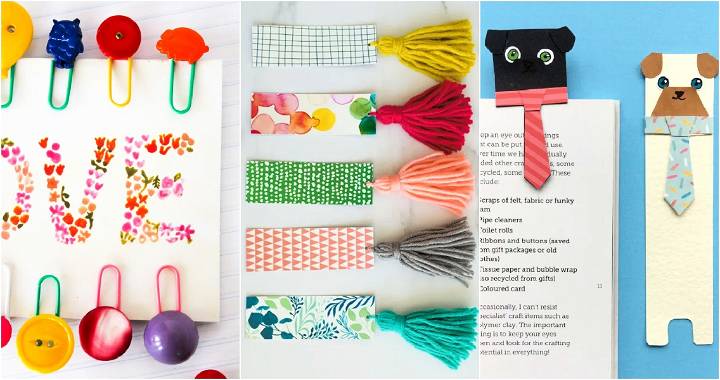
Complete your bookmark with a tassel or ribbon. Attach it to the top, allowing it to hang out of your book when closed. Tassels add elegance, while ribbons offer a playful touch.
Remember, the beauty of personalized bookmarks lies in their uniqueness. Let your creativity flow, and enjoy the process of making something special for your reading adventures!
FAQs About DIY Bookmarks
Get answers to all your questions about DIY bookmarks with our comprehensive FAQ guide. Learn tips, tricks, and inspiration for making your own bookmarks at home.
1. What supplies do I need to make handmade bookmarks?
Making your own bookmarks is a delightful and budget-friendly activity. Here are the basic supplies you'll need:
- Paper: Opt for sturdy materials like cardstock, scrapbook paper, or even book pages.
- Scissors or Paper Cutter: To trim your bookmark to the desired size.
- Straight Edge or Ruler: For precise measurements.
- Pencil: To sketch designs or mark dimensions.
- Colored Pencils, Pens, or Markers (optional): Add color and flair to your bookmarks.
- Embellishments (optional): Think stickers, stamps, or paper punches.
- Laminating Sheets (optional): For durability.
2. Are there eco-friendly materials to incorporate in bookmarks?
Absolutely! Consider these sustainable options:
- Recycled Paper: Use old magazines, newspapers, or cardboard.
- Fabric Scraps: Repurpose fabric remnants for a unique texture.
- Pressed Flowers: Collect dried flowers and attach them to your bookmarks.
- Unused Paint Chips: These colorful swatches can make eye-catching bookmarks.
3. How can I make my DIY bookmarks unique and personalized?
Personalization is key! Try these ideas:
- Themes: Tailor your bookmarks to your interests—whether it's floral patterns, geometric shapes, or characters from your favorite books.
- Hand-Lettering: Write down inspiring quotes or your initials.
- Photos: Attach small photos of loved ones or scenic views.
4. How can I make my DIY bookmark durable?
To ensure your bookmarks withstand wear and tear:
- Laminate: Use laminating sheets to protect against spills and bending.
- Choose Sturdy Materials: Opt for thicker paper or even watercolor paper if you're painting on it.
- Avoid Excessive Embellishments: Too many layers can make your bookmark bulky.
5. Are there any bookmark ideas that are suitable for children?
Definitely! Kids can enjoy making bookmarks too:
- Printable Bookmarks: Use free printables or design your own using coloring pages.
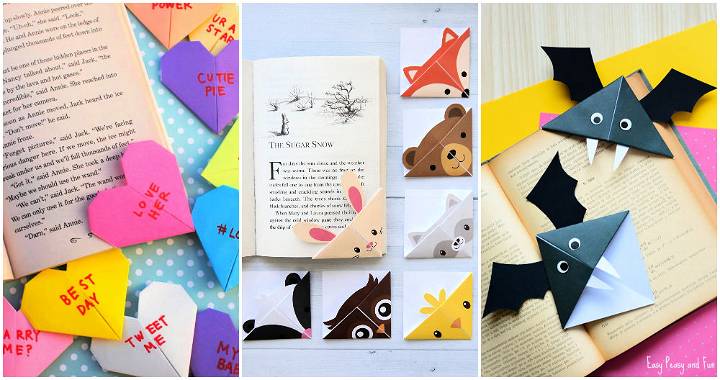
- Corner Bookmarks: These fun shapes are easy to make and perfect for little hands.
Remember, making your own bookmarks is not only creative but also a mindful and eco-friendly way to enhance your reading experience!
Embarking on This DIY Journey
Making these bookmarks was more than just an arts and crafts project. It was a journey filled with trial and error, creativity, and a lot of fun. Not only did I end up with unique bookmarks that added a personal touch to my reading nook, but I also crafted gifts that my friends and family cherished. Whether you're an avid reader, looking for a creative outlet, or searching for a meaningful gift idea, making your own bookmarks can be a rewarding experience. Follow these steps, use these tips, and let your creativity lead the way to beautiful, personalized bookmarks.


