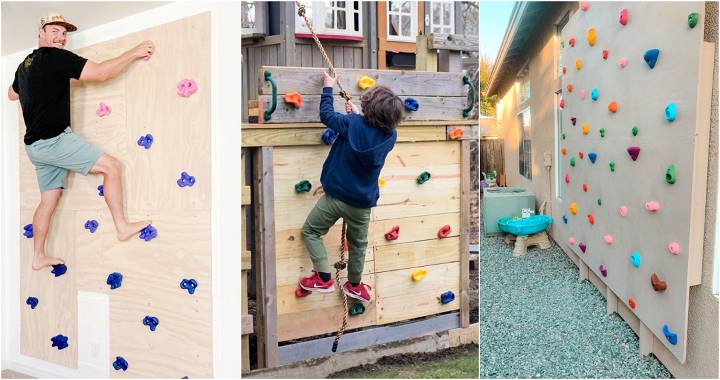
Building a DIY climbing wall over a weekend was a rewarding experience. My kids and I needed a fun activity to bring us together. We decided to build a climbing wall in our backyard. With basic tools and supplies, we started on Saturday morning. By Sunday evening, the wall stood tall, sturdy and ready for some climbing fun.
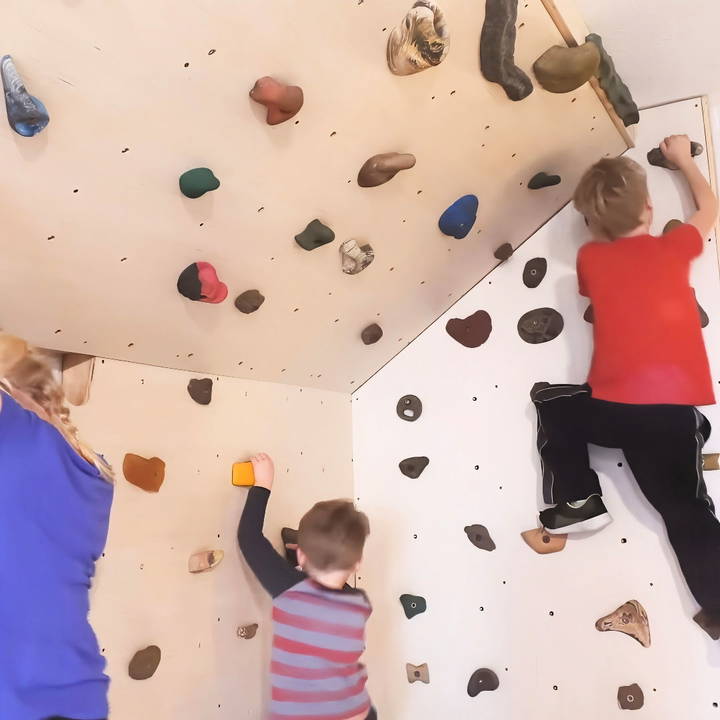
Using simple materials, we built a safe, small-scale climbing wall perfect for my kids. It wasn't too tall, making it less intimidating. The kids helped paint and decorate it, adding their creative touch. Watching them conquer their new wall with joy was priceless. This project brought us closer and gave the kids a sense of achievement. I'm sharing this guide, so you can build your own family adventure.
Gathering Materials and Tools
First things first, I needed to know what materials and tools were necessary for this project. After watching the video and doing additional research, I made a list:
- 2x4 lumber for framing
- Plywood sheets for the wall surface
- A framing nailer (though a hammer and nails or a screw gun could also work)
- Screws, including some really long ones for securing the frame to existing studs
- Drill and saw, including a circular saw for precise cuts
- Speed square, digital protractor, and tape measure for accurate measurements and angles
- T-nuts and climbing holds to turn the plywood into a functional climbing wall
Why Each Material Is Needed
The 2x4 lumber and plywood sheets form the structure and surface of the climbing wall. Tools like the framing nailer or screw gun help assemble and secure these materials. The digital protractor and speed square ensure precise angles and measurements, critical for a safe climbing surface. Finally, the T-nuts and climbing holds are the essence of the climbing wall, providing grips for climbers.
Step by Step Instructions
Build your own climbing wall with our step-by-step instructions. From planning to finishing, learn how to frame, install, and sand for a perfect climb.
Planning and Framing
My first step was to measure the space where I wanted the climbing wall. Accurate measurements are crucial to ensure the wall fits perfectly and safely. I sketched a rough outline of my plan, noting measurements and the angles needed, particularly for the overhang section.
Building the Frame
Using the 2x4 lumber, I cut pieces for the frame, starting with the base plate and the vertical studs. Each piece needed to be cut precisely, especially where angles were involved for the overhang. The framing nailer made quick work of assembling these pieces, although ensuring everything was square with the speed square took patience.
Attaching the Frame to the Wall
After constructing the frame, I marked where the studs in the existing room walls were and measured where I needed to remove the base trim for a snug fit. Securing the frame to the wall required long screws to penetrate through the drywall and into the studs, providing a strong anchor for the climbing wall.
Preparing the Plywood
Next up, I tackled the plywood sheets that would form the climbing surface. After marking an 8-inch by 8-inch grid, I drilled holes for the T-nuts. These nuts would hold the climbing holds securely. It was critical to drill from the side of the plywood that would face outwards to minimize splintering. Inserting the T-nuts from the backside then ensured a smooth front surface for climbers.
Installing the Plywood
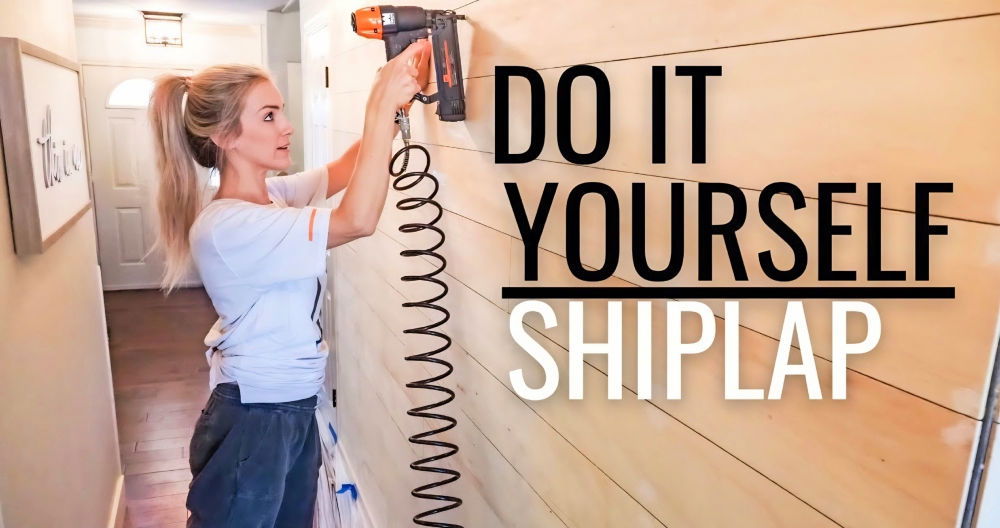
With the frame in place and the T-nuts installed in the plywood, I began screwing the plywood sheets onto the frame. It was exciting to see the climbing wall take shape, though I had to remember to leave space for the air duct and electrical outlet by making custom frames around them.
Sanding and Finishing
Before calling the wall finished, I sanded down all edges and surfaces to protect little hands from splinters. I opted for a clear polycrylic finish to protect the wood while keeping options open for future painting or staining.
Building this indoor climbing wall was a rewarding but challenging experience. It not only tested my building skills but also required thorough planning and precision. The joy on my kids' faces as they tackled the wall for the first time made every hour spent on this project worth it.
Design and Customization of Your DIY Climbing Wall
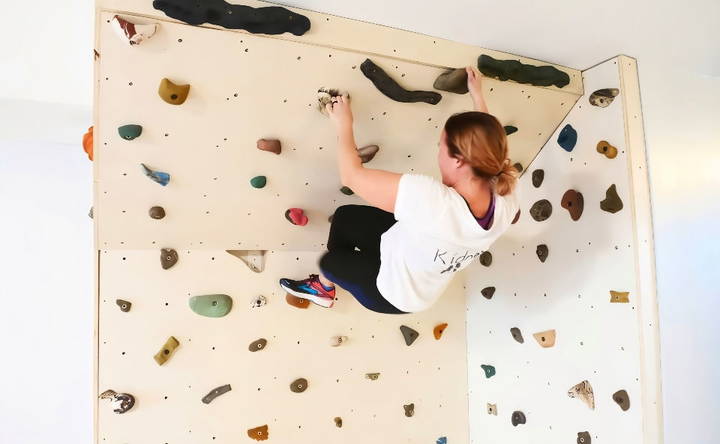
Designing and customizing your DIY climbing wall is a creative process that allows you to tailor the climbing experience to your preferences. Here's how you can approach this:
Wall Shape and Angle
The shape and angle of your climbing wall can greatly affect the difficulty and type of climbing. Consider the following:
- Vertical Walls: Ideal for beginners, they mimic the feel of climbing a real rock face.
- Overhanging Walls: More challenging, these walls are great for building strength and endurance.
- Slabs: Less than vertical, slabs are perfect for practicing balance and footwork.
Custom Holds and Features
You can make your wall unique by adding custom holds and features:
- Volumes: These are large, geometric shapes that add dimension to your wall. They can be made from scrap wood and positioned to build new climbing routes.
- DIY Holds: Build your own holds using wood or resin for a personalized touch. Ensure they are sanded smooth to prevent splinters.
Aesthetic Touches
Your wall doesn't just have to be functional; it can also be visually appealing:
- Color Coding: Paint holds in different colors to designate difficulty levels or to build visual routes.
- Theming: Decorate the wall to resemble a mountain range or your favorite outdoor climbing spot.
Safety and Comfort
While designing, never forget the safety and comfort aspects:
- Padding: Ensure the landing zone is well-padded with crash pads or soft mats.
- Texture: Apply a textured coating to the wall surface for better grip and a more realistic climbing experience.
The key to a great DIY climbing wall is making it challenging yet enjoyable. Keep it versatile so you can continuously build new problems to solve and routes to climb.
Safety Measures and Guidelines
Creating a safe climbing environment is essential. Here's how you can ensure safety for everyone using your DIY climbing wall:
Personal Protective Equipment (PPE)
- Climbing Harness: Wear a harness that fits well and is in good condition.
- Helmet: Protect your head with a climbing-specific helmet.
- Climbing Shoes: Use shoes that provide good grip and comfort.
Climbing Techniques
- Proper Form: Learn and practice proper climbing techniques to avoid strain or injury.
- Spotting: Always have a spotter who knows how to guide a fall safely.
Wall Construction Safety
- Sturdy Materials: Use high-quality materials that can support the weight of climbers.
- Secure Attachments: Ensure all holds and fixtures are tightly secured to the wall.
Emergency Preparedness
- First Aid Kit: Keep a fully stocked first aid kit nearby.
- Emergency Plan: Have a plan in place for handling accidents or injuries.
By following these guidelines, you can build a fun and safe climbing experience for everyone.
FAQs About DIY Climbing Wall
Get answers to all your FAQs About DIY Climbing Wall: materials, costs, safety tips, and step-by-step building guides for your home wall.
The cost of building a climbing wall at home can vary widely depending on the size of the wall and the materials used. A small, basic wall could cost as little as a few hundred dollars, while larger, more elaborate setups could run into the thousands. It’s best to budget for the materials, tools, and any professional help you might need for construction.
Plywood is the most common material used for the climbing surface due to its strength and affordability. The thickness of the plywood should be at least 3/4 inch to ensure durability. For outdoor walls, pressure-treated plywood or marine-grade plywood is recommended to withstand the elements.
Safety is paramount when building a climbing wall. Make sure the structure is securely anchored to the wall or ground. Use appropriate padding like crash mats under the climbing area. Regularly inspect the wall for loose holds or structural weaknesses. If you’re not confident in your building skills, consider hiring a professional to ensure the wall is constructed safely.
Yes, you can build a climbing wall outdoors, but you'll need to weatherproof it. Use pressure-treated or marine-grade plywood, and seal the wood to protect it from moisture. Stainless steel T-nuts and bolts are recommended to prevent rust. Remember that outdoor climbing holds may degrade faster due to weather exposure, so they will require more frequent inspection and replacement.
Maintaining your DIY climbing wall involves regular inspections for loose holds and structural integrity. Clean the holds with mild soap and water to remove chalk and dirt buildup. For wooden surfaces, use a damp cloth to wipe down without soaking the wood. If your wall is outdoors, check for weather-related damage and reapply sealant as needed to protect the wood.
Conclusion:
In the end, I felt proud of the wall we built and the memories it buildd. You can build these lasting moments, too. Try out this DIY climbing wall on a weekend. It's simple, fun, and a great way to spend time together. You'll see the joy and confidence it brings to your kids. Go ahead and start your own project today!


