Stepping stones are a fantastic way to add personality and creativity to your garden. Whether you're looking to build a charming walkway or simply enhance the natural beauty of your outdoor space, making your own DIY stepping stones is a rewarding project that anyone can do. In this detailed guide, we will cover each step of the process, offering helpful tips and unique ways to make your stepping stones your own.
Why Make Your Own Stepping Stones?
Stepping stones can be a lovely addition to any outdoor space, offering both practicality and visual appeal. However, making your own DIY stepping stones gives you complete control over the design, size, and materials. This customization allows you to match your garden's aesthetic and incorporate personal touches that make your stones unique.
Benefits of DIY Stepping Stones:
- Cost-effective: Making stepping stones at home can be far more affordable than purchasing pre-made ones.
- Creative Freedom: You can experiment with different designs, colors, and patterns.
- Personalization: Customize your stones with names, quotes, or memorabilia.
- Durability: When done right, DIY concrete stepping stones can last for many years.
Now, let's dive into the materials, tools, and step-by-step process of making your own stepping stones.
Materials Needed for DIY Stepping Stones
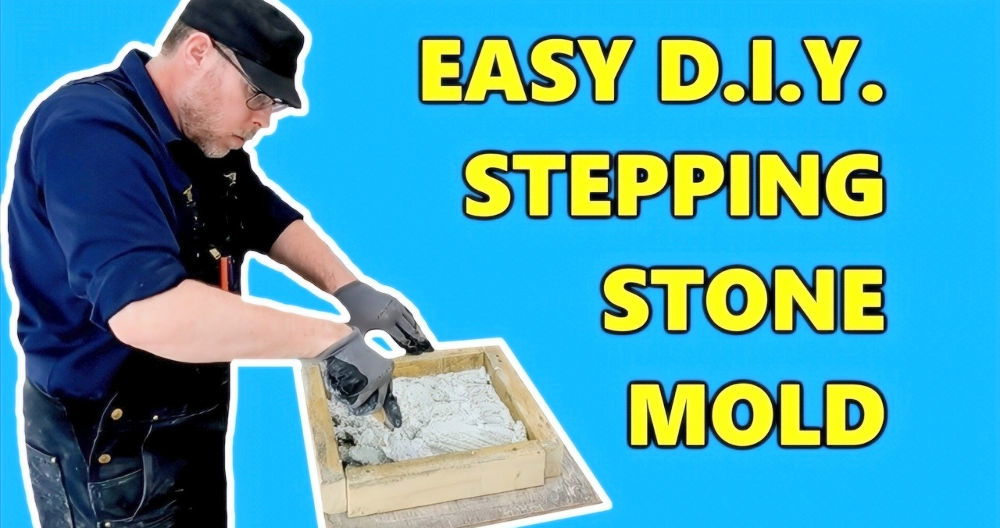
Before starting, gather all necessary materials and tools. Here is a comprehensive list based on the step-by-step tutorial mentioned in the transcript:
Materials:
- Quick Concrete Mix: This is the base for your stepping stones. Quick-drying concrete makes the process more efficient, and it's durable enough for outdoor use.
- Mesh Wire: This is crucial for reinforcing your stepping stones and preventing cracks. It helps stabilize the concrete as it dries.
- Decorative Elements: You can use various decorative materials such as colored rocks, marbles, pebbles, shells, or tiles to design your stones.
- Water: For mixing with the concrete.
Tools:
- Wire Cutters: To cut the mesh wire to fit your mold.
- Pie Plate or Molds: A pie plate is a simple and effective mold for stepping stones. You can also use silicone molds designed for concrete.
- Drill with Mixing Attachment: A powerful tool to mix your concrete evenly.
- Gloves: To protect your hands, especially when cutting wire or working with wet concrete.
- Spoon or Silicone Paddle: For scooping and spreading concrete.
Step by Step Instructions
Learn how to make beautiful DIY stepping stones with our step-by-step instructions. Follow easy steps from mixing concrete to designing your stones.
Step 1: Prepare Your Workstation
Making stepping stones can be a messy process, so it's essential to work in an area that's easy to clean. Set up your materials in a well-ventilated outdoor space or a garage, and cover your work surface with newspaper or plastic to catch any spills.
Step 2: Mix the Concrete
- Begin by scooping the concrete mix into a large bucket.
- Add water gradually, stirring as you go. It's essential to add small amounts of water at a time to avoid making the mixture too runny.
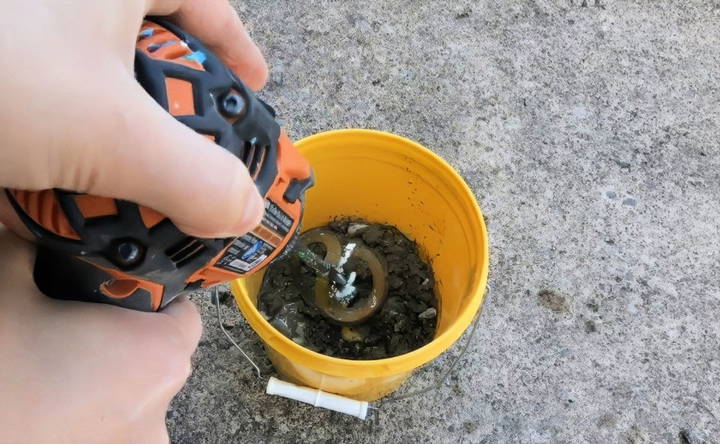
- Use the drill and mixing attachment to blend the concrete until you achieve a smooth, thick consistency. The ideal texture is similar to thick cake batter.
Pro Tip: Always follow the instructions on the concrete bag for the correct water-to-mix ratio. Too much water can weaken the concrete.
Step 3: Cut the Mesh Wire
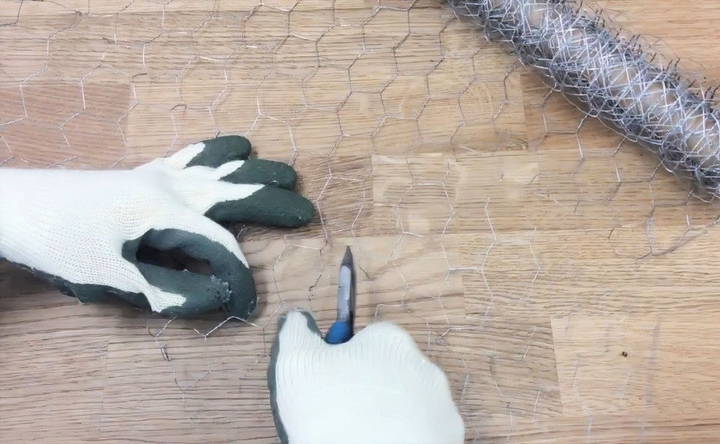
While your concrete mixture is settling, cut a piece of mesh wire using your wire cutters. The wire should fit comfortably inside your pie plate or mold, with enough space on the edges to be fully covered by concrete. Mesh wire reinforces the structure of the stone, reducing the likelihood of cracks as it cures.
Step 4: Fill the Mold
- Once your mesh wire is cut, it's time to start filling your mold.
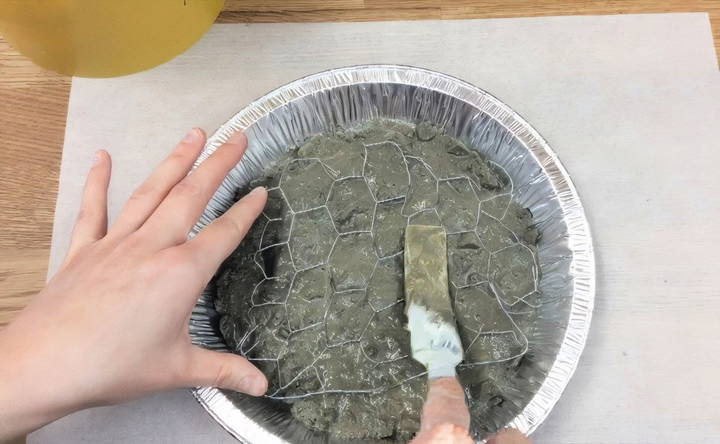
- Begin by pouring the concrete mixture into the mold, covering the bottom evenly. Aim to fill about one-third of the mold with wet concrete.
- Next, place the cut wire mesh on top of the concrete layer. This adds strength and prevents the stepping stone from breaking over time.
- Continue to fill the mold with more concrete until the wire is completely covered and the mold is full.
Step 5: Smooth the Surface
Using your silicone paddle or spoon, smooth out the top layer of the concrete. This step ensures an even surface for your designs and decorations.
- Pro Tip: Gently tap the sides of the mold to release any air bubbles that may have formed in the concrete. This helps prevent weak spots in the finished stone.
Step 6: Design Your Stepping Stone
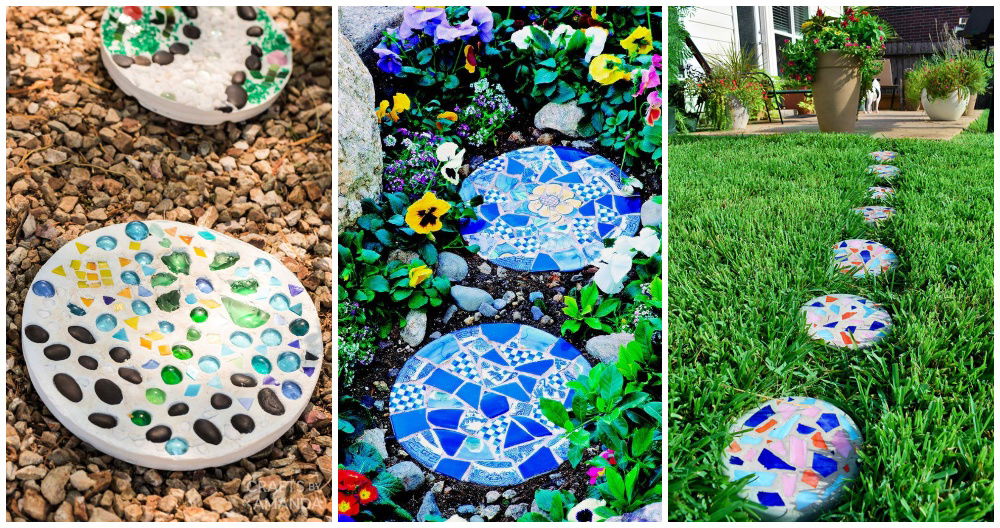
Here comes the fun part—decorating! With the concrete still wet, arrange your chosen decorative elements on the surface. Here are a few ideas to inspire your design:
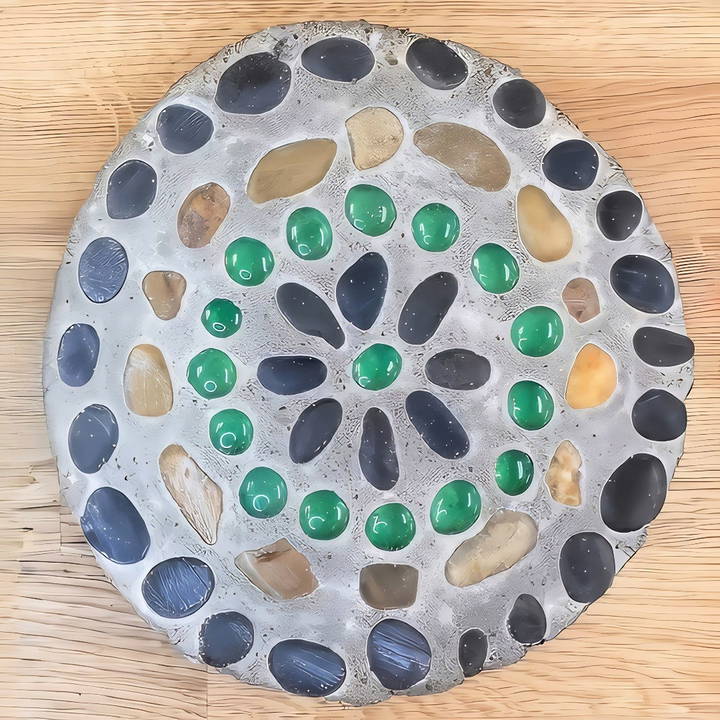
- Marble Flower Design: Place colored marbles in the center of the stone, arranging them like flower petals.
- Geometric Patterns: Use rocks, pebbles, or tiles to build simple yet striking geometric patterns.
- Nature-Inspired Designs: Collect natural items like leaves, shells, or pinecones and press them into the wet concrete for an organic look.
- Personalized Touch: If you'd like to personalize the stone, carve initials, a special date, or a meaningful word into the wet concrete with a stick or a tool.
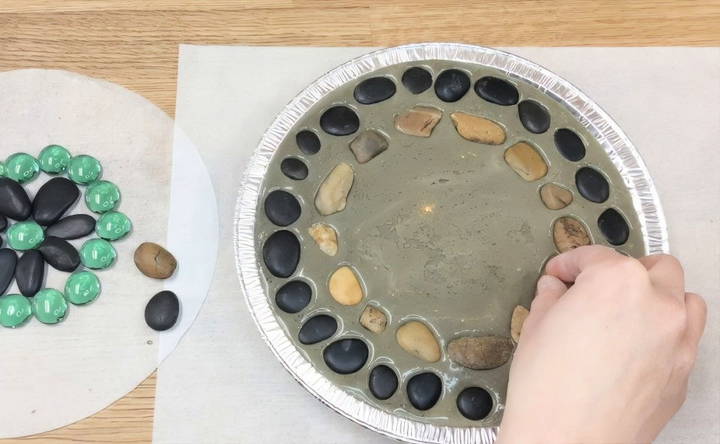
Be as creative as you'd like—there are endless possibilities!
Step 7: Let It Dry
Allow the stepping stones to dry completely. This process takes about 24 to 48 hours, depending on the weather and humidity. During this time, avoid moving the molds to ensure the stones are set evenly.
Step 8: Remove the Stepping Stones from the Mold
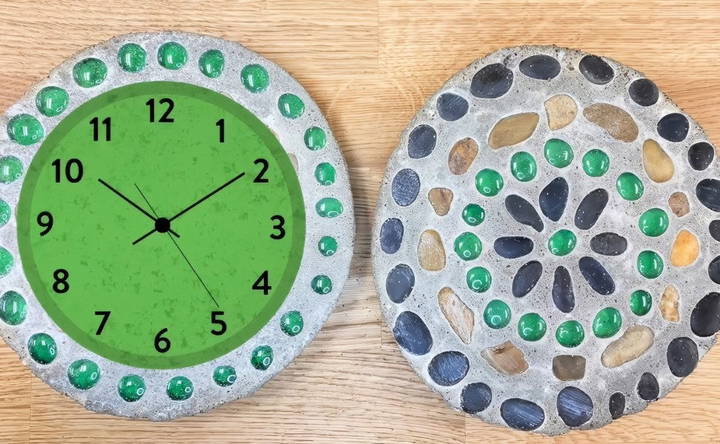
Once the stones have fully dried, carefully remove them from the molds. If you're using a silicone mold or pie plate, this should be relatively easy—just flex the mold until the stone pops out.
Step 9: Place Your Stepping Stones
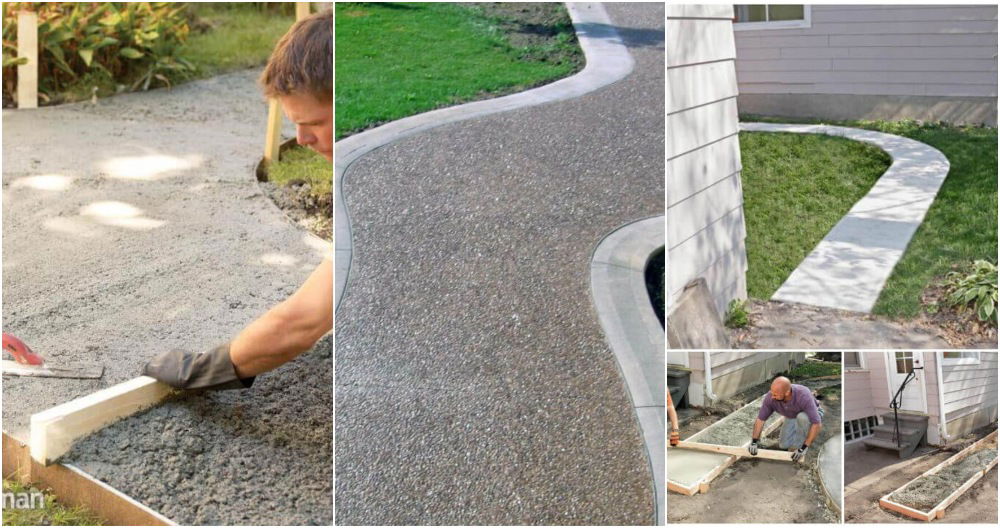
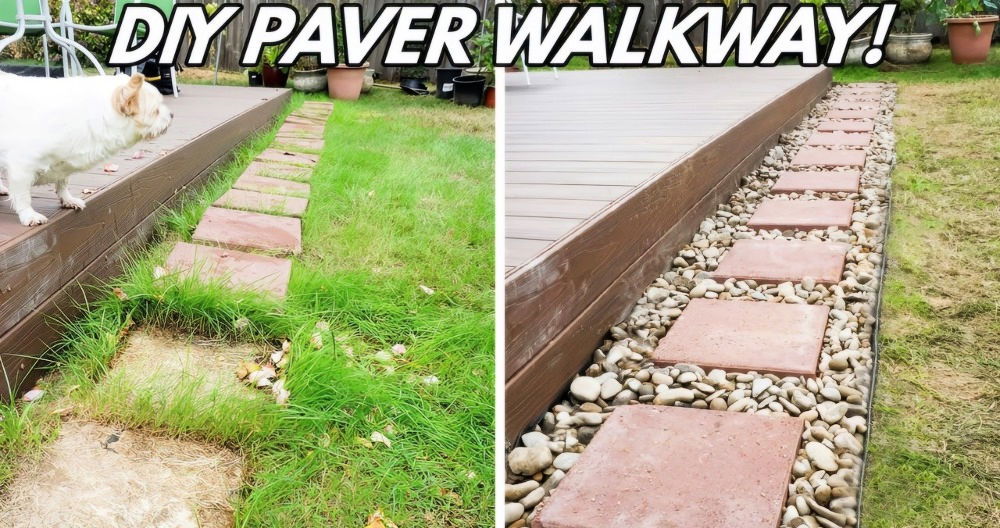
Now that your stepping stones are ready, you can arrange them in your garden or outdoor space. Build a walkway by spacing them evenly, or place them decoratively among flower beds. When positioning your stones, ensure they're level with the surrounding ground to prevent tripping hazards.
Creative Ideas for DIY Stepping Stones
While the basic method remains the same, there are numerous ways to get creative with your stepping stones:
- Mosaic Stepping Stones: Use broken tiles, glass pieces, or china to build colorful mosaic patterns. Arrange them in intricate designs or abstract shapes for a unique look.
- Stamped Stepping Stones: Press leaves, flowers, or even animal footprints into the wet concrete to build detailed impressions that capture a natural aesthetic.
- Glow-in-the-Dark Stones: Add glow-in-the-dark pebbles or paint to your stepping stones. These will absorb sunlight during the day and softly illuminate your garden path at night.
- Handprint Stones for Kids: Let children press their handprints into the concrete and write their names or ages. These stones serve as charming mementos and can build a family memory garden.
Tips and Tricks for Perfect Stepping Stones
- Choose the Right Concrete: Opt for quick-drying concrete specifically designed for outdoor projects. This type of mix is weather-resistant and will withstand the elements better than general-purpose concrete.
- Keep Your Stones Even: While pouring the concrete, ensure the surface is level. Uneven stones may cause tripping or look awkward when placed in the garden.
- Reinforce Large Stones: For larger stepping stones, use thicker wire mesh or add extra layers of concrete to ensure they don't crack under pressure.
- Protect Your Work: Wear gloves while working with concrete to avoid irritation or injury.
- Seal Your Stones: For added longevity, you can seal your stepping stones with a concrete sealer. This will protect the surface from moisture and stains, ensuring they look beautiful for years to come.
Conclusion
Making your own DIY stepping stones is a fun, creative, and practical way to enhance your garden or outdoor space. With the right materials and a little patience, you can build personalized stones that reflect your style and stand the test of time. Whether you choose to keep it simple or get elaborate with decorations, the process is enjoyable, and the result is something to be proud of.
So, gather your materials, follow the steps in this guide, and start crafting beautiful stepping stones that will leave a lasting impression in your garden!
FAQs About DIY Stepping Stones
Discover answers to all your questions about DIY stepping stones with our comprehensive FAQs guide. Perfect for crafting personalized garden paths.
You can use a variety of items as molds, including pie plates, silicone molds, or even recycled containers like shallow trays or plastic bins. Just ensure the mold is sturdy enough to hold the weight of the concrete as it dries.
To minimize cracking, use mesh wire in the center of the concrete for reinforcement. The wire helps stabilize the stone as it dries and strengthens it against weathering and pressure.
Add water gradually to the concrete mix, aiming for a consistency similar to thick cake batter. Start with small amounts and mix thoroughly until the desired texture is reached to avoid weakening the concrete.
Absolutely! You can use marbles, pebbles, shells, or even leaves to build unique patterns. Carving names or adding mosaic tiles are other fun ways to personalize your stones.
Stepping stones typically take 24 to 48 hours to fully dry, depending on the humidity and temperature. Ensure they are placed in a stable area where they won't be disturbed during the drying process.
While it's not strictly necessary, sealing your stepping stones with a concrete sealer can protect them from moisture, prevent staining, and extend their durability in outdoor environments.
For larger stones, reinforce the concrete with a thicker layer of mesh wire and make sure the concrete mixture is evenly spread. This will help prevent cracks from forming under heavier foot traffic.


