Learn how to do DIY acrylic nails at home with this beginner's guide. Easy steps, tips, and tools for perfect nails every time, based on insights from an easy-to-follow tutorial. Whether you're working on your own nails or helping someone else, we'll cover everything you need, from prepping the nail to applying the perfect acrylic beads, ensuring a flawless finish.
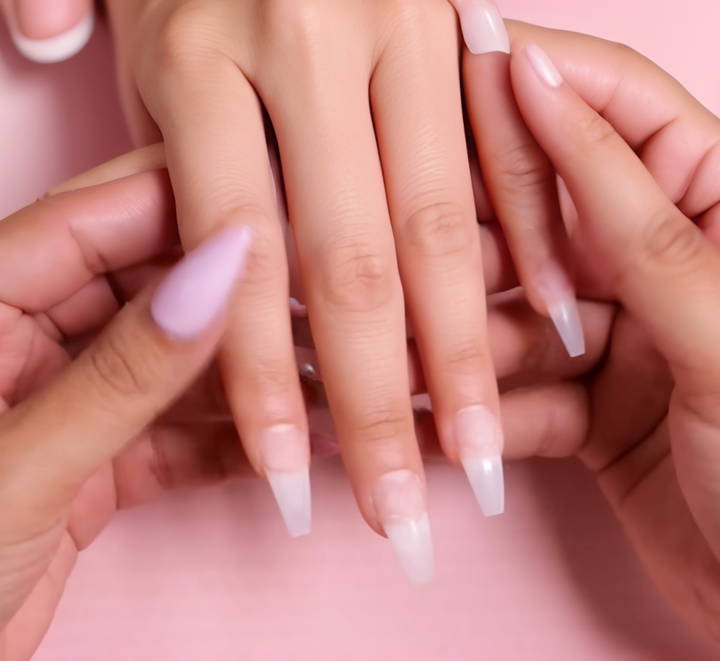
What Are Acrylic Nails?
Acrylic nails are a popular nail enhancement method made by combining a liquid monomer with a powdered polymer to make a paste. This paste is applied to the natural nail or a nail tip and forms a hard protective layer. Acrylic nails are known for their durability and can last several weeks with proper care.
Tools You'll Need for Acrylic Nails
Before getting started, gather all the necessary tools and products. Here's what you'll need for a basic DIY acrylic nail application:
- Acrylic Powder (e.g., Clear, Iconic, Daydreamer, or any preferred color)
- Liquid Monomer (used to form the acrylic)
- Nail Tips (optional, depending on your desired length)
- Primer (to prep the nail and enhance adhesion)
- Dehydrator (to remove moisture from the nails)
- Top Coat (for the final glossy finish)
- Nail File (to shape the nails)
- Cuticle Pusher (for preparing the cuticles)
- Sanding Band or Buffer (to remove shine from the natural nail)
- Brush (for applying acrylic)
- Cuticle Oil (to nourish cuticles after the application)
With these items in hand, you're ready to start making beautiful acrylic nails!
Step by Step Instructions
Get flawless nails at home with our step-by-step instructions on DIY acrylic nails. From prepping to finishing, achieve salon-quality results easily!
Step 1: Preparing the Natural Nail
Proper nail preparation is essential for achieving long-lasting acrylic nails. Here's how to prep the nails correctly:
- Push Back the Cuticles: Gently push back the cuticles using a cuticle pusher. This clears the area for the acrylic to adhere and prevents lifting. Be careful not to push too hard, as this can damage the nail bed.
- Remove Shine: Using a medium to fine grit sanding band or nail buffer, lightly buff the surface of the natural nail to remove shine. Be gentle to avoid damaging the nail plate, as excess pressure can cause thinning.
- Clean the Nail Plate: Use a cuticle cleaning bit (optional) to clean around the cuticle and nail sidewalls for a neat and tidy finish.
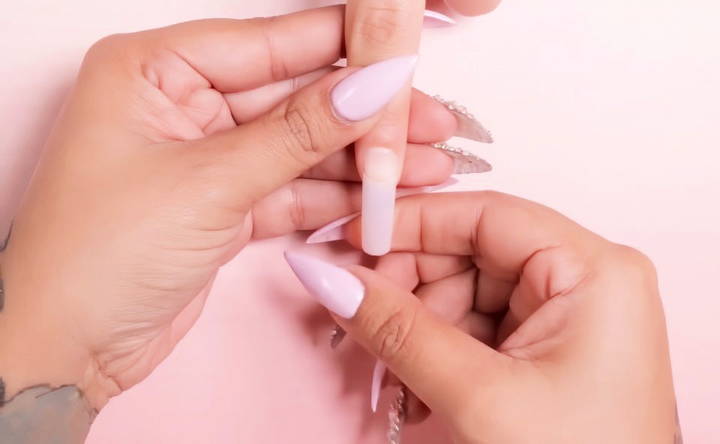
- Apply the Nail Tip (Optional): If you are using nail tips to extend the nail length, select a tip that fits sidewall to sidewall without being too large or too small. Apply the tip to the free edge of the natural nail, ensuring it's placed correctly for optimal bonding.
- Shape the Nail Tip: Once the tips are glued on, trim them to the desired length and shape using a nail clipper or file. Pre-shaping the nail before acrylic application helps you achieve a more precise and clean finish.
Step 2: Prepping the Nail Bed
Now that the natural nail is prepped, it's time to apply the essential products that will ensure your acrylics stay put:
- Apply Dehydrator: Apply the nail dehydrator to the natural nail bed. This removes oils and moisture, which can interfere with the acrylic bonding.
- Use Primer: After the dehydrator dries, apply a primer to the natural nail bed. The primer enhances adhesion, preventing lifting and ensuring the acrylic stays in place longer.
Step 3: Applying Acrylic
Learn the three-bead technique for applying acrylic and gain an understanding of acrylic beads for flawless nails. Perfect guide for nail enthusiasts.
Understanding Acrylic Beads
Before diving into acrylic application, it's important to understand the consistency of acrylic beads. Using the correct ratio of liquid monomer to acrylic powder is key:
- Wet Beads: Occur when there's too much liquid. They will be too runny and difficult to control, leading to weak structure.
- Dry Beads: These beads have too little liquid, making them stiff and hard to work with.
- Perfect Beads: A perfect bead is pliable and flows smoothly. To achieve this, dip your brush into the monomer, wipe off excess liquid, and then pick up the powder.
The Three-Bead Technique
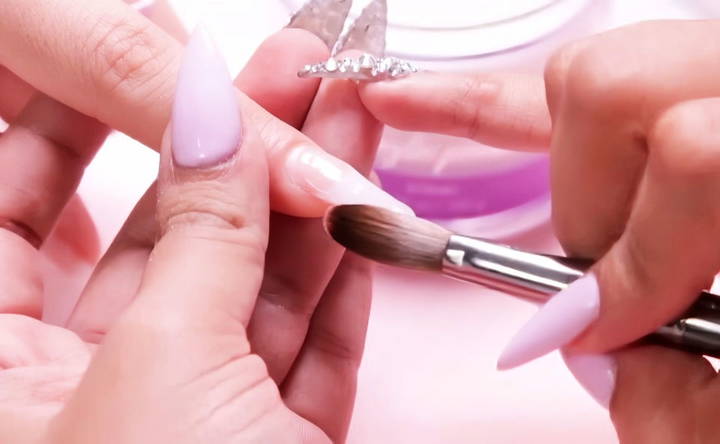
One popular technique for applying acrylic is the three-bead method. Here's how to apply acrylic using this method:
- Zone 1 - The Free Edge: Pick up a small bead and place it near the tip of the nail. Use the body of your brush to flatten the bead and drag it towards the free edge, tapering the acrylic for a clean finish.
- Zone 2 - The Apex: The second bead is placed in the middle of the nail, where the stress area is located. This bead should be slightly larger than the first, as this is where the nail needs the most strength. Feather the top of the bead to blend seamlessly with the previous layer.
- Zone 3 - The Cuticle Area: The final bead is applied near the cuticle. This bead should be the smallest, as it's meant to fill the gap between the cuticle and the apex. Use the tip of your brush to gently push the acrylic close to the cuticle, ensuring it doesn't touch the skin.
Step 4: Encapsulating the Nail
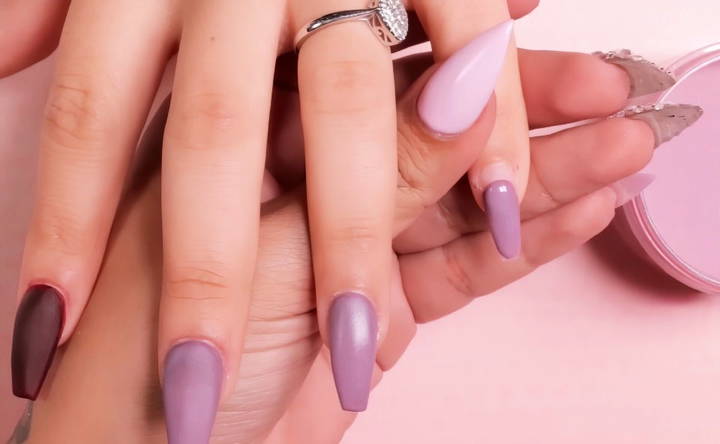
Encapsulating the nail is an optional but recommended step, especially if you are using colored acrylic powder. By applying a clear layer over the colored acrylic, you'll protect the color and provide additional strength.
- Encapsulate with Clear Acrylic: Pick up a small bead of clear acrylic and apply it over the entire nail surface. This layer should be thin, ensuring the nail doesn't become too bulky.
- Two-Bead Encapsulation: An alternative method is using two zones for encapsulation: one bead for the apex down to the free edge, and one bead for the cuticle area.
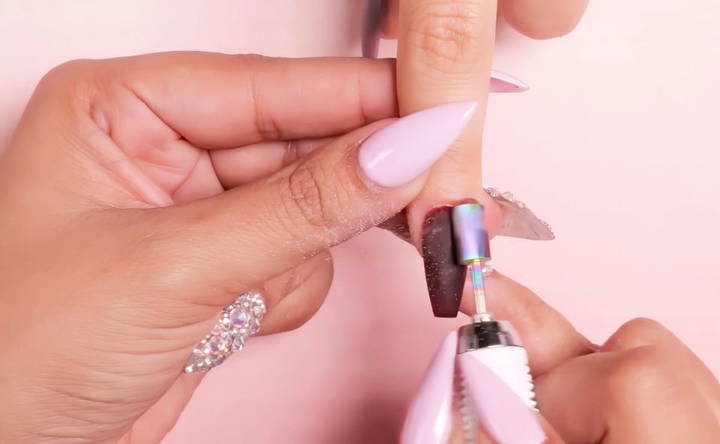
Step 5: Shaping and Filing
Once the acrylic is applied, it's time to perfect the shape:
- Check for Dryness: Tap the surface of the nails lightly to ensure the acrylic is dry. A "clicking" sound usually indicates the nails are set.
- Shape the Nail: Using a nail file, refine the shape of the nail. Focus on the sidewalls and the free edge, ensuring the shape remains consistent with your desired style (square, almond, coffin, etc.).
- Buff the Surface: After filing, use a buffer to smooth out any ridges or imperfections on the nail surface.
Step 6: Finishing Touches
The final step in the acrylic nail process is adding the finishing touches:
- Clean the Nails: Wipe the nails with a lint-free cloth and some alcohol to remove dust and debris from filing.
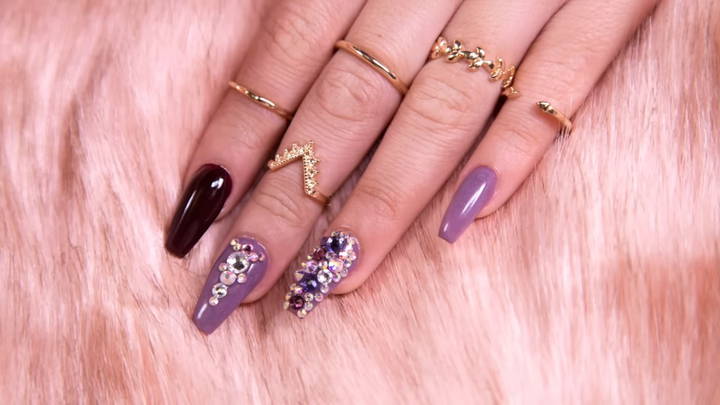
- Apply Gel Polish (Optional): If you or your client want gel polish or nail art, this is the stage to do it. Ensure the surface is clean before applying any polish.
- Top Coat: Use a non-wipe top coat for a glossy finish. This type of top coat cures without leaving a sticky residue, making it a popular choice for acrylics.
- Cure: Cure the top coat under a UV or LED lamp according to the product's instructions.
- Cuticle Oil: Finally, apply cuticle oil to nourish and moisturize the cuticles, leaving your nails looking salon-fresh.
Acrylic Nail Tips and Tricks
- Acrylic Sensitivity: Acrylic can be sensitive to temperature. In a warm environment, it sets more quickly, while in cooler temperatures, the acrylic may take longer to harden.
- Perfect Beads: Practice makes perfect. The right ratio of liquid to powder is crucial for smooth and even application.
- Minimal Filing: If you've applied the acrylic correctly, filing should be minimal. Pre-shaping the nail tip and smooth acrylic application reduce the need for heavy filing later.
Conclusion
Doing your own acrylic nails at home may seem intimidating, but with the right tools and technique, you can achieve professional-looking results. Remember to prep your nails carefully, master your acrylic bead consistency, and finish with a strong encapsulation and beautiful top coat. Over time, you'll find your flow and perfect your method, allowing you to enjoy gorgeous, long-lasting acrylic nails.
With this step-by-step guide, you're ready to make stunning acrylic nails that rival any salon job. So go ahead, grab your kit, and start experimenting with different designs and styles!
FAQs About DIY Acrylic Nails
Discover essential FAQs about DIY acrylic nails. Learn tips, tricks, and expert answers to your common questions for perfect at-home manicures.
If your acrylic bead is too runny, you're using too much liquid monomer. Dip your brush into the monomer and lightly wipe off the excess before picking up the powder. If the bead is too dry, there’s not enough monomer in the brush. Ensure a balance by lightly dragging your brush after dipping into the monomer for optimal consistency.
To avoid lifting, ensure the nail tip fits sidewall to sidewall. A tip that's too small or too large increases the risk of lifting. Properly blend the tip into the natural nail and apply the acrylic carefully to avoid gaps.
If the acrylic remains soft or powdery, you may be using the wrong ratio of monomer to powder. Acrylic is air-dried, so ensure proper ventilation and double-check the product mix for accuracy.
Yes, both primer and dehydrator are essential for the acrylic to bond securely. The dehydrator removes oils, and the primer enhances adhesion, reducing lifting and increasing longevity.
Yes, gel polish can be applied on top of acrylic nails. Ensure the acrylic is fully set, and then proceed with the gel application, curing it under a UV or LED lamp.
A UV or LED lamp is only required if you’re applying gel polish or gel top coats. Acrylic itself dries through air exposure and doesn't need a lamp.
Use a nail file with a medium grit to gently shape the sides and the free edge. Be cautious not to over-file, especially near the cuticle area, as this can weaken the acrylic and cause lifting.
For better durability, ensure thorough prep by properly cleaning the nail bed, using both a primer and dehydrator, and applying acrylic in thin, even layers. Regularly applying cuticle oil can also prevent the nails from drying out and lifting.
Encapsulation involves applying a clear acrylic layer over colored acrylic to protect the design. It isn't always necessary, but it is highly recommended when using color acrylics to maintain longevity and strength.
Acrylic is temperature-sensitive. In warmer environments, it sets faster, whereas cooler temperatures slow the drying process. Adjust your application speed based on your surroundings to ensure smooth results.


