Gel manicures have gained immense popularity, not just for their durability but also for their long-lasting shine. However, regular salon visits can be expensive and time-consuming. The good news is that doing your own gel nails at home is simpler than you might think. Whether you're a beginner or someone looking to perfect their skills, this DIY guide will walk you through every step of making professional-looking gel nails at home.
Why Choose Gel Nails?
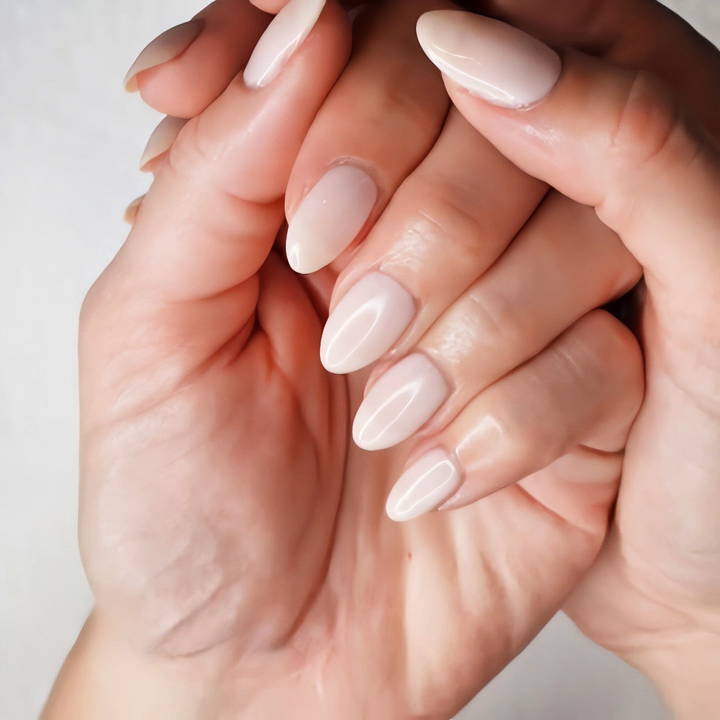
Gel nails stand out because of their durability and shine. Unlike regular polish, gel manicures can last up to two weeks without chipping. With a proper base coat, color, and top coat cured under a UV or LED lamp, your nails will maintain their glossy finish and remain strong for an extended period. Plus, gel polish dries almost instantly, which means no more smudging your freshly painted nails.
What You'll Need for a DIY Gel Manicure
Before we dive into the steps, let's go over the essential tools and products you'll need to complete a gel manicure at home:
- Crystal nail file (gentle for shaping)
- Gritty nail file (for reshaping and shortening nails)
- Cuticle pusher (to prepare the nail bed)
- Buffing cube (for prepping the nail surface)
- Gel polish set (base coat, color polish, top coat)
- Gel nail dehydrator (to remove oils from the nail bed)
- UV/LED lamp (for curing the gel polish)
- Isopropyl alcohol (to remove the sticky layer after curing)
- Cuticle oil (to nourish and hydrate your nails after the manicure)
With these tools in hand, you are ready to begin your journey into gel nails.
Step by Step Instructions
Learn how to do DIY gel nails with our step-by-step guide. Follow 8 easy steps from shaping to finishing touches for salon-quality nails at home!
Step 1: Shaping Your Nails
Start by shaping your nails to your desired length and shape. A common choice is the almond shape, which elongates the fingers. The key here is to file your nails in one direction, especially if you're using a grittier file. Filing in both directions can cause splitting and peeling.
Here's a quick guide:
- Use the gritty file to shape the nails, rounding out the top to get the desired almond shape.
- Once the rough shaping is done, switch to a crystal file to smooth the edges. You can move the file back and forth gently with this one since it's less likely to damage your nails.
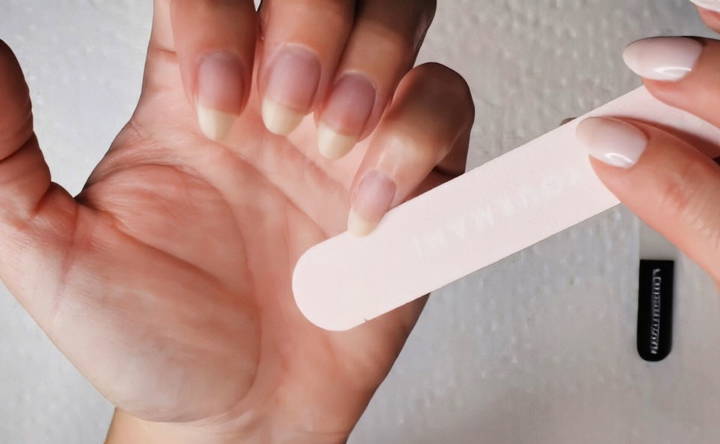
Expert Tip: If your nails tend to break easily, using a crystal file regularly can help you maintain strong and smooth nail edges.
Step 2: Preparing the Nail Surface
Proper preparation is crucial for ensuring your gel manicure lasts. This involves pushing back your cuticles and buffing the surface of your nails to make a smooth base for the gel polish.
- Cuticle Care: Use a cuticle pusher to gently push back your cuticles. This step ensures that no skin overlaps the nail, preventing the gel from lifting prematurely. Maintain your cuticles regularly to keep them neat and tidy.
- Buffing: Use a buffing cube or a soft file to lightly buff the surface of your nails, focusing on the perimeter near the cuticle. This roughens the nail bed slightly, helping the polish adhere better. Avoid over-buffing, as this can weaken the nails.
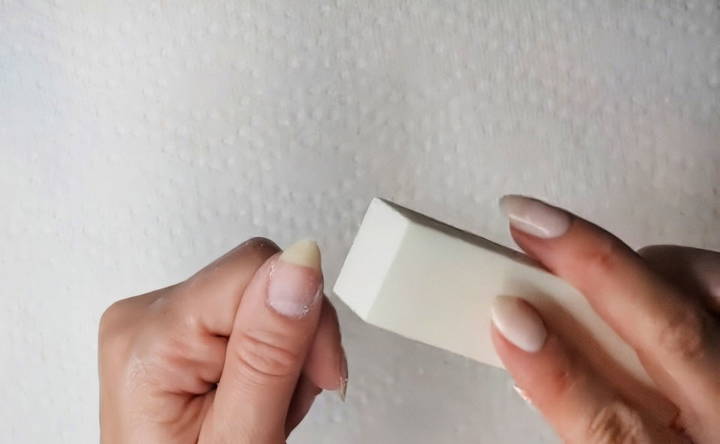
Expert Tip: Many salons use electric drills for this step, but for at-home manicures, a gentle hand buff is sufficient. It reduces the risk of damaging the natural nail and keeps the nails healthy.
Step 3: Cleanse and Dehydrate the Nails
After buffing, it's important to cleanse your nails. Any leftover oils, dust, or debris can prevent the polish from sticking properly.
- Dehydration: Apply a nail dehydrator (like the Gelish pH bond) to each nail. This product removes oils and prepares your nails for the base coat, ensuring a longer-lasting manicure.
Expert Tip: Even if you don't have a professional nail dehydrator, isopropyl alcohol can be used to clean the nail surface before applying the polish.
Step 4: Apply the Base Coat
The base coat is the foundation of your gel manicure. A thin, even layer helps the color adhere and protects your natural nail.
- How to Apply: Using your gel base coat (Gelish is recommended), apply a thin layer to each nail. Make sure to cap the free edge (the tip of the nail) to help prevent chipping. Try not to get the polish on your cuticles or skin, as this can cause lifting.
- Curing: Once the base coat is applied, place your hand under the UV or LED lamp and cure for the recommended time, usually around 30 seconds to 1 minute, depending on your lamp.
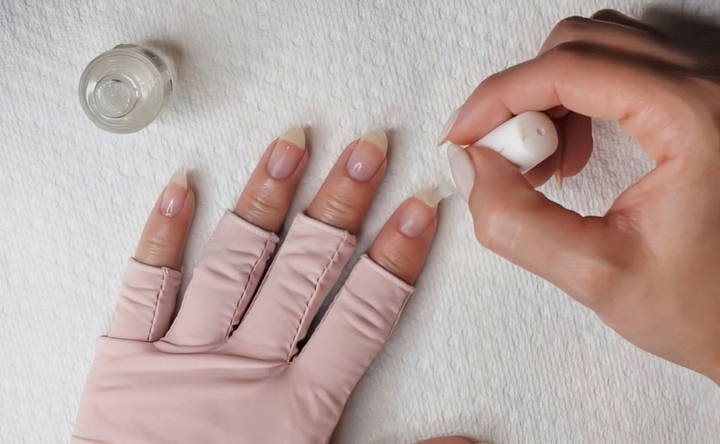
Expert Tip: Less is more! Avoid applying too much polish. Thin layers cure better and prevent the polish from looking bulky or uneven.
Step 5: Applying Gel Polish
Now comes the fun part—choosing your color! Gel polish comes in a wide range of shades, so pick something that suits your mood or occasion.
- First Coat: Start with a thin, even coat of your gel polish color. Gelish polishes are highly recommended for their smooth application. Avoid overloading your brush, as too much polish can lead to bubbling or uneven layers.
- Cure: Cure the first layer under the lamp for 30-60 seconds.
- Second Coat: Apply a second coat for a more opaque finish. Curing between coats ensures each layer dries properly and prevents smudging.
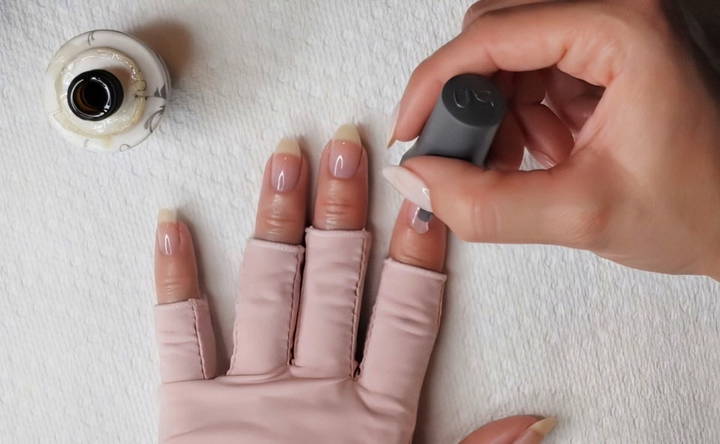
Expert Tip: If you're looking for a deeper or more vibrant color, you can apply a third coat. Just remember to cure between each layer!
Step 6: Sealing with the Top Coat
The top coat is what gives gel nails their famous shine and longevity.
- How to Apply: Use a gel top coat and apply it evenly over the color. This layer locks in the color and adds a protective, glossy finish. Make sure to cap the edges of your nails to prevent chipping.
- Curing: Cure the top coat under the lamp for 1-2 minutes. It's important that this layer is fully cured to avoid any tackiness.
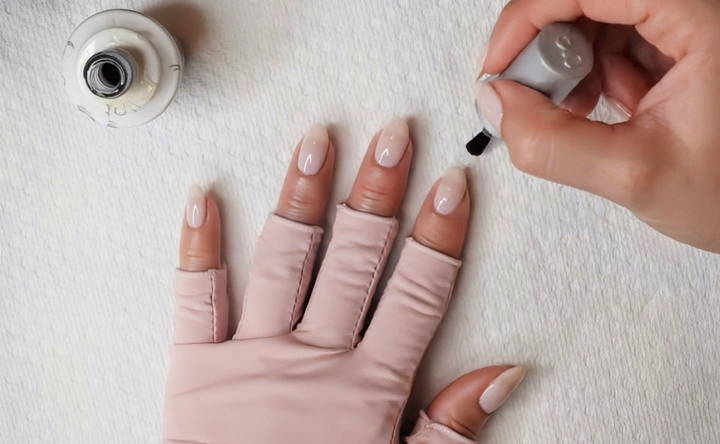
Expert Tip: Top coats can sometimes be runnier than the color polish. Be cautious about how much you apply to avoid flooding the cuticle area. If this happens, clean it up with an orange stick before curing.
Step 7: Cleanse the Nails
After curing the top coat, your nails may feel a little sticky. This is normal! The sticky layer helps the polish adhere during the process, but now it's time to remove it.
- Cleansing Solution: Spray or dab a bit of isopropyl alcohol (or a specialized cleansing solution) onto a cotton round and gently wipe each nail. This will remove the sticky residue, leaving your nails glossy and smooth.
Expert Tip: Don't cleanse your nails between coats, as the sticky layer helps each layer bond. Only cleanse after your final top coat is cured.
Step 8: Finishing Touches: Filing and Cuticle Oil
Your gel manicure is almost complete! Just a couple of final steps to finish it off:
- Final Filing: Sometimes, after curing, the edges of your nails can feel a little rough. Gently file the edges with a crystal file to smooth them out.
- Cuticle Oil: Apply a nourishing cuticle oil (such as sweet almond oil) to rehydrate your nails and skin. Massage it into the cuticles to keep them soft and healthy.
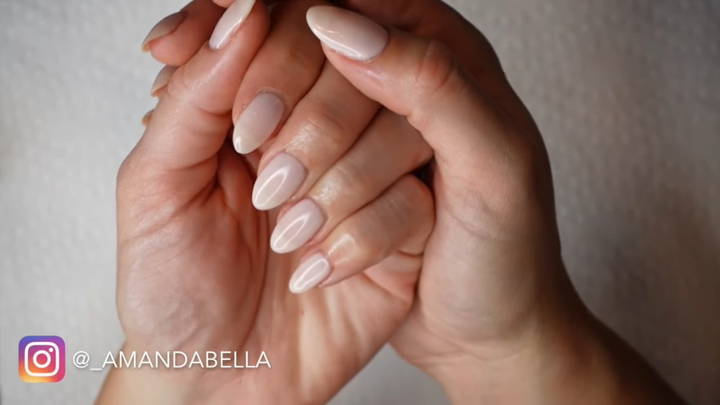
Expert Tip: Cuticle oil isn't just for post-manicure care. Regular application can help keep your nails and skin hydrated, which is especially important for preventing brittle nails.
Maintaining Your Gel Nails
One of the greatest things about gel nails is their longevity. However, a few tips can help ensure your manicure looks flawless for as long as possible:
- Avoid Harsh Chemicals: Gel polish is durable, but harsh cleaning chemicals can still cause it to weaken or lift. When doing housework, wear gloves to protect your nails.
- Moisturize Regularly: Cuticle oil isn't just for after your manicure—use it daily to keep your nails hydrated and healthy.
- No Peeling: Even if the gel starts lifting, avoid peeling it off. Peeling can damage your natural nail. Instead, soak them off with acetone when it's time to remove them.
Conclusion
DIY gel nails are not only a cost-effective solution but also a fun way to express your creativity. By following these steps and using the right tools, you can achieve salon-quality results in the comfort of your home. With a little practice, you'll master the process and enjoy stunning, long-lasting nails that make you proud.
Now that you're equipped with all the knowledge, give it a try and see just how beautiful and easy gel nails can be!
FAQs About DIY Gel Nails
Get all your FAQs about DIY gel nails answered. Learn how to achieve salon-quality nails at home with our expert tips and tricks.
To remove gel nails, soak a cotton ball in acetone, place it on each nail, and wrap with foil. Let it sit for 10-15 minutes. Avoid peeling off gel, as it can damage your natural nails. You can also use gel removal clips for ease.
Peeling is often caused by poor nail prep. Make sure to buff the nail surface slightly to make a rough texture for better adherence. Additionally, avoid getting polish on your skin, as this can cause lifting.
Primers aren’t always necessary but can help if you have oily nails or struggle with lifting. If you’re using a dehydrator, it’s okay to skip the primer and proceed directly to the base coat.
Cure times vary by product. Typically, base and color coats should be cured for 30-60 seconds, while the top coat may take 1-2 minutes. Always follow the manufacturer's guidelines for best results.
Yes, you can apply regular polish over a gel base. Just ensure that the gel base is fully cured. Avoid using a gel top coat over regular polish unless it's fully dry, or it may smudge.
Wearing UV-protective gloves or applying sunscreen to your hands can help protect against UV light exposure during curing. This is especially important for those who frequently do gel nails.
It's normal for gel nails to feel sticky after curing. Use isopropyl alcohol or a cleanser to wipe off the sticky layer, which will reveal a smooth, shiny finish.
Cracking or lifting often happens due to improper nail prep or applying the polish too thickly. Make sure to buff and clean the nail thoroughly before application and apply thin, even coats of polish.
Yes, you can file the edges of your nails after the gel polish is cured to smooth any rough spots. However, be gentle to avoid chipping the gel.
Using cuticle oil after a gel manicure helps keep your nails hydrated and prevents breakage. Regular use of cuticle oil also contributes to overall nail health.


