Ombre nails have become a huge trend in the beauty world, and for good reason. These gradient nails offer a soft, elegant look with endless color possibilities. The beauty of ombre nails lies in their versatility and creativity; from vibrant hues to subtle gradients, you can tailor the look to any occasion. Whether you're a beginner or a seasoned nail artist, learning how to perfect the ombre technique can elevate your nail game to new heights.
Mastering the ombre technique can elevate your nail game to new heights. In this guide, you'll learn how to achieve flawless ombre nails using regular polish. We'll cover essential tips, dos and don'ts, and expert tricks to make sure your nails look fabulous every time.
What Are Ombre Nails?
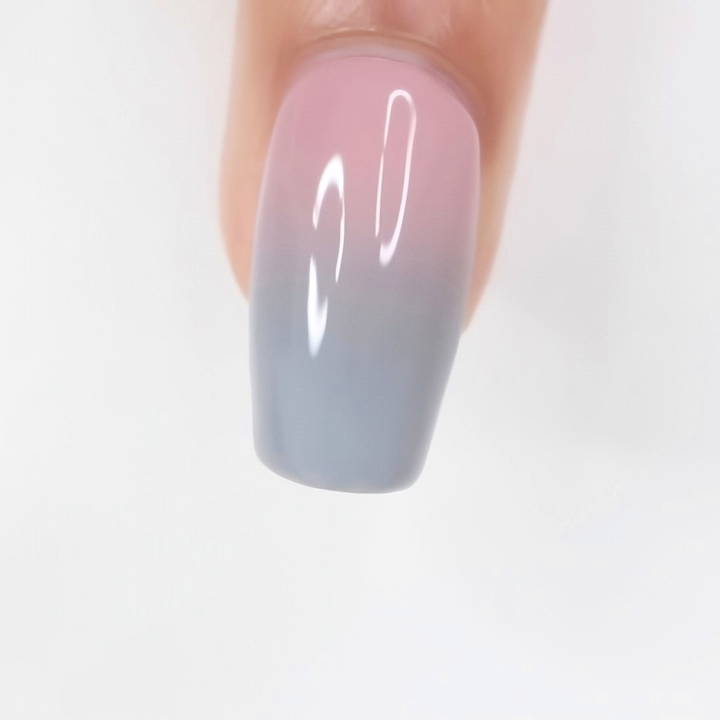
Ombre nails refer to a nail design where the color gradually transitions from one shade to another, creating a seamless gradient effect. This can be achieved using various colors, from light to dark or with contrasting colors that blend together harmoniously. The look is both eye-catching and sophisticated, making it a popular choice for all kinds of events.
Tools You'll Need for Ombre Nails
Before you dive into creating your ombre nails, make sure you have the following tools and materials ready:
- Makeup sponges: These are the keys to blending colors and achieving that smooth gradient effect.
- Nail polish: You'll need at least two nail polish colors (you can use more if you want a more complex gradient).
- Base coat and top coat: To protect your nails and seal in the design.
- Barrier protection: Liquid latex, tape, or a similar barrier to protect your cuticles from polish.
- Nail polish remover and a small brush: For cleaning up any excess polish around the nail edges.
- Tweezer (optional): To help with removing the barrier or tape after polishing.
Step by Step Instructions
Learn how to make stunning ombre nails with step-by-step instructions. From preparation to sealing, achieve perfect blends and explore creative variations.
Prepare Your Nails
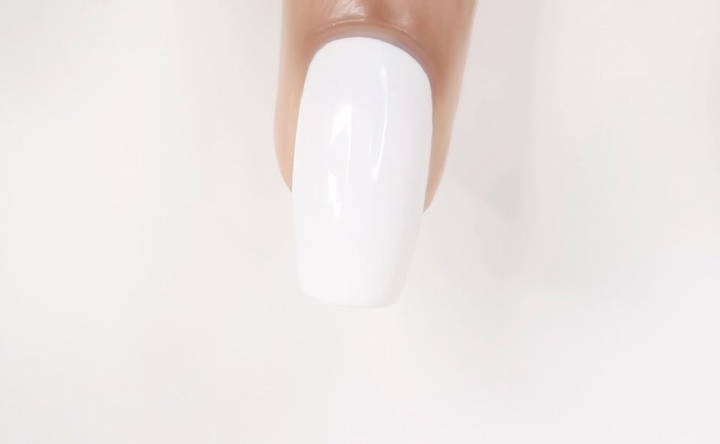
Start by prepping your nails. File and shape them to your desired length, push back your cuticles, and buff the surface lightly. Afterward, apply a base coat to protect your nails and provide a smooth surface for the ombre design. Let this base coat dry completely before moving on to the next step.
Choose Your Colors
You can create an ombre effect with as few as two colors or as many as four or five. For beginners, it's recommended to start with colors that are close to each other on the color wheel (e.g., pink and purple, blue and green). This will make blending easier. Alternatively, pick complementary colors like pink and blue, which blend to create a third color, making the transition smoother.
- Tip: For a more vibrant finish, start with a white base coat. White enhances the brightness of the polish colors and makes them pop more.
Apply a Barrier
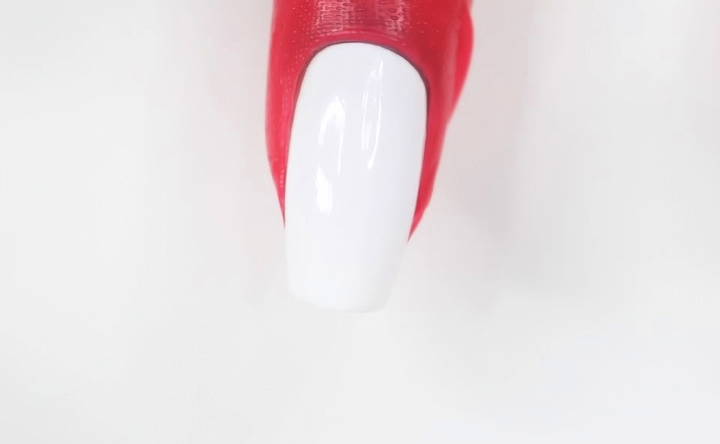
To avoid a messy cleanup, apply a barrier around your nails. You can use liquid latex, mani tape, or even Elmer's glue. Wrap the barrier around the skin near your nails to protect your fingers from excess polish during the sponging process. If you don't have access to these materials, regular scotch tape can work in a pinch.
Apply the Nail Polish to the Sponge
Once your nails are prepped and your barrier is applied, it's time to focus on the color application. Take a clean makeup sponge and apply a stripe of each nail polish color directly onto the sponge. Make sure the stripes are thick enough to cover the length of your nail. You can apply the lightest color at the base and gradually work toward the darker shade at the tip.
- Pro Tip: Avoid saturating the sponge with too much polish. You should be able to see the sponge's pores clearly after application. If it's too wet, let the polish dry slightly before applying it to your nails.
Start Sponging
Gently dab the sponge onto your nail, bouncing up and down to transfer the colors. You'll notice that the first layer will be very light, and that's perfectly fine. Don't try to get full coverage on the first attempt.
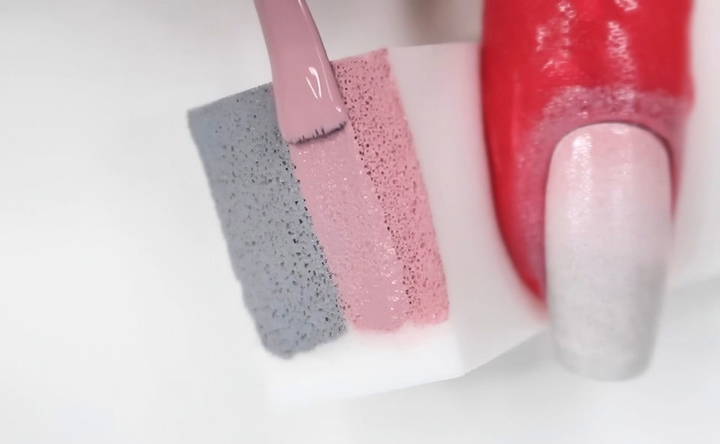
After the first coat is applied, wait a few minutes for it to dry before repeating the process. Sponging wet layers onto each other can cause the polish to lift, creating a patchy look. You'll need to sponge on multiple layers (usually about three or four) to build up the opacity and achieve the gradient effect.
Blending the Colors
One of the secrets to a flawless ombre is the blending process. As you apply each layer, the colors will begin to merge seamlessly. If you're using colors that don't blend easily, consider adding a transition color to the sponge. For example, if you're working with blue and pink, adding a stripe of purple in the middle will help create a smooth transition.
Let Each Layer Dry
Patience is key here. Allow each layer to dry completely before applying the next one. This usually takes about three minutes per layer. If you're doing a full set of nails, by the time you finish the last nail, the first one should be dry and ready for the next coat.
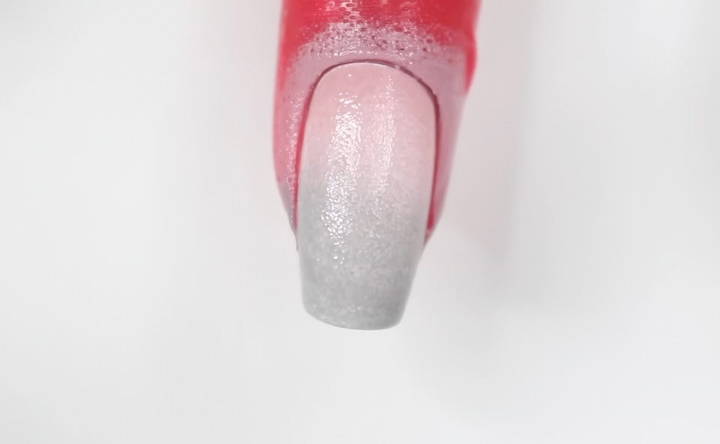
- Don't Rush: If you sponge onto wet polish, it will pull up the previous layer and leave bald spots on your nails.
Finishing Touches
After you're satisfied with the opacity and blending of the gradient, carefully remove the barrier around your nails. If you've used tape or liquid latex, peel it away slowly to avoid smudging the wet polish. For any residual polish on your skin, dip a small brush into nail polish remover and gently clean around the nail edges.
Seal the Design
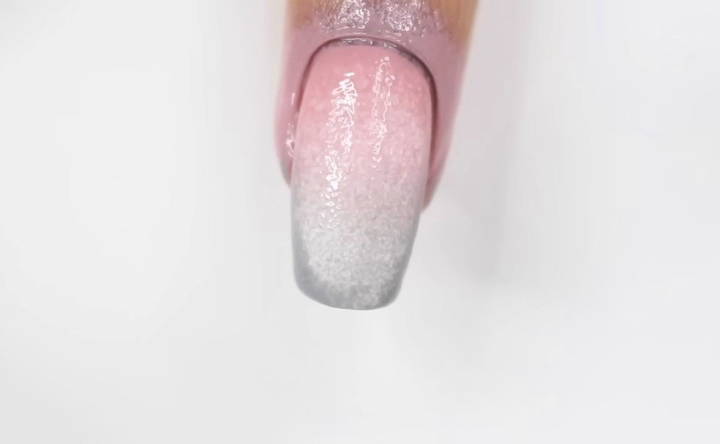
Once your nails are dry and cleaned up, apply a generous top coat to seal in the design and give your nails a glossy, smooth finish. The top coat will also help blend the colors even more and prevent chipping.
Dos and Don'ts of Ombre Nails
Discover the ultimate dos and don'ts of ombre nails to achieve perfect gradients and stylish nail designs effortlessly.
Dos
- Do use a base color: A white or light-colored base helps enhance the final look of the gradient, making the colors pop.
- Do clean the sponge: Before applying the polish, use a piece of tape to pick off any lint or small particles from the sponge. This ensures a smooth application without unwanted texture.
- Do let each layer dry: Allow enough drying time between layers to prevent streaking or peeling.
- Do cut off the hardened part of the sponge: Sponges can become hard after repeated use. Cutting off the front part can give you a fresh surface for smoother application.
Don'ts
- Don't use a sponge that is too wet: If your sponge is overly soaked, it can result in a gloopy mess on your nails. Wait for the polish to dry slightly on the sponge before applying it.
- Don't over-sponge: Once the nail is fully covered, stop dabbing. Over-sponging can cause the sponge to shed and stick to your polish.
- Don't rush the process: Applying wet polish layers on top of each other will cause lifting and uneven patches.
Creative Ombre Variations
Once you've mastered the basic ombre technique, you can experiment with various styles:
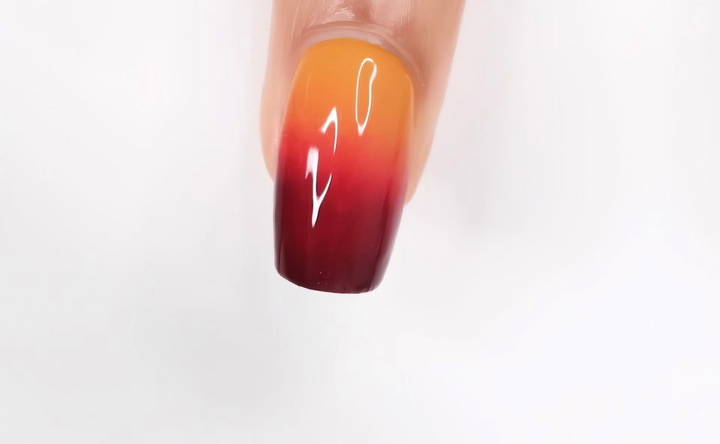
- Multicolor Ombre: Use three or more colors for a more complex gradient effect.
- Glitter Ombre: After applying your gradient, add a layer of glitter polish to the tips of your nails for a glamorous look.
- Vertical Ombre: Instead of a gradient that moves from the base to the tip, try a vertical ombre that blends colors side by side.
Final Thoughts
Achieving perfect ombre nails with regular polish is a skill that takes practice, but once you get the hang of it, the possibilities are endless. Remember to take your time, use the right tools, and have fun experimenting with different color combinations. With these tips and tricks, your ombre nails will look professional and flawless every time.
FAQs About How to Do Ombre Nails
Discover expert tips and answers to FAQs on how to do ombre nails at home for a flawless, salon-like finish every time.
You can use alternatives like Elmer’s glue or scotch tape to create a barrier around your nails. These options will help protect your skin from excess polish, making cleanup much easier.
No, you should not dampen the sponge. It is best to use the sponge dry when applying the polish. If the sponge is too wet, it can cause the polish to clump or not blend properly.
To prevent sponge marks, ensure the sponge is not too wet and cut off the hardened part of the sponge if necessary. Apply the top coat generously after your ombre design is complete, as it helps smooth out the texture.
You can use two to five colors for ombre nails. Beginners should stick with two colors, especially ones close together on the color wheel (e.g., pink and purple) to make blending easier.
Allow each layer to dry for about three minutes before applying the next one. If the layer is still wet, it can pull off the previous layer and ruin the gradient effect.
If you don't have makeup sponges, you can try using a clean kitchen sponge with fine pores. However, makeup sponges are preferable because they have smaller pores, allowing for smoother blending.
Always apply the top coat once the ombre polish is fully dry to avoid smudging and maintain a smooth finish.
This usually happens when you are over-sponging or the sponge is too wet. Stop sponging as soon as you achieve the desired coverage, and ensure your sponge is dry.
Yes, ombre nails can be done with gel polish. Follow the same sponging technique but cure the nails under a UV lamp between layers.
To clean the sponge, you can try removing excess polish with tape or cut off the used section for a fresh surface. Cutting the sponge helps prolong its usability.


