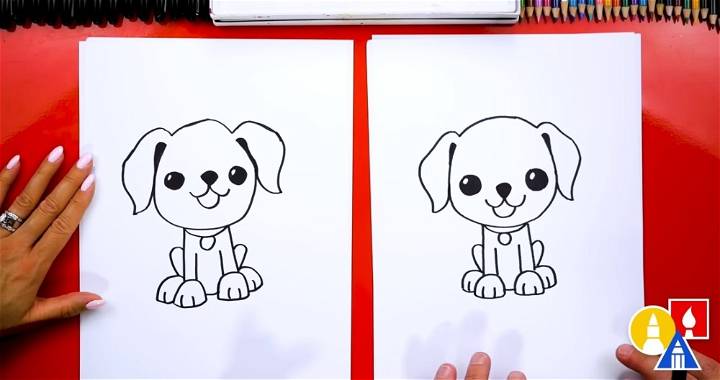
Learning to draw might seem daunting at first, but it all begins with understanding the basic concepts. These foundational ideas are the building blocks for any aspiring artist. By focusing on simple shapes and forms, anyone can start their journey towards becoming proficient in drawing. Regular practice plays a crucial role in this process. It helps solidify these concepts and improves your ability to bring your ideas to life on paper.
If you're just starting out, it's important to know that no unique talents are necessary to begin. Drawing is a skill that can be developed over time with dedication and practice. So, don’t worry if your first attempts don't turn outright; every artist has been there. By keeping your approach simple and focusing on the basics, you'll find that gradually, drawing becomes more accessible and enjoyable. Stay curious and keep practicing, as the next section will guide you through the fundamental techniques necessary to enhance your skills.
Understanding the Basics
Drawing is an art form that allows us to express our creativity and capture the world around us. Whether you’re a complete beginner or looking to refine your skills, understanding the basics is the first step on your artistic journey. Here’s a guide to help you get started:
- Shapes and Forms: Every object can be broken down into simple shapes. Start by practicing drawing basic shapes like circles, squares, and triangles. Once you’re comfortable, combine these shapes to create more complex forms. Remember, a circle becomes a sphere with shading, and a square can turn into a cube.
- Lines and Strokes: Lines are the foundation of any drawing. Practice drawing lines of different lengths and weights. Use light strokes for initial sketches and bolder lines for final details. Experiment with different line qualities, such as smooth, dashed, or zigzag, to add texture and depth to your drawings.
- Perspective: Perspective gives a sense of depth to your drawings. Start with one-point perspective, where all lines converge at a single point on the horizon. This technique is great for drawing roads, railways, or buildings. As you progress, try two-point and three-point perspectives for more dynamic and realistic scenes.
- Proportions: Getting the proportions right is crucial. Use reference points and guidelines to ensure that the parts of your drawing are in correct relation to each other. For example, when drawing a face, the eyes are typically one eye-width apart.
- Observation: Drawing from observation is a powerful way to improve. Look closely at your subject and notice the details. Where is the light coming from? How do shadows fall? Observing these nuances will make your drawings more lifelike.
- Practice: Like any skill, drawing improves with practice. Set aside time each day to draw, even if it’s just for a few minutes. Don’t be afraid to make mistakes; they’re part of the learning process.
By mastering these basics, you’ll build a strong foundation for your drawing skills. Keep practicing, stay curious, and watch your art flourish.
Techniques and Tools
Drawing is not just about what you draw, but also how you draw it. The techniques you use and the tools you choose can bring your artwork to life. Here’s a detailed guide to help you understand the various techniques and tools available for drawing:
- Pencil Techniques: Pencils are the most common tools for beginners. Practice using different grades of pencils, from hard (H) to soft (B). Hard pencils are great for fine lines, while soft pencils are ideal for dark, bold strokes. Learn to control the pressure to vary the lightness or darkness of your lines.
- Pen and Ink: Ink provides a distinct contrast and permanence that pencils cannot. Experiment with different nibs and ink types to achieve a variety of textures. Techniques like hatching and cross-hatching can add depth and dimension to your drawings.
- Markers and Brushes: Markers offer vibrant colors and a smooth application. They come in various tip sizes for different effects. Brushes, when used with ink or watercolors, can create soft gradients and washes. Practice controlling the flow of ink or water to avoid blotches.
- Digital Tools: Digital drawing has opened up new possibilities. Tablets and styluses simulate the traditional drawing experience with the added benefits of undo buttons and layers. Software like Procreate, Adobe Photoshop, and Illustrator offer endless creative options. Spend time getting familiar with the digital interface and tools.
- Shading Techniques: Shading adds volume and realism to your drawings. Practice simple techniques like stippling (dots) and scumbling (circular motion) to create texture. Understand the direction of light to accurately shade and give your objects a three-dimensional feel.
- Blending: Blending smoothens transitions between shades. Use blending stumps, tissues, or your fingers to soften edges. This technique is particularly useful for creating realistic skin tones and textures.
- Experimentation: Don’t be afraid to mix mediums or try unconventional tools. Sometimes, the best effects come from unexpected tools like sponges, cotton swabs, or even your fingers.
- Maintenance: Take care of your tools. Keep your pencils sharp, your brushes clean, and your digital devices charged. Proper maintenance ensures that your tools are ready when inspiration strikes.
By exploring these techniques and tools, you’ll discover new ways to express your artistic vision. Remember, there’s no right or wrong way to draw. The best technique is the one that works for you. So grab your tools and start creating! 🖌️✨
Learn How to Draw Anything Step by Step
Learn how to draw anything step by step in this beginner's guide, covering all essential techniques. Gain artistic skills with our easy-to-follow instructions below:
Step 1: Warm Up and Practice Hand-Eye Coordination
Before diving into any drawing, starting with a warm-up session can make a big difference. Grab your pencil or pen and let your hand freely move across the paper. You don't need to aim for perfection here. Instead, focus on making a variety of marks such as scribbles, doodles, dots, stipples, and lines. Feel free to play with different levels of pressure, seeing how light or dark you can make your marks. This part of the process isn't just about warming up; it's also about enjoying what you're doing.
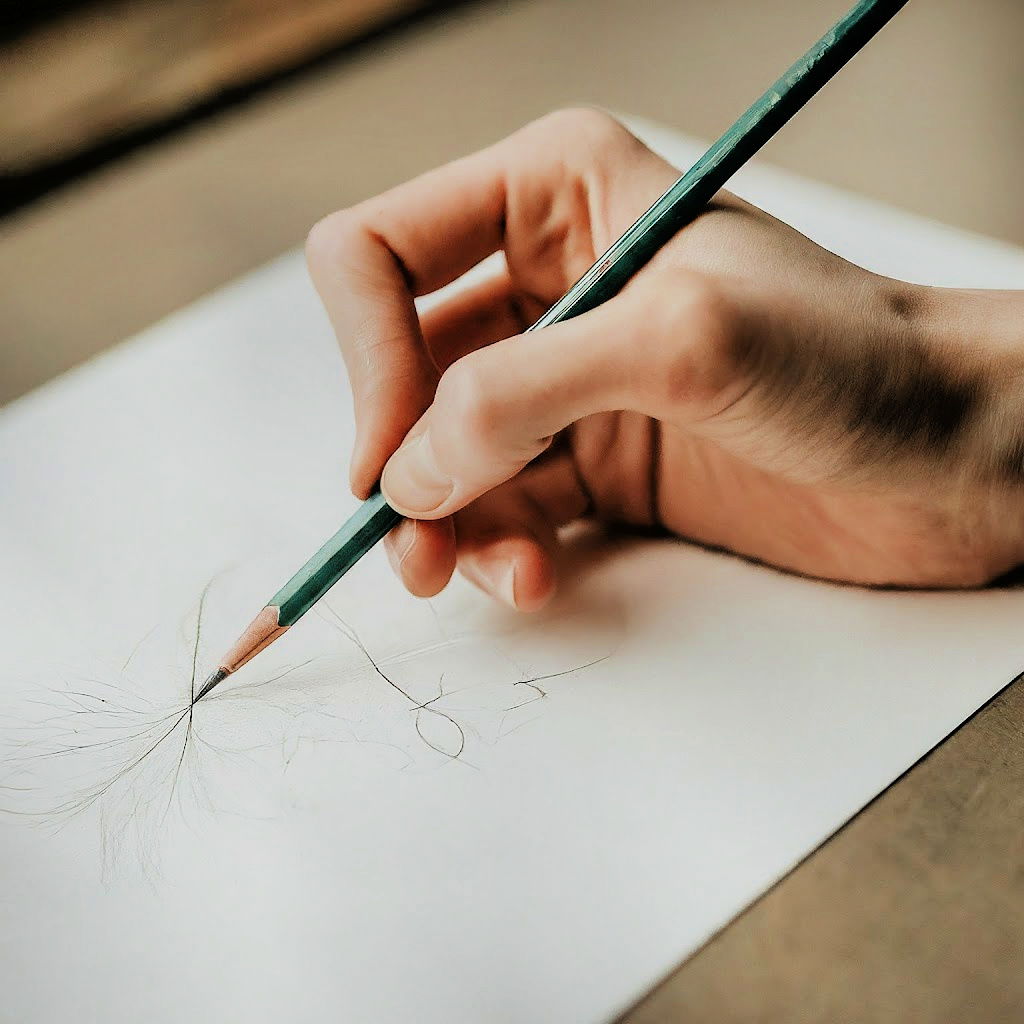
To really boost your hand-eye coordination, spend some time drawing basic shapes and lines. Try your hand at straight and curved lines, then move on to circles, ellipses, and even more dynamic shapes like lying eights (or infinity symbols). These exercises are all about getting your hand and eye to work together in harmony. You might notice that the more you practice, the smoother your lines and shapes will become.
Pay attention to how your hand feels after these exercises. A little bit of practice every day can significantly improve your comfort and control, making the drawing process easier and more enjoyable. Remember, the goal here is not simply to create perfect shapes, but to build a strong foundation for all your future drawing endeavors.
Step 2: Start with Basic Shapes and Light Lines
When you're ready to move beyond practice marks and into the world of drawing actual objects, it’s essential to understand a powerful concept: every object around you can be simplified into basic shapes like circles, rectangles, and triangles. This approach is not just for beginners; even professional artists start their sketches this way.
The key here is to train your eye to see these basic shapes in everyday objects. Whether you’re looking at a chair, a tree, or an animal, try to identify the circles, rectangles, triangles, or even ovals that form its structure. This might seem challenging at first, but with practice, it will become second nature.
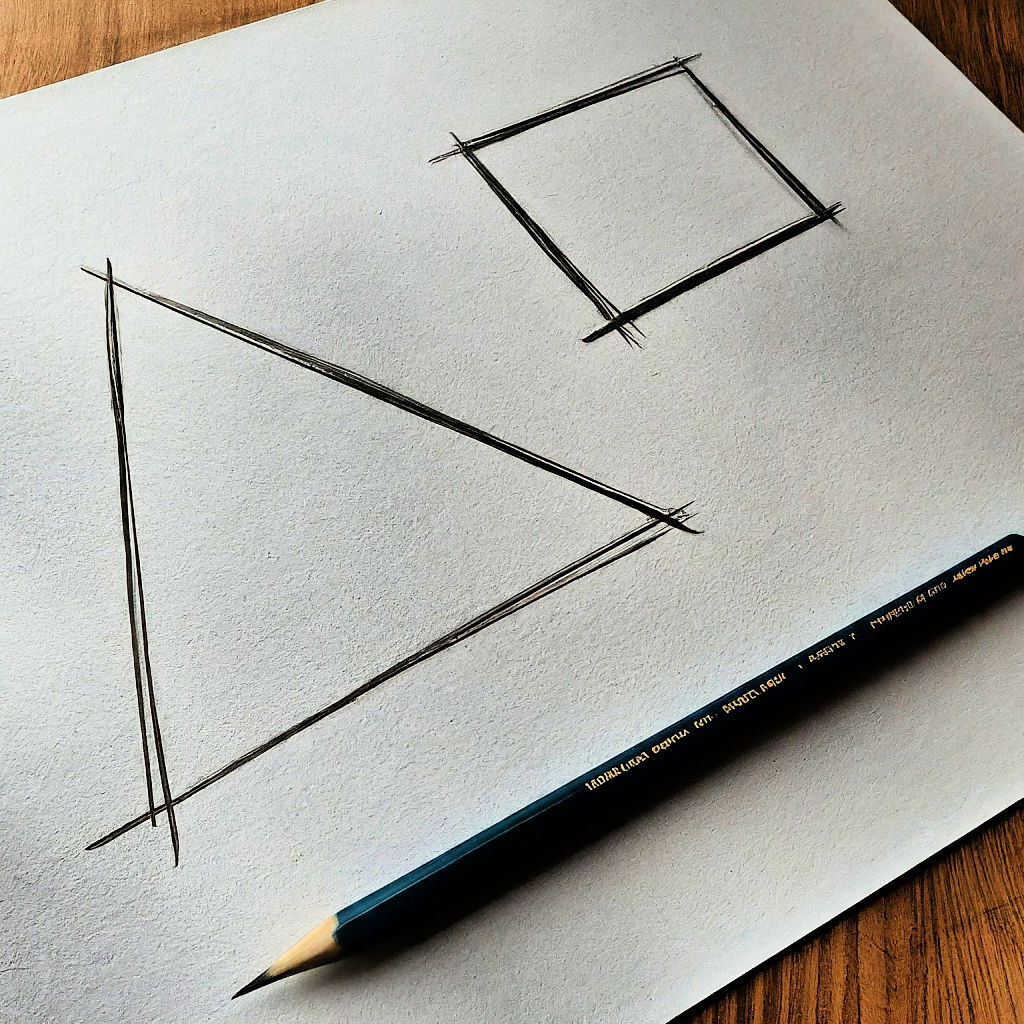
Once you’ve identified these shapes, it’s time to transfer them onto paper. Start with light lines to create a loose underdrawing. Think of this stage as a rough draft; it’s not about getting everything perfect. Instead, it's about placing those basic shapes on your paper as a guide. Using light lines at this stage is crucial because it makes it easier to correct mistakes or make adjustments as your drawing progresses.
By focusing on this simple yet effective approach, you’ll find that drawing complex objects becomes much more manageable. Remember, patience and practice are key. With time, breaking objects down into basic shapes and sketching them out with light lines will lay a strong foundation for your drawing skills.
Step 3: Refine, Check Angles and Edges, Add Solid Lines, and Volume
Once you have your basic shapes down with light lines, it's time to move forward and bring your drawing to life. The next step is to refine your drawing with a more solid outline. This involves checking the angles and edges of the shapes against the actual object you’re drawing. It’s about making your sketch more precise and closer to what you see.
A simple yet effective technique to get your angles right is to use your pencil as a measuring tool. Hold it up to the angle you're trying to capture, and then, keeping that angle in mind, translate it onto your paper. This method helps ensure the angles in your drawing accurately reflect those in your subject, giving your work a more life-like appearance.
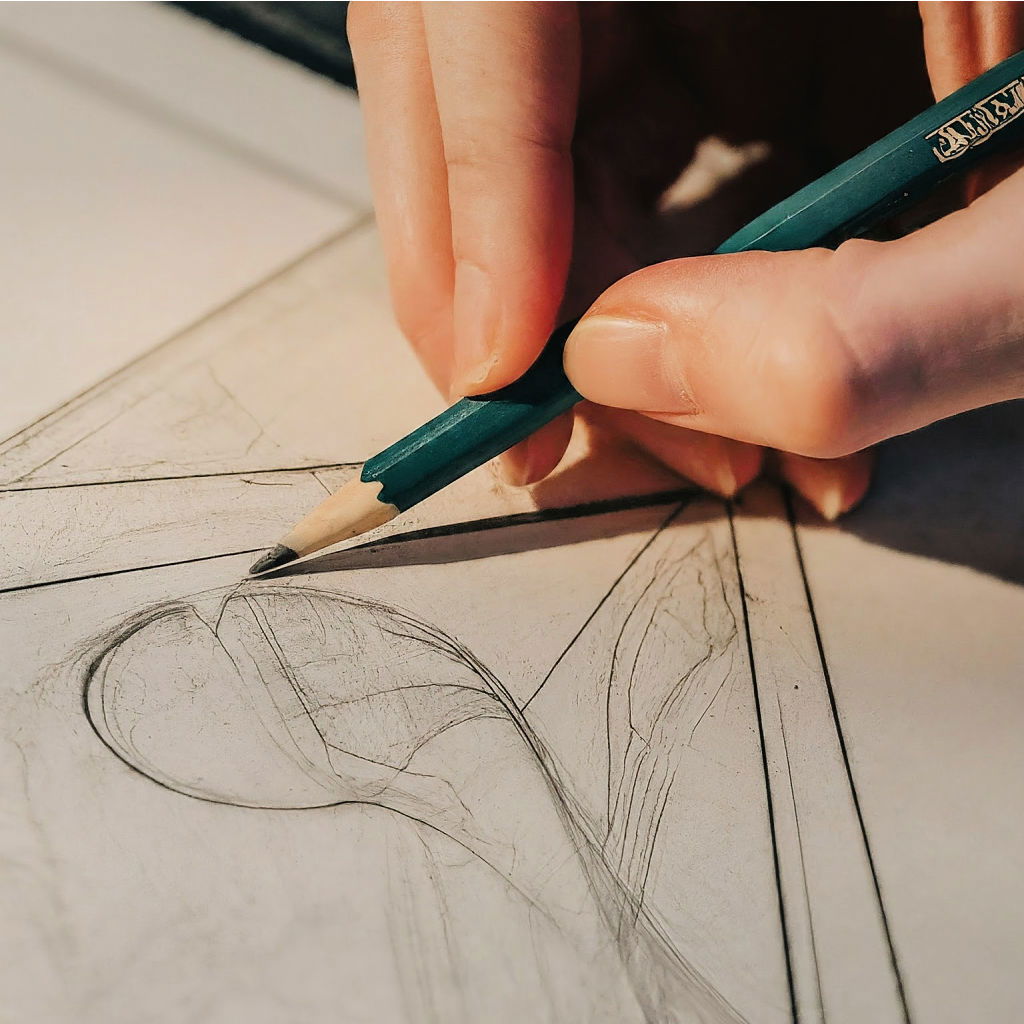
Next, choose one contour line to define with a solid line. This doesn't mean all your lines should suddenly become dark and bold; rather, select a line that best captures the essence of your subject. This line will act as a guide for adding volume and will help your subject stand out. Staying true to the angles and outlines of your subject during this step is crucial for maintaining accuracy.
As you refine your drawing, keep your approach gentle. There’s no need to rush into making bold lines everywhere. Instead, take your time to assess which parts of the drawing require a firmer hand. This methodical approach to adding solid lines and volume will significantly enhance the overall look and feel of your artwork. By carefully refining your sketch, you'll see your drawing transform from a simple set of shapes into a cohesive and expressive piece.
Step 4: Do Lots of Loose Quick Sketches
Progressing in your drawing journey, an excellent way to keep improving is by doing lots of loose quick sketches. This practice is about capturing the essence and posture of the subject rather than focusing on the details. It’s an effective method to enhance your hand-eye coordination and to train yourself to see and capture the world more accurately.
Start by choosing an object and then sketching it from different angles. Don’t worry about making these sketches perfect. The goal here is to work fast and stay loose. Imagine you’re taking visual notes rather than creating a finished piece of art. This exercise will encourage you to focus on the overall form and gesture of the object rather than getting caught up in the specifics.
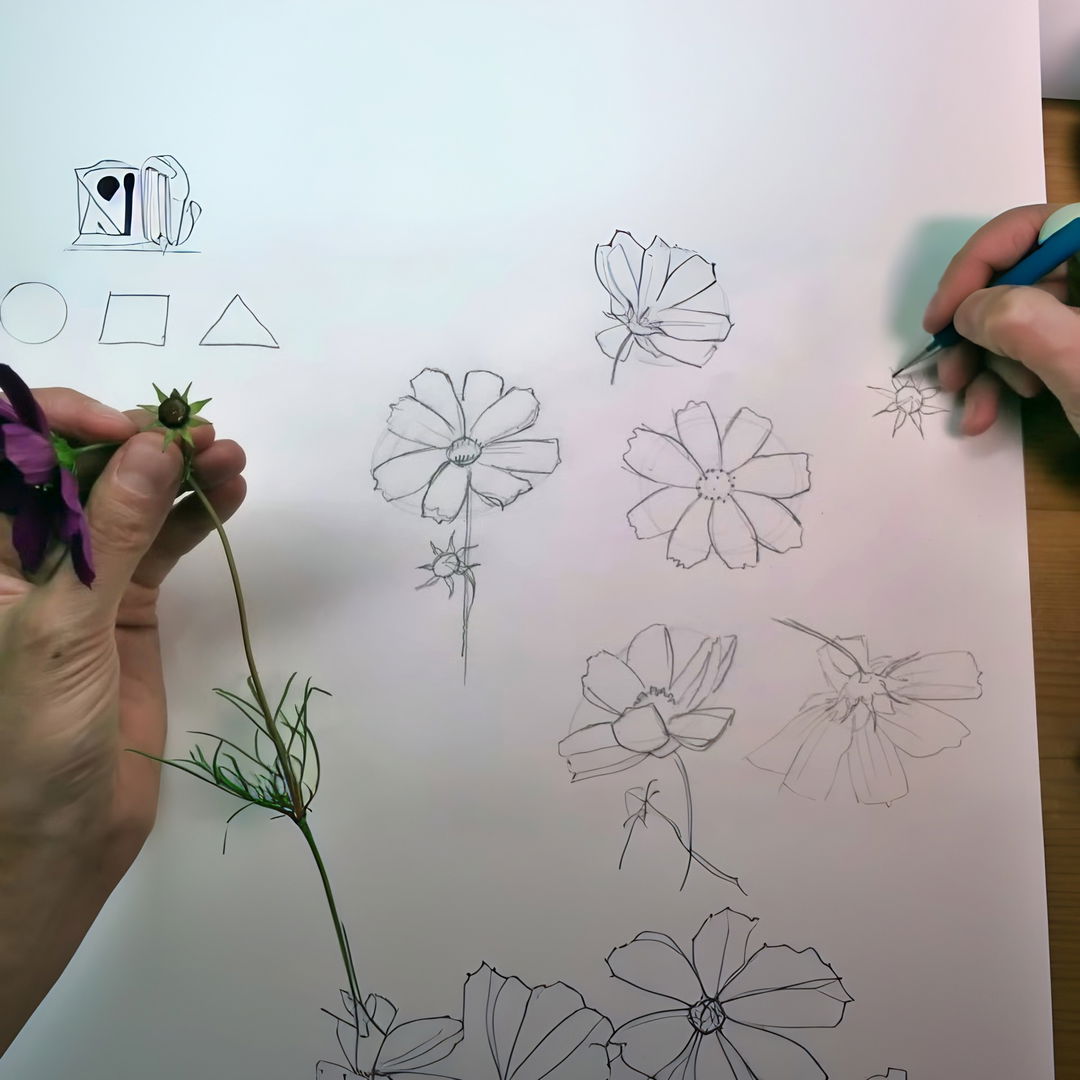
Aim for fluidity in your sketches. This means letting your hand move freely and confidently across the paper, transferring what you see onto the paper with swift, decisive strokes. It might feel a bit awkward at first, especially if you’re used to working slowly and carefully. However, with practice, you’ll find your lines becoming more confident and your ability to capture what you see improving.
Remember, these quick sketches are not about the end product but about the process and what you learn from it. Each sketch is an opportunity to observe more deeply and to understand the way shapes, forms, and angles come together. By regularly practicing these fast, loose sketches, you'll notice a significant improvement in both your hand-eye coordination and your drawing skills overall. Keep pushing yourself to sketch quickly and loosely, and enjoy the progress you make along the way.
Step 5: Focus, Contrast, Details
Adding contrast, highlighting light and dark areas, and incorporating textures are key steps in transforming a basic sketch into a more rounded and finished piece of art. These elements add depth, dimension, and life to your drawings, giving them a more polished appearance.
Start with contrast. Look at your subject and determine where the lightest lights and the darkest darks are. Adding these extremes to your drawing will instantly create a sense of volume and depth. It’s like turning on a light within your sketch, giving it a dramatic, eye-catching look.
Next, focus on the light and dark areas. Use a gentle touch to shade areas that are away from the light source, and keep areas hit by the light lighter. This step reinforces the sense of depth created by the contrast and makes your drawing appear more three-dimensional.
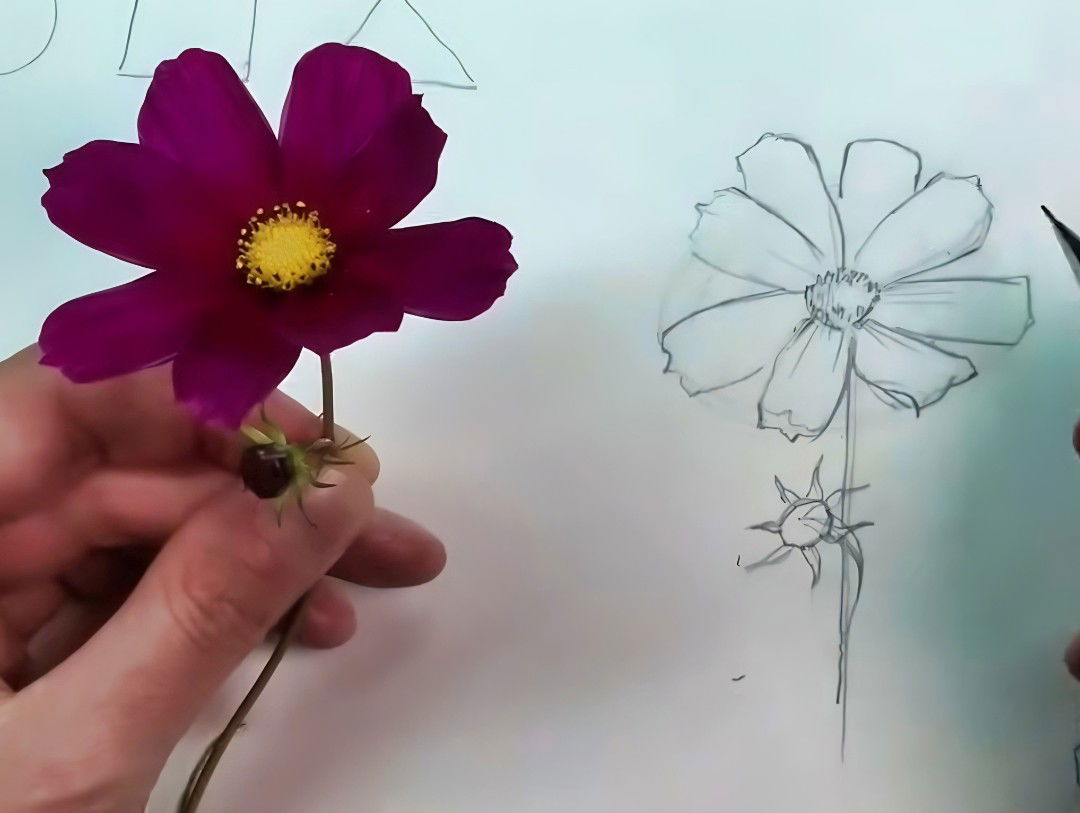
Now, let’s talk about textures. Textures can bring your sketch to life, making it more interesting and realistic. The key is to use different marks and lines sparingly to suggest texture rather than fully render it. For example, a few carefully placed lines can imply the roughness of tree bark or the softness of fur. It's about hinting at these textures, allowing the viewer's imagination to fill in the details.
Remember, when adding details and textures, less is often more. You don’t need to cover every inch of your drawing with them. Instead, choose where these elements can have the most impact, focusing on areas that will benefit most from added detail or texture.
By concentrating on contrast, light, dark areas, and textures, and using marks and lines thoughtfully, you’ll see your sketches transform. They’ll become more vivid, with a sense of completeness that comes from these finishing touches. Keep practicing these techniques, and watch as your drawings become more sophisticated and lifelike.
Step 6: Practice Over and Over, Learn from Your Mistakes
The journey to improving your drawing skills is paved with continuous practice and the understanding that mistakes are not just inevitable, they're invaluable. Each time you pick up your pencil, you’re laying another foundation for your skills to become second nature. The more you practice, the more your hand and eye will learn to work in harmony, and the easier it will become to translate your visions onto paper.
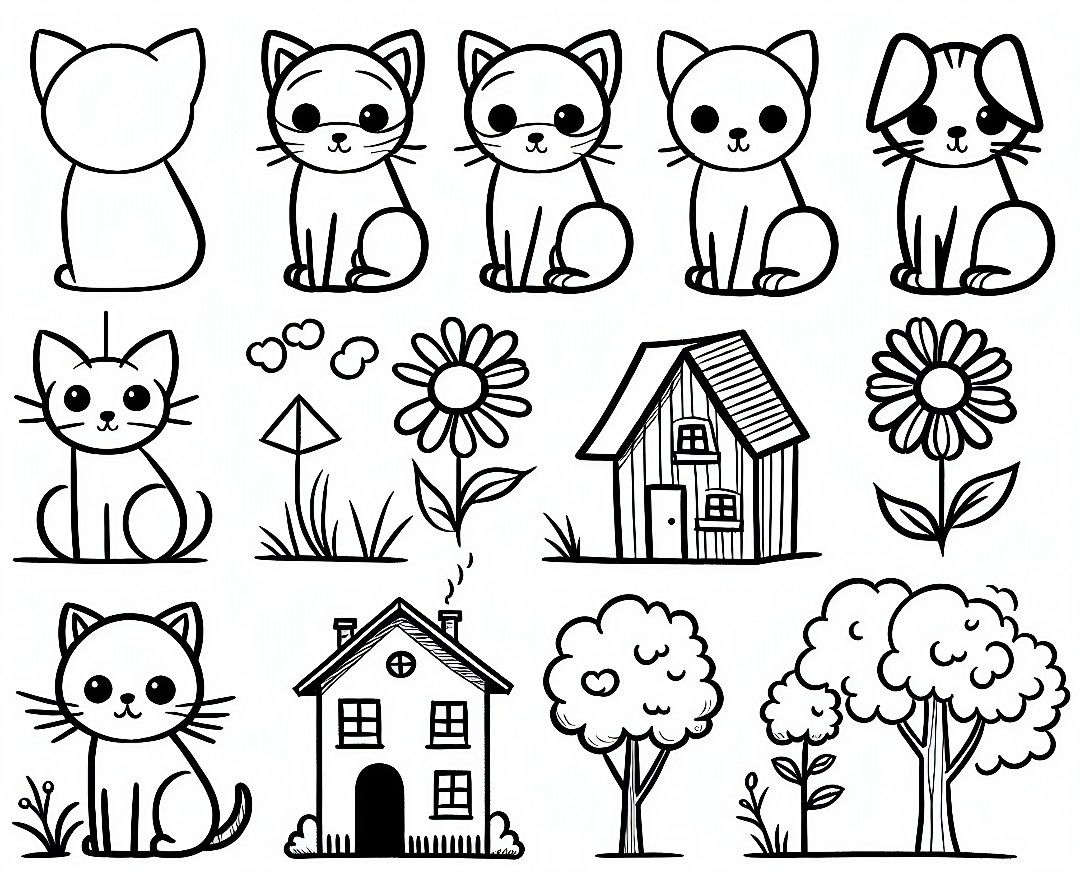
It's essential to embrace mistakes as key learning moments. Rather than getting discouraged when a drawing doesn't turn out the way you hoped, view it as an opportunity to understand what went wrong and why. This reflection can guide you in adjusting your technique, approach, or perspective for future sketches.
Practicing repeatedly and learning from each error you make aren't just steps in improving your art; they're critical parts of growing as an artist. Each mistake teaches you something new, and with time, helps refine your skills and expand your artistic capabilities. So, keep drawing, keep learning, and remember that every line you draw, whether it ends up being exactly what you wanted or not, is a step forward in your artistic journey.
Step 7: Deepen Your Knowledge with Advanced Concepts
Once you've honed your basic drawing skills, it's time to elevate your art by delving into more advanced techniques. Expanding your expertise to include concepts like 3D volumes, perspective, values, light and shadow, and foreshortening can truly transform your drawings, adding depth, realism, and a dynamic feel.
Learning to draw in 3D introduces you to the challenge of capturing the complexity of the world around us on a flat surface. Perspective drawing, for instance, teaches you how to create the illusion of depth and distance, making your art more immersive. Understanding values—how light and dark areas interact—adds richness and emotion to your work. Similarly, mastering light and shadow can breathe life into your drawings, making them appear more lifelike. Foreshortening, the technique of portraying an object or figure in a picture in depth, can be particularly challenging but rewarding, as it adds a dramatic sense of movement and proximity.
To truly master these advanced concepts, consider enrolling in structured courses like "Sketching Fundamentals". These courses are designed to systematically build upon your existing skills, introduce you to new techniques, and provide feedback from experienced instructors. They can offer a guided path through the complexity of advanced drawing techniques, making the learning process less daunting and more effective.
Remember, every artist was once a beginner, and every masterpiece starts with a single line. By continuously learning and challenging yourself, you can keep pushing the boundaries of your creativity and skill.
Video Tutorial
For a step-by-step visual guide, you can watch this helpful YouTube video on learn how to draw step by step.
It complements this written guide by providing visual aids for each step, facilitating easy understanding and smooth navigation.
Drawing from Observation
Drawing from observation is a fundamental skill that can significantly enhance your artistic abilities. It involves sketching from real-life subjects, which helps you understand the intricacies of form, light, and shadow. Here’s how you can practice this essential technique:
- Start with Still Life: Begin by arranging a few simple objects on a table. Try to capture the shapes, sizes, and relationships between the objects. Pay attention to how light falls on them and where the shadows are cast.
- Focus on Details: Look closely at the textures and patterns in your subject. Whether it’s the roughness of tree bark or the smoothness of a metal surface, capturing these details will add realism to your drawings.
- Use Grids for Proportion: To maintain accurate proportions, consider using a grid. Draw a grid over your reference photo or imagine one over your live subject. This will help you align and size the elements of your drawing correctly.
- Practice Gesture Drawing: Gesture drawing is quick and focuses on the essence of the subject. It’s great for capturing movement and basic forms. Spend a few minutes on each gesture sketch, and don’t worry about details.
- Shade with Purpose: Understand the source of light and use shading to define form. Practice creating a range of values from light to dark, which will give your drawing a three-dimensional appearance.
- Take Your Time: Observational drawing is not a race. Take your time to observe and translate what you see onto paper. With patience, you’ll notice improvement in your accuracy and ability to capture life-like images.
- Keep a Sketchbook: Carry a sketchbook with you and draw whenever you have a moment. The more you practice, the better you’ll become at seeing and capturing the world around you.
By incorporating these practices into your routine, you’ll develop a keen eye for detail and a steady hand for drawing. Observational drawing is not just about reproducing what you see; it’s about interpreting and understanding the visual language of your surroundings.
Creative Exercises
Engaging in creative exercises is a fantastic way to develop your drawing skills and unleash your imagination. Here are some ideas to get your creativity flowing:
- Timed Sketches: Set a timer for 5, 10, or 15 minutes and sketch whatever comes to mind. This exercise helps improve your speed and hones your ability to capture the essence of your subject quickly.
- Theme-Based Challenges: Pick a theme for the week or month, such as nature, urban landscapes, or emotions, and create drawings that reflect this theme. This will help you explore different subjects and styles.
- Style Imitation: Choose an artist whose work you admire and try to replicate their style. This can teach you new techniques and approaches to drawing.
- Daily Drawing Prompts: Use daily prompts to inspire your drawings. There are many online resources that provide a prompt for each day of the year.
Remember, the goal of these exercises is to practice and have fun. Don’t worry about creating a masterpiece with each attempt. Enjoy the process, and watch your skills grow!
Incorporating Color
Adding color to your drawings can bring them to life. Here’s how to start experimenting with color:
- Color Theory Basics: Learn about the color wheel, primary, secondary, and tertiary colors. Understand how colors interact, complement, and contrast with each other.
- Medium Exploration: Try different coloring mediums such as colored pencils, watercolors, or pastels. Each medium has its own characteristics and can affect the mood of your drawing.
- Color Mixing: Practice mixing colors to create new shades and tones. This is especially useful when working with paints or digital tools.
- Light and Shadow: Observe how colors change under different lighting conditions. Use this knowledge to add depth and realism to your drawings.
Developing Your Own Style
Finding your unique drawing style is a personal journey. Here are some tips to help you along the way:
- Study Other Artists: Look at a wide range of art styles and techniques. Take note of what resonates with you and why.
- Experiment: Don’t be afraid to try new things in your art. Experimentation is key to discovering what you enjoy and what you’re good at.
- Reflect on Your Work: Periodically look back at your previous drawings. You’ll likely notice patterns and preferences emerging in your work.
- Be Patient: Developing a personal style takes time. Keep practicing and exploring, and your style will naturally evolve.
By following these guidelines, you’ll be well on your way to creating drawings that are not only skillful but also deeply personal and expressive.
Digital Drawing Techniques
In the digital age, drawing has transcended paper and pencil, opening up a world of possibilities with digital tools. Here’s a guide to help you navigate the exciting realm of digital drawing:
- Getting Started with Digital Drawing: Choose a drawing tablet that suits your needs, whether it’s a simple graphics tablet or a high-end display tablet. Familiarize yourself with the stylus, which acts as your digital pen or brush, allowing you to draw directly onto the screen with precision.
- Software Selection: There are many digital drawing programs available, each with unique features. Beginners may start with free software like Krita or MediBang Paint, while professionals often prefer Adobe Photoshop or Corel Painter. Explore different options to find what works best for you.
- Understanding the Interface: Digital drawing software can be overwhelming at first. Take the time to learn the interface, focusing on the tools panel, layers, and color palette. Online tutorials can be very helpful in this learning process.
- Brushes and Textures: Experiment with various digital brushes to achieve different effects. You can simulate pencil, charcoal, or watercolor, and even create custom brushes. Textures can add depth and interest to your digital artwork.
- Layers and Transparency: One of the biggest advantages of digital drawing is the ability to work with layers. Use layers to separate elements of your drawing, adjust their transparency, and experiment without fear of ruining your work.
- Undo and Redo: Embrace the freedom to make mistakes. The undo function is your best friend in digital drawing, allowing you to try new things and learn without wasting materials.
- Practice and Patience: Like traditional drawing, digital drawing requires practice. Don’t get discouraged by the initial learning curve. With patience and regular practice, you’ll soon be creating stunning digital art.
- Stay Updated: The digital art world is always evolving. Keep an eye out for software updates, new tools, and techniques to stay current and improve your skills.
By incorporating these digital drawing techniques into your practice, you’ll unlock a new level of creative potential. Enjoy the journey of discovery and creation in the digital space! 🖌️💻✨
Sharing and Critiquing
Sharing your artwork with others can be a rewarding experience that fosters growth and learning. Here’s how to approach sharing and receiving critiques:
- Choose the Right Platform: Select platforms that cater to artists and art enthusiasts. Websites like DeviantArt, Behance, or Instagram are popular choices. Consider the audience and the type of feedback you’re looking for.
- Presenting Your Work: When sharing your art, provide context. Talk about your inspiration, the techniques you used, and what you learned. This invites viewers to engage with your work on a deeper level.
- Receiving Feedback: Critiques can be invaluable. Be open to constructive criticism and use it to improve your skills. Remember, not all feedback will be useful, but don’t dismiss it too quickly.
- Building a Community: Engage with other artists. Comment on their work, participate in discussions, and support each other. A strong community can provide motivation and inspiration.
Monetizing Your Art
If you’re interested in turning your passion into profit, here are some steps to monetize your art:
- Create a Portfolio: Build a professional portfolio showcasing your best work. Include a variety of pieces that demonstrate your skills and style.
- Online Marketplaces: Sell your art on platforms like Etsy, Society6, or Redbubble. These sites handle production and shipping, allowing you to focus on creating.
- Commission Work: Offer custom artwork. Be clear about your rates and the types of commissions you accept. Use social media to promote your services.
- Teaching and Workshops: If you enjoy teaching, consider offering classes or workshops. Share your knowledge and help others develop their skills.
Staying Updated and Continuous Learning
The art world is constantly evolving. Here’s how to stay current and continue learning:
- Follow Art News: Keep up with the latest trends, tools, and techniques. Websites, podcasts, and magazines dedicated to art can be great resources.
- Online Courses: Platforms like Skillshare, Udemy, or Coursera offer courses on a wide range of art-related topics. Invest in your education to expand your skill set.
- Art Challenges: Participate in art challenges like Inktober or 36 Days of Type. These challenges can push you out of your comfort zone and spark creativity.
- Visit Galleries and Museums: Exposure to different forms of art can be incredibly inspiring. Make time to visit local galleries and museums to see a variety of artwork.
By following these guidelines, you’ll be well-equipped to share your art with confidence, potentially earn from your passion, and stay engaged in the lifelong journey of artistic growth. Keep creating and exploring the endless possibilities that art offers! 🎨💡
Conclusion
In summarizing the journey to enhance your drawing skills, remember the significance of starting with the basics. Initiating your art with simple shapes is the cornerstone of any great drawing. As you progress, refining techniques and adding intricate details will gradually bring your sketches to life. However, the essence of improvement lies in relentless practice and the willingness to learn from each drawing experience.
Mistakes are not setbacks but stepping stones towards mastering your craft. Embrace these as invaluable learning moments. Each error corrected is a step closer to refining your technique and enriching your artistry. The path to improvement is paved with persistence and a positive perspective towards challenges.
To further fuel your passion and proficiency in drawing, consider harnessing additional resources such as PDF guides, which often provide step-by-step instructions on various techniques. Moreover, enrolling in drawing courses can offer structured learning and professional guidance, accelerating your growth.
Remember, every artist's journey is unique, and progress takes time. Keep practicing, remain patient with yourself, and continuously seek opportunities to learn and grow. Your dedication to mastering the art of drawing will pave the way for remarkable improvement and personal satisfaction.


