Finding the best way to fix a hole in a door doesn't have to be complicated. First, gather all the necessary tools and materials like wood filler, sandpaper, and a putty knife. Begin by cleaning the area around the hole, ensuring no debris remains. Fill the hole using wood filler, carefully smoothing it out with the putty knife. Allow it to dry completely before moving on to the next step.
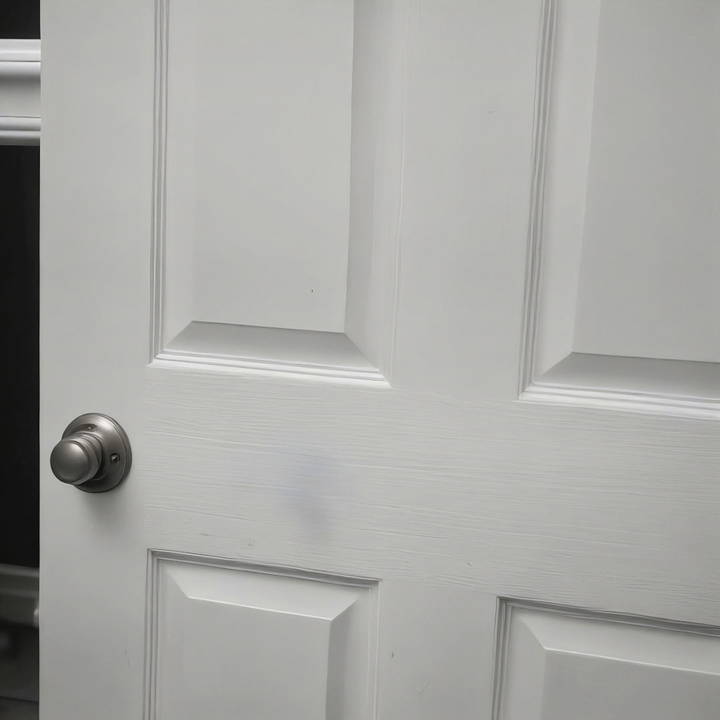
Once the filler is dry and solid, sand the area until it is smooth and level with the rest of the door. Clean off any dust created from sanding with a clean cloth. You can then paint over the repaired spot to match the rest of the door. This guide will help you fix a hole in a door effectively and make it look almost new again.
Ready to learn the exact steps and get started on your repair project? Let's dive into the details.
Why You'd Want to Repair a Door on Your Own?
Repairing a door might seem daunting at first, but it's an excellent way to extend the life of the door, save money, and gain a sense of accomplishment. Plus, hollow core doors, while affordable, can still add up in cost if you're constantly replacing them due to accidental damage. My journey began with a rather unsightly hole in my otherwise perfectly good door, leading me to explore a DIY approach to fixing it.
What You'll Need
- Utility knife: To clean the area around the hole.
- Shims or thin wood pieces: These create a solid foundation within the door.
- Screws and a screwdriver: For securing the shims inside the door.
- 2p10 adhesive or a similar strong glue: To glue the shims in place.
- Spray foam insulation: Provides a solid backing for the repair.
- Bondo or a similar filler: To fill in the hole and make the surface even.
- Sandpaper (80 and 120 grit): For smoothing the filled hole.
- Primer and paint: To match the door's original color and finish.
Step by Step Instructions
Learn how to fix a hole in a door with our step-by-step guide. From prepping the area to priming and painting, achieve a flawless repair.
1. Prepare the Damaged Area
First, inspect the hole and remove any loose debris with your utility knife. It's crucial to start with a clean slate. If the hole goes all the way through the door, you'll notice it's hollow inside, filled perhaps with some cardboard or foam.
2. Create and Insert the Foundation
Cut shims to a size that, when inserted, leaves about an inch of space around the edge of the hole. Affix each piece with drywall screws, leaving enough of the screw exposed so you can hold onto it. This is your leverage to maneuver the shims into place inside the door. Gluing these shims inside the door not only fills the void but also provides a solid backing for the spray foam and Bondo to adhere to.
3. Apply Adhesive and Insert Shims
Coat both sides of your shims generously with the adhesive, then slide them inside the door, positioning them around the perimeter of the hole. The drywall screws act as handles, giving you something to hold while the adhesive dries. This step ensures the shims become a permanent part of the door's structure.
4. Strengthen with Spray Foam
Drill a small hole at the top and bottom of your repair area for the foam expansion and to avoid air pockets. Fill the void gently with the spray foam, ensuring it doesn't overflow too much. The foam expands and hardens, providing additional support to the shims and the upcoming Bondo application.
5. Apply Bondo
Once the foam has cured (follow the instructions on the can for timing), mix your Bondo and hardener following the product's instructions. Apply the Bondo over the hole and shims, spreading it evenly and extending slightly beyond the repair area. You want to fill the hole completely, then smooth the Bondo to match the door's texture as closely as possible.
6. Sand Smooth
After the Bondo has fully cured, sand the area starting with 80 grit sandpaper, moving up to 120 grit for a smooth finish. This step may require patience to blend the repair seamlessly with the rest of the door.
7. Prime and Paint
Finally, apply a coat of primer over the repaired area. Once the primer is dry, paint the door with a color that matches the existing finish. It may take a couple of coats to completely conceal the repair.
Troubleshooting Common Issues
When repairing a hole in a door, you might encounter a few hiccups along the way. Here's a guide to help you troubleshoot common issues in a clear and straightforward manner.
Filler Not Sticking
- Solution: Ensure the area around the hole is clean and dry. Roughen the surface slightly with sandpaper to help the filler adhere better.
Shrinkage of Filler
- Solution: Some fillers shrink as they dry. Apply in layers, allowing each layer to dry fully before adding the next.
Visible Repair Marks
- Solution: After filling, sand the area smooth. If the repair is still visible, consider using a slightly tinted filler that matches the door color.
Filler Cracking
- Solution: This can happen if the filler dries too quickly or is applied too thickly. Remove the cracked filler, apply a new layer thinly, and allow it to dry slowly.
Difficulty Matching Paint
- Solution: Take a small chip of the existing paint to a hardware store for color matching. Use a primer before applying the new paint.
Patch Not Flush with Door
- Solution: If the patch sits too high, sand it down. If it's too low, add more filler to level it out.
Door Not Closing Properly After Repair
- Solution: Check for any areas where the filler or patch may be interfering with the door frame. Sand these areas down until the door closes smoothly.
Patience and attention to detail are key when fixing a door. Don't rush; do it right. With these tips, you'll handle any issues and achieve a like-new repair.
Maintenance Tips
Keeping your doors in good condition is key to ensuring they last a long time and remain functional. Here are some maintenance tips to help you take care of your doors and prevent future damage:
Regular Inspection
Check your doors regularly for any signs of wear and tear. Look for cracks, holes, or any damage that might need repair. Catching issues early can save you time and money.
Cleaning
Keep your doors clean. Dust and wipe them down with a soft cloth. For wooden doors, use a wood cleaner to maintain the finish and prevent drying out.
Tighten Hardware
Over time, the screws and hinges on your door may become loose. Tighten them up to ensure your door hangs properly and closes smoothly.
Lubricate Moving Parts
Hinges, locks, and doorknobs should be lubricated periodically to keep them working smoothly. Use a silicone-based lubricant for best results.
Sealant and Paint
If your door is exposed to the elements, make sure it's properly sealed. Apply a fresh coat of paint or sealant as needed to protect it from moisture and sun damage.
Weatherstripping
Check the weatherstripping around your door. If it's worn out, replace it to prevent drafts and keep your home energy efficient.
Avoid Slamming
Slamming your door can cause damage over time. Teach everyone in your household to close doors gently.
Adjustments
If your door isn't closing properly, it may need to be adjusted. Check the alignment and make any necessary adjustments to the frame or hinges.
By following these maintenance tips, you can extend the life of your doors and avoid the need for repairs. A little bit of care goes a long way in keeping your home looking great and functioning properly.
FAQs About How to Fix a Hole in a Door
Here are some FAQs about how to fix a hole in a door: easy steps, tools needed, and expert tips to repair doors efficiently. Learn how to fix holes without hassle!
Start by cleaning the area:
Use a utility knife to trim any rough edges around the hole.
Place a drop cloth under the door to catch any mess.
If the door is hollow, stuff the hole with crumpled paper to support the foam insulation.
Follow these steps:
Spray low-expansion foam insulation into the hole until it’s filled.
Allow the foam to dry completely.
Trim any excess foam with the utility knife so it’s flush with the door surface.
Once the foam is dry:
Mix auto-body filler with a hardener following the product instructions.
Apply the filler over the hole and smooth it out.
Wait for the filler to dry.
Sand the area with sandpaper until it’s smooth.
To finish the repair:
Apply spackle or drywall compound over the filler for a fine finish.
Once dry, sand the area again if necessary.
Paint the door with a primer and then the final color to match the rest of the door.
Yes, you can repair a hole without foam insulation, especially if it's a small hole. Here's how:
Prepare the hole: Trim any loose wood or splinters around the hole with a utility knife.
Create a backing: Cut a thin piece of wood that fits inside the hole. Attach a screw to it for maneuvering.
Secure the backing: Apply wood glue to the edges of the wood and slide it into the hole. Let the glue dry completely.
Fill the hole: Remove the screw and apply several coats of drywall compound over the hole, allowing each coat to dry before applying the next.
Sand for smoothness: Once the compound is dry, sand the area until it is smooth and flush with the door surface.
Paint the door: Paint over the repaired area to match the original color of the door.
Conclusion
In conclusion, knowing the best way to fix a hole in a door can save you time and money. By following a few straightforward steps, you can restore your door to its original condition. With the right tools and materials, learning how to fix a hole in a door becomes a manageable and rewarding DIY project. Don't let a damaged door stress you out; give it the attention it needs and enjoy the satisfaction of a job well done.


