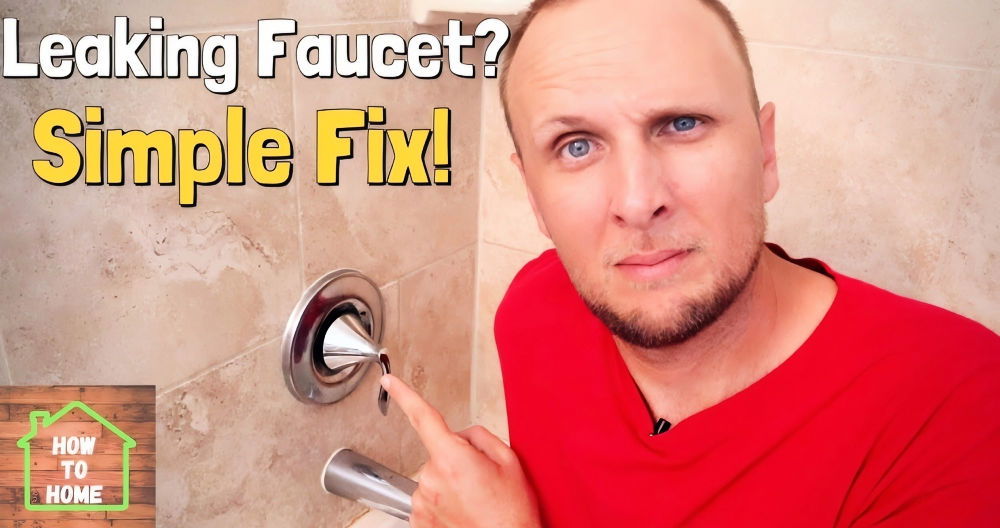
A leaky bathtub faucet can be both annoying and wasteful. This guide will show you how to fix a leaky bathtub faucet with clear and simple instructions. Understanding the steps can help you stop the leak and save money on your water bill. The process involves turning off the water supply, removing the faucet parts, and replacing worn-out components.
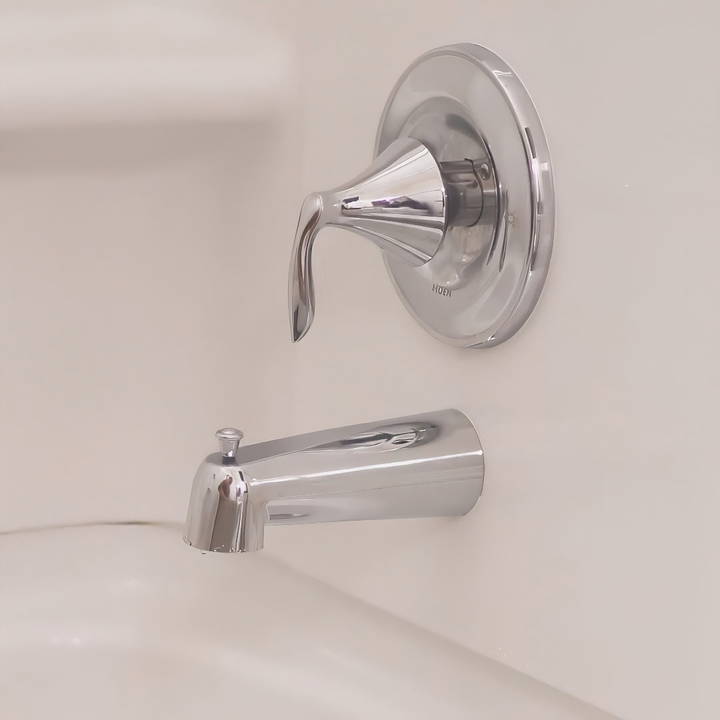
Fixing a leaky bathtub faucet yourself is manageable with the right tools and a bit of patience. First, gather basic tools like a wrench and replacement parts. Then, follow the steps to disassemble and repair the faucet properly. This guide ensures you don't miss any crucial details.
Ready to get started? Read on to fix your leaky bathtub faucet efficiently.
Before You Start: Understanding the Importance
The first thing I realized was the importance of having the right tools and materials before starting the repair. You'll need an Allen wrench, a cartridge removal tool, silicone grease, and possibly a new cartridge, depending on the state of the old one. Also, make sure you know where your home's water shut-off valve is located; this is crucial before beginning any work on plumbing fixtures.
Step by Step Instructions
Learn how to fix a leaky bathtub faucet. Follow step-by-step instructions from shutting off water to replacing the cartridge and ensuring a proper fix.
Shutting Off the Water Supply
The initial step, and perhaps the most crucial, is to shut off the home's water supply. This might seem like an inconvenience, but it's essential to prevent any water mishaps while you're working on the faucet. The shut-off valve is typically found near the water heater or the water meter. After turning off the supply, I opened the faucet to its "On" position to drain any remaining water from the pipes, ensuring a dry workspace.
Removing the Faucet Handle
The problem often lies within the faucet handle or the cartridge it controls. To get to the root of the issue, I first needed to remove the faucet handle. Using an Allen wrench, I loosened the screw in the center of the handle. A gentle wiggle and pulling motion freed the handle, exposing the inner workings of the faucet.
Diving Deeper: The Cartridge
Beyond the handle, I found the handle adapter and the scald guard, which I removed to access the metal barrel. Sliding off the barrel revealed the cartridge—an essential component in controlling water flow. Through inspection, it was evident that the cartridge was worn, which is a common cause of leaks.
Replacing the Cartridge
To extract the old cartridge, I first had to pry up a retaining clip. Attaching the cartridge removal tool to the cartridge allowed me to apply firm twists and pulls, freeing it from its housing. Before installing the new cartridge, I applied a thin coat of silicone grease—this facilitates smooth operation and helps prevent future leaks.
With the new cartridge greased, I slid it into the faucet body, paying close attention to its original positioning. Reinstalling the retaining clip, metal barrel, scald guard, and handle adapter in reverse order was straightforward. Finally, I secured the handle back in place.
Testing My Work
The moment of truth arrived when I turned the water supply back on. I allowed the water to run for a few minutes to flush out any debris and to check for leaks. To my relief, the annoying drip had ceased, marking the end of my leaky faucet saga.
Tools and Materials: Why They Matter
- Allen Wrench: For loosening and tightening the faucet handle.
- Cartridge Removal Tool: Essential for safely extracting the old cartridge without damage to surrounding components.
- Silicone Grease: Provides lubrication to the new cartridge, ensuring smooth operation and sealing.
- New Cartridge (if needed): Replacing a worn or damaged cartridge is often the key to stopping a leak.
This repair showed me the worth of DIY maintenance, saving costs and providing satisfaction. Following steps and using the right tools turned stress into a rewarding project.
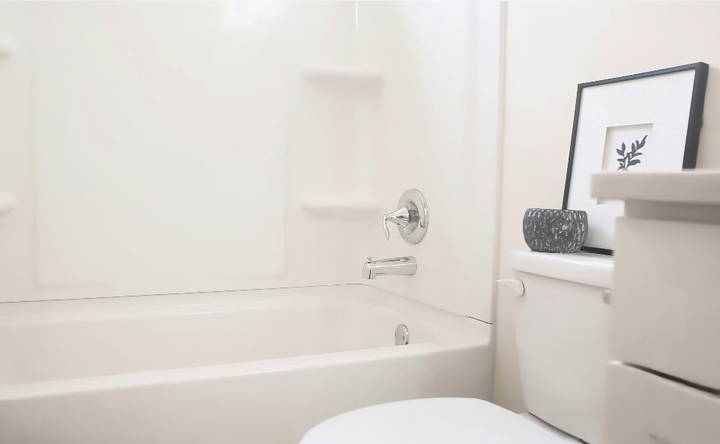
Common Causes of Leaks
When it comes to a leaky bathtub faucet, understanding the common causes can help you pinpoint the problem and find the right solution. Here's a breakdown of the usual suspects in plain language:
- Worn-Out Washers: Every time you use your faucet, the washer is pressed against the valve seat, and this constant friction can wear it out. When it's no longer able to form a watertight seal, water sneaks through, causing a drip.
- Failed O-Rings: An O-ring is a small disc attached to the stem screw that holds your faucet handle in place. Over time, these can become loose or degrade, leading to leaks near the handle.
- Corroded Valve Seat: The valve seat connects the faucet and the spout. Water sediment can accumulate here and corrode the seat, which often results in a leak around the spout area.
- Improper Washer Installation: If a washer isn't the right size or isn't installed correctly, it won't seal properly. This mismatch is a common reason for faucet leaks.
- Loose Parts: The adjusting ring or packing nuts in the stem screw can become loose over time. When they do, you might notice leakage around the handle.
- Broken Plumbing: Sometimes, the issue isn't with the faucet itself but with the pipes. Cracks or deterioration in the pipe fittings can lead to leaks.
- High Water Pressure: If your water pressure is too high, it can prevent water from flowing away properly, causing it to back up and leak out at certain points like the faucet.
By identifying the exact cause of the leak, you can take the appropriate steps to fix it. If you're not confident in doing the repair yourself, it's always best to call a professional plumber.
Troubleshooting Common Problems
When you're trying to fix a leaky bathtub faucet, you might run into a few hiccups along the way. Here's a guide to help you troubleshoot some common problems, written in plain language for easy understanding:
The Faucet Handle is Stuck
- Solution: This often happens due to mineral deposits from hard water. Try applying a vinegar solution to break down the buildup. If that doesn't work, you may need a handle puller tool to gently remove the handle without causing damage.
The Washer Doesn't Fit
- Solution: Make sure you have the correct washer size. A washer that's too small won't seal properly, and one that's too large won't fit at all. Double-check the size against the old washer or consult the manufacturer's specifications.
Water Still Drips After Replacement
- Solution: If you've replaced the washer and the faucet still drips, the valve seat might be corroded or worn. You can try to smooth it with a valve seat dresser, or it may need to be replaced entirely.
The New O-Ring is Leaking
- Solution: Ensure that the O-ring is seated correctly. If it's not aligned properly, it won't form a good seal. Also, check to see if you've applied enough plumber's grease to prevent leaks.
Stripped Screws
- Solution: A stripped screw can be a challenge. You can use a rubber band over the screw head to provide extra grip for your screwdriver. If that doesn't work, you might need a screw extractor set.
Low Water Pressure After Repair
- Solution: Low water pressure could be due to trapped air in the pipes. Turn on the faucet to its maximum and let it run for a few minutes. This should help restore normal water pressure.
If you're ever in doubt or the problem seems too complex, it's best to consult with a professional plumber. They have the expertise to handle tricky situations and ensure everything is fixed correctly.
Maintenance Tips
Keeping your bathtub faucet in good shape is key to preventing leaks and ensuring it lasts for years. Here are some straightforward maintenance tips:
- Regular Cleaning: Build-up from water can cause parts of your faucet to corrode or wear out faster. Gently clean your faucet with a mild soap and water solution every week.
- Inspect Seals and Washers: Every few months, take a moment to check the seals and washers. If they show signs of wear, replace them promptly to avoid leaks.
- Check for Corrosion: Look out for any green or white buildup around the metal parts of your faucet. This could be corrosion, which can lead to leaks if left unchecked.
- Monitor Water Pressure: Too high water pressure can damage your faucet and pipes. If you notice a sudden increase in pressure, it might be time to install a pressure regulator.
- Use the Faucet Gently: Avoid turning your faucet on and off with too much force. This can wear out the components faster.
- Avoid Harsh Chemicals: Strong cleaning agents can damage the finish of your faucet and its inner workings. Stick to gentle, non-abrasive cleaners.
By following these tips, you can extend the life of your bathtub faucet and reduce the likelihood of future leaks. Regular maintenance is the best way to keep everything running smoothly.
FAQs About How to Fix a Leaky Bathtub Faucet
Discover quick solutions in the FAQs for fixing a leaky bathtub faucet. With these expert tips and step-by-step guides, you can save water and money.
Common causes include worn-out washers or seals, a corroded valve seat, or a damaged faucet cartridge. Regular wear and tear can lead to these issues over time.
To identify the faulty part, you’ll need to disassemble the faucet. Check the faucet seals inside the valve, inspect the seat washers at the end of the faucet, and look for damage on the brass packing nut or the rubber packing washer.
You’ll typically need a flathead screwdriver, an Allen wrench, channel lock pliers, needle-nose pliers, and possibly a special cartridge puller if you’re dealing with a cartridge-type faucet.
First, shut off the water supply. Then, remove the faucet handle and the collar piece to access the internal parts. Replace any corroded or damaged washers or seals you find.
After turning off the water supply and removing the faucet handle, you'll need to remove the retaining clip or screws that hold the cartridge in place. Apply silicone grease to the new cartridge, slide it into the faucet body, and reassemble the faucet.
Conclusion:
In conclusion, learning how to fix a leaky bathtub faucet can save you time and money. By following these step-by-step instructions, you ensure a simple, effective repair process. From shutting off the water supply to replacing the cartridge and testing your work, this guide covers everything you need. Ready to tackle your leaky faucet? Start today and enjoy a leak-free bathtub!


