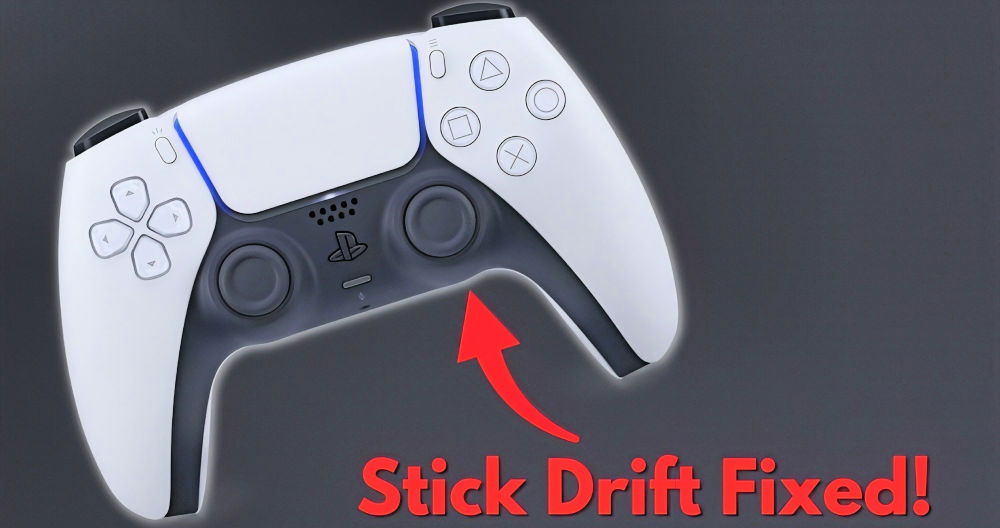
When I first noticed the drift in my PS4 controller, I felt really frustrated. My character in the game kept moving on its own, making it hard to enjoy playing. I decided to fix it myself at home. I will share a simple way to fix PS4 controller drift. This can help you, too!
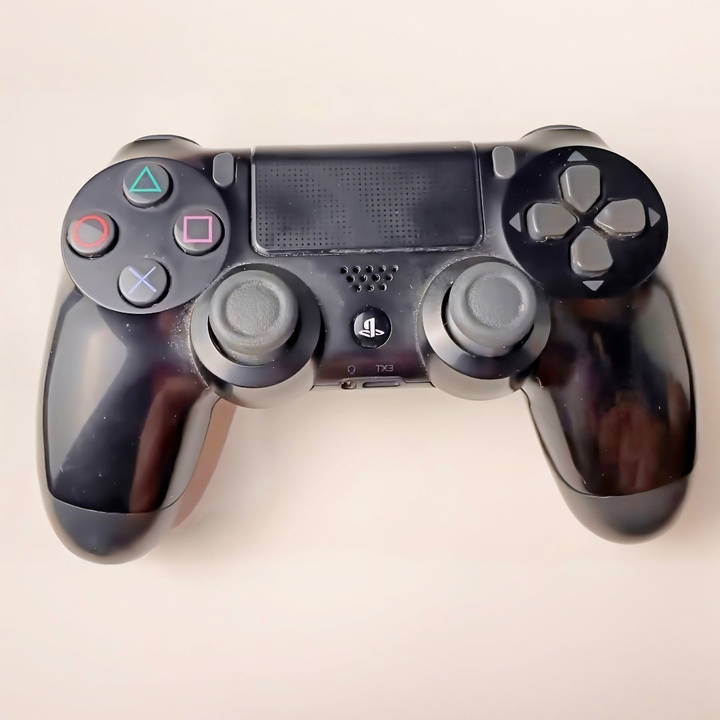
What Causes Stick Drift?
Several factors can contribute to stick drift:
- Wear and Tear: Over time, the internal components of the controller, such as the potentiometer (the sensor that detects stick movement), can wear down due to repeated use.
- Dust and Debris: Small particles can accumulate inside the controller, interfering with the electrical contacts and causing erratic stick behavior.
- Manufacturing Defects: Sometimes, controllers may come with factory defects that can lead to premature stick drift.
Why is it a Problem?
Stick drift can significantly affect your gaming experience by:
- Impairing Control: Unintended movements can make precise actions, like aiming or platforming, difficult.
- Causing In-game Errors: It can lead to mistakes or unintended actions in games, which can be particularly problematic in competitive gaming.
- Reducing Enjoyment: The constant need to correct unintended movements can be distracting and diminish the fun of gaming.
Recognizing Stick Drift
You might have stick drift if:
- Your character or cursor moves without input.
- You notice a drift in one direction when the stick is in a neutral position.
- Calibration settings do not resolve the issue.
Understanding stick drift helps fix it. Recognize signs and causes to diagnose and address the problem for a better gaming experience. Maintain and handle your controller properly to prevent stick drift and extend its life. More guides coming soon.
Gathering the Materials
Before diving into the process, let's talk about what you'll need:
- Phillips Flathead Screwdriver (number 0): This is essential for removing the tiny screws from the controller.
- Compressed Air Can or a Straw (for blowing air): To clear out dust and debris without introducing moisture.
- A Clean, Soft Cloth: For wiping down surfaces and removing any lingering dust.
- Patience and Care: Not exactly a material, but definitely required to handle the delicate parts.
Each material plays a critical role in the cleaning process. The screwdriver allows access to the controller's interior, the compressed air or straw will remove dust from hard-to-reach places, and the cloth is perfect for a final cleanup.
Step by Step Instructions
Learn how to fix stick drift on PS4 with step-by-step instructions, from unscrewing the controller to reassembly. Achieve precise control with ease!
Step 1: Unscrewing the Controller
First, I used the Phillips Flathead number 0 screwdriver to remove the four screws securing the controller's back plate. It's important to keep these screws safe, as losing them can be a headache.
Step 2: Opening the Case
Carefully, I separated the back plate from the rest of the controller. There's a strip connecting the LED light to the circuit board, so I proceeded with caution to avoid damaging this part.
Step 3: Removing the Battery
Next, I disconnected and removed the battery to prevent any electric shock. It's connected by a small, white connector which easily pulls out without much force.
Step 4: Accessing the Analogs
With the battery out, I saw another screw beneath it, which I promptly removed. This allowed me to lift the front plate and access the analog sticks, crucial for addressing the drift issue.
Step 5: Cleaning Around the Analogs
Without removing any delicate components, I used compressed air (you could also use a straw to direct your breath) to blow away dust and debris from around the analog sticks. This step is critical as accumulated grime is often the culprit behind stick drift.
Reassembly and Final Touches
Putting everything back together was the reverse of disassembly. The front plate required a bit of finesse to fit correctly, especially around the touchpad. Reattaching the battery, ensuring the LED strip was connected, and then screwing the back plate into place were my final steps.
Outcome and Tips
To my relief, this simple cleaning process fixed my PS4 controller's stick drift issue. It felt almost new, responding accurately to my inputs without any random movements.
Additional Advice
- Take Your Time: This isn't a race. Rushing could lead to damaging your controller.
- Regular Maintenance: Regular cleaning can prevent stick drift from becoming a problem again.
- Seek Help if Unsure: If you're not confident in doing this yourself, asking for help from someone experienced or watching tutorial videos can provide guidance.
Comprehensive Troubleshooting Guide
Experiencing stick drift on your PS4 controller? This guide can help. Follow these steps to troubleshoot and possibly fix the issue at home.
Step 1: Reset Your Controller
Sometimes, a simple reset is all it takes to fix stick drift:
- Turn off your PS4 and unplug it.
- Find the small reset button on the back of your controller.
- Use a paperclip to press and hold the reset button for about 5 seconds.
- Reconnect your controller using a USB cable and turn on your PS4.
- Press the PS button to re-sync the controller.
Step 2: Clean the Controller Surface & Sticks
Dirt and debris can cause stick drift:
- Turn off your controller and console.
- Use compressed air to blow around the base of the analog sticks.
- Dip a cotton swab in isopropyl alcohol and gently clean around the sticks.
Step 3: Clean Inside the Controller (Advanced)
If the above steps don't work, you may need to clean inside the controller:
- Remove the screws from the back of the controller.
- Carefully open the controller, being mindful of the internal ribbon cables.
- Disconnect the battery and remove the battery holder.
- Take out the analog sticks and clean around the sensors with a cotton swab and alcohol.
- Reassemble the controller and test it.
Step 4: Replace the Analog Sticks (Advanced)
If cleaning doesn't help, you might need to replace the analog sticks:
- Follow the steps to open the controller.
- Desolder the old analog sticks from the circuit board.
- Solder new analog sticks in place.
- Reassemble the controller and test it.
Step 5: Seek Professional Help
If you're not comfortable with the advanced steps, or if the problem persists, consider seeking help from a professional repair service.
By following these steps, you should be able to address most cases of stick drift. Remember to work carefully to avoid damaging your controller, and if in doubt, seek professional assistance.
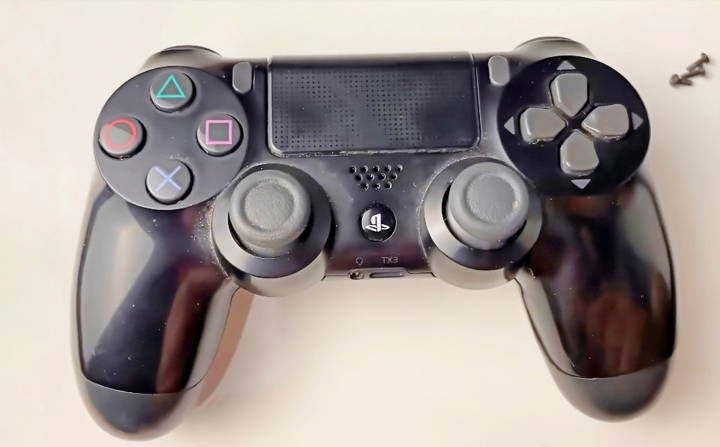
FAQs About How to Fix Stick Drift on PS4 Controllers
Discover how to fix stick drift on PS4 controllers with our detailed FAQs. We offer solutions, tips, and guides to resolve your PS4 stick drift issues.
Stick drift occurs when the analog sticks on your PS4 controller move without any input from you. This can cause characters or cursors to drift on the screen. To identify stick drift, simply observe if there’s any movement in-game or on the menu screens when you’re not touching the analog sticks.
Before considering more complex repairs, try these simple solutions:
Reset your controller: Turn off your PS4 and controller, then press the reset button on the back of the controller with a pin for 5 seconds.
Clean around the sticks: Use compressed air to blow around the sticks, or gently clean with a cotton swab dipped in isopropyl alcohol.
If the issue persists, you may need to clean the inside:
Disassemble the controller: Remove the screws and carefully open the controller.
Clean the analog stick sensors: Use compressed air or a cotton swab with isopropyl alcohol to clean around the sensors.
Reassemble the controller: Carefully put everything back together and test the controller.
Yes, you can fix stick drift without soldering by cleaning the joystick components:
Open the controller: Follow the steps to disassemble your controller.
Access the joystick: Remove the joystick from the circuit board.
Clean the components: Use isopropyl alcohol and a cotton swab to clean the parts.
Reassemble: Put the joystick and controller back together.
If you've tried cleaning and the drift persists, it might be time for a professional look or to replace the controller. Consider this if:
Your controller is under warranty: Contact Sony for a potential free repair.
The problem is severe: If the drift is causing significant gameplay issues, a new controller might be necessary.
Conclusion
In conclusion, learning how to fix PS4 controller drift at home is simpler than you might think. With just a few tools and some patience, your controller can function like new again. Addressing issues like cleaning the joystick and recalibrating can greatly improve your gaming experience. Follow these steps and keep your controller in top shape, ensuring smoother and more precise gameplay.


