Understanding how to fix scratches on a car with simple steps was a game-changer for me. One day, I noticed a few scratches on the side of my car. I felt disappointed, but I decided to search for an effective method to fix them myself. I found a clear guide that explained simple steps to remove scratches. It was really helpful and saved me both time and money.
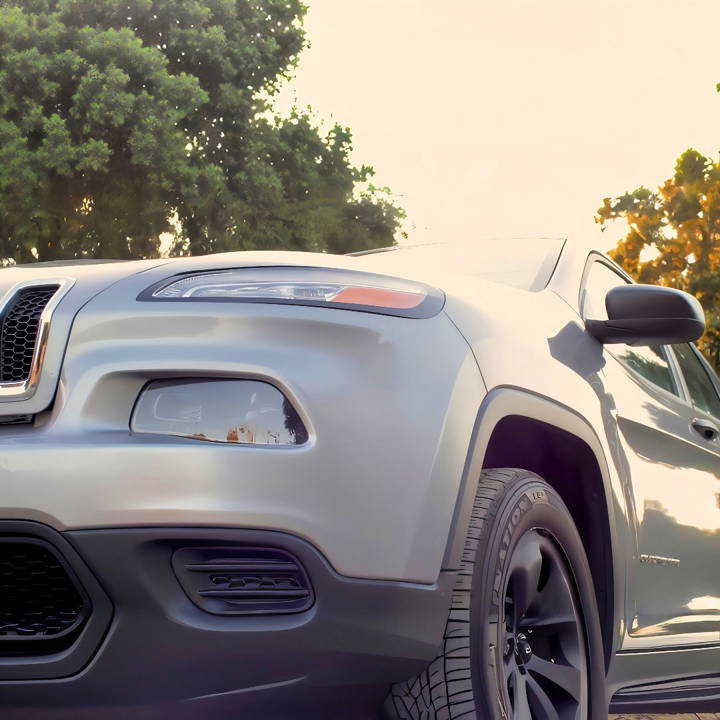
I followed the steps carefully and managed to completely remove the scratches from my car. I cleaned the area first, applied a repair product, and buffed it out with a clean cloth. My car looked good as new! The process was easy and satisfying.
I encourage you to try these steps if you ever face the same issue. Trust me, these tips will help you maintain your car's look.
Understanding Car Scratches
Car scratches are a common annoyance, but understanding the different types and how to address them can save you time and money.
Types of Car Scratches
- Clear Coat Scratches: These are the most superficial scratches, affecting only the topmost layer of your car's paint. They often appear as light, swirly marks and can usually be buffed out or removed with a scratch remover product.
- Paint Scratches (Base Coat): These scratches go deeper, penetrating the clear coat and reaching the colored layer of paint. They might feel rough to the touch and are usually noticeable. You can often repair minor paint scratches with touch-up paint.
- Primer Scratches: Deeper still, these scratches expose the primer layer beneath the paint. They often appear white or gray. Repairing primer scratches might require sanding, priming, and repainting the affected area.
- Deep Scratches: These are the most serious type, cutting through all paint layers and exposing the bare metal. Deep scratches leave your car vulnerable to rust and require professional repair.
How to Identify a Scratch
- Visual Inspection: Look closely at the scratch under good lighting. If you can't see any metal, it's likely a clear coat or paint scratch.
- Touch Test: Gently run your fingernail over the scratch. If your nail doesn't catch, it's probably a clear coat scratch. If it catches slightly, it's a paint scratch. If it catches significantly, it's a primer or deep scratch.
DIY or Professional Repair?
- Clear coat scratches: Usually DIY-friendly with scratch remover products or buffing.
- Minor paint scratches: Often fixable with touch-up paint and careful application.
- Primer and deep scratches: Generally require professional repair to prevent rust and ensure a proper finish.
Preventing Scratches
- Regular washing and waxing: A protective layer of wax can help minimize the impact of minor scratches.
- Careful parking: Avoid tight spaces and be mindful of obstacles like shopping carts.
- Protective film (PPF): Consider applying a clear, protective film to vulnerable areas like the front bumper and hood.
By understanding car scratches, you can better assess the damage and determine the best course of action, saving yourself from unnecessary worry and expense.
Materials You'll Need and Why
Before diving into the nitty-gritty, let's talk about the supplies. Trust me, choosing the right materials is half the battle.
- Sandpapers (80 to 2500 grit): These will help remove the scratch and smooth out the repair area.
- Blue Painter's Tape: Essential for protecting the areas around the scratch from accidental paint or filler application.
- Sandable Primer, Base Coat (matched to my car's paint code, PSC), and Gloss Clear Coat: The trio for covering the scratch and ensuring the repair blends seamlessly with the rest of the car.
- Plastic Spreaders and Body Filler: For filling in any deep scratches.
- Compound and Polish, Microfiber Towels, Polish Sponges: These are crucial for the final steps to make the painted area shine like the rest of the car.
I also remembered to grab a glass of water — hydration is key when you're working in the sun!
Step by Step Instructions
Learn how to fix scratches on your car with our step-by-step guide. From preparation to painting, get your car looking new again in no time!
Step 1: Prepare the Scratch Area
First, I needed to identify the paint code on my car, which I found on a sticker inside the driver's door (PSC for mine). Armed with this code, I purchased the exact match for my paint.
The preparation involved gently sanding down the scratched area with a 180 grit sandpaper, then moving up through the grits until I reached 2500. The goal here is to make the surface as smooth as possible, without causing further damage. Patience is critical.
Step 2: Applying Body Filler
For those deeper gashes, body filler is your friend. I mixed it according to the instructions and applied it using the plastic spreaders. Once it was dry (about 10 minutes later), I sanded it down starting with 80-grit and working my way up to ensure it was flush with the car's body.
Step 3: Priming
I taped off the surrounding area with the blue painter's tape to avoid overspray, then primed the area I'd be painting. Three coats did the trick, allowing each layer to dry before applying the next.
Step 4: Painting
Here's where that paint code comes in handy. Using my matched base coat, I applied it in layers—starting light and building up to full coverage. This technique helped prevent drips and ensured an even application.
Step 5: Finishing Touches
The gloss clear coat was next, applied in the same manner as the base coat. Then it was time to let everything cure overnight.
The following day, I moved on to wet sanding with 800, then 1500, and finally 2500 grit sandpaper, using the water I'd brought along for hydration. This refined the texture, making sure it was perfectly smooth.
Finally, I used the compound and polish to buff the area to a high shine, revealing a nearly indistinguishable repair job.
FAQs About Car Scratch Repair
Discover answers to common questions about car scratch repair. Learn methods, costs, and tips to fix vehicle scratches effectively.
For light surface scratches, toothpaste can be an effective and simple solution. First, clean the area with soapy water and dry it. Then, apply a small amount of whitening toothpaste to a damp microfiber towel and rub it into the scratch using a circular motion.
Yes, small scratches can often be fixed at home using a scratch removal product. These products are designed to work on minor scratches and can be applied following the manufacturer’s instructions. Make sure the area is clean before application.
Deep scratches that go through the paint may require more attention. You can use a touch-up paint pen designed for your car's color. Clean the area, apply the base coat, then the clear coat, and blend by wet sanding with fine-grit sandpaper.
Yes, there are several DIY methods for removing scratches, depending on their depth. For clear coat scratches, sanding with fine-grit sandpaper followed by polishing can be effective. For deeper scratches, touch-up pens and kits are available.
To prevent scratches, regularly wash and wax your car to keep the surface protected. Use car covers when parked for long periods, and be mindful of your surroundings to avoid close encounters with objects that could scratch the paint.
Conclusion:
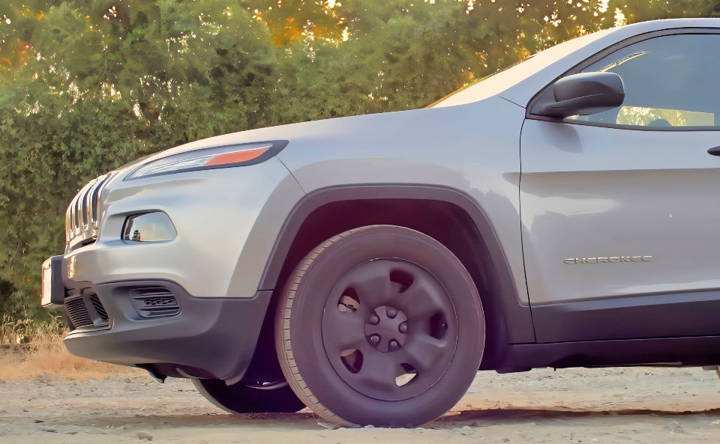
In conclusion, I hope sharing my experience inspires you to fix scratches on your car using simple steps. These methods really do work and save a lot of hassle. Getting started with the given steps will definitely make a big difference in maintaining your car's appearance.


