One morning, I woke up to an annoying squeak every time I stepped on the floor. It was driving me crazy. I decided it was time to learn how to fix these noisy boards. With a few simple tools and some basic steps, fixing squeaky floors turned out to be easier than I thought. These tips will help you solve the problem as well.
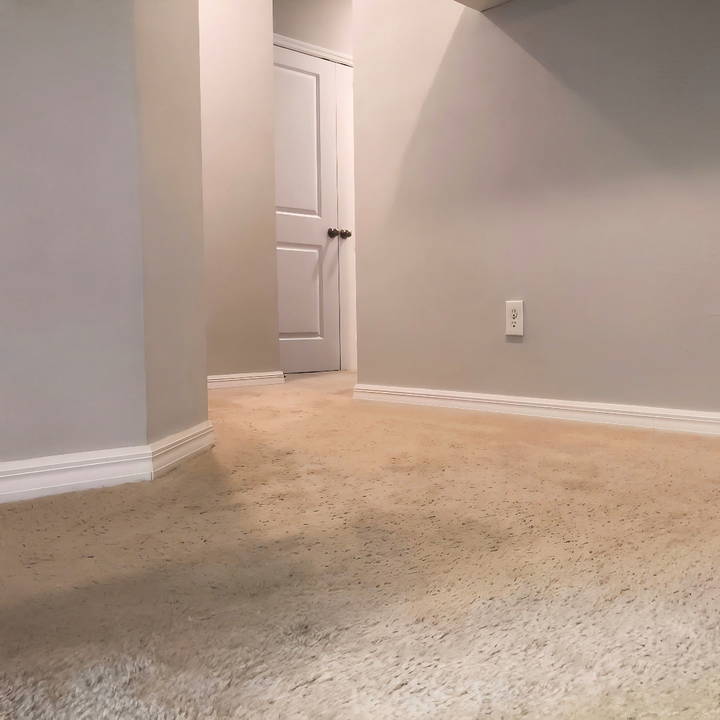
Squeaky floors can be a nuisance, but with the right approach, you can handle it. Identifying the cause of the squeak, whether it's loose boards or gaps, is the first step. Then, using nails, screws, or even lubricant, you can silence that pesky noise. I'm sharing these steps to guide you through the process. Let's get started with these simple solutions.
Understanding the Cause
Firstly, it's essential to understand why floors squeak. In my case, I traced the noise to the floor joists and found out the issue was caused by nails that had missed their mark, making the perfect condition for squeaks whenever pressure was applied to the floor above.
Required Materials:
- Squeak No More Kit: A life-saver that includes all the needed screws designed to stop your floor from squeaking.
- Drill: To drive the screws into the floor.
The Squeak No More Kit is essential because it offers a targeted solution for squeaks, using specially designed screws that anchor the flooring to the subfloor or joists beneath, eliminating movement that causes noise. The drill is needed to secure the screws in place.
Step by Step Instructions
Learn how to fix squeaky floors with step-by-step instructions, from identifying joist directions to using the squeak no more kit and handling hardwood surfaces.
Step 1: Identifying Joist Direction
Knowing the direction your floor joists run is crucial. I discovered mine by accessing the basement. Generally, your air registers are flanked by joists, giving you a starting point to locate them.
Step 2: Using the Squeak No More Kit
Here's how I used the kit effectively:
- Locate the Joist: I started by guessing the joist location near the squeaky area and used the kit's joist-finding screw to confirm my suspicion. If the screw doesn't catch anything beneath the subfloor, you're not on a joist. Move an inch at a time until you find it.
- Place the Tripod and Screw: With the joist located, I used the tripod from the kit to guide the screw into the exact spot above the joist.
- Apply Weight: Before driving in the screw, I applied my weight on the floor section to ensure tight contact between the floorboard and the joist. It helps to secure the connection more effectively as you drive the screw.
- Drive and Snap: Using the drill, I inserted the screw through the guide hole in the tripod, allowing the depth control bit to prevent it from going too deep. Once in place, a simple sideways tap on the screw head snaps it off at the predetermined weak point, leaving the shaft securely fastened without a trace above the surface.
Step 3: Repeating the Process
For thorough coverage, I placed a few more screws, about every five inches, along the joist, making sure to distribute my weight over the area being fixed. This spread helps ensure the entire noisy section is adequately secured to the underlying joist.
Handling Hardwood or Other Hard Surfaces
If you're dealing with hardwood, laminate, or other non-carpeted floors, the process remains similar, albeit with a minor change. Instead of snapping off the screw flush with the carpet, you'll use a different bit provided in the kit for hard surfaces that ensures the screw snaps below the top level of the flooring, making it invisible once finished.
Final Touches
For hardwood floors, you might notice small holes after the screws are snapped. I used a matching wax crayon, easily found online or at home improvement stores, to fill these in. This step makes the repair virtually invisible and preserves the aesthetic of your flooring.
Repair Techniques for Different Flooring Types
When it comes to fixing squeaky floors, the approach can vary significantly depending on the type of flooring you have. Here's a straightforward guide to help you address squeaks on various floors.
Hardwood Floors
Learn how to identify and fix squeaky hardwood floors from above and below. Expert tips to keep your hardwood flooring quiet and pristine!
Identify the Squeak
Walk over the floor and mark the squeaky spots with painter's tape.
From Above
- Fixing Nails: Secure loose boards by driving finishing nails at an angle into the joists.
- Using Screws: For a more permanent fix, use counter-snap floor repair kits, which allow screws to be sunk below the surface and then covered.
From Below
- Shimming: If there's access to the underside, place shims into gaps between the joists and subfloor to stop movement.
- Bracing: Attach wood blocks along the sides of the joists beneath the squeaky area to add stability.
Laminate Floors
Learn how to fix laminate floors efficiently with our comprehensive guide. Discover simple steps to repair and maintain your laminate flooring.
- Locate the Squeak: Identify the area and clear any furniture.
- Floor Gap Fixer: Use a floor gap fixer tool to close gaps that cause squeaking.
- Lubrication: Apply a lubricant like powdered graphite or talcum powder into the seams where the squeaking occurs.
Carpeted Floors
Discover quick and effective solutions to fixing carpeted floors, from stains to tears, ensuring your carpet looks as good as new.
- Find the Squeak: Press down on the carpet until you find the noisy spot.
- Carpet Repair Kits: Utilize a specially designed carpet repair kit that allows you to secure the subfloor without removing the carpet.
- Professional Help: If you're not comfortable with DIY methods, consider hiring a professional to ensure the carpet is properly handled.
Tile Floors
Discover expert tips and step-by-step instructions on how to fix tile floors efficiently, ensuring a flawless and durable finish.
- Detect Loose Tiles: Tap on the tiles to find any that sound hollow.
- Adhesive Injection: Drill a hole and inject adhesive to rebond the tile to the subfloor.
- Replacement: If the tile is cracked, it may need to be replaced. Carefully remove the grout and the damaged tile, then set a new one in place.
Identify the cause of the squeak, choose the correct method for your floor, prioritize safety, and seek professional help if needed.
Troubleshooting Common Problems
When you're working on silencing squeaky floors, you might run into a few snags along the way. Here's a straightforward guide to help you overcome some of the most common issues.
Persistent Squeaks After Repair
- Solution: If the squeak persists, check if the area has multiple sources of noise. Sometimes, fixing one spot can reveal another. Repeat the diagnostic steps to find any missed spots.
No Access to Floor Joists
- Solution: For upper floors without access to joists, use a solid, bridging material between the subfloor and the finished floor. Specialized kits are available that can be used from above, without the need for basement or crawlspace access.
Squeaks Under Carpet
- Solution: If your carpeted floor is squeaky, use a stud finder to locate the joists. Then, employ a carpet-compatible squeak-reduction kit that allows you to work through the carpet without damaging it.
Fear of Damaging the Floor
- Solution: If you're worried about causing damage, start with non-invasive methods like lubrication with talcum powder. For hardwood floors, use repair kits designed to hide the repair work, like color-matched wood filler for nail or screw holes.
Squeaks in New Flooring
- Solution: New floors shouldn't squeak. If they do, it might be due to improper installation or settling of the house. Contact the installer for a warranty repair.
Rental Property Restrictions
- Solution: If you're renting and can't make permanent changes, communicate with your landlord about the issue. They may authorize repairs or allow temporary fixes like area rugs to dampen the noise.
Solve these issues to manage any floor repair surprises. If it seems too complex, call a professional.
Safety Precautions
When embarking on a project to fix squeaky floors, safety should be your top priority. Here's a clear and straightforward guide to keeping safe while you work.
Personal Protective Equipment (PPE)
- Gloves: Wear sturdy gloves to protect your hands from splinters and sharp tools.
- Eye Protection: Always use safety glasses or goggles when using power tools or hammering nails to guard against flying debris.
- Ear Protection: If you're using loud machinery, earplugs or earmuffs can help protect your hearing.
Safe Tool Use
- Read Manuals: Before using any new tool, read the manual to understand its operation and safety features.
- Inspect Tools: Check tools for damage before use. A damaged tool can be dangerous.
- Proper Handling: Use tools for their intended purpose and follow proper techniques to prevent injury.
Work Area Safety
- Clear Space: Keep your work area free of clutter to avoid trips and falls.
- Good Lighting: Ensure adequate lighting to see what you're working on clearly.
- Secure Materials: Make sure any loose floorboards or materials are securely fastened or set aside to prevent accidents.
Chemical Safety
- Ventilation: If you're using adhesives or solvents, work in a well-ventilated area to avoid inhaling fumes.
- Storage: Store chemicals according to the manufacturer's instructions, away from heat sources and out of reach of children and pets.
Ladder Safety
- Stable Base: Place ladders on a firm, level surface and never overreach while on a ladder.
- Three Points of Contact: Maintain three points of contact (two feet and one hand) on the ladder at all times.
Electrical Safety
- Check Cords: Inspect power cords for fraying or damage before plugging them in.
- Water Hazard: Keep electrical tools and cords away from water to prevent shock.
When to Seek Professional Help
- Complex Repairs: If the repair is complex or you're unsure about your ability to safely complete it, it's best to hire a professional.
- Electrical Concerns: If electrical wiring is involved, consult a licensed electrician.
Follow these safety steps to ensure your floor repair project is injury-free. Preparing and working safely is always worthwhile.
FAQs About How to Fix Squeaky Floors
Discover essential FAQs about how to fix squeaky floors and learn effective solutions to quiet your home. Expert tips and tricks are included!
Floors squeak when the wooden floorboards or subfloor sheets rub against each other or against the nails that are supposed to hold them in place. This can happen due to changes in humidity, which causes wood to expand and contract, or when the house settles over time, leading to gaps and loose boards.
Yes, you can. If you have access to the space below the floor, like a basement or crawl space, it’s easier to fix. But if not, there are special kits available that allow you to secure the floorboards from above without damaging the finish. These kits typically include special screws that break off below the surface of the wood.
For a temporary fix, you can use talcum powder, baby powder, or powdered graphite to lubricate the squeaky area. Sprinkle the powder over the squeaky section and sweep it into the cracks. This can help to reduce the friction and silence the squeak temporarily.
For a more permanent solution, you can use shims, screws, or brackets to secure the subfloor to the joists. If the squeak is coming from a gap between the subfloor and the joist, inserting a shim coated with carpenter’s glue can help. Alternatively, using screws to pull the subfloor tight against the joist is another effective method.
While basic tools like a hammer, screwdriver, and drill can be used for most fixes, there are also specialized tools like the ‘Squeak-Ender' that can make the job easier. This tool pulls the subfloor tight against the joist from below, eliminating the squeak.
Conclusion
In conclusion, this comprehensive guide on how to fix squeaky floors provides all the steps you need to silence those annoying creaks. From identifying the source of the squeak to choosing the right tools and techniques, we've covered everything to make your floors quiet and sturdy. Fixing squeaky floors can improve not just your home's comfort but its value, too. Take action today and enjoy a quieter home with secure, squeak-free floors!


