Learn how to frame a canvas like a pro with our step-by-step guide. Framing your canvas artwork can dramatically elevate its presentation, giving it a polished and professional look. However, traditional framing methods can be prohibitively expensive, especially for new artists on a budget. When I first started making my own art, I quickly realized that professional framing wasn't an option for me.
I needed a cost-effective yet stylish alternative, and that's when I stumbled upon a fantastic DIY method: disassembled floating frames. Here's a detailed guide to help you achieve a beautifully framed canvas without breaking the bank.
Why Choose a Floating Frame?
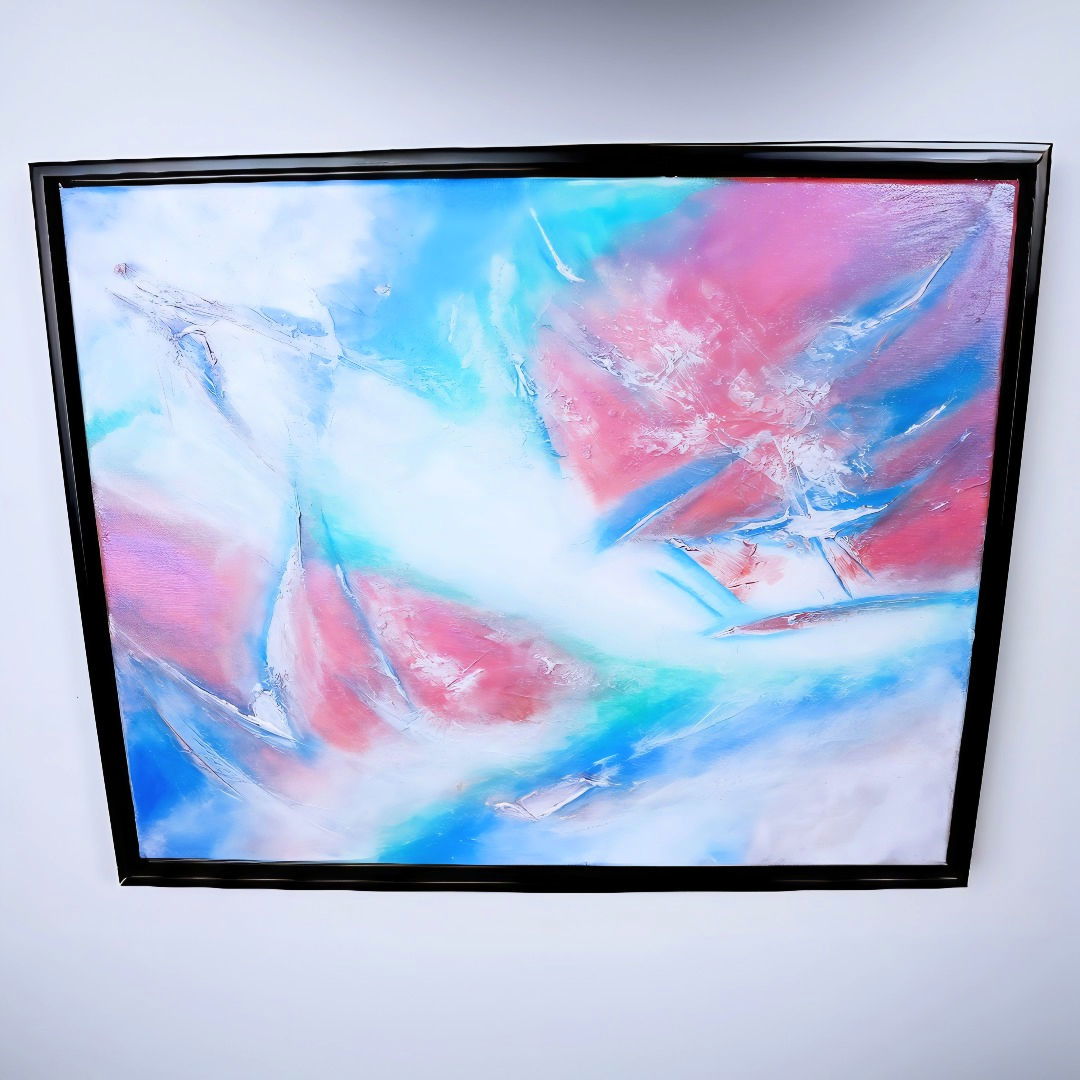
Floating frames are a great choice for canvas artworks. They provide a clean, modern aesthetic and build the illusion that your art is "floating" within the frame. The disassembled floating frames I found, like those from CareUDesign on Amazon, come with all the necessary components and offer various colors and designs to match your artwork. But what really sold me was the affordability and the creative freedom to assemble and customize the frame myself.
Step by Step Instructions
Learn how to frame a canvas with our step-by-step guide. From gathering materials to inserting your canvas, get expert tips on customizing and troubleshooting.
Step 1: Gathering Materials
Before diving into the assembly, let's talk about what you'll need:
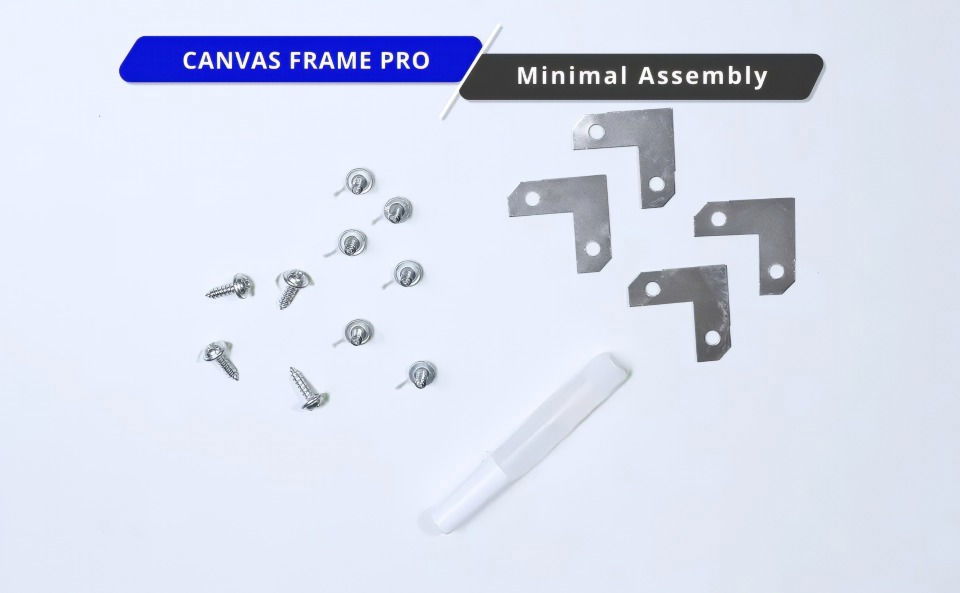
- Disassembled Floating Frame Kit: Available from brands like CareUDesign or other similar suppliers on Amazon. Make sure to choose the size that matches your canvas.
- Screwdriver: This is crucial for securing the L-shaped brackets that come with the frame.
- Wood Glue: For initially joining the frame corners.
- Optional Spray Paint: If you want to customize the color of your frame beyond the available options.
When I first tried this approach, I picked a basic black faux wood frame, but I quickly realized that customizing it with a matte finish spray paint added a unique touch that better complemented my artwork.
Step 2: Assembling the Frame
Once you have all your materials, it's time to put everything together.
- Unbox and Organize: Lay out all the frame pieces, brackets, and screws. Make sure to have your screwdriver and glue within reach.
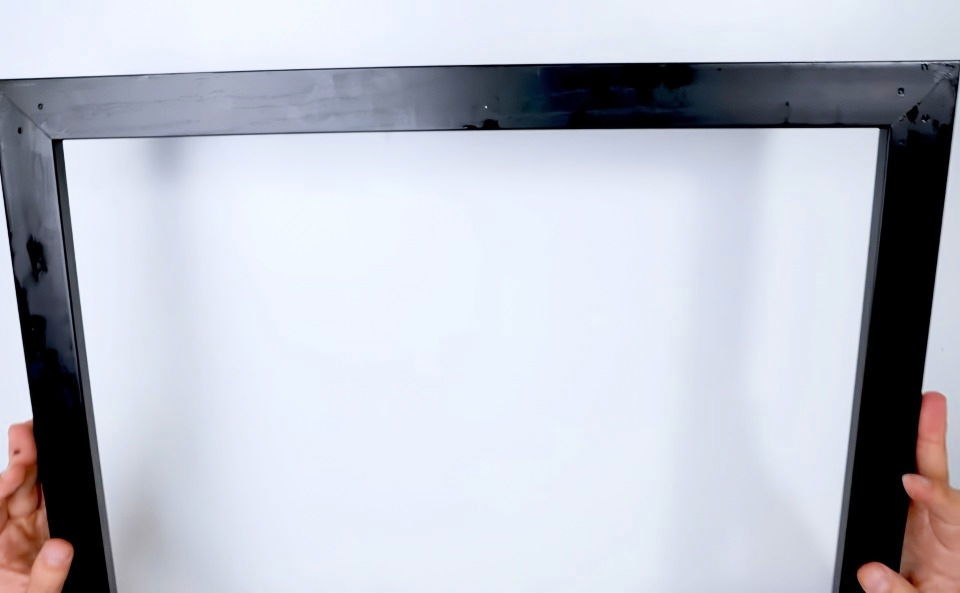
- Glue the Corners: Start by applying a small amount of glue to the corners of the frame pieces. Be careful here—the glue tends to dry very quickly. When I first did this, I ended up with glue on my fingers and even on my table. It dries fast, so align your pieces carefully and quickly.
- Secure with L-Brackets: After the glue sets (which should be quick), flip the frame over and attach the L-shaped brackets to the back corners. Use your screwdriver to secure these tightly. One tip from my experience: don't over-tighten initially. You might need to adjust the alignment, as not all corners may align perfectly on the first try.
Step 3: Inserting Your Canvas
With the frame assembled, it's time to place your artwork.
- Check the Fit: Lay your canvas inside the frame to ensure it fits perfectly. If the frame is slightly off, you might need to adjust the screws in the L-brackets.
- Secure the Canvas: Use the provided screws to attach the canvas to the frame. You typically only need two screws to keep the canvas in place, but be careful to ensure your artwork is perfectly centered. In my experience, skewed artwork can be very noticeable and requires extra care to align correctly.
- Hang Your Artwork: The frame kits usually come with various hanging options—hooks, brackets, or even hanging wire. You can choose what suits your wall and preferred display style best. For my studio, I opted for 3M Velcro strips because they are easy to remove and adjust, especially if you like to frequently rotate your artworks.
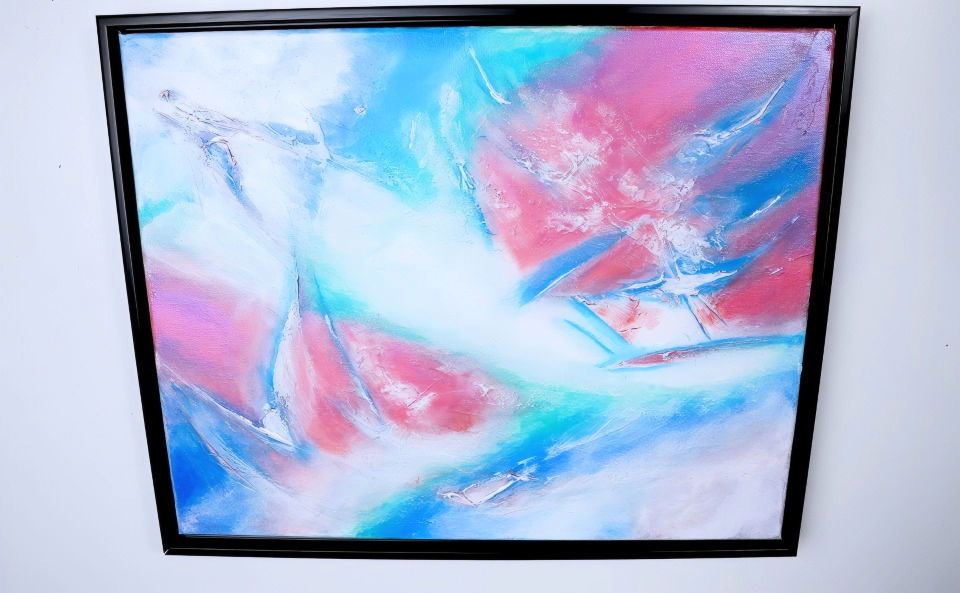
Tips for Customizing Your Frame
One of the best parts about these floating frames is their versatility. If you're not a fan of the standard colors, they're easily customizable.
- Spray Paint the Frame: The faux wood and metal frame designs are easy to paint over. I experimented with a few colors and found that a matte black frame added depth and sophistication to my artwork, while a metallic bronze frame gave a more contemporary feel.
- Choose Complementary Colors: Consider the artwork you're framing. A dark frame can highlight bright and bold pieces, while a light or neutral frame works well with softer, more pastel colors.
Step 4: Troubleshooting Common Issues
While these frames are affordable and look great, they aren't without their quirks. Here are some common issues I encountered and how to solve them:
- Misaligned Corners: Some frames might have minor manufacturing flaws where the corners don't line up perfectly. I had one frame where the corner gap wouldn't close despite my best efforts. The solution was to unscrew, realign, and re-screw the bracket to bring the pieces closer together. It wasn't perfect, but the gap was small enough that it wasn't noticeable once the artwork was in place.
- Delayed Shipping: Since these frames are often imported, shipping times can vary. When I ordered mine, it took almost four weeks to arrive. If you're working on a deadline or preparing for an exhibition, plan ahead to avoid last-minute stress.
Advanced Techniques
Explore advanced framing techniques, including custom frames, floating frames, and decorative elements, to elevate your artwork and home decor.
Custom Frames
Making custom frames allows you to tailor the frame to fit any canvas size or shape. This is especially useful for non-standard or irregularly sized canvases.
- Measure the Canvas: Start by measuring the dimensions of your canvas. Note the height, width, and depth.
- Select Materials: Choose the type of wood or material you want for your frame. Consider the weight and style of the canvas.
- Cut the Frame Pieces: Cut the wood to match the dimensions of your canvas. Ensure the corners are cut at a 45-degree angle for a perfect fit.
- Assemble the Frame: Use wood glue and nails to assemble the frame. Make sure the corners are aligned and secure.
- Finish the Frame: Sand the edges and apply paint or stain as desired. Let it dry completely before attaching the canvas.
Floating Frames
Floating frames give a modern, elegant look by making a gap between the canvas and the frame, making the artwork appear to “float.”
- Measure and Cut: Measure your canvas and cut the frame pieces accordingly. The frame should be slightly larger than the canvas to build the floating effect.
- Assemble the Outer Frame: Assemble the outer frame using wood glue and nails. Ensure it is sturdy and square.
- Attach Spacers: Attach small wooden spacers inside the frame to hold the canvas in place. These spacers build the floating effect.
- Insert the Canvas: Place the canvas inside the frame, resting on the spacers. Secure it with canvas clips or small nails.
- Finish the Frame: Sand and paint or stain the frame as desired. Ensure the finish complements the artwork.
Decorative Elements
Adding decorative elements can enhance the frame and make it unique. Here are some ideas:
- Staining: Apply wood stain to give the frame a rich, natural look. Choose a color that complements the artwork.
- Painting: Paint the frame in a color that matches or contrasts with the canvas. Use high-quality paint for a smooth finish.
- Embossing: Add embossed designs to the frame for a textured look. You can use stencils or freehand designs.
- Adding Embellishments: Attach decorative elements like beads, shells, or metal accents to the frame. Ensure they are securely attached and do not overpower the artwork.
By using these advanced techniques, you can make custom, floating, and decorative frames that enhance the beauty of your canvas and make it stand out.
Common Mistakes to Avoid
Discover the common mistakes to avoid in DIY projects, from measurement errors to poor quality materials, and ensure a professional finish every time!
Measurement Errors
Accurate measurements are crucial for a well-fitted frame. Here are some common mistakes and how to avoid them:
- Incorrect Dimensions: Always measure the height, width, and depth of your canvas. Double-check your measurements before cutting any materials.
- Not Accounting for Frame Width: Remember to include the width of the frame itself in your measurements. This ensures the canvas fits perfectly within the frame.
Improper Securing
Securing the canvas properly is essential for both the appearance and safety of your artwork.
- Loose Canvas: Ensure the canvas is tightly secured to prevent it from shifting or sagging. Use canvas clips or nails to hold it firmly in place.
- Weak Joints: Use strong adhesives and nails to assemble the frame. Weak joints can cause the frame to fall apart over time.
Aesthetic Mismatches
Choosing the right frame can enhance the beauty of your artwork. Avoid these common aesthetic mistakes:
- Clashing Colors: Select a frame color that complements the artwork. Neutral colors like black, white, or natural wood often work well.
- Overly Ornate Frames: While decorative frames can be beautiful, they should not overpower the artwork. Choose a frame that enhances, rather than distracts from, the canvas.
Poor Quality Materials
Using high-quality materials ensures the longevity and appearance of your frame.
- Cheap Wood: Low-quality wood can warp or break easily. Invest in good-quality wood or other durable materials.
- Inferior Hardware: Use sturdy nails, screws, and hanging hardware to ensure the frame is secure and can support the weight of the canvas.
Skipping the Finishing Touches
Finishing touches can make a big difference in the final appearance of your frame.
- Not Sanding: Sand the edges of the frame to smooth out any rough spots. This gives the frame a polished look.
- Skipping Paint or Stain: Applying paint or stain not only enhances the appearance but also protects the wood. Choose a finish that complements your artwork.
Avoiding common mistakes helps build a secure, professional frame. Accurate measuring and proper materials ensure your artwork looks its best.
FAQs About How to Frame a Canvas
Discover the essential FAQs about how to frame a canvas and enhance your artwork's presentation with our step-by-step guide.
Measure the height, width, and depth of your canvas. Use a tape measure and record the dimensions accurately. This ensures you get a frame that fits perfectly.
Yes, you can frame a canvas yourself. It’s a simple DIY project that requires basic tools and materials. Follow the steps carefully, and you can achieve a professional-looking frame.
Match the style: Choose a frame that complements the artwork and the room's decor.
Consider the color: Select a frame color that contrasts with the canvas to make it stand out.
Think about the size: Ensure the frame is the right size for your canvas, not too big or too small.
When choosing a frame, consider the following:
Floating frames: These build a gap between the canvas and the frame, giving the artwork a “floating” appearance.
Standard frames: These are traditional frames that sit flush against the canvas.
Shadow box frames: These provide depth and can include additional elements like a mat or glass cover.
To keep your framed canvas in good condition:
Dust regularly: Use a soft, dry cloth to remove dust from the frame and canvas.
Avoid direct sunlight: Prolonged exposure to sunlight can fade the colors.
Keep away from moisture: Moisture can damage both the canvas and the frame.
Check the hardware: Periodically check the hanging hardware to ensure it remains secure.
Final Thoughts
For any artist, especially those starting, framing your canvas affordably without sacrificing style is a big win. These DIY floating frames provide a cost-effective solution, allowing you to frame your artworks beautifully for as little as $30 to $40. Not only does this save money, but it also allows you to add a personal touch to your frames, making your artwork truly unique.
If you're in the same boat as I was—looking for a way to present your art professionally without the hefty price tag—these floating frames are worth a try. They offer flexibility, affordability, and a bit of hands-on fun in the process. Just remember to check the size, handle the glue carefully, and be prepared to wait a bit longer for delivery. And who knows, you might even enjoy the process as much as making the art itself!


