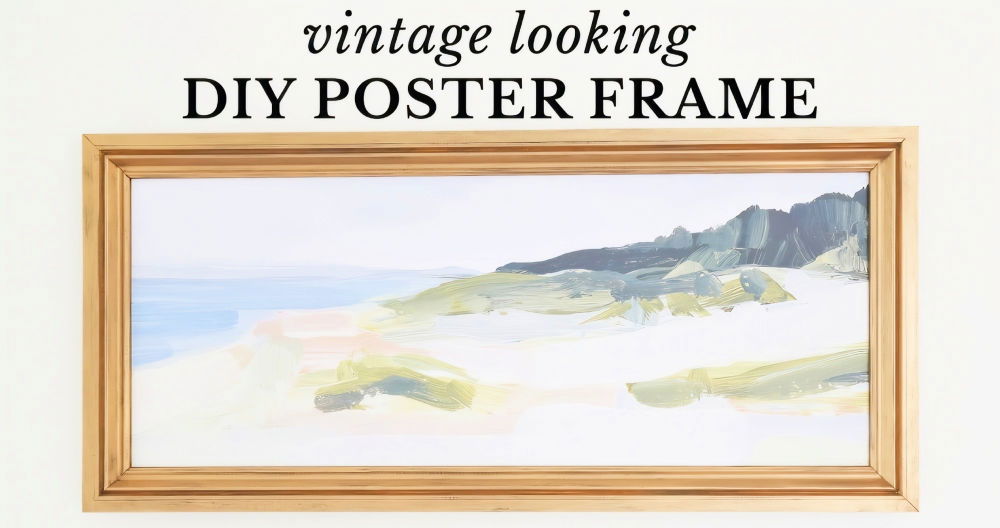
Framing a print can elevate the look of your artwork, photo, or poster, giving it a polished and professional appearance. Start by choosing a frame that complements the piece. Measure the dimensions of your print accurately to ensure a perfect fit within the frame. Remember to use acid-free materials to protect the print's longevity and avoid discoloration over time.
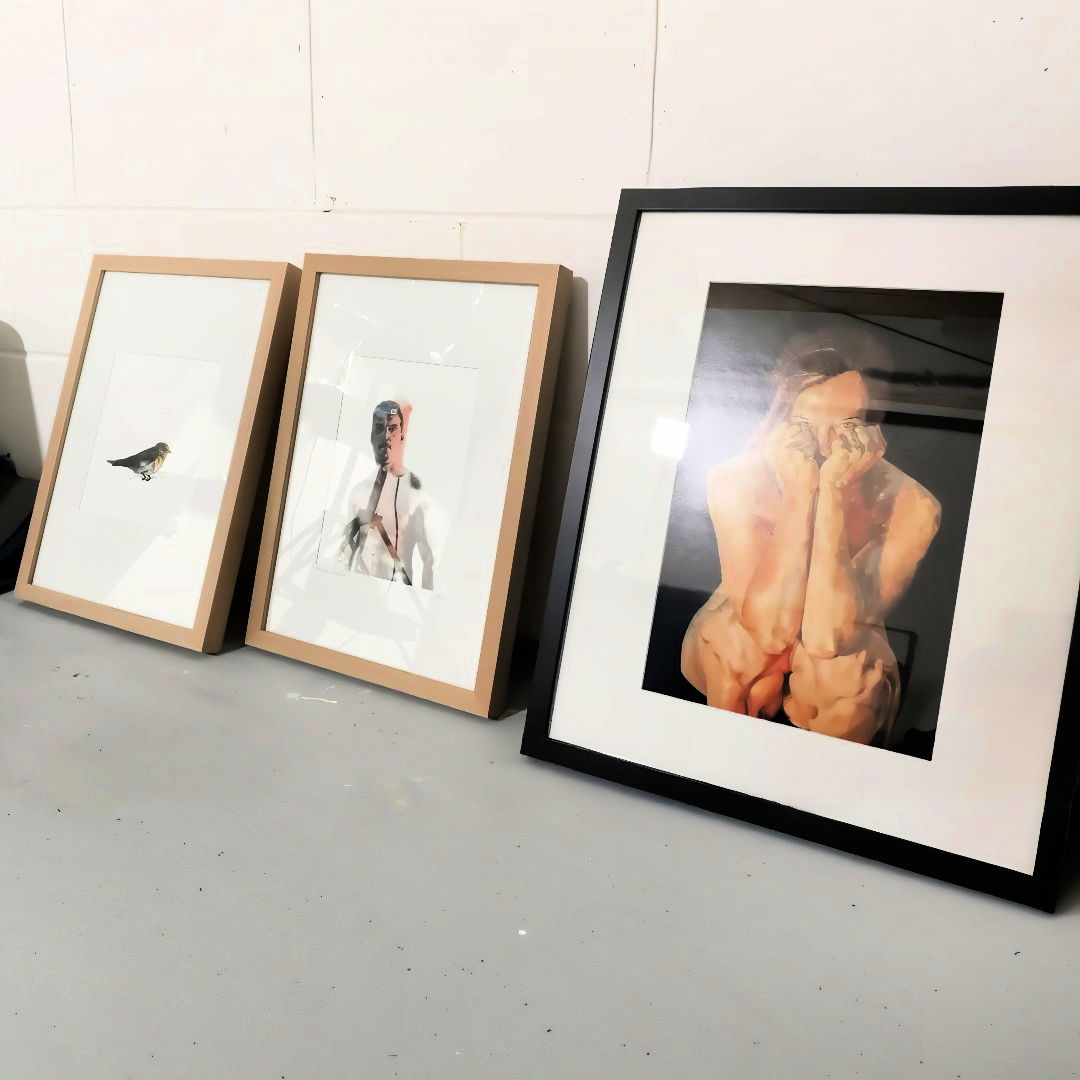
Consider the placement of your framed print. Balanced lighting will enhance the visual appeal and prevent any glare. Use mounting tape or hanging accessories that are suitable for the frame size and weight.
Following these steps will help you frame a print or photo print professionally and preserve its beauty.
Materials You'll Need
Before we begin, gather the necessary materials. Here's why each is important:
- Foam Board: Provides a sturdy backing for the artwork.
- Mat Board: Makes a clean, professional border around the print.
- Double-Sided Tape: Secures the mat board to the foam board.
- Acid-Free Tape: Affixes the artwork to the mat, preventing degradation over time.
- Bevel Cutter: Cuts precise angles in the mat board for an elegant finish.
- Weights: Keeps the artwork in place during the framing process.
- Ready-Made Frame: The outer frame that showcases your artwork.
- Measuring Tools: For precise cuts and fits.
Step by Step Instructions
Learn how to frame a print with our step-by-step guide. From measuring and cutting to mounting and assembling, perfect your artwork display.
Measuring Your Artwork and Frame
Learn how to measure your artwork and frame accurately with our step-by-step guide. Ensure perfect fit by calculating the difference in dimensions.
Step 1: Measure the Artwork
The first step is to measure the outside diameter of the artwork you'd like to frame. This measurement is crucial because it will determine how you'll cut your foam board and mat board.
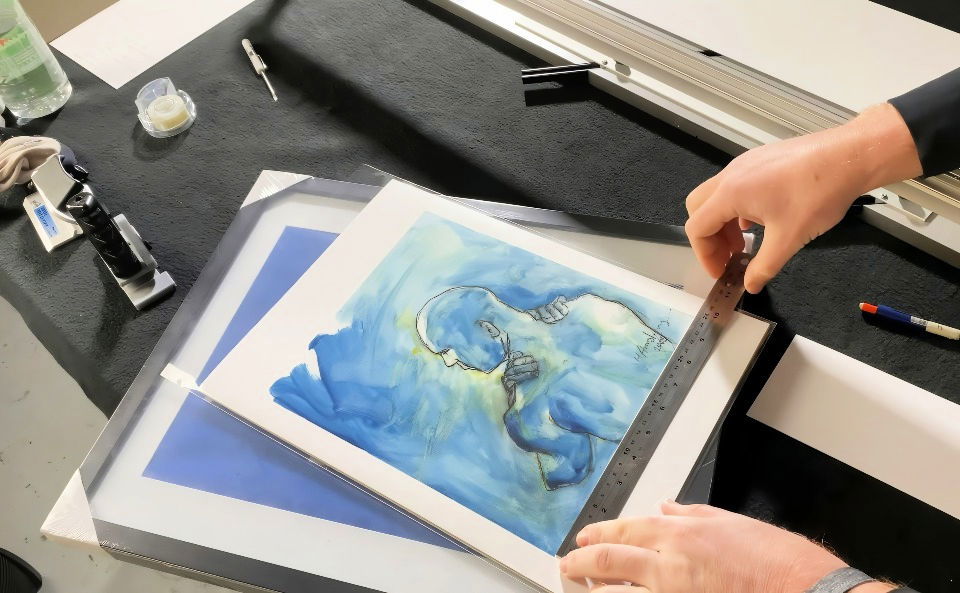
Step 2: Measure the Frame
Next, measure the inside dimensions of the frame you'll be using.
Step 3: Calculate the Difference
Subtract the size of your artwork from the inside dimensions of the frame. Divide this difference by two. This calculation will help you center the artwork within the mat board.
Cutting the Foam Board and Mat Board
Learn how to precisely cut foam board and mat board with our step-by-step guide. Master essential techniques for clean and accurate cuts.
Step 4: Cut the Foam Board
Cut a piece of foam board to match the inside dimensions of your frame. This foam board will act as a sturdy backing, ensuring your artwork doesn't sag or shift.
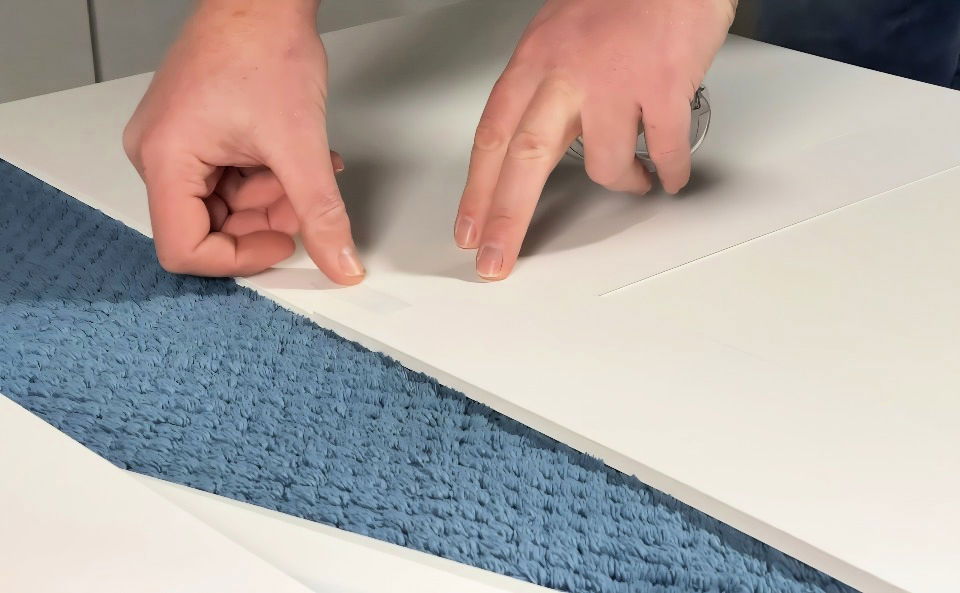
Step 5: Cut the Mat Board
Cut a piece of mat board to the same size as the foam board. The mat board will add a polished border around your print, making it look professional.
Preparing the Mat Board
Learn how to prepare a mat board by marking and cutting the viewing window in this easy, step-by-step guide. Perfect for framing projects!
Step 6: Mark the Viewing Window
On the back of the mat board, measure and mark out where you'll cut the internal viewing window. This window should be slightly smaller than your artwork to ensure overlap.
Step 7: Cut the Viewing Window
Using a bevel cutter, carefully cut out the marked area. A bevel cutter is important because it ensures that the edges are angled, giving the mat a sleek, professional finish.
Mounting the Print
Mounting the print guide: learn how to position and secure your artwork smoothly in steps 8 and 9. achieve a perfect display effortlessly.
Step 8: Position the Print
Place the mat board face down on a clean surface, then position your artwork face down within the window. Make sure it's centered to your satisfaction.
Step 9: Secure the Artwork
Place weights on the artwork to keep it in place. Using acid-free tape, secure the print to the back of the mat board. This type of tape is crucial because it prevents any damage or discoloration over time.
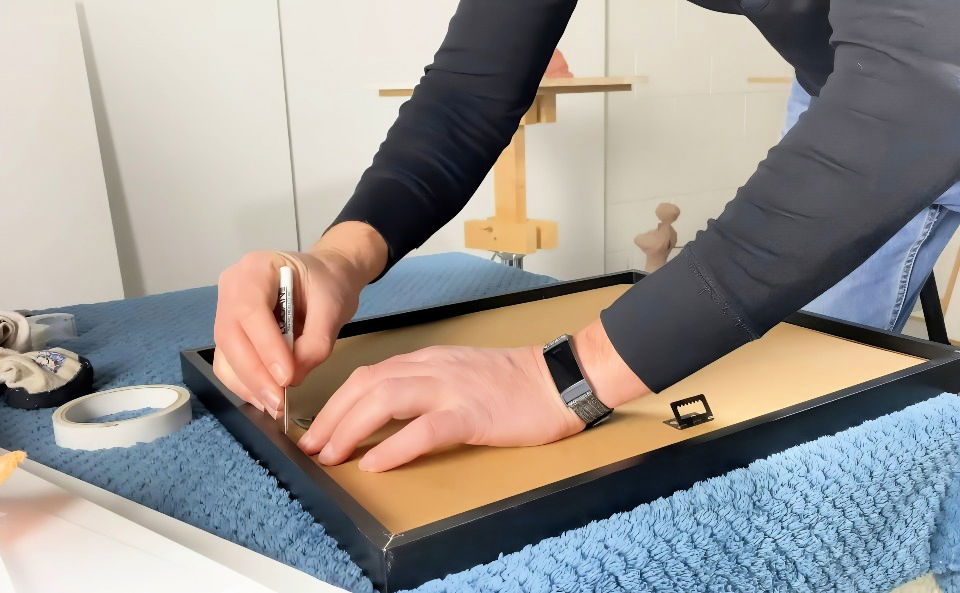
Assembling the Frame
Discover how to assemble the frame, attach the foam board, and insert it seamlessly. Follow step-by-step to complete your project efficiently.
Step 10: Attach the Foam Board
Apply double-sided tape to the back of the mat board and carefully place it onto the foam board. Press firmly to ensure a good bond.
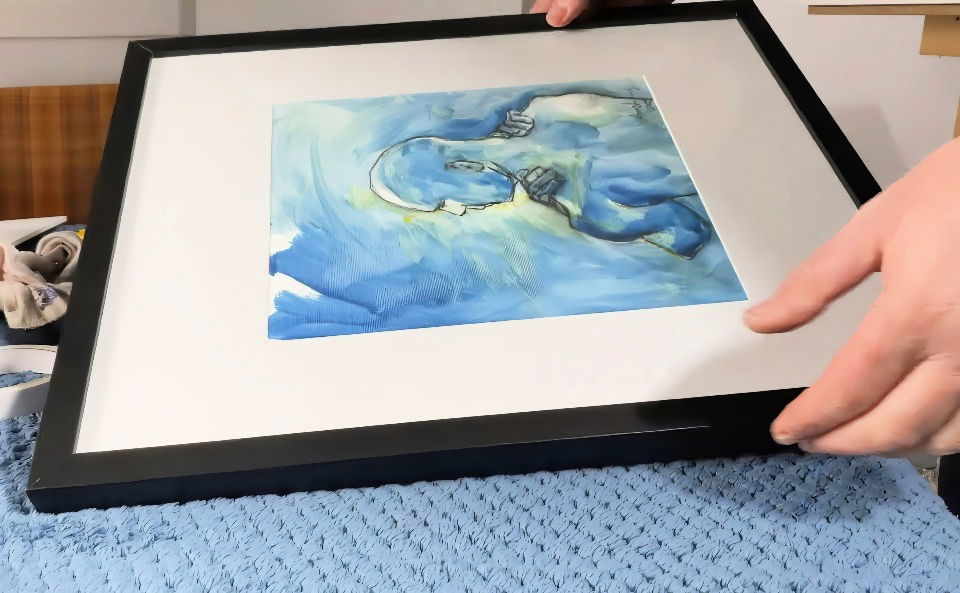
Step 11: Insert into Frame
Now, you can place this assembly into your ready-made frame. Make sure it fits snugly, and add the backing components that come with your frame to secure everything in place.
Customization Tips
Customizing your frames ensures they protect your art and match your style. Here are tips for unique and harmonious frame customization.
- Choose the Right Frame Style: The frame you choose should reflect the style of the print as well as the room where it will be displayed. For a modern look, consider a sleek, minimalistic frame. If your decor is more traditional, a classic wooden frame might be more suitable.
- Play with Colors: Don't be afraid to experiment with mat colors. A contrasting mat can make your print pop, while a complementary color can subtly enhance the artwork. Remember, the mat is not just functional; it's part of the overall aesthetic.
- Add a Personal Touch: Personalize your frame with small embellishments that mean something to you. This could be anything from a tiny engraving to a decorative border that resonates with your style.
- Mix and Match: Who says all frames have to match? Mixing different frame styles can add character to a room. Try combining various textures and finishes for an eclectic look.
- DIY Decor: If you're crafty, consider decorating the frame yourself. Use paint, stencils, or even fabric to make a frame that's one-of-a-kind.
- Consider the Space: Think about where the framed print will hang. The frame should not only suit the print but also the wall color, the furniture, and even the lighting in the room.
- Keep It Balanced: While customization is all about personal expression, it's important to keep a sense of balance. The frame should enhance the print, not overwhelm it.
Follow these tips to protect your framed prints and reflect your unique style. Choose a frame that highlights the print and suits your home.
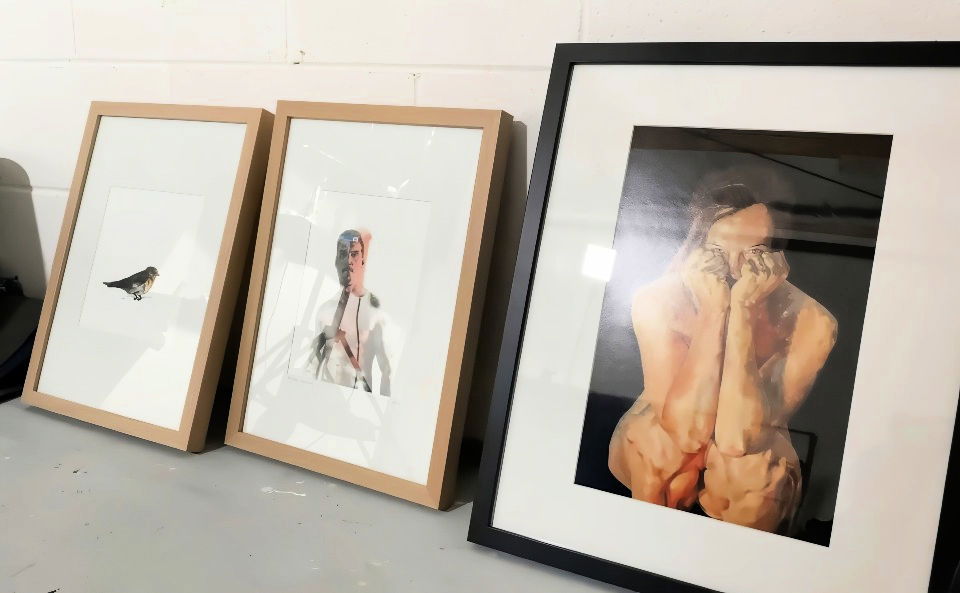
Framing Challenges and Solutions
Framing a print can sometimes come with its own set of challenges. Whether you're a first-timer or a seasoned DIY enthusiast, here are some common issues you might encounter and practical solutions to overcome them:
- Measuring Mistakes: One of the most common mistakes is incorrect measurements. Always measure your print twice before cutting any materials. Remember the adage: “Measure twice, cut once.”
- Glass Glare: To reduce glare on the glass, position your framed print away from direct light sources. If possible, use anti-reflective glass, which can significantly diminish glare and improve the visibility of your artwork.
- Matting Woes: Choosing the wrong mat size can detract from your print. Ensure there's a balanced border around the artwork. If in doubt, a larger mat often gives a more professional look.
- Securing the Print: Use acid-free artist tape to secure the print to the mat. This prevents the print from slipping and won't damage the paper over time.
- Humidity Damage: High humidity can cause the print to stick to the glass. Use spacers between the print and the glass to allow air circulation and prevent moisture buildup.
- Frame Warping: Wood frames can warp in fluctuating temperatures. To avoid this, don't place your framed prints near heat sources or in direct sunlight.
- Hanging Heaviness: Heavy frames can be a challenge to hang securely. Use wall anchors appropriate for your wall type and the weight of the frame to ensure it stays put.
- Mismatched Decor: A frame that clashes with your room's decor can be jarring. Take a sample of your wall color and decor elements when shopping for frames to find a match that complements your space.
Prepare for challenges and use these solutions to frame like a pro. Patience and detail are key to a beautifully framed piece that enhances your print and home.
FAQs About How to Frame a Print
Discover answers to common questions about how to frame a print. Get expert tips and make your artwork stand out with these framing FAQs.
Acid-free materials prevent your print from yellowing over time. Non-acid-free materials contain lignin, which can cause deterioration. Using an acid-free mat, tape, and dust cover helps in preserving the print for many years.
Consider the print’s size, style, and colors. Thin frames are suitable for small artworks, while thick frames are better for larger pieces. The frame should complement the room’s decor and other artworks. You can choose from wood, metal, ceramic, plastic, or crystal frames.
First, measure the print and cut the mat board to size. Mount the print onto the mat board using adhesive. If you're using mounting tape, use a rubber roller to eliminate air bubbles. Center the mat over the mounted print if you're using one.
Lay the glazing on the frame and clean it. Attach the print and mat assembly to the frame. Secure the back with staples or points, attach D-ring hangers, and thread the picture wire. Hang your framed print on the wall and enjoy.
To protect your framed print from fading, use UV-protected glass or acrylic. This special glazing filters out harmful UV rays that can cause colors to fade. Additionally, place your framed print away from direct sunlight and high-humidity areas. Using acid-free backing and ensuring a tight seal on the back of the frame will also help protect against environmental damage.
Final Thoughts
Wrapping up, framing a print professionally doesn't have to be daunting. By following the steps in this guide, you can frame a photo print with confidence and style. Remember to choose the right materials, measure accurately, and take your time. Not only will you protect your artwork, but you'll also enhance its beauty. Happy framing!


