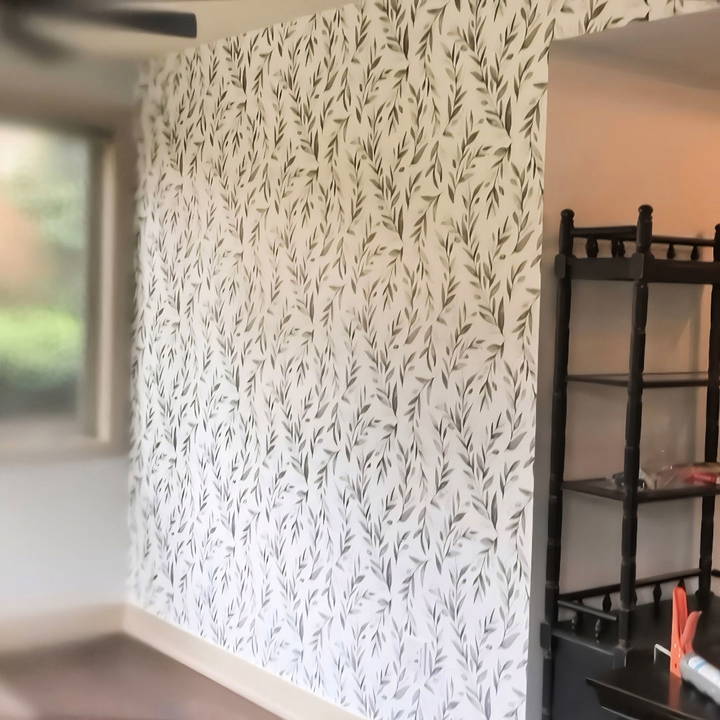
Installing wallpaper is a fantastic way to transform any room with bold patterns or subtle designs. If you're looking for a DIY project to give your space a fresh new look, installing wallpaper is the way to go. However, getting a professional-looking finish requires careful planning, the right tools, and attention to detail. In this comprehensive guide, we'll walk you through how to hang wallpaper like a pro. Whether you're using traditional wallpaper or a removable version, this tutorial covers everything you need to know—from preparation and measuring to cutting, application, and the finishing touches.
What You Need to Get Started
Before diving into the wallpapering process, it's essential to gather all the necessary tools and materials to ensure smooth and efficient work. Here's what you need:
Tools and Materials:
- Wallpaper (removable or traditional)
- Tape measure
- Pencil
- Level or a laser level
- Utility knife with snap-off blades
- Sponge
- Taping knife (preferably plastic, about 6 inches)
- Silicone roller
- Painters' tape
- Visqueen or protective covering for surfaces
- Spray bottle (for water-activated adhesive wallpaper)
- Caulk and caulking gun
- Damp cloth or sponge
- Trim plates for outlets and switches
Once you have these tools and materials ready, you can begin the wallpaper installation process.
Step by Step Instructions
Learn how to hang wallpaper step by step with our guide. From measuring to finishing touches, get professional results every time!
Step 1: Measuring and Planning
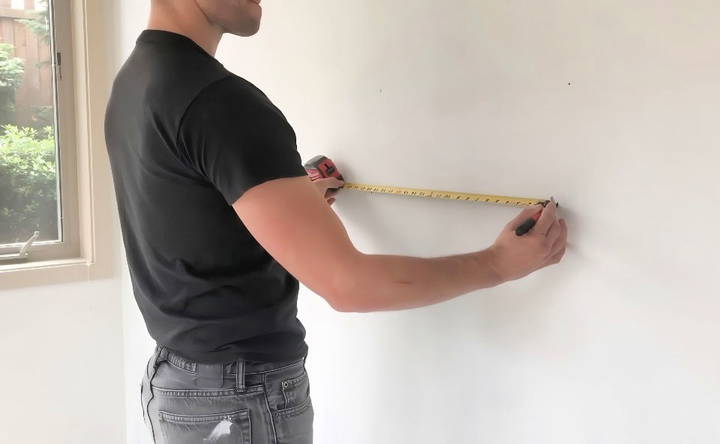
The first step in any wallpaper project is taking precise measurements of the wall. This will help you determine how much wallpaper you'll need and where to place each panel.
- Measure the Wall: Measure the height and width of the wall where you'll be installing the wallpaper. Multiply the width by the height to get the total square footage. Check the square footage covered by a roll of wallpaper and make sure you purchase enough rolls to cover your entire wall, with some extra in case of mistakes.
- Plan the Layout: Before cutting anything, lay out your wallpaper panels and visualize where each one will go. If your wallpaper has a repeating pattern, take note of where the pattern matches up. This step is crucial to ensure that the design flows seamlessly across the wall. You can use painter's tape to mark the placement of key patterns, ensuring alignment across panels.
- Order Extra Wallpaper: Always order more wallpaper than you think you'll need. A good rule of thumb is to get at least 10-15% more than the measured square footage to account for mistakes and pattern matching.
Step 2: Preparing Your Workspace
A clean, organized workspace makes the installation process much smoother. Here's how to prepare:
- Clear the Area: Remove all furniture, wall decorations, and electrical outlet covers from the wall you'll be wallpapering. If you're working on a large wall, you may also want to move furniture out of the room entirely to have enough space to move freely.
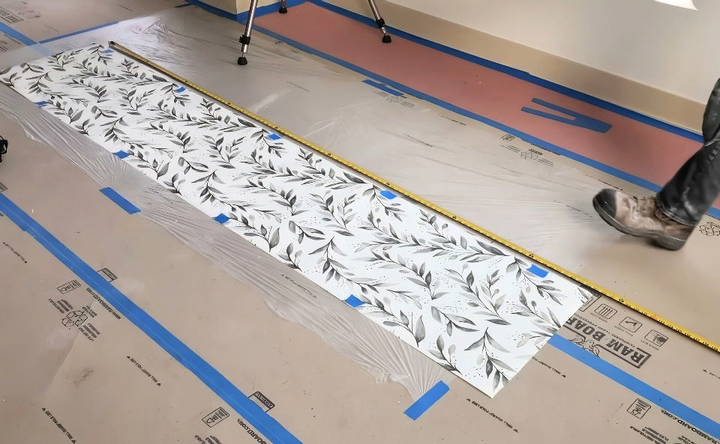
- Set Up a Cutting Station: Lay down a protective layer, such as Visqueen or drop cloth, on the floor where you'll be cutting and spraying the wallpaper. This helps keep the area clean and protects your floors from adhesive overspray. Having a well-organized work area will make the process more efficient.
- Prep the Wall Surface: Make sure the wall is clean, smooth, and dry. If necessary, patch any holes or cracks with spackle and sand down rough areas. Wallpaper adheres best to smooth surfaces, so don't skip this step. Wipe the wall with a damp sponge to remove any dust or debris and let it dry completely.
Step 3: Cutting the Wallpaper
Cutting wallpaper accurately is essential for a professional finish. Here's how to ensure each panel fits perfectly:
- Cut with Extra Length: When cutting your wallpaper panels, always add 3-6 inches of extra material to both the top and bottom. This extra length allows room for trimming once the panel is applied to the wall, ensuring a perfect fit.
- Mark the Pattern Match: If your wallpaper has a repeating pattern, use painter's tape to mark where the patterns meet on each panel. This will make it easier to line up the design when you're installing the panels.
- Make Clean Cuts: Use a sharp utility knife with a snap-off blade to cut your panels. Dull blades can tear the wallpaper, so ensure you have a fresh blade for every few cuts to keep the edges crisp and clean.
Step 4: Applying the Wallpaper
This is where the transformation begins! Applying wallpaper requires patience and attention to detail to avoid air bubbles, misalignments, or creases.
- Spray the Adhesive (for Water-Activated Wallpaper): If you're using water-activated wallpaper, use a spray bottle filled with water to wet the adhesive backing. Make sure the water is evenly distributed across the entire panel for consistent adhesion.
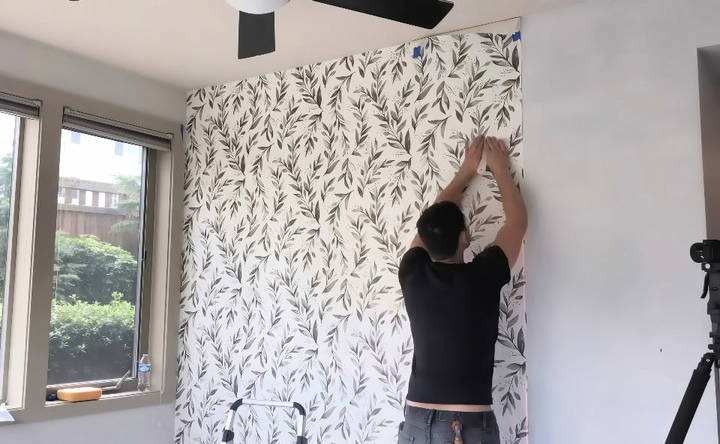
- Line Up the First Panel: Start by applying your first panel in a corner or along a vertical line you've drawn using a level or laser level. The first panel is the most important, as it sets the stage for the rest of the wall. Use your level or laser line to make sure the wallpaper is straight.
- Smoothing the Wallpaper: Once the panel is aligned, use your silicone roller or a taping knife to smooth out the wallpaper. Start from the center of the panel and work your way out toward the edges to push out any air bubbles. Apply firm, even pressure to ensure the wallpaper sticks to the wall without wrinkling.
- Trimming the Excess: After applying the panel, use your utility knife to trim the excess wallpaper at the top and bottom of the wall. Be sure to make a clean, straight cut along the edges for a professional look.
Step 5: Applying Additional Panels
Once the first panel is in place, you can begin applying the remaining panels.
- Match the Pattern: Align each new panel with the previous one, ensuring that the pattern matches up perfectly. This can take a bit of adjusting, so be patient.
- Overlap and Seam: When applying the next panel, overlap the wallpaper slightly with the previous one and then use your utility knife to cut a clean seam. Remove the excess wallpaper from the overlap, so the panels meet seamlessly.
- Smooth and Trim: As with the first panel, smooth each new panel from the center outward and trim any excess material at the top and bottom of the wall.
Step 6: Finishing Touches
Once all the panels are applied, you'll want to add a few finishing touches to complete the project:
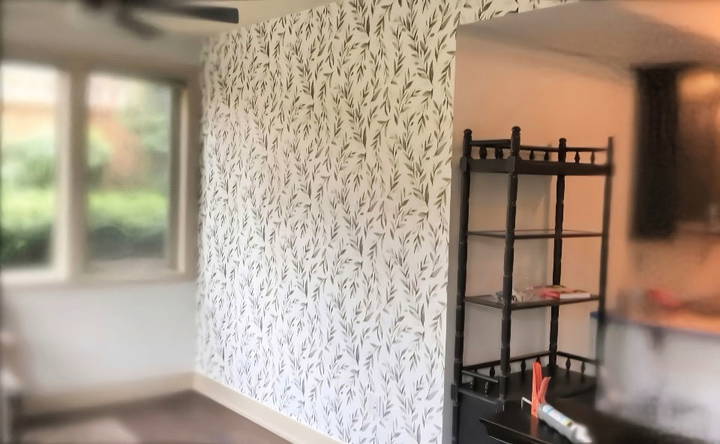
- Caulk the Seams: Use caulk to fill in any gaps where the wallpaper meets the baseboards, ceilings, or adjacent walls. This will create a seamless transition and give your wall a polished, professional look.
- Cut Around Outlets and Switches: For any areas with electrical outlets or light switches, carefully cut around them using your utility knife. Replace the outlet covers and switch plates once you're done.
- Final Smoothing: Go over the entire wall with a damp sponge to smooth out any remaining edges or corners. This will help the wallpaper adhere firmly to the wall and remove any small air bubbles that may have been missed.
Tips for a Professional Finis
- Use a Laser Level: A laser level will make aligning your wallpaper panels much easier, especially if you're working with patterns. The precision of the laser will ensure perfectly straight lines, preventing any crooked panels.
- Apply Plenty of Water (for Water-Activated Adhesive): More water is better than less when it comes to water-activated wallpaper. Ensure that the entire surface is moistened evenly to activate the adhesive properly.
- Keep a Sharp Blade Handy: Wallpaper installation requires lots of cutting, so always use a sharp blade. If your blade starts to dull, snap it off or replace it to ensure clean, crisp cuts.
- Don't Rush the Process: Installing wallpaper takes time, especially if you're working with a complex pattern. Rushing can lead to mistakes like misaligned panels, bubbles, or creases.
Conclusion
Wallpapering can be a rewarding and creative way to update your space. While the process may seem daunting at first, following this step-by-step guide will help you achieve a professional-looking result. Whether you're using removable wallpaper or a traditional adhesive, careful preparation, precise measuring, and attention to detail are key to a successful project.
With the right tools, patience, and technique, you can transform any room into a stunning, stylish space that reflects your unique taste and personality. Happy wallpapering!
FAQs on Installing Wallpaper
Discover essential FAQs on installing wallpaper. Get expert tips and answers to make your wallpaper installation process smooth and successful!
To prepare the wall, ensure it’s clean, smooth, and dry. Patch any holes or cracks with spackle and sand the surface to remove rough areas. If the wall is painted and free of grease, you can apply wallpaper directly. For walls that are dirty or greasy, clean them with a degreaser before wallpapering.
While it’s possible, textured walls can make it harder for wallpaper to adhere evenly. For light textures like orange peel, you can apply the wallpaper directly. For heavier textures, you may want to smooth the surface with a skim coat or lightly sand it to create a flatter surface.
Start by cutting your first panel, allowing extra material for trimming. Use painter’s tape or a pencil to mark the pattern’s key points at the top and bottom. Align each subsequent panel by matching these points, ensuring the design flows smoothly.
In general, wallpaper seams should not overlap. Line up the panels edge-to-edge to ensure a seamless look. If shrinkage occurs over time, slightly overlap the edges by about 1/8th of an inch to prevent gaps.
If the wallpaper shrinks or lifts at the seams, try adding more water to activate the adhesive again. Press firmly and smooth the wallpaper with a plastic smoother. If the issue persists, apply a light layer of wallpaper adhesive to secure the lifted areas.
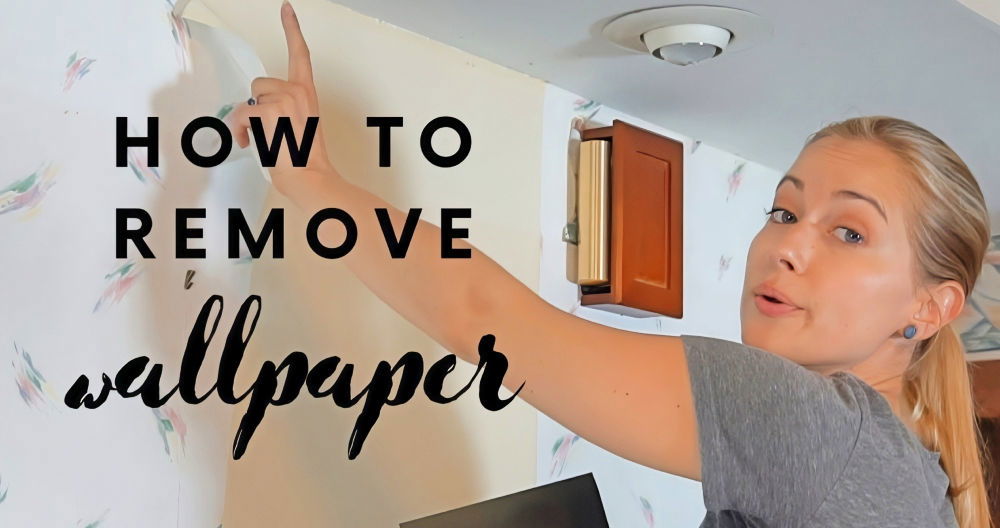
For removable wallpaper, peel it off slowly from a corner. If it resists, use water or wallpaper remover to loosen the adhesive. Traditional wallpaper may require a wallpaper steamer or a solution of water and fabric softener to dissolve the glue before removal.
While it’s possible, it's not recommended unless the original wallpaper is securely adhered to the wall and free from damage. Any peeling or loose wallpaper should be removed before applying a new layer.
Priming isn't always necessary, but it can be helpful on freshly painted walls, especially with glossy or non-porous finishes. Test a small piece of wallpaper to see how well it adheres. If it doesn't stick properly, consider applying a wallpaper primer first.
Carefully cut around outlets and switches using a utility knife. Be sure to leave enough excess to tuck under the trim plate of the outlet or switch cover, which will hide any rough edges.
Use a silicone roller or plastic taping knife to smooth the wallpaper as you install each panel. Start from the center of the panel and work your way outwards, pushing any air bubbles toward the edges. Applying consistent pressure will help prevent bubbles from forming.


