Installing a ceiling fan can enhance your home's comfort, improve air circulation, and even lower energy bills. This guide's got you covered—from grabbing the tools you'll need to make sure your fan is wired up safely. Follow along to successfully install a ceiling fan in any room of your home.
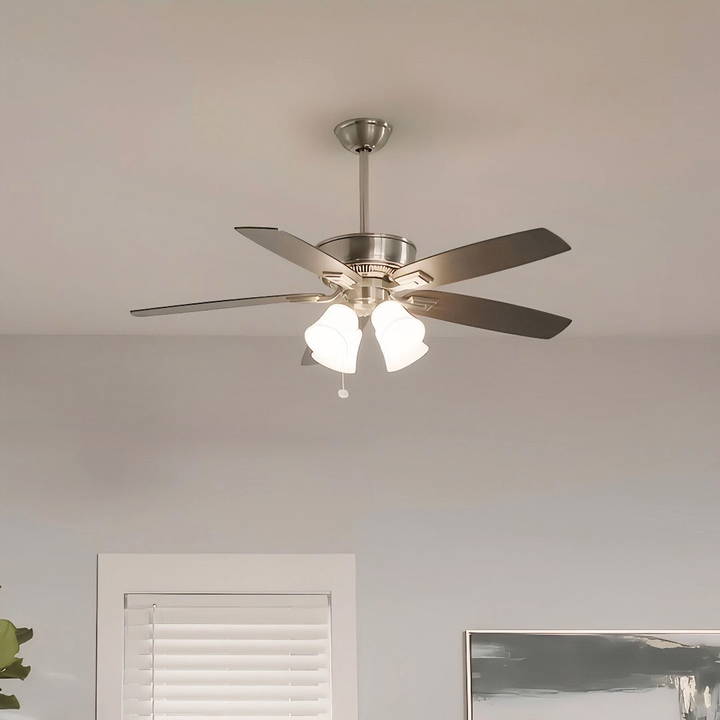
Why Install a Ceiling Fan?
Ceiling fans are a versatile addition to almost any space, instantly adding style, comfort, and efficiency. Here are a few benefits:
- Better Air Circulation: Keeps air moving in the room, making it feel cooler in summer and warmer in winter (if reversible).
- Energy Efficiency: Reduces the need for constant air conditioning, which can lower your energy bill.
- Aesthetic Appeal: Modern ceiling fans come in various designs, allowing you to match your room's decor.
Tools and Materials Needed
Before starting, ensure you have all the necessary tools and materials. Here's what you'll need:
Tools
- Ladder
- Voltage tester
- Screwdriver set
- Wire stripper
- Pliers
- Electrical tape
Materials
- Ceiling fan kit (fan, blades, light kit, etc.)
- Downrod (if needed for higher ceilings)
- Junction box rated for ceiling fans (if the current box isn't rated)
Step by Step Instructions
Learn how to install a ceiling fan with our step-by-step guide, from choosing the location to testing. Ensure a secure and efficient setup!
Step 1: Choose the Right Location
Selecting the right spot on the ceiling is critical. Follow these guidelines:
- Locate Ceiling Joists: Use a stud finder to locate joists for added stability.
- Assess Ceiling Height: Ideal fan height is about 8-9 feet from the floor. If your ceiling is higher than 9 feet, you'll need a longer downrod.
- Center of the Room: Generally, fans work best when installed in the center of the room for optimal air distribution.
Step 2: Turn Off the Power
Safety First! Turning off power at the main breaker box is essential to avoid electrical shock. Here's how:
- Locate the main breaker panel in your home.
- Switch off the power to the room where you'll be working.
- Post a note or warning on the panel to prevent others from turning it back on.
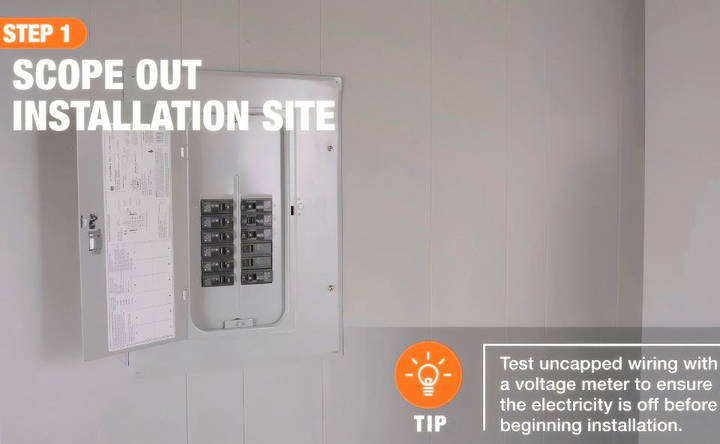
Tip: Use a voltage tester on the wires to ensure there's no electricity flowing before proceeding.
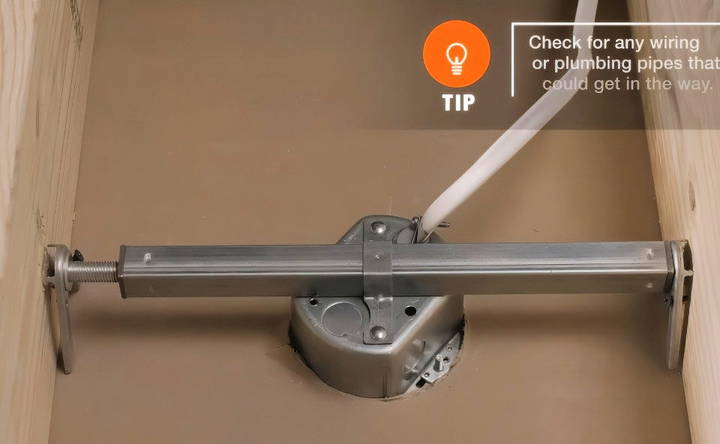
Step 3: Inspect or Replace the Electrical Box
Ceiling fans are heavier than light fixtures, so your electrical box must be rated for ceiling fan use. Here's what to look for:
- Check the Label: The box should specify if it's rated for fans.
- Replace if Necessary: If your box isn't rated, replace it with a ceiling fan-rated box. These metal boxes are designed to hold extra weight and wiring.
- Secure the Box: Make sure it's attached firmly to a joist or suitable support in the ceiling for stability.
Step 4: Install the Fan Mounting Bracket
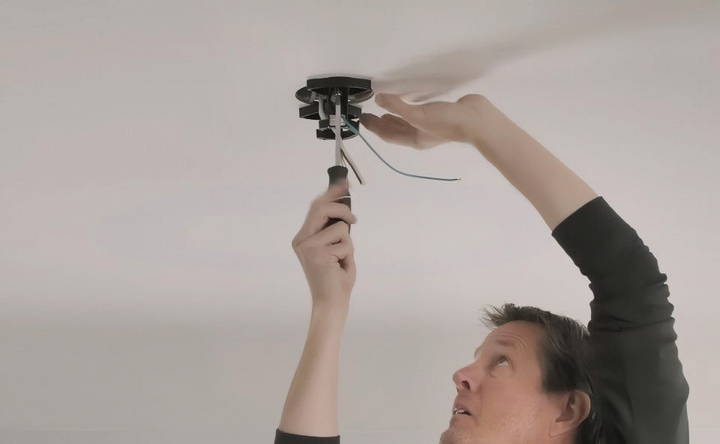
With the box ready, the next step is to install the mounting bracket, which supports the fan on the ceiling.
- Thread Wires: Begin by threading the fan wires through the bracket.
- Attach Bracket: Slide the bracket over the junction box, aligning it with the mounting screws.
- Tighten Screws: Ensure the bracket is secured tightly to prevent wobbling once the fan is installed.
Step 5: Prepare and Attach the Downrod
A downrod may be necessary for rooms with high ceilings, allowing the fan to be positioned at an ideal height.
- Attach Canopy: Slip the canopy over the downrod and thread the main wires through it.
- Secure Downrod: Connect the downrod to the fan's base using clevis and cotter pins, ensuring a stable attachment.
- Trim Excess Wires: If the wires are longer than needed, trim them for a cleaner installation later.
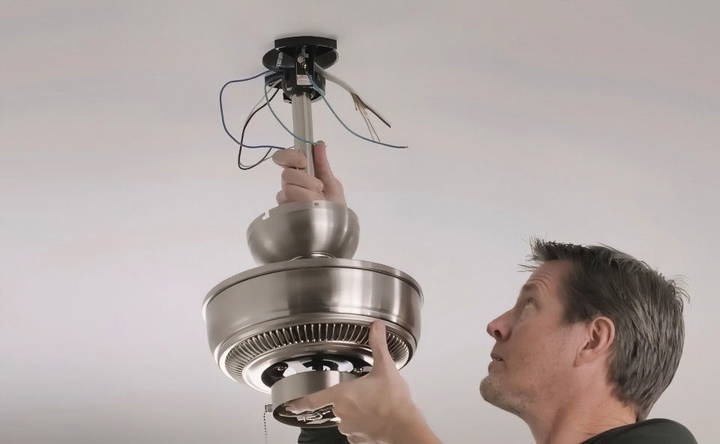
Pro Tip: Attach the hanger ball at the top of the downrod. This makes it easier to secure the downrod to the mounting bracket.
Step 6: Wire the Fan
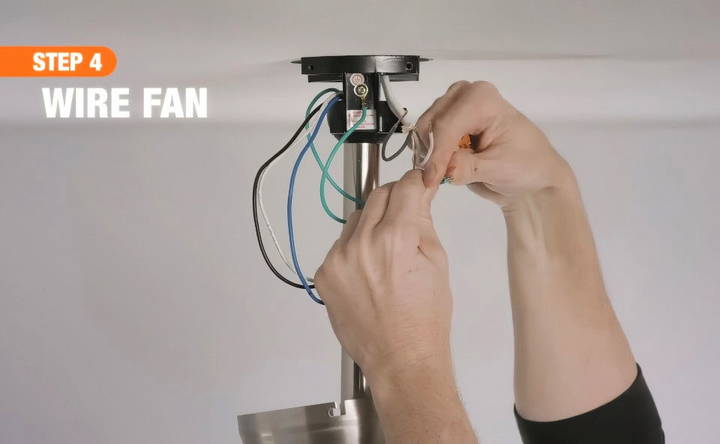
Proper wiring is crucial for safety and functionality. Most ceiling fans include wiring color codes to simplify the process:
Identify the Wires:
- Green or Bare Copper Wire: Ground connection.
- Black Wire: Power for the fan.
- White Wire: Neutral wire.
- Blue or Striped Wire: Power for the light kit (if included).
Connect the Wires:
- Match the fan's black wire to the black wire from your home's ceiling.
- Connect the white wire to the ceiling's white (neutral) wire.
- Attach the green ground wire to the bare copper ground wire.
- If your fan has a light, connect the blue or striped wire to the black power wire as well.
- Secure the Connections: Use wire caps to secure the connections, then wrap them in electrical tape for added security.
- Push Wires into Box: Once all wires are connected, carefully tuck them into the electrical box.
Step 7: Attach Fan Blades and Light Fixture
With the fan wired, you're ready to install the fan blades and any light fixtures:
- Install Fan Blades: Place the blade brackets onto the motor housing, using screws to secure them in place. Some fans have quick-install blades, allowing you to click them in without screws.
- Add Light Kit (if included): Attach the light kit as per the manufacturer's instructions. Secure the light shades and screw in the appropriate light bulbs.
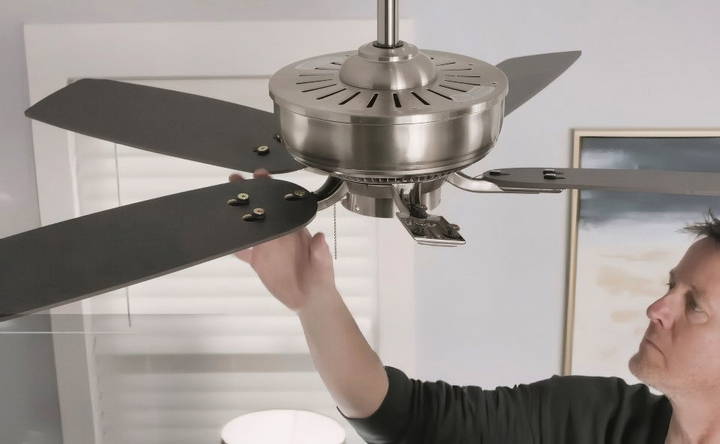
Tip: Ensure that all screws are tightened properly to prevent any wobbling or noise when the fan operates.
Step 8: Test the Ceiling Fan
Once the installation is complete, it's time to test the fan.
- Restore Power: Turn the power back on at the main breaker panel.
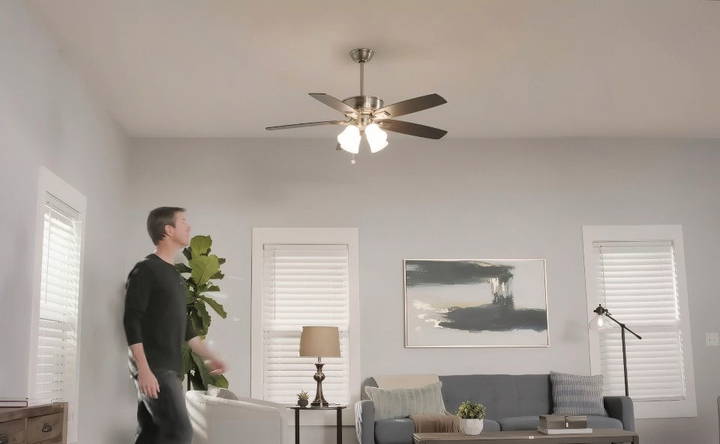
- Test the Fan at the Wall Switch and Remote: If your fan has a remote control, make sure it's functioning correctly. Turn the fan on and test both low and high-speed settings.
- Check Light Fixtures: If you installed a light kit, switch it on to ensure the connections are working.
Safety Tips
Installing a ceiling fan requires some electrical knowledge. Here are a few safety tips to ensure a smooth process:
- Use a Ladder Safely: Ensure your ladder is stable, and avoid overreaching while working on the ceiling.
- Follow Manufacturer's Instructions: Each fan model may have unique steps; always follow the specific instructions provided.
- Secure All Connections: Loose connections can cause the fan to wobble, create noise, or, in extreme cases, fall from the ceiling.
- Inspect Your Work: After installation, double-check all screws, wires, and bolts to ensure everything is secure.
Conclusion
Installing a ceiling fan might seem intimidating, but with the right tools, preparation, and careful adherence to instructions, it's a manageable DIY project. From preparing your space to wiring the fan safely, these steps will help you get the job done efficiently. Adding a ceiling fan to your home can enhance comfort, reduce energy costs, and even add a stylish touch to any room. Remember to follow safety guidelines and enjoy your new ceiling fan!
FAQs About Ceiling Fan Installation
Explore essential FAQs about ceiling fan installation, covering costs, tools, and steps for a smooth and efficient setup in your home.
In this case, the fan likely has an extra wire for a light kit. Typically, you’ll connect the black (fan power) and blue (light power) wires from the fan to the black wire from the ceiling. The white wires connect together, and the green wire connects to the ground. Always consult the fan’s manual for exact wiring.
Yes, many ceiling fans are compatible with LED bulbs. These bulbs are energy-efficient and long-lasting, making them a great choice for ceiling fans. Just ensure the bulb type and wattage align with your fan’s specifications.
To verify, match each wire color correctly and use wire connectors securely. If unsure, refer to the fan’s instructions or consult a professional. A voltage tester is useful for checking connections before turning on the power.
While there is no specific age requirement, installing a ceiling fan requires understanding electrical safety and basic wiring. Ensure you have the right tools and, if needed, ask for help from a qualified adult or professional.
A slight wobble is common, but if it's excessive, ensure all screws are tightened. You can also balance the blades using a fan balancing kit, often included with the fan. Re-check the mounting bracket and all connections if the problem persists.
Yes, many ceiling fans come with angled mounts specifically for sloped ceilings. You may need an extended downrod for the fan to hang correctly. Ensure the slope angle is within the fan's specifications to avoid clearance issues.


