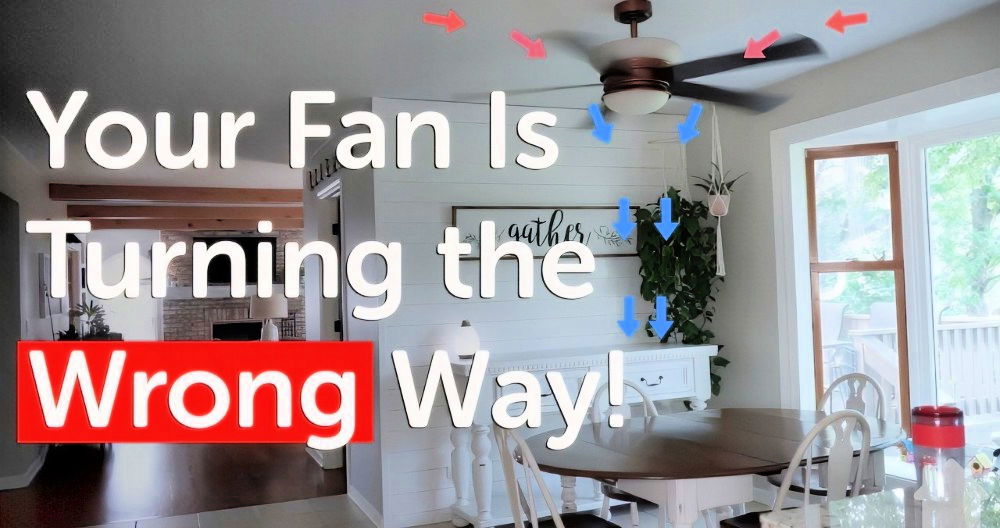
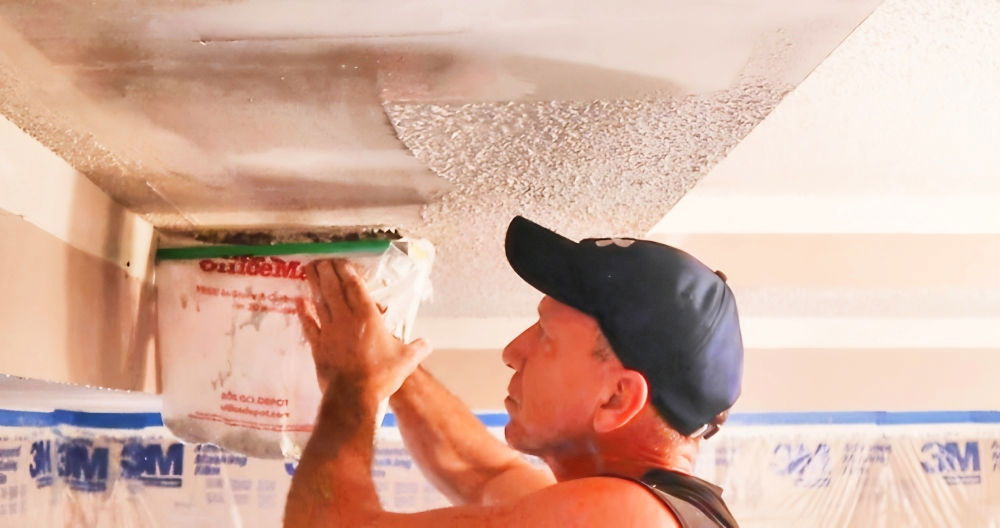
Learn how to install a ceiling fan without existing wiring with our step-by-step DIY guide. This comprehensive guide will lead you through each step, including sourcing power, managing wiring, installing mounting hardware, and ensuring a safe and complete setup.
Why Install a Ceiling Fan Without Existing Wiring?
Adding a ceiling fan to a room without existing wiring is beneficial for several reasons:
- Enhanced Airflow: Ceiling fans help circulate air, making a room more comfortable.
- Energy Efficiency: Fans allow you to cool a room without relying solely on air conditioning.
- Improved Lighting: Many fans come with integrated lights, adding another lighting source to your space.
Tools and Materials You'll Need
Before you begin, make sure to gather the following tools and materials:
- Tools: Drill, drywall saw, voltage tester, utility knife, screwdriver, stud finder, and pliers.
- Optional Tools: Keyhole saw (for drywall), fiberglass rods (for guiding wiring), and vacuum cleaner (for dust control).
- Materials: Ceiling fan with mounting bracket, 12-3 or 14-3 electrical wire, old-work electrical box, ceiling fan-rated electrical box, wall switch, and electrical tape.
Step by Step Instructions
Learn how to install a ceiling fan without existing wiring with step-by-step instructions for power sourcing, wiring, mounting, and final testing.
Step 1: Find an Appropriate Power Source
The first step is identifying a continuous power source. Here are the primary options:
- Existing Switch: Many rooms have wall switches that can be adapted to control the new fan. However, this may not work if the switch is wired to a switched outlet.
- Attic Light: If you have attic access, you may be able to source power from an attic light.
- Breaker Panel: If neither of these is feasible, you may need to run new wiring directly from your electrical breaker panel. Consult a professional if this is beyond your comfort level.
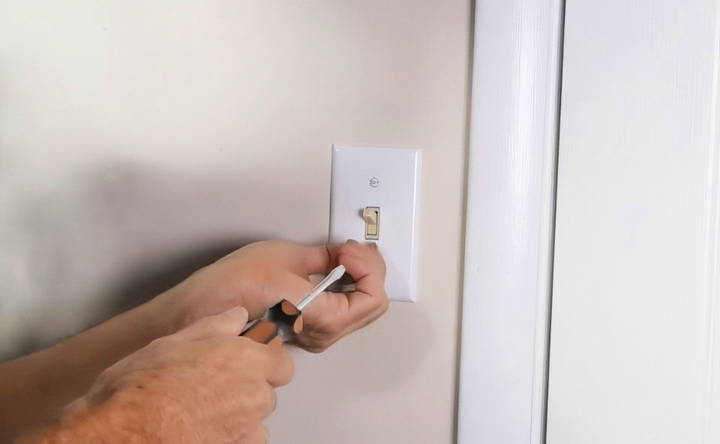
After identifying your power source, make sure to turn off the power at the breaker panel before working with any wiring.
Step 2: Install a New Wall Switch
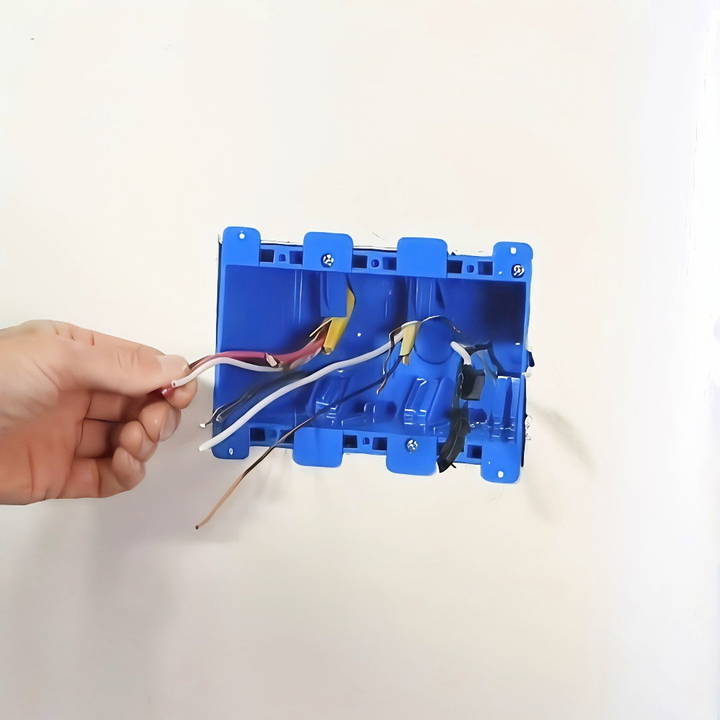
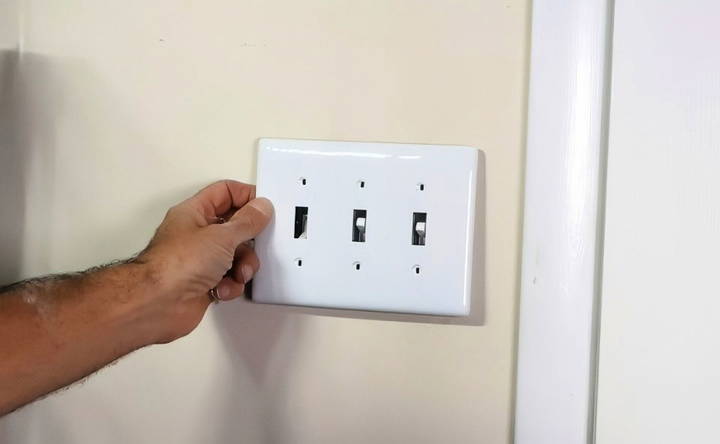
To control your fan and any attached light, you'll need a wall switch, typically with a three-gang box if you're adding separate controls for the fan and light.
- Remove the Existing Switch Box: If you have a switch in place, turn off the power, unscrew the switch, and carefully remove it.
- Use a utility knife to carefully remove the box without damaging the drywall.
- Install the New Switch Box: Position a new three-gang box where the old switch was.
- Use an old-work electrical box with “flappy ears” to securely install it behind the drywall.
- Carefully trace the opening, cut it, and insert the box.
- Wire the Switches: Run wires from your power source to the new box.
- Use a voltage tester to ensure there is no current before handling wires.
- Connect pigtail wires to the switches for both the fan and light, attaching each to the main power line.
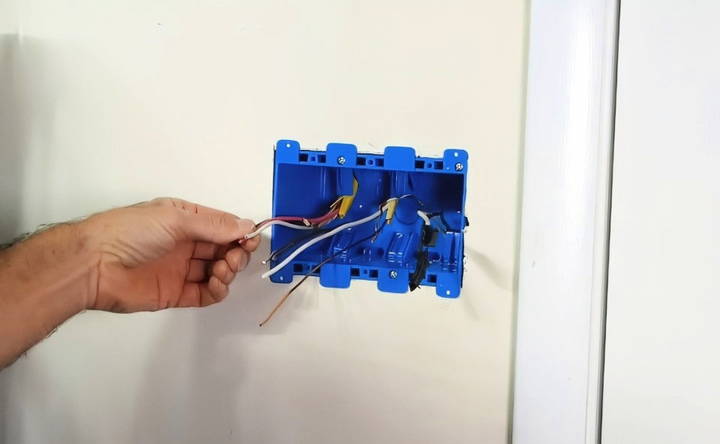
Step 3: Run Wiring to the Fan Location
Next, you'll need to run wiring from the switch location to where the fan will be installed.
- Identify the Route: If you have attic access, you'll drill through the top plate of the wall above your switch to feed wiring into the ceiling.
- Without attic access, you may need to cut small openings in the drywall at intervals to route the wire across the ceiling.
- Drill Through the Top Plate: In the attic, locate the wall where your switch is installed. Use a drill to create a small hole in the top plate, being cautious of other wires.
- Feed 12-3 or 14-3 wiring through this hole, pushing it down to the switch box location.
- Guide Wiring to the Ceiling: In the attic, guide the wire to the spot where you plan to install the fan.
- If drywall cutting is necessary, make small cuts along the ceiling joists, guiding the wire through each section.
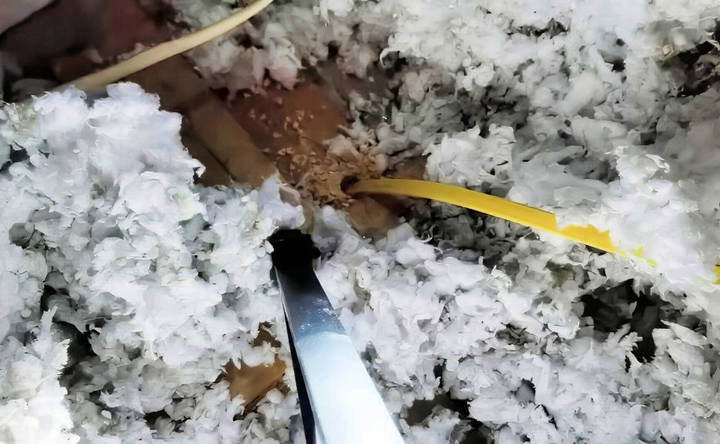
Step 4: Mount the Ceiling Fan Bracket
To safely hold a ceiling fan, you'll need to install a ceiling fan-rated electrical box and secure it to the joists.
- Choose the Location: Measure and mark the center of the room for optimal fan placement.
- Use a stud finder to ensure you're clear of joists or use a small wire to mark the hole from the attic.
- Cut the Hole: Trace the outline of the fan-rated box and use a keyhole saw to cut the opening.
- Consider holding a vacuum near the saw to minimize drywall dust.
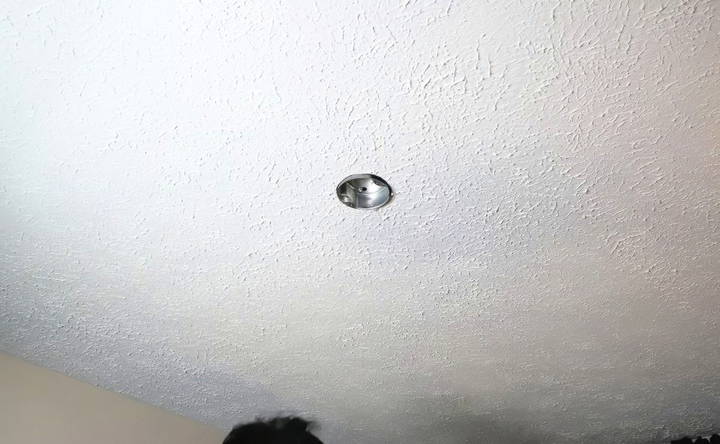
- Install the Fan Brace: Insert the ceiling fan brace through the hole and expand it until it's firmly anchored between the joists. Tighten it to ensure stability.
- Attach the ceiling fan-rated box to the brace, ensuring it's flush with the ceiling.
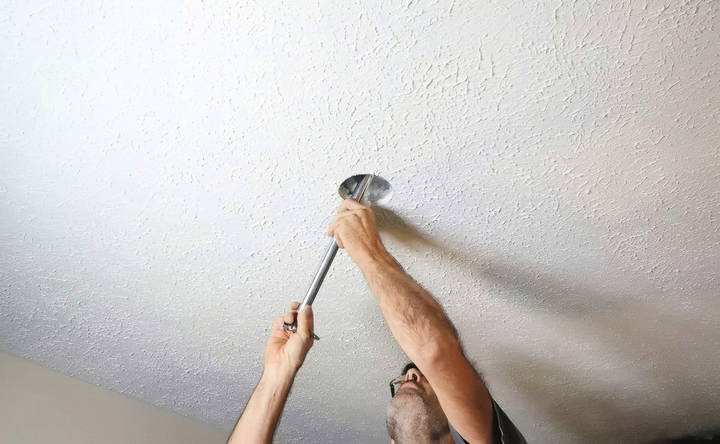
Step 5: Connect the Ceiling Fan Wiring
Once the ceiling fan bracket is in place, you can proceed with wiring the fan itself.
- Prepare the Wires: Strip the ends of the wires from both the fan and the power line, leaving enough exposed wires for connections.
- Attach the ground wire (usually green or bare copper) from the fan to the ground screw in the electrical box.
- Connect Fan Wires: Match the wires from the fan to the power lines: black for the fan motor, blue for the fan light (if applicable), and white for neutral.
- Twist each pair of wires together and secure them with wire nuts.
- Attach the Fan to the Bracket: After wiring, carefully lift the fan and secure it to the mounting bracket.
- Ensure it's firmly attached, as ceiling fans can be heavy and will need to be stable.
Step 6: Finalize Installation and Test
After connecting the wiring, complete the setup by following these steps:
- Install the Fan Blades and Light Kit: Attach the fan blades as per the manufacturer's instructions.
- If your fan has a light kit, install it according to the instructions, ensuring all wires are properly connected.
- Turn on Power and Test: Restore power to the room and test the fan. Ensure the switches control the fan and light separately if you installed a dual switch.
- Test each speed setting and make sure the light operates as expected.
Safety Tips and Considerations
- Turn Off Power: Always turn off power at the breaker before starting electrical work.
- Use a Voltage Tester: Double-check that no current is running through wires before handling them.
- Check Local Codes: Some areas may have specific regulations for installing ceiling fans or electrical work.
- Avoid Overloading Circuits: Ensure the fan circuit matches the amperage rating of the power line, especially if you've connected to a 20-amp circuit.
- Consult a Professional: If at any step you feel uncomfortable, consider consulting an electrician.
What to Do Without Attic Access
If you don't have attic access, here's how you can route wiring:
- Cut Drywall Sections: To get wiring across the ceiling, you may need to cut small drywall sections at intervals, allowing you to drill through joists and pass the wire across.
- Patch Drywall: Once the wiring is in place, you can patch these small drywall openings. This approach requires more work, but it's manageable with some patience.
Conclusion
Installing a ceiling fan without existing wiring is achievable, even for DIY enthusiasts. While it requires a bit of planning and care, following these steps can help you safely and effectively add a fan to any room, improving comfort and energy efficiency. With the right tools and techniques, you'll enjoy the benefits of a ceiling fan in no time.
FAQs About How to Install a Ceiling Fan without Existing Wiring
Learn how to install a ceiling fan without existing wiring with our easy-to-follow FAQs guide. Enhance your home's comfort effortlessly.
Yes, you can connect a ceiling fan to an outlet power source instead of a switch. This involves running wiring from the outlet to the fan location, and adding a remote control system to manage fan functions if you don’t want to use pull chains. Ensure your chosen outlet provides continuous power to avoid issues.
If a switch controls only half of an outlet, it may have been set up as a “half-hot” or switched outlet. To use it for a ceiling fan, you’ll likely need to rewire the outlet for constant power and then redirect the switched power to the new fan. This can require adjusting the connections at the switch and the outlet.
Yes, a remote control is an excellent alternative to wiring multiple switches for separate fan and light control. This is especially useful if you’re working with limited wall space or want a simpler setup. Many modern fans come with remotes, or you can buy a universal remote kit to add to your fan.
Without attic access, you’ll need to cut small openings in the drywall along the path of the wire, especially near each joist. After running the wire, you can patch the drywall. While it’s more labor-intensive, this method avoids the need for attic entry and allows routing wires within a finished ceiling.
If you hit a block in the wall, use a flexible, extra-long drill bit to carefully bore through without damaging existing wires or structures. Check the area with a flashlight and mirror if possible to ensure a clear path before drilling to avoid electrical or structural mishaps.
Permits for fan installations vary by local building codes. For basic installations, you may not need one, but more complex electrical work, especially involving new wiring, might require a permit. It’s best to consult your local regulations to ensure compliance.
Yes, grounding is essential for safety. If the electrical box or switches aren’t grounded, you may face an increased risk of electrical shock. Make sure to attach the ground wire to each switch and secure it to the metal box if required.
Yes, most ceiling fan braces work on sloped ceilings, but you'll need a downrod with a ball mount to keep the fan level. This will prevent the fan from tilting and ensure it operates smoothly.


