Learn how to install a light fixture in your home with this easy, step-by-step guide. Installing a new light fixture can give a room a fresh look, making it feel more modern or adding the right ambiance. Follow this step-by-step manual to navigate the entire process, ensuring you possess the required tools, observe safety measures, and execute each stage with precision. Whether you're replacing an old fixture or adding a new one, this DIY project is straightforward enough for most homeowners with basic electrical knowledge.
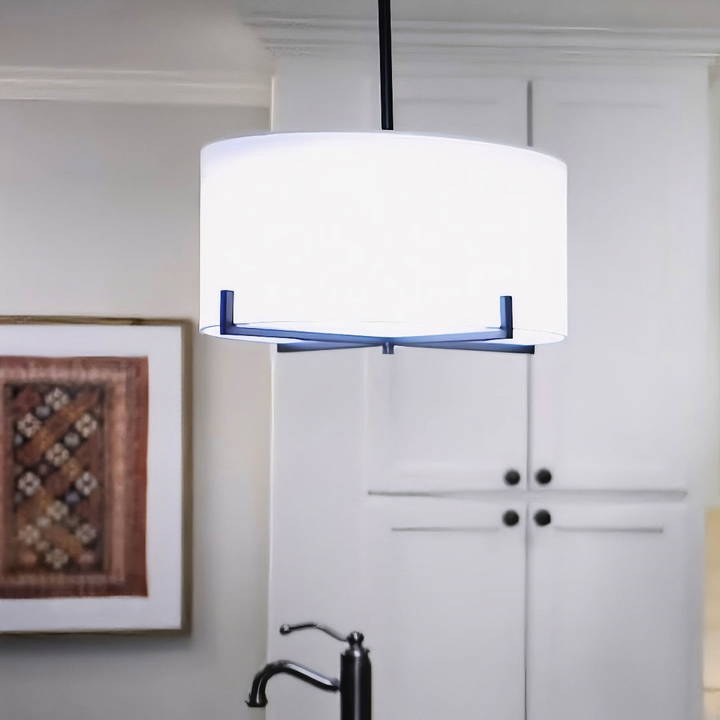
Tools and Materials Needed
Before starting, gather the following tools and materials to make the installation process smooth and efficient:
- Screwdriver (Phillips and flat-head)
- Wire stripper
- Voltage tester (essential for safety)
- Pliers
- Drill (if needed for mounting screws)
- Mounting bracket (typically provided with the fixture)
- Wire nuts and electrical tape
- New light fixture (includes light bulbs, cover, and screws)
Having these tools ready will help you avoid interruptions during the installation process.
Step by Step Instructions
Learn how to install a light fixture safely and easily with our detailed step-by-step guide, including wiring tips and troubleshooting advice.
Step 1: Preparing the Fixture and Work Area
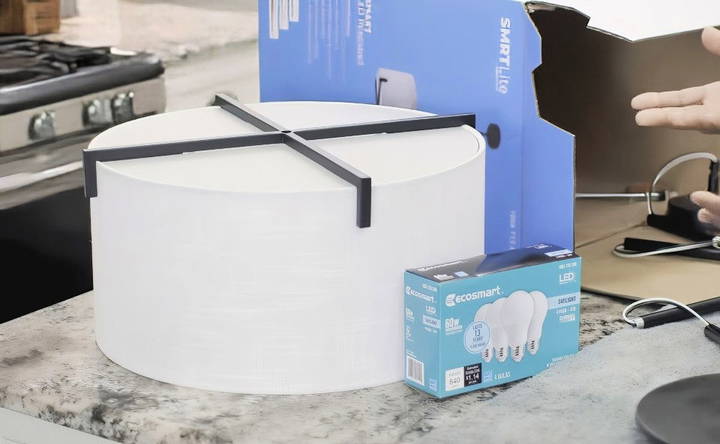
- Unbox the Fixture: Carefully unpack your new light fixture. Check for all the necessary parts, including screws, light bulbs (if included), canopy, and cover. Set aside the bulbs and cover for later in the installation.
- Examine the Fixture: Confirm that your light fixture is in good condition and has no missing parts. Look for any assembly instructions specific to your fixture, as some may require minor assembly before installation.
- Prepare the Work Area: Position a sturdy ladder or step stool directly beneath the ceiling where you'll install the fixture. Clear any obstacles and ensure you have a stable work area.
Step 2: Ensuring Safety – Turning Off the Power
Working with electricity requires caution. Before handling any wiring, follow these safety steps:
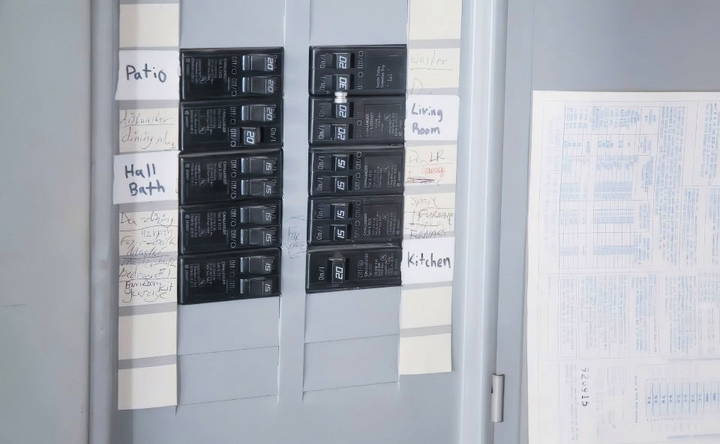
- Turn Off the Power: Go to your electrical panel and switch off the circuit breaker that controls the light fixture's power. This step is essential to prevent electrical shock.
- Test for Power: Use a voltage tester on the existing light fixture's wires to ensure no electricity flows through them. Hold the tester against the wires until it confirms that the power is off.
Step 3: Removing the Old Fixture
With the power safely off, you can now remove the old fixture:
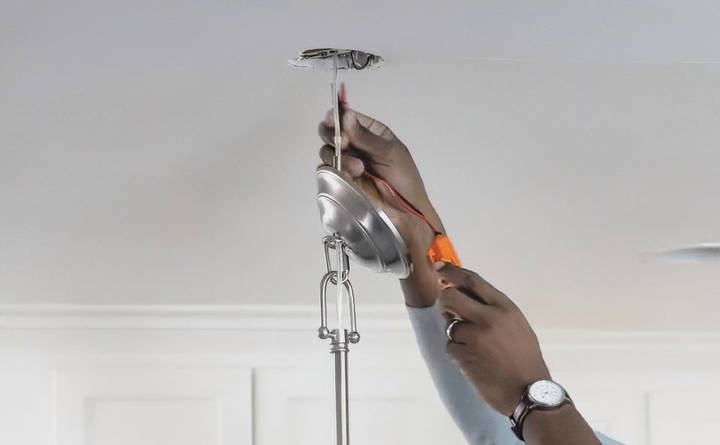
- Unscrew the Fixture: Start by removing the screws or bolts holding the old fixture to the ceiling.
- Disconnect the Wires: Carefully pull down the fixture to reveal its wiring. Typically, you'll see three types of wires:
- Black or red wire (live wire)
- White wire (neutral wire)
- Bare copper or green wire (ground wire) Disconnect these wires by removing the wire nuts. To avoid damaging the wires, detach the ground wire last.
- Remove the Mounting Bracket: Once the fixture is disconnected, unscrew and remove the mounting bracket from the ceiling's junction box.
Step 4: Installing the New Mounting Bracket
Your new light fixture should come with a mounting bracket. Here's how to install it:
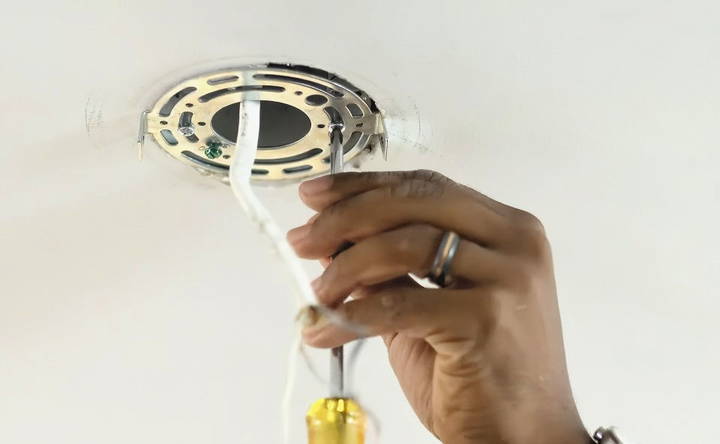
- Position the Bracket: Line up the new mounting bracket with the junction box and screw it in place securely.
- Prepare the Wires: Thread the fixture wires through the center of the bracket to keep them organized and easily accessible for the next step.
Step 5: Wiring the New Fixture
Wiring the new fixture correctly is crucial for safety and function:
- Connect the Live Wires: Take the black wire from the light fixture and twist it together with the black (or red) wire from the ceiling. Secure with a wire nut.
- Connect the Neutral Wires: Join the white wire from the fixture to the white wire in the junction box, then cap with a wire nut.
- Attach the Ground Wires: Connect the bare copper or green wire (ground) from the fixture to the ground wire from the ceiling. Use pliers to twist them together if needed, and cover with a wire nut for added security.
- Tuck the Wires: Carefully push the connected wires back into the junction box, ensuring none are pinched or exposed.
Step 6: Attaching the Fixture to the Ceiling
With the wires securely connected, it's time to mount the fixture:
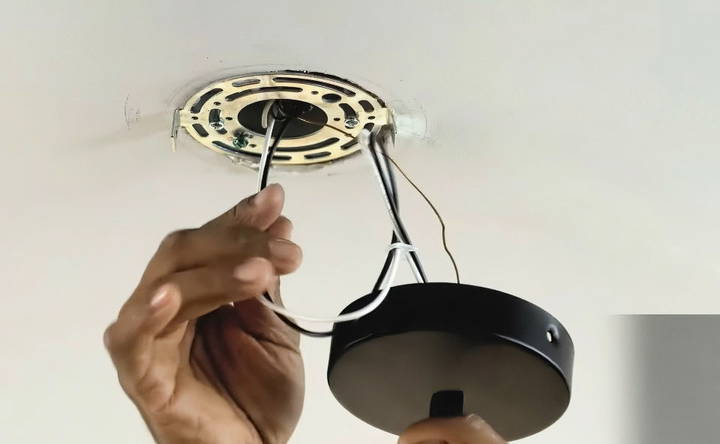
- Align the Canopy: Place the fixture's canopy over the junction box, ensuring it sits flush against the ceiling.
- Secure with Screws: Use the screws provided with the fixture to attach the canopy to the bracket. Make sure the fixture is firmly in place.
Step 7: Adding Light Bulbs and Covers
Now that your fixture is secured, you can add the finishing touches:
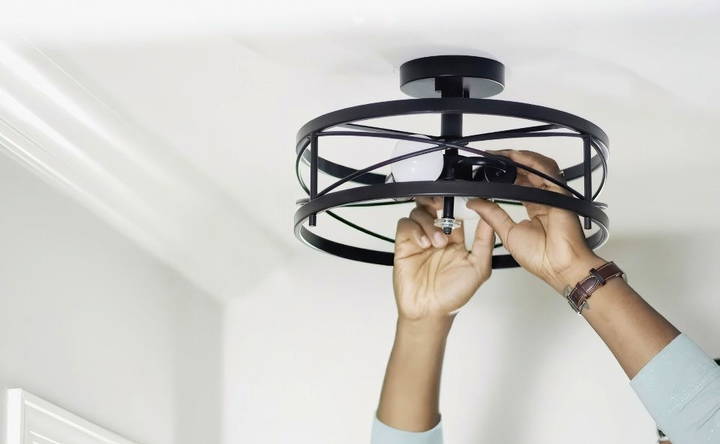
- Insert the Light Bulbs: If your fixture came without pre-installed bulbs, insert the light bulbs into the sockets, following any specific instructions provided.
- Attach the Cover or Globe: Place the cover or globe over the fixture's bulbs. Depending on the design, secure it with locknuts or clips. Tighten gently to avoid cracking or damaging the cover.
Step 8: Testing the New Fixture
With everything in place, it's time to test your work:
- Turn the Power On: Head back to the electrical panel and switch the circuit breaker back on.
- Flip the Light Switch: Return to the room and turn on the light switch to check if your new fixture is working. If it lights up, you've successfully installed your fixture!
Troubleshooting Common Issues
If the light fixture doesn't work or flickers, try the following troubleshooting tips:
- Double-Check Connections: Ensure that each wire is securely connected and covered with a wire nut. Loose connections can prevent the fixture from working correctly.
- Verify the Bulbs: Sometimes, a bulb can be faulty. Try replacing the bulbs to see if that resolves the issue.
- Check the Breaker: Ensure the breaker hasn't tripped. Occasionally, the circuit breaker may flip during the installation.
- Inspect the Junction Box: Ensure that the junction box is stable and can support the weight of the new fixture. Some fixtures are heavier and may require a reinforced junction box.
Safety Tips and Final Thoughts
- Work in Daylight: Whenever possible, work in a well-lit area to make it easier to see what you're doing and avoid mistakes.
- Don't Rush: Installing a light fixture may be straightforward, but working carefully and methodically is essential for safety and success.
- Seek Help if Needed: If the fixture is too heavy or you're uncomfortable with any step, consider getting assistance from a friend or hiring a licensed electrician.
- Inspect Your Fixture Regularly: Occasionally check your light fixture to ensure all parts remain tight and secure, especially if you live in an area prone to earthquakes or have high foot traffic above the room.
Conclusion:
Installing a light fixture can enhance a room's look and feel, making it brighter and more welcoming. With this guide, you're ready to tackle the project safely and effectively, giving your space the lighting update it deserves.
FAQs About How to Install a Light Fixture
Get quick answers to FAQs about how to install a light fixture safely and efficiently. Learn step-by-step tips for a hassle-free installation.
A junction box is essential for safely housing electrical connections. If there isn't one in place, you’ll need to install a junction box before mounting the fixture. Consider hiring an electrician if you’re unfamiliar with this process to ensure it meets safety standards.
Ceiling fixtures, especially chandeliers, may require a junction box rated for the fixture’s weight. Look for a “ceiling fan-rated” or “fixture-rated” box, which is reinforced to hold heavier loads. If unsure, consult a professional or check with the fixture’s manufacturer.
To verify if your switch controls the fixture, turn off the light switch before testing the wires with a voltage tester. If the wires still show power, turn off the breaker directly. Some switches only interrupt one wire, so the breaker method is safest.
If ceiling wires are not color-coded, use a voltage tester to identify the live wire. Generally, a black or red wire is live, white is neutral, and bare copper or green is ground. Mark each wire to avoid confusion during installation.
Yes, many light fixtures are compatible with dimmer switches, but ensure the bulbs and fixture support dimming. Choose a compatible dimmer switch and follow the installation instructions specific to dimmers for safe setup.
Check that all wire connections are tight, as loose wires often cause flickering. Also, ensure the bulbs are fully screwed in and compatible with the fixture. If flickering persists, consider replacing the bulbs or testing the fixture on another circuit.
When handling glass or delicate materials, avoid overtightening screws or clips to prevent cracking. Hold covers securely and use gentle pressure. Tighten evenly on all sides to secure the cover without stress on the material.


