Installing a prehung door is a DIY project that can significantly enhance the look and functionality of your home. While the task may seem intimidating at first, it's actually straightforward once you understand the steps. In this detailed guide, we'll cover everything you need to know about installing a prehung interior door, from preparing the door opening to finishing with trim and caulking. Whether you're a seasoned DIY enthusiast or tackling your first home improvement project, this guide has all the information you need.
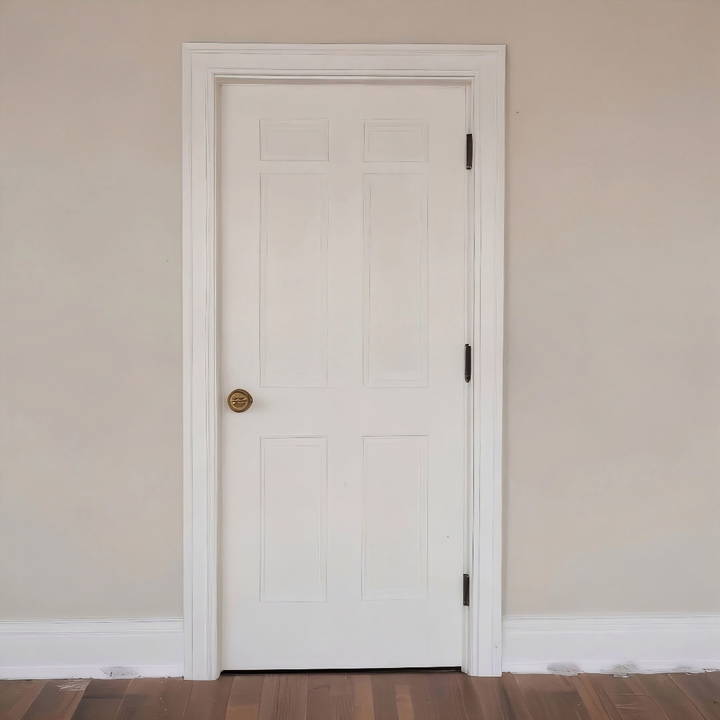
What Is a Prehung Door?
Before we dive into the installation process, let's clarify what a prehung door is. A prehung door comes already mounted on its frame. This means the door, hinges, and door frame are all assembled as one unit. Installing a prehung door involves inserting the entire unit into a door opening, making the process more streamlined than installing a door slab separately from its frame.
Advantages of A Prehung Door
- Convenience: Since the door is pre-assembled, it eliminates the need for complex measurements and aligning hinges.
- Saves Time: Prehung doors are quicker to install because they are factory-assembled.
- Better Fit: The door and frame are perfectly aligned, reducing the chance of warping or misalignment over time.
Tools and Materials You'll Need
Before you start the installation, gather the necessary tools and materials to make the process smoother:
- Prehung door unit
- Measuring tape
- Level
- Hammer
- Nail set
- Finish nails
- Shims
- Screwdriver (preferably a power drill)
- Utility knife
- Caulk gun
- Paintable caulk
- Spackling compound
- Carpenter's square
- Trim (if not pre-attached to the door)
Step by Step Instructions
Learn how to install a prehung door with our step-by-step guide. From prepping the opening to the final touches, get your new door installed perfectly.
Step 1: Prepare the Door Opening
The first step in installing a prehung door is to prepare the door opening. The opening should be clean and free of debris. Check that the door frame is square and that the rough opening (the area where the door will sit) is large enough for the prehung unit. The door should fit with about ½ inch of extra space on each side to accommodate shims for leveling.
Check the Handing of the Door
Before you begin installing, check the "handing" of your door. A door's handing refers to whether it's a left-hand or right-hand door. To determine this, stand outside the room and face the door. If the hinges are on the right, it's a right-hand door; if the hinges are on the left, it's a left-hand door.
Step 2: Install the Top Stop
Place a small piece of trim or board above the door opening to act as a temporary stop. This stop ensures that the top of the door doesn't push past the drywall once it's installed. Use a finish nail to tack this piece into place; one or two nails will suffice. This step helps position the door properly during installation.
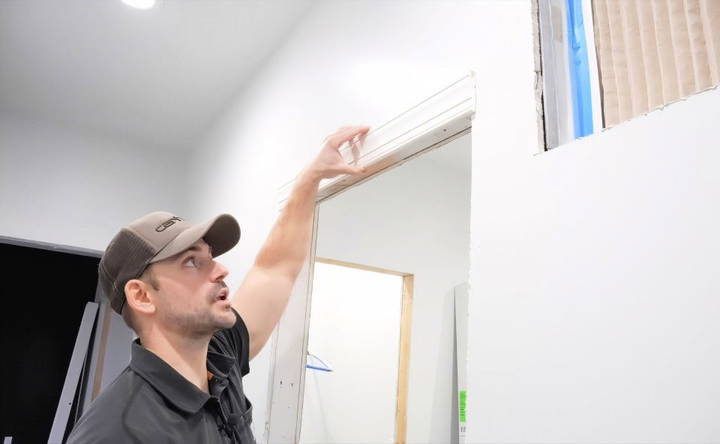
Step 3: Position the Door in the Opening
With the door ready, lift it into the rough opening. The door's frame should sit flush with the drywall on the interior side of the room. If you're working alone, it may be helpful to open the door and use the door slab itself to help balance and position the frame.
Once the door is in place, check the alignment of the door frame against the stop you installed in Step 2. The top of the door should sit snugly against this stop.
Step 4: Secure the Hinges
Next, remove the center screw from the top hinge and replace it with a longer hinge screw (typically around 2 ¼ inches). The longer screw provides additional stability by anchoring the door frame into the wall framing behind the drywall.
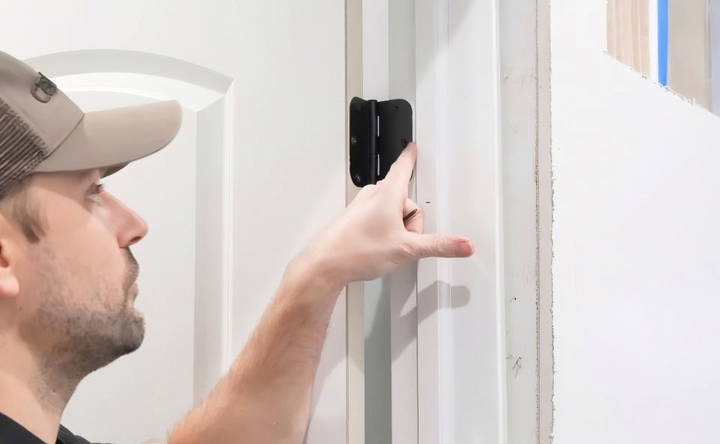
Tip: Avoid Over-Tightening the Screws
When securing the screws, avoid over-tightening them. This could cause the door to bind or shift out of alignment. Tighten them just enough to hold the door firmly in place.
Step 5: Adjust the Door for Plumb and Level
With the top hinge secured, use a level to check if the door is plumb (vertically aligned). If the door leans to one side, you'll need to adjust it by placing shims behind the door frame.
Adjusting the Bottom of the Door
If the door's bottom hinge is out of alignment, use shims to bring it into position. Start by inserting a pry bar behind the hinge and adding shims until the door sits level.
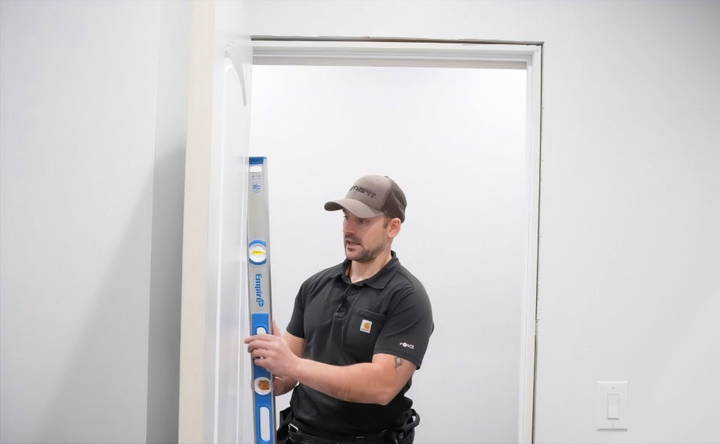
Checking the Reveal
The "reveal" refers to the gap between the door and the door frame. Check this gap by closing the door and inspecting the alignment. Ideally, the reveal should be even on all sides. If there's a large gap at the top or sides, adjust the shims accordingly.
Step 6: Anchor the Door Frame with Shims
Once the door is level and plumb, secure the frame with shims. Insert shims around the hinges and the strike plate (where the door latch meets the frame). This ensures that the frame is held securely in place and won't shift over time.
Place Shims Strategically
Place shims at the top, middle, and bottom hinges for even support. Use additional shims near the latch side of the door frame to ensure an even reveal.
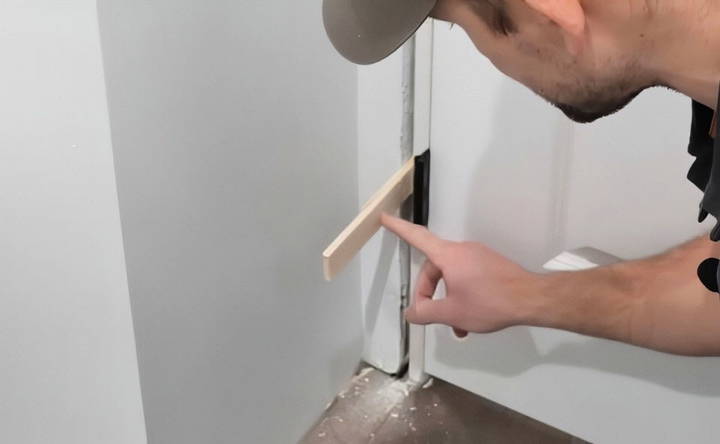
After the shims are in place, secure the frame by driving nails or screws through the frame and into the wall studs. Remove the temporary shims and replace them with shims that fit properly, ensuring the door remains level.
Step 7: Trim the Door Frame
Now that the door is secured, it's time to trim out the door frame. Start by measuring the sides of the door frame and cutting the trim to fit. If you're using Colonial-style trim, like in many DIY projects, a miter saw will give you clean 45-degree cuts for a professional finish.
Attach the Trim
Nail the trim into place, starting at the top and working your way down the sides of the door frame. Be sure to leave a consistent gap (about 1/8 inch) between the trim and the door frame for a clean and uniform look.
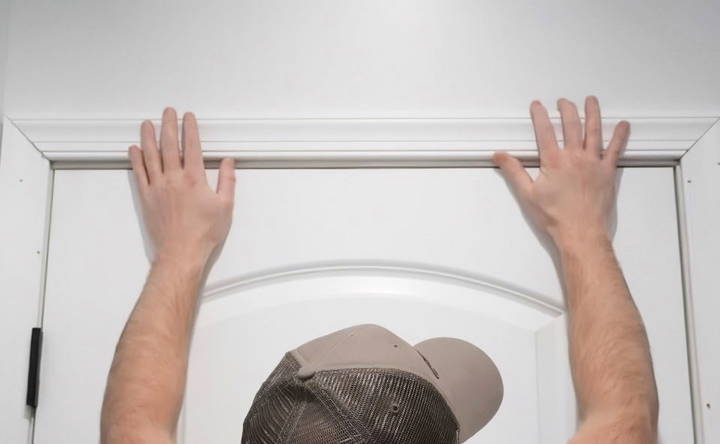
Cutting the Top Piece of Trim
Measure the width of the door frame from one side of the trim to the other. Cut the top piece of trim accordingly, ensuring the angles match the sides. Attach the top trim with nails, and check for any gaps or misalignment.
Step 8: Finish with Caulk and Spackling
Once the trim is in place, fill any nail holes and gaps with spackling or wood filler. Apply a small amount of spackling to each hole, smoothing it out with your finger. This will create a seamless finish once the trim is painted.
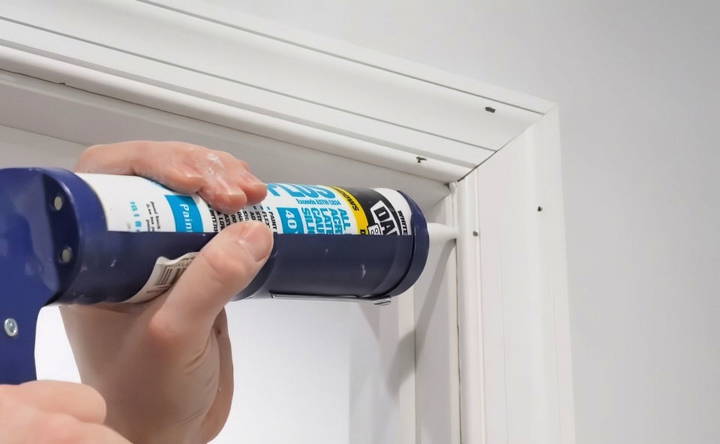
Caulking the Joints
To give the door a polished look, apply paintable caulk along the seams where the trim meets the wall. This hides any imperfections and gives the installation a professional touch. Run a bead of caulk along the joint, then smooth it with your finger or a damp cloth.
Step 9: Install the Doorknob and Strike Plate
The final step is installing the hardware. Insert the doorknob and attach the strike plate to the door frame. Be sure that the latch lines up correctly with the strike plate for smooth operation.
Test the Door
Once the hardware is installed, test the door to ensure it opens and closes smoothly. Check the reveal one last time to confirm that the door sits properly in the frame and that there are no issues with the latch.
Step 10: Painting and Final Touches
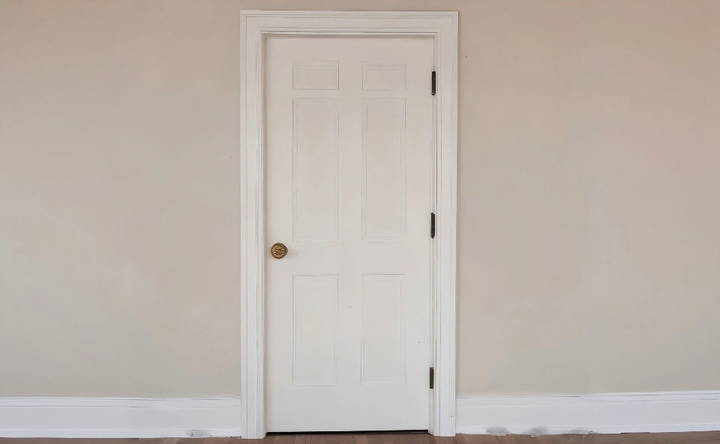
If desired, finish the door and trim with a fresh coat of paint. Be sure to use painter's tape around the edges to protect the walls and floor. Once the paint dries, your new door installation will be complete.
Conclusion
Installing a prehung door may seem like a daunting task, but with careful attention to detail and the right tools, it's a project you can tackle confidently. By following these steps, you'll have a properly aligned, secure door that functions well and looks great. Whether you're updating a single room or your entire home, installing prehung doors is a valuable skill that can save you time and money in the long run.
So grab your tools, and get started on your door installation project today!
FAQs About Installing a Prehung Door
Discover answers to FAQs about installing a prehung door. Learn tips, steps, and common issues to ensure a smooth installation process.
For most doors, the rough opening should be 2 inches wider and taller than the door itself. For example, for a 32-inch door, the rough opening should be 34 inches wide and 82 inches tall. This allows space for shims and adjustments.
Yes, checking the floor for level is important. If the floor isn't level, you may need to trim one side of the door jamb to ensure the door sits plumb and operates smoothly.
It's generally recommended to install the door after the flooring, especially for hard flooring like tile or hardwood. This ensures the door fits properly without gaps.
When repainting, it's common to leave the hinges in place to avoid the door falling out of alignment. You can remove the hinge pins instead if needed, but keep the frame intact.
To fix an uneven reveal, adjust the door by shimming the hinge side or latch side as needed. Ensure the reveal (gap between the door and frame) is even by checking with a level as you adjust.
For securing the trim around a prehung door, use finish nails. A 16-gauge finish nailer is ideal for this task, providing the right balance of strength and subtlety.
Yes, applying caulk around the door frame and trim is a good practice. It helps seal any gaps and gives the installation a polished look. Make sure to use paintable caulk for a seamless finish.
In older homes where walls or floors may not be plumb or level, you may need to trim the jamb or use additional shims. Always check for level and adjust accordingly to avoid future issues with the door operation.
In cases where the wall thickness varies, use a split-jamb door or carefully measure and adjust the trim to accommodate the differences. Split-jamb doors allow for easier adjustments in such situations.
Typically, shims are used on the sides of the door, but you might add a shim at the top if needed to ensure the frame is square. However, in most cases, the sides provide enough support.


