Installing a water heater is an essential home maintenance task that can greatly enhance your comfort by providing a consistent supply of hot water. Although installing an electric water heater is generally considered an advanced project, many homeowners can tackle it successfully with proper guidance, the right tools, and safety precautions. In this comprehensive guide, we'll take you step-by-step through the entire installation process—from gathering the necessary tools and materials to the final testing—ensuring a safe and efficient installation. We'll also highlight key safety measures, common mistakes to avoid, and troubleshooting tips to help you get the job done right.
Step by Step Instructions
Learn how to install a water heater with our step-by-step guide, from checking water pressure to final testing and seismic strap installation.
Preparation: Assessing Your Current Water Heater
Before you embark on installing a new water heater, it's important to determine whether you truly need a new unit. Sometimes, simple repairs, such as replacing a damaged heating element, can resolve issues like insufficient hot water. However, if you notice water pooling around the base of the heater, it's likely that the tank is leaking, and a new water heater is required.
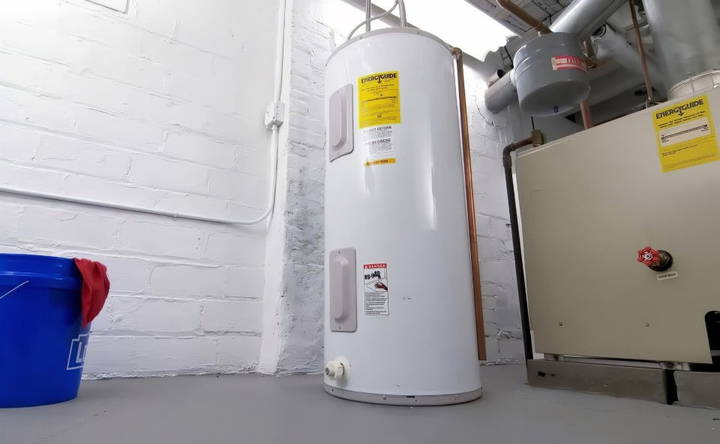
Additionally, check the data label on your current water heater. This label will give you important information about the size, energy specifications, and other characteristics of your existing unit, which can guide you in choosing a suitable replacement.
Step 1: Check Water Pressure
Before installing a new water heater, it's essential to check your home's water pressure. Ideally, the water pressure should be between 50 and 60 PSI (pounds per square inch). You can easily check this by attaching a pressure gauge to an outdoor spigot.
If your water pressure exceeds 80 PSI, it can place undue stress on your plumbing system and the new water heater. In such cases, you should install a pressure-reducing valve after the main water shut-off. Additionally, it's a good idea to install an inline pressure gauge and a thermal expansion tank. The expansion tank helps to alleviate excess pressure in the lines, especially as the water heats and expands.
Step 2: Gathering Tools and Materials
Once you've confirmed that your water pressure is within the ideal range, you'll need to gather the necessary tools and materials for the installation. Here is a list of essential items:
- Pressure gauge
- Thermal expansion tank
- Adjustable wrench
- Pipe cutter
- Voltage detector
- Garden hose
- Plumber's tape
- Wire connectors
- Flexible hose kit
- Seismic straps (for earthquake safety)
- Compression nuts
Ensure you have all these items on hand before beginning the installation to avoid unnecessary delays.
Step 3: Shutting Off the Power and Water Supply
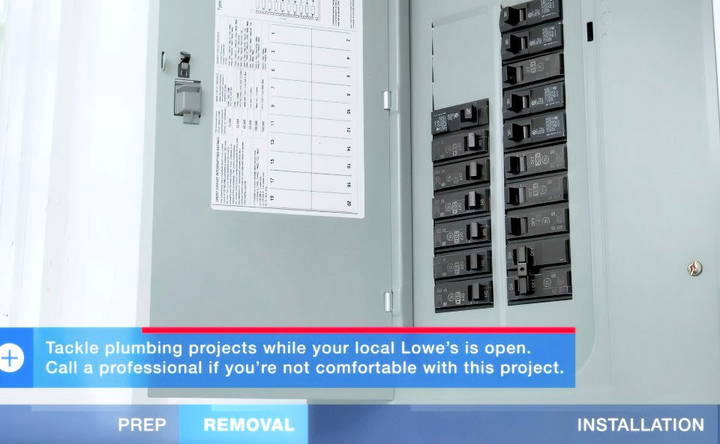
Before removing your old water heater, you must ensure that it is safe to do so. Start by turning off the power to the water heater at the circuit breaker. To confirm that there is no power running to the unit, use a voltage detector on the wiring.
Next, turn off the cold water supply to the water heater. You can do this by locating the cold water valve, usually located near the top of the heater. With both power and water turned off, you can safely proceed to drain the existing water from the tank.
Step 4: Draining the Old Water Heater
To drain the water heater, attach a garden hose to the drain valve located near the base of the unit. Run the hose to a floor drain or a series of buckets to catch the water. Open the drain valve, and then open a hot water faucet in your home to allow the tank to drain faster.
Draining the tank fully can take some time, but it's important to ensure all the water is removed before attempting to disconnect the plumbing. If you skip this step, it could cause water damage to your home.
Step 5: Disconnecting the Old Water Heater
With the tank drained, you can now begin to disconnect the water supply pipes. If your water heater is connected via flexible hoses, simply unscrew the connectors. If it is hard-piped, you may need to use a pipe cutter to disconnect the pipes, leaving them as long as possible for easier reconnection later.
Additionally, disconnect the discharge pipe from the temperature and pressure relief (T&P) valve. This valve is designed to open if the temperature or pressure inside the tank becomes too high. Make sure to remove the discharge pipe carefully, as it may still contain hot water.
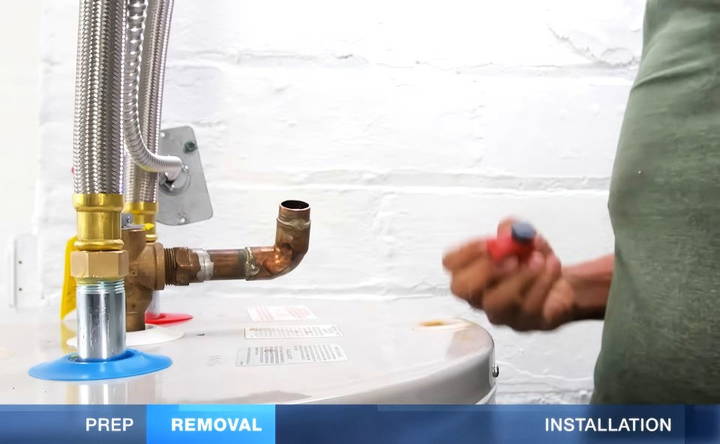
Step 6: Installing the New Water Heater
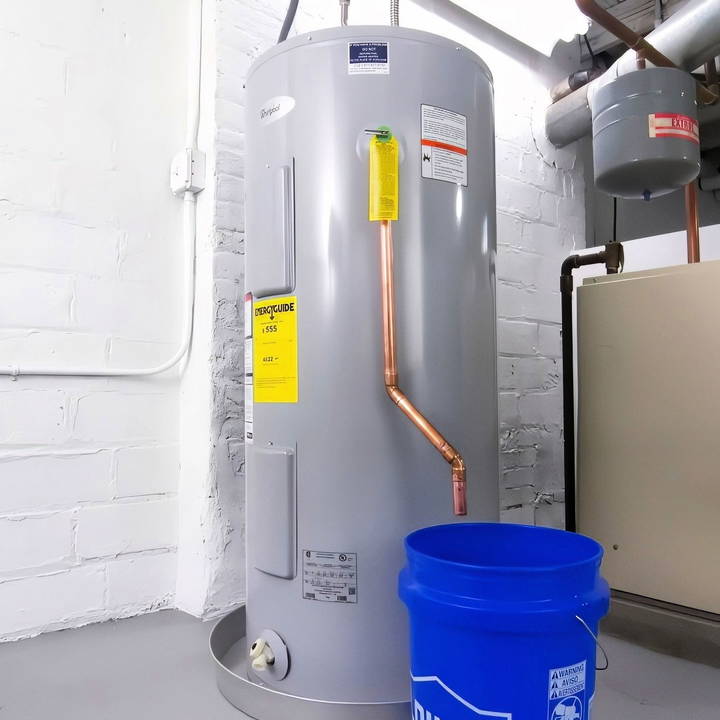
Now that the old unit has been removed, it's time to position the new water heater. Set the new heater in place, preferably in a drain pan to catch any leaks or drips that might occur in the future. The pan should be connected to a floor drain if possible.
Connecting the Water Supply
Hooking up the water supply is relatively straightforward, especially if you're using a flexible hose kit. Apply plumber's tape to the threads of the heat trap nipples on the new tank, and then attach the flexible hoses. Some areas may require dielectric fittings to reduce the corrosion that can occur when different metals come into contact with each other. These fittings are easy to install and are secured with plumber's tape.
Once the hoses are connected, turn on the cold water supply and begin filling the tank. As the tank fills, check for any leaks at the connections. If everything is secure, continue filling the tank until water begins to flow from the hot water faucet you opened earlier.
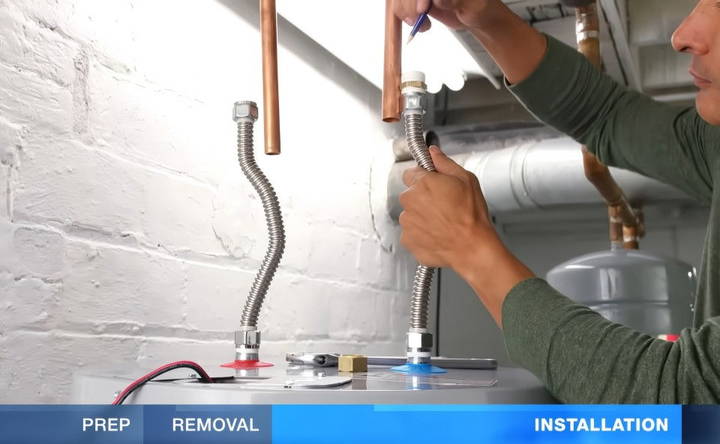
Pressure and Expansion Considerations
If you've installed a thermal expansion tank, ensure that the pressure in the expansion tank matches the main water pressure. This is an important step, as imbalanced pressure can cause issues later on. To adjust the pressure, use a hand air pump to increase it, or depress the valve to lower it.
Step 7: Reconnecting the Electrical Wiring
With the tank full of water, it's time to reconnect the electrical wiring. Begin by removing the junction box cover on the top of the water heater. Use the previous connections as a guide, attaching the ground wire to the green ground screw and twisting the wires together with wire connectors.
Once the wiring is secure, replace the junction box cover and turn the power back on at the circuit breaker.
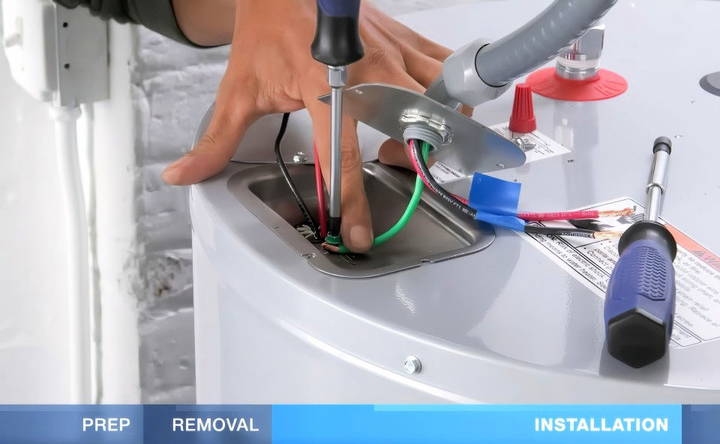
Step 8: Final Testing and Adjustments
After restoring power, it may take several hours for the water heater to fully heat the water in the tank. The recommended setting for most water heaters is 120°F, which provides hot water without risking burns or scalds.
During this time, monitor the temperature and pressure relief valve discharge pipe for any dripping. If you notice any water dripping from the pipe, it may indicate that the pressure inside the tank is too high. Adjust the pressure as needed to ensure it stays below 80 PSI.
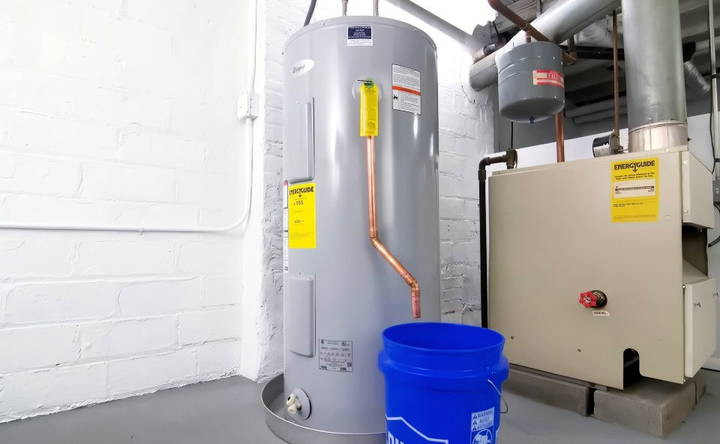
Additionally, if any faucets in your home stop working after installation, remove the aerator from the faucet and clean it to remove any loose sediment that may have been dislodged during the installation process.
Step 9: Installing Seismic Straps
In areas prone to earthquakes, it's crucial to secure your water heater with seismic straps. These straps brace the tank against the wall and prevent it from toppling over during seismic activity. Follow your local building codes for proper installation, as requirements can vary based on location.
Conclusion
Installing an electric water heater can be a rewarding DIY project, but it requires careful attention to detail and adherence to safety guidelines. By following these steps, you can ensure a smooth and successful installation. If at any point you feel uncertain, don't hesitate to consult a professional to complete the job. With your new water heater installed, you'll be able to enjoy reliable hot water for many years to come.
For more detailed tutorials and expert advice, be sure to check reputable sources like Lowe's or other trusted home improvement resources.
FAQs About Water Heater Installation
Discover the essential FAQs about water heater installation. Get expert insights on installation processes, costs, and maintenance tips today!
If the tank isn't leaking but you aren’t getting hot water, the issue could be with the heating element. A simple replacement of the element may fix the problem. Ensure the tank is full before restoring power to prevent damaging the new element.
Yes, using push-fit fittings like SharkBite fittings is an excellent solder-free option. These fittings are easy to install and do not require soldering, making the process simpler for DIY enthusiasts.
If your water pressure exceeds 80 PSI, you should install a pressure-reducing valve after the main shut-off. This will bring the pressure down to a safer level. You can check the pressure using a gauge attached to an outdoor faucet.
A tripped reset button could be due to faulty wiring, a malfunctioning thermostat, or an issue with the heating elements. Inspect the wiring for any visible signs of damage, and replace the faulty parts if necessary.
A dripping discharge pipe usually indicates that the pressure inside the tank is too high. Reduce the pressure by adjusting the pressure-reducing valve and ensuring the PSI is below 80. If the issue persists, you may need to check the expansion tank.
Seismic straps should be secured to the wall, with one strap near the top of the water heater and the other about one-third from the bottom. Follow local building codes for proper placement, as requirements can vary by location.
Ensure that the tank is fully filled with water before turning on the power. If the tank isn't full, the heating elements could "dry fire" and become damaged. Additionally, check the circuit breaker and connections for any issues.
A thermal expansion tank is required if your home has a closed water system, which includes a backflow preventer or a pressure-reducing valve. It helps prevent excess pressure from building up as the water heats and expands.
After installation, it can take several hours for the water heater to reach the recommended temperature of 120°F, depending on the tank size and water demand. Refer to your unit's manual for estimated times.
If the water heater is located in a tight space, like a small closet or attic, carefully drain the old unit before removal and use a dolly to help maneuver it. Plan the installation route for the new unit to avoid damaging walls or piping.


