Installing a window yourself can be an easy and rewarding DIY project. With the right tools and a step-by-step guide, you can achieve professional results and save money. This window installation process involves measuring the window space accurately, removing the old window, and ensuring a tight fit for the new one. It's important to follow safety precautions and take your time to avoid mistakes.
Before you begin, gather all necessary materials, such as a level, screws, shims, and silicone caulk. Understanding these elements will ensure a smooth window installation process. Taking the time to refine and review your approach will result in a more secure and well-installed window, enhancing your home's comfort and efficiency.
Ready to get started? In the next section, let's explore the detailed steps on how to install a window.
Materials Needed
Before we jump into the process, let's gather the essentials. Here's what you're going to need and why:
- Four-foot level: To ensure the window is level.
- Hammer: For nailing down the window and other materials.
- Utility knife: To cut house wrap and flashing tape.
- Tape measure: For accurate measurements.
- Caulk gun with silicone caulk: Seals the window and prevents water infiltration.
- Roofing nails (1.5-inch galvanized): They're weather-resistant and perfect for securing the window.
- Flashing tape: Ensures waterproof sealing around the window.
- Step ladder: To reach and position the window properly.
- Vinyl window for new construction: With a nailing flange for easy mounting.
Step by Step Instructions
Learn how to install a window step-by-step. From preparation to final touches, follow our guide for a perfect, secure, and efficient window installation.
1. Prepare the Opening
First, we need to cut the house wrap where the window will be placed.
Cutting the House Wrap:
- Cut straight across the top of the window opening.
- Cut straight down the middle.
- Cut straight across the bottom.
- Fold the flaps inward and secure them with nails or staples. This helps hold them in place and builds a neat opening.
Flashing the Corners:
- Cut six-inch slits at the top corners of the house wrap so you can fold it up.
- Tack it into place with nails temporarily.
Apply Flashing Tape:
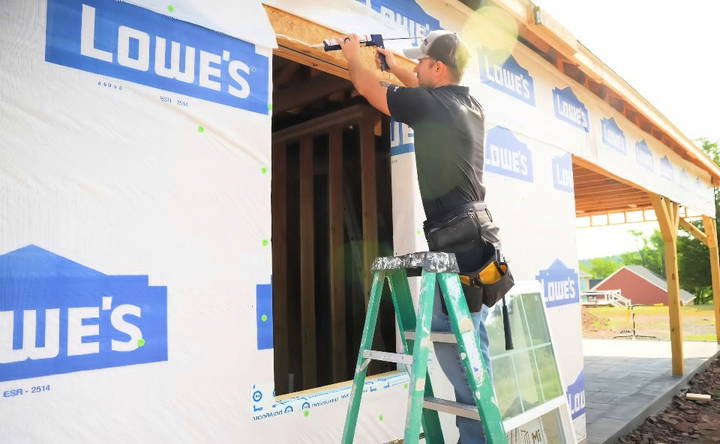
- Measure and cut flashing tape slightly wider than the window opening.
- Place half of the flashing tape over the wall and half over the opening.
- Press it down firmly to build a seal.
2. Install the Window
Learn how to install a window step-by-step: remove protective board, apply silicone caulk, position, and center the window for a perfect fit.
Remove Protective Board:
- Some windows come with a board screwed to the bottom to protect the nailing flange. Remove these screws first.
Applying Silicone Caulk:
- Apply a bead of silicone caulk around the window's perimeter, staying within half an inch to an inch from the edge. This ensures that the window seals properly to the opening.
Position the Window:
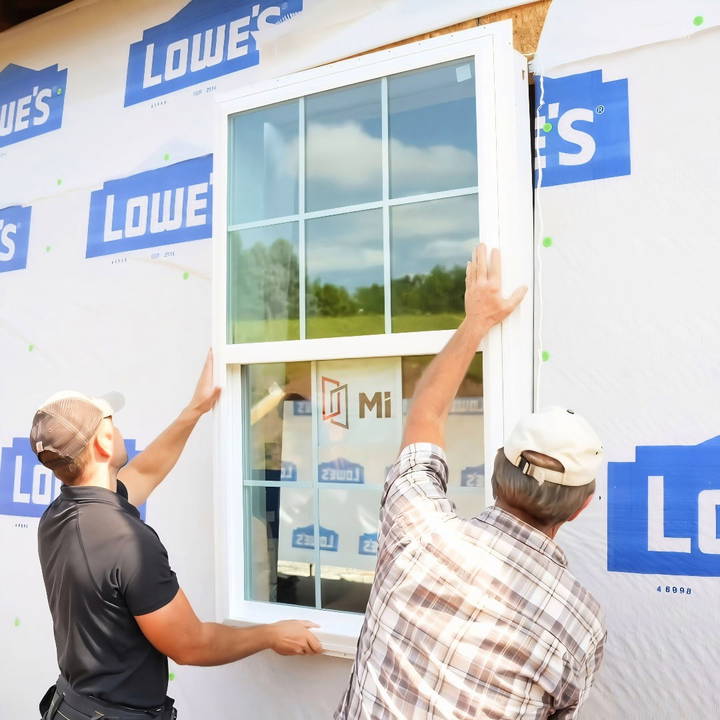
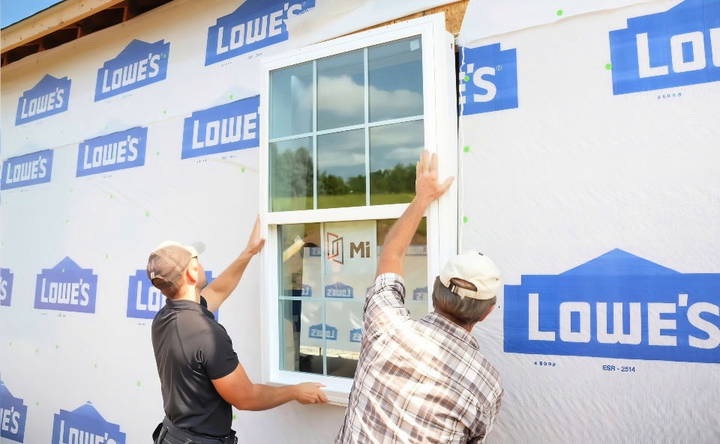
- With a partner (you definitely need a helper here), position the window. The rough opening should be about a half-inch bigger than the window, allowing it to fit easily.
- Set the bottom of the window first and adjust it into place.
Centering the Window:
- From inside, check that the window is centered in the opening. Adjust as needed to ensure uniform gaps on either side.
3. Secure the Window
Ensure a perfect window installation with steps to check for level and plumb, square the window, and fully secure the window for maximum stability.
Check for Level and Plumb:
- Place your four-foot level at the bottom of the window. If it's level, place a nail or two to keep it in place.
- Check the sides for plumb (vertical straightness). Adjust if necessary by shifting the window slightly.
Square the Window:
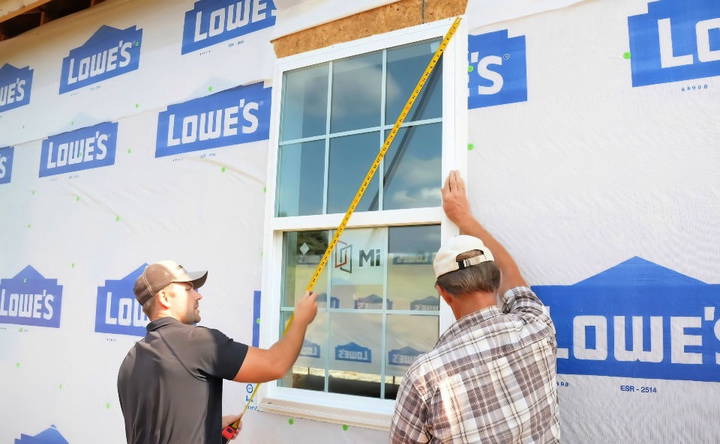
- Measure diagonally from corner to corner. Both measurements should be equal. This ensures the window is square in the opening.
Fully Secure the Window:
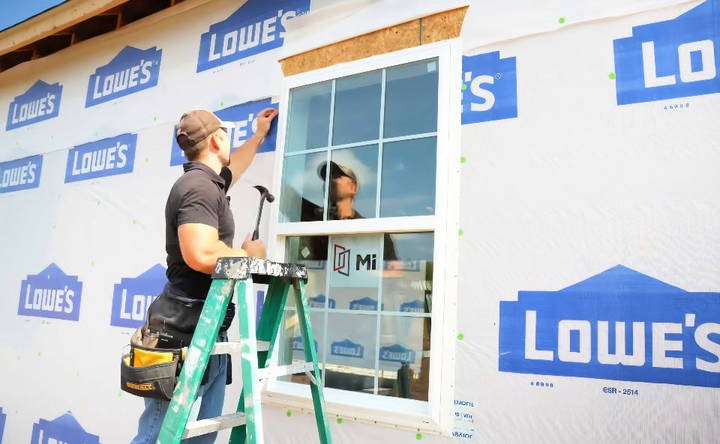
- With everything checking out, nail the window in place, hitting every nail hole on the nailing flange. Avoid angling the nail too steeply to prevent damaging the flange.
- If needed, add shims at the bottom to keep the window level.
4. Final Steps
Complete the installation with these final steps: test the window, apply flashing tape on sides and top, and finish with house wrap.
Test the Window:
- Open and close the window to ensure it operates smoothly, without binding.
- Make necessary adjustments before installing all the nails.
Apply Flashing Tape on Sides and Top:
- Cut lengths of flashing tape for the sides and the top, extending it three inches above and below the window.
- Smooth it out to build a waterproof seal.
Finish with House Wrap:
- Fold the house wrap back down over the top of the window.
- Trim any excess and secure it with flashing tape at the corners.
5. Interior Finishing Touches
Enhance your home with expert interior finishing touches. Insulate window gaps and complete drywall and trim for a polished look.
Insulate the Window Gap:
- Use spray foam insulation or fiberglass insulation to fill the gap around the window jamb. This provides insulation and stops drafts.
Drywall and Trim:
- Ensure that the window jamb sits about a half-inch past the framing to align with the drywall, which will butt against it.
- Add trim to complete the interior look.
Handy Tips and Cost Estimate
- Cost of Materials: The window itself can cost around $400, and flashing tape might be an additional $30-$40 per roll, depending on where you purchase them.
- Helpful Tools: Have a roller for pressing down the flashing tape or just use your hand to smooth it out.
- Check Your Work: It's always a good idea to double-check levels, plumb, and squareness before finally nailing everything down.
Troubleshooting Common Issues
When installing a window, you might encounter a few hiccups along the way. Here's a helpful guide to troubleshoot common issues, ensuring your installation goes smoothly.
The Window Doesn't Fit
- Solution: Measure the opening three times for accuracy before purchasing your window. If it's too late, check if you can return the window for the correct size. Minor adjustments can be made by sanding down the edges if it's slightly too big.
The Window Won't Open or Close Properly
- Solution: Ensure that the window is installed squarely. Use a level to check for plumb and square. Adjust the position if necessary, and check the operation before finalizing the installation.
There's a Draft Coming Through the Window
- Solution: Check the seals around the window. Apply weather stripping or caulk any gaps. If the window is old, consider replacing the seals or the window itself for better insulation.
Water Leakage Around the Window
- Solution: Water leakage can lead to significant damage. Inspect the flashing and sealing around the window. Apply waterproof sealant where needed, and ensure proper drainage away from the window sill.
The Window Fogging Up Between Panes
- Solution: This is likely due to a broken seal. Unfortunately, this often means the window unit needs to be replaced. For a temporary fix, you can use a dehumidifier to reduce moisture levels in the room.
Difficulty Cleaning the Window
- Solution: Some modern windows come with features that allow easy cleaning, like tilt-in sashes. If your window doesn't have this, use a squeegee with an extendable handle, or hire a professional window cleaner for hard-to-reach windows.
Accidental Glass Breakage
- Solution: Always wear safety gear when handling glass. If breakage occurs, clear the area of people and pets, then carefully remove and dispose of the broken glass. Replace the pane as soon as possible.
Patience and planning are crucial for successful window installation. Consult a pro if unsure.
Safety Precautions
Safety is paramount when installing a window. Here's a comprehensive guide to keeping you safe during the installation process.
Wear the Right Gear
- Safety Glasses: Protect your eyes from dust, debris, and accidental glass breakage.
- Work Gloves: Use them to handle glass and prevent cuts.
- Sturdy Footwear: Wear boots or shoes that provide a good grip and protect your feet.
Prepare Your Workspace
- Clear Area: Ensure the workspace is free of clutter to avoid trips and falls.
- Secure Ladder: If using a ladder, make sure it's stable and secure before climbing.
- Proper Lighting: Good lighting helps you see what you're doing and avoid mistakes.
Handle Glass with Care
- Lift Correctly: Use your legs, not your back, when lifting windows.
- Transport Safely: Carry glass panes on their edge and use suction handles if available.
- Store Properly: Keep the glass in a safe area where it won't be knocked over.
Use Tools Wisely
- Read Instructions: Before using any tool, read the manual and understand its use.
- Inspect Tools: Check for damage before use. Damaged tools can be dangerous.
- Operate Carefully: Use tools for their intended purpose and follow safety protocols.
Be Mindful of Hazards
- Electrical Wires: Be aware of any electrical wiring in the walls to avoid shocks.
- Lead Paint: If your home is older, be cautious of lead paint when removing old windows.
- Falling Hazards: Never lean out of an open window frame without proper support.
Know Your Limits
- Ask for Help: If a window is too heavy or the job is too complex, get assistance.
- Take Breaks: Don't overexert yourself; take breaks to avoid fatigue-related accidents.
- Professional Help: If you're unsure about any part of the process, consult a professional.
By following these safety precautions, you can ensure a safer window installation experience. Taking the time to prepare and proceed with caution can prevent accidents and injuries.
FAQs About How to Install a Window
Discover easy answers to FAQs about installing a window. Get tips, tools, and step-by-step guidance to achieve a flawless window installation.
First, measure the rough opening in three places for both width and height to ensure it’s square. If adjustments are needed, use tapered filler strips. Next, apply a waterproof membrane or builder’s felt around the opening, starting at the bottom and working your way up, to protect against water infiltration.
Before installing, check that the outside dimensions of the window are at least ¾-inch narrower and ½-inch shorter than the smallest width and height measurements of the rough opening. Test fit the new window to make sure it sits level and fits within the opening without forcing.
After setting the window into the opening, use shims to adjust for level and plumb. Once the window is properly aligned, secure it with nails or screws through the nailing flange. Seal the perimeter with silicone caulk and apply flashing tape over the nailing flange to prevent water leaks. Finally, insulate around the window jam with spray foam or fiberglass.
Trim any excess shims and check that the window operates correctly. Apply a final bead of silicone caulk around the outside of the window to seal any gaps. If necessary, install interior trim or molding to cover the gap between the window and the wall.
After the window is secured in place, it's crucial to check for gaps between the window frame and the wall. These gaps can be filled with expanding spray foam or fiberglass insulation to prevent drafts and improve energy efficiency. Be sure to apply the insulation evenly around the window, taking care not to overfill the space, as this can warp the frame. Once the insulation is set, trim any excess material for a clean finish.
Conclusion:
Wrapping up, this how to install a window guide provides you with step-by-step instructions to ensure a smooth and efficient process. From gathering tools to final adjustments, this method enhances your skills and saves time. With the right preparation, installing a window can be straightforward and rewarding.


