Learn how to install beadboard paneling with this easy, step-by-step guide. Beadboard paneling can add charm and texture to any room, giving it a classic, clean look that elevates the space. With this guide, you'll handle all aspects of the process, from tool gathering to the final trim installation. By following these steps, you'll be well-prepared to take on a beadboard installation project in any room of your home.
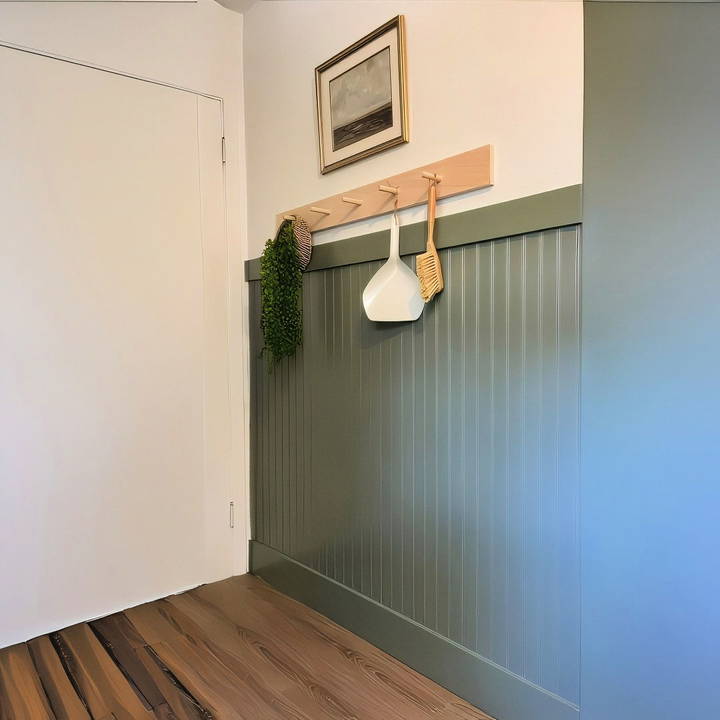
Tools and Materials Needed
Discover the essential tools and materials needed for a seamless beadboard installation, ensuring a professional finish in every room.
Tools
- Measuring Tape: For accurate measurements of wall sections and panels.
- Stud Finder: Essential for locating wall studs for secure nailing.
- Brad Nail Gun or Hammer and Paneling Nails: For attaching panels to the wall.
- Table Saw: To cut beadboard to the correct size.
- Jigsaw or Multi-Tool: Ideal for detailed cuts around outlets, windows, and other obstacles.
- Caulk Gun: For applying caulk to seams and edges.
- Sandpaper or Sanding Block: For smoothing out surfaces after filling nail holes.
- Electric Meter (optional): Use to ensure power is off when working near outlets.
Materials
- 4'x8' Beadboard Panels: Available at hardware stores; usually the most economical option.
- 1”x4” Primed Pine Boards: For top trim molding.
- 2” Brad Nails or Paneling Nails: Suitable for securing the panels.
- DryDex Spackling: For filling nail holes.
- Alex Flex Trim Caulk: Used for filling in seams and gaps.
- Metal Outlet Extender: Necessary for keeping outlets flush with the paneling.
- Paint: For finishing the beadboard panels; many opt for colors like Sherwin-Williams' Valleyfloor for a stylish look.
Step by Step Instructions
Learn how to install beadboard with our step-by-step guide. From preparation to finishing touches, follow our easy instructions for perfect results.
Step 1: Preparation and Measuring
- Measure Your Wall: Start by measuring the height and width of the walls you'll be covering. A 4'x8' beadboard panel can be cut to fit most wall spaces, so decide if you'll use a full-height panel or trim it down.
- Transporting the Panels: Tip: If you don't have a large enough vehicle to transport the 8-foot panels, ask your hardware store to cut them in half. This not only helps with transportation but can also make handling the panels easier during installation.
Step 2: Cutting the Beadboard Panels
Beadboard panels often have ridges that allow the edges of each piece to fit seamlessly together.
- Plan Your Cuts: Before cutting, identify which edge of the panel will join with the next to ensure the pattern aligns.
- Use a Table Saw for straight cuts and a Jigsaw for complex cuts around fixtures like windows and outlets. Mark all cuts with a pencil for precision.
Step 3: Attaching the Panels
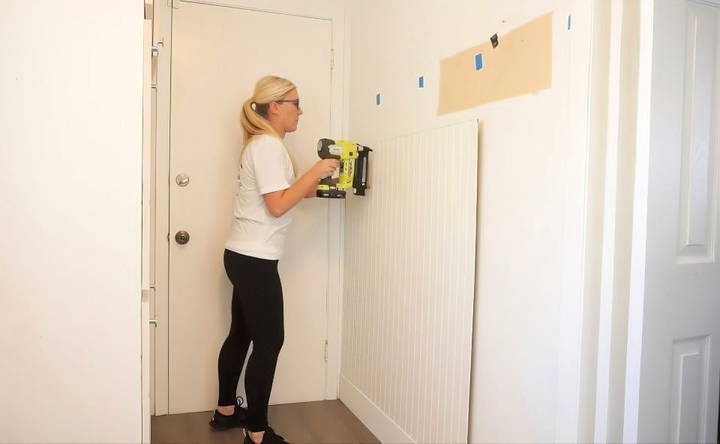
- Locate and Mark Studs: Use a stud finder to locate the studs in the wall. Mark these with painter's tape, as this is where you'll secure the beadboard for a stable fit.
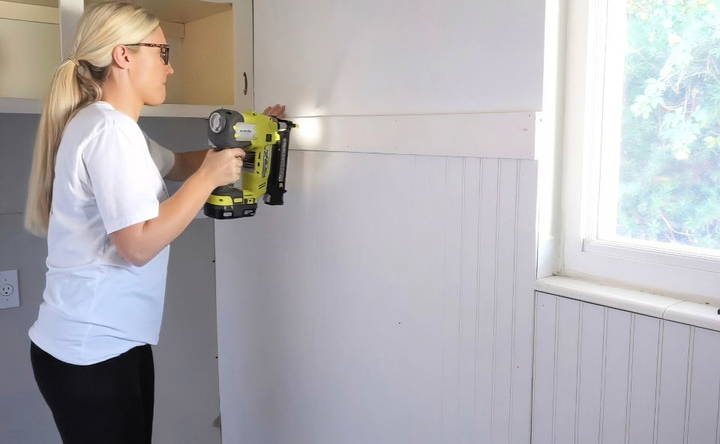
- Choosing a Fastening Method: Brad Nailer: The quickest method for attaching panels. Ensure you're using 2-inch brad nails to penetrate the panel, drywall, and at least part of the stud.
- Hammer and Nails: If you don't have a Brad nailer, finishing nails works as well, though this method takes longer.
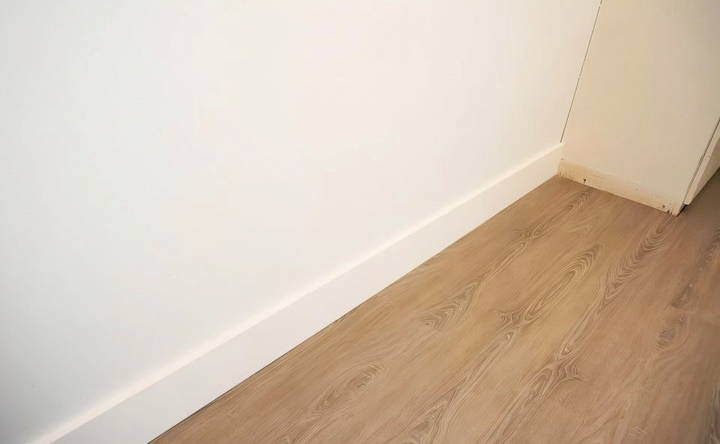
- Install the First Panel: Position the panel on the wall, aligning it with the baseboard.
- Secure the panel by driving brad nails into the marked stud locations.
- Continue around the room, butting each new panel against the previous one for a seamless fit.
Step 4: Custom Cuts Around Fixtures
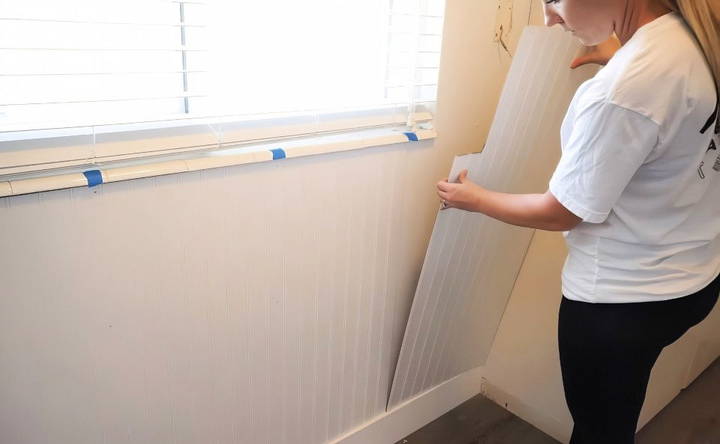
- Working Around Windows: Measure the distance from the baseboard to the bottom of the window, then mark this measurement on the panel.
- Cut the panel to the necessary height using a table saw.
- For unique cuts around window edges, measure the width and height of each section that needs trimming, marking these areas on the panel before cutting.
- Fitting Around Outlets: Remove the outlet cover and place painter's tape on the front of the outlet to build a temporary sticky surface.
- Press the beadboard panel against the wall so the tape on the outlet transfers to the back of the panel.
- Trace around the taped outline, then cut out the space with a multi-tool or jigsaw.
- Safety Tip for Electrical Work: Turn off power to the room when working near outlets to prevent shocks. If needed, install metal outlet extenders to keep outlets flush with the paneling.
Step 5: Installing the Trim Molding
The finishing touch to any beadboard project is the top trim molding. Trim helps seal the paneling to the wall and builds a polished, professional look.
- Measure and Cut the Trim: Measure each wall section and cut your 1”x4” primed pine boards to fit. A miter saw works best for precise cuts.
- Attach the Trim: Nail the trim into the wall studs using brad nails. Ensure the trim sits flush against the beadboard and aligns well in corners.
Step 6: Finishing Touches
- Fill Nail Holes: Use DryDex spackling to fill in all nail holes. Apply a small amount with your finger or a putty knife.
- Once dry, lightly sand the spackling for a smooth surface.
- Caulking the Seams: Use Alex Flex caulk for gaps between panels, baseboards, and trim.
- Apply a thin bead along each seam, smoothing it with your finger or a caulk finishing tool. For cleaner edges, consider using painter's tape on both sides of the seam and remove it after caulking.
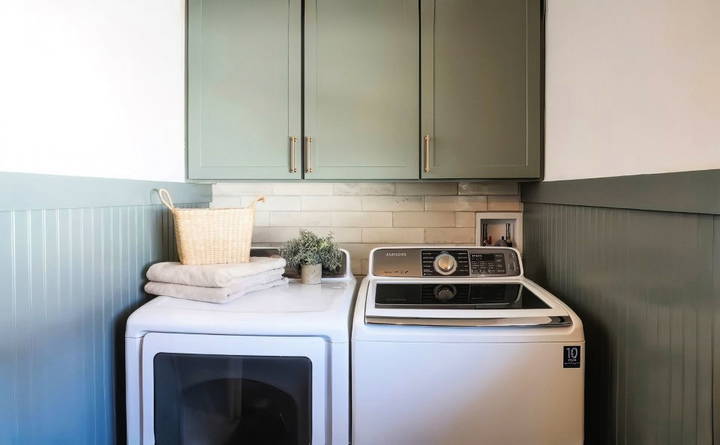
- Painting: With the beadboard primed and all seams filled, you're ready to paint. Choose a high-quality interior paint for the final touch. Popular colors include greens, blues, and whites for a fresh, modern aesthetic.
Troubleshooting and Additional Tips
- Non-Standard Wall Angles: Most walls are not perfectly square, which can leave slight gaps at the corners. Position panels so any gaps fall along the baseboard where caulk can fill them.
- Irregular Baseboards: If you're planning to replace baseboards, do so before installing beadboard to simplify the installation process.
- Pattern Alignment: When installing, make sure each panel's pattern aligns seamlessly with the next. This attention to detail will improve the final look.
Wrapping Up
Installing beadboard is a manageable project that adds charm and style to any room. With a few basic tools and some planning, even a beginner can achieve professional-looking results. Be sure to take your time with measurements, follow safety procedures, and enjoy the satisfaction of transforming your space!
FAQs About Beadboard Installation Tips and Troubleshooting
Explore top beadboard installation tips and troubleshooting FAQs. Get expert advice for a flawless finish in your home projects.
Yes, but you may need to sand down heavily textured areas or install a smooth backer board to help the panels adhere properly.
Use a damp cloth with mild soap for regular cleaning. Avoid harsh chemicals to prevent paint or panel damage.
Beadboard can work well in bathrooms, but choose moisture-resistant materials and ensure proper ventilation to prevent warping over time.
For non-90-degree walls, you can butt the panels together as closely as possible, then apply caulk to fill any gaps in the corner. If there's a significant angle difference, consider using trim to mask the uneven join and build a smooth, finished look.
Yes, you can install beadboard over brick or tile. For brick, either use construction adhesive or attach furring strips to the brick with masonry screws and anchors, then secure the beadboard to the furring strips. For tile, construction adhesive is typically sufficient.
Start by leveling the baseboard. If gaps are visible between the baseboard and the floor due to unevenness, cover them with quarter-round molding. This approach keeps your panels aligned and hides any unevenness at the base.
You can install beadboard directly over small holes without repairing them. For larger holes, consider adding an access door if needed (e.g., near plumbing fixtures) to maintain code compliance and accessibility.
Attach painter's tape to the outlet cover, position the panel against the wall, and press to transfer the tape's position onto the back of the panel. Then, trace around the tape's outline for a precise cut.
Yes, if you skip the caulking where panels meet the wall. Using only brad nails allows for easier removal later, leaving minimal marks that can be easily patched.
A satin finish is commonly recommended, offering a balance of durability and easy cleaning without excessive shine. Use an angled brush for grooves and a roller for flat surfaces for an even finish.
Apply a thin bead of caulk along panel seams to fill small gaps. Once painted, this makes the seams nearly invisible for a seamless look.


