Installing a paver driveway can transform your home's curb appeal while offering a durable and visually appealing surface. Many homeowners hesitate due to high costs, especially when hiring contractors but with a bit of effort, you can save significantly by doing it yourself. In this guide, you'll find practical steps for building a DIY paver driveway, drawing from a real-life project completed at a fraction of the professional cost.
Here, we cover every step of the process, including materials, tools, leveling techniques, compacting soil, and finishing touches.
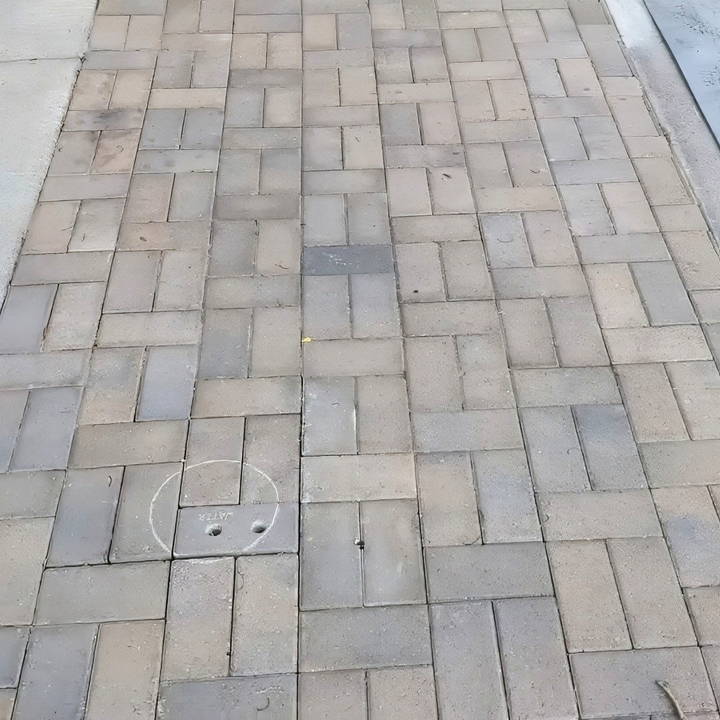
Benefits of a Paver Driveway
A paver driveway has multiple benefits over concrete:
- Aesthetics: Pavers come in various shapes, sizes, and colors, giving you complete control over the look of your driveway.
- Durability: Pavers handle wear and tear from vehicles well, and if a section is damaged, it's easy to replace specific pavers rather than repairing an entire slab.
- Flexibility: Unlike concrete, which can crack with ground movement, pavers can expand and contract slightly, reducing the risk of cracks.
- Drainage: Gaps between pavers allow rainwater to seep through, reducing puddles and ice patches in colder climates.
Step by Step Instructions
Learn how to build a DIY paver driveway with step-by-step instructions. From planning to final touches, build a durable, cost-effective driveway.
1. Planning and Gathering Materials
Before starting, measure your driveway space and calculate the materials required. For a driveway of this size, you'll need:
- Pavers: About seven pallets for a 100 ft x 11 ft driveway.
- Sand: Roughly an inch deep layer to level and cushion the pavers.
- Gravel or Crushed Stone: For the base layer, ensuring drainage and stability.
- PVC pipes: These act as sand thickness guides.
- Concrete: To set the edges of the driveway.
- Edging tools: Wood stakes and stakes for keeping pavers in place.
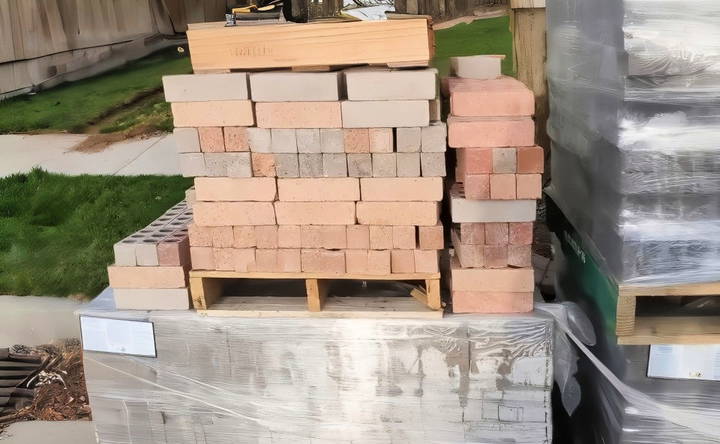
Pro Tip: Pavers often go on sale in spring at major home improvement stores. Purchasing pavers on sale, along with free city-provided sand (if available), can help cut down costs significantly.
2. Preparing the Site
The first step is removing the existing sod and leveling the ground.
- Remove Sod: Use a sod cutter or shovel to lift and remove the top layer of grass. This will give you a cleaner base for your driveway.
- Dig and Level: Dig the area to a depth of at least 3 inches (for the base and sand layers). If your area has a slope, ensure you build a level area for your pavers.
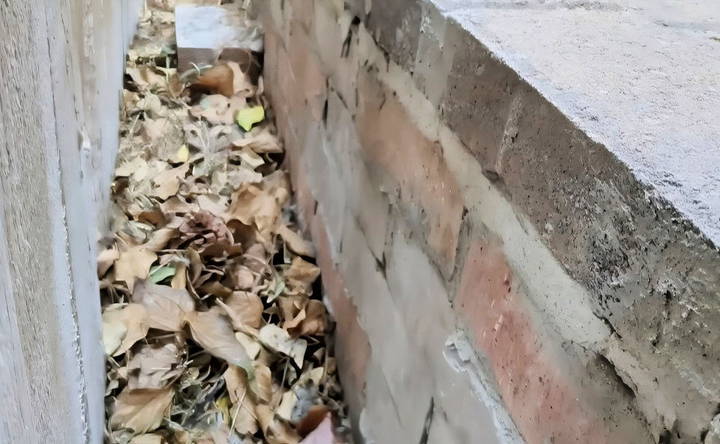
- Build a Retaining Wall (if needed): If your yard slopes significantly, building a small retaining wall using leftover bricks can help maintain the structure and prevent soil erosion.
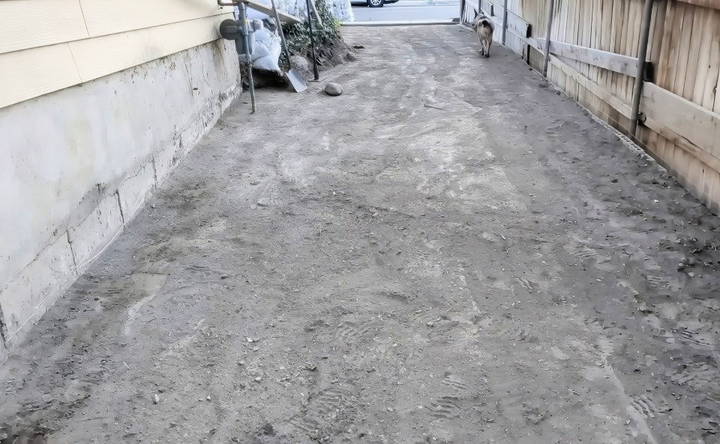
Tip: Leveling is a crucial step. It might take days to get the ground level enough, using a mix of manual and mechanical tools (like a tractor or compacting machine). For best results, aim for a level within half an inch across the surface.
3. Building the Foundation
Once the ground is leveled, you'll lay the foundation for your driveway.
Laying the Base Layer
- Gravel/Crushed Stone Base: Add about 3 inches of crushed stone or gravel, distributing it evenly. This layer will allow for drainage and help prevent sinking.
- Compact the Base: Use a plate compactor to compress the gravel tightly. This step is essential for stability; an unsteady base can lead to shifting pavers over time.
Adding the Sand Layer
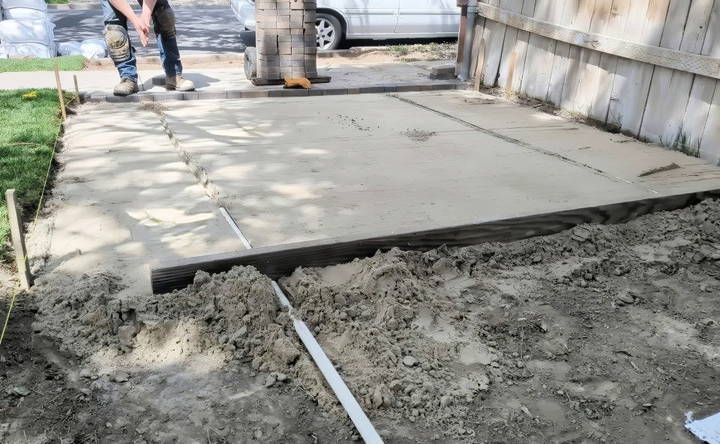
- Place PVC Pipes: Set 1-inch PVC pipes on top of the compacted base to act as guides.
- Spread the Sand: Pour sand between the pipes and use a 2x4 board to screed (or level) the sand. Screeding involves dragging the board across the pipes to build a flat, even layer.
4. Laying the Pavers
Now that you have a stable, flat foundation, it's time to place the pavers.
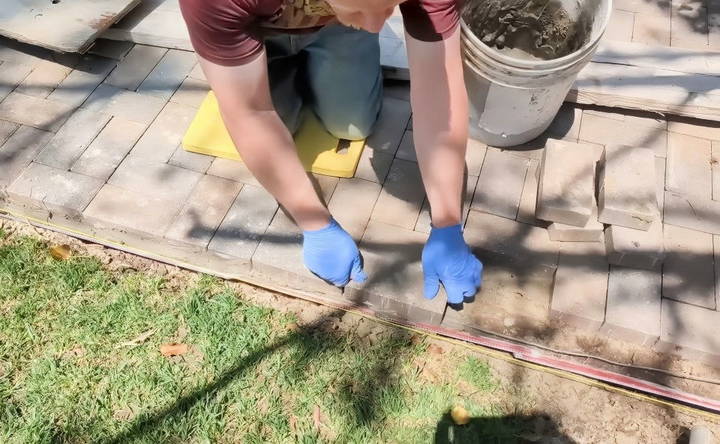
- Starting at an Edge: Begin laying pavers from one edge and work toward the other side, ensuring you align them as you go.
- Keeping Pavers Level: Use a rubber mallet to gently tap pavers down, keeping them level with one another.
- Edge Restraints: As you reach the edges, add edging restraints along the sides. These restraints, secured with stakes, will keep the pavers in place and prevent them from shifting over time.
Note: Check alignment and spacing as you go. While slight adjustments can be made later, ensuring straight rows and even gaps will make a big difference in the final look.
5. Compacting and Setting the Pavers
With the pavers laid out, it's time to secure them in place.
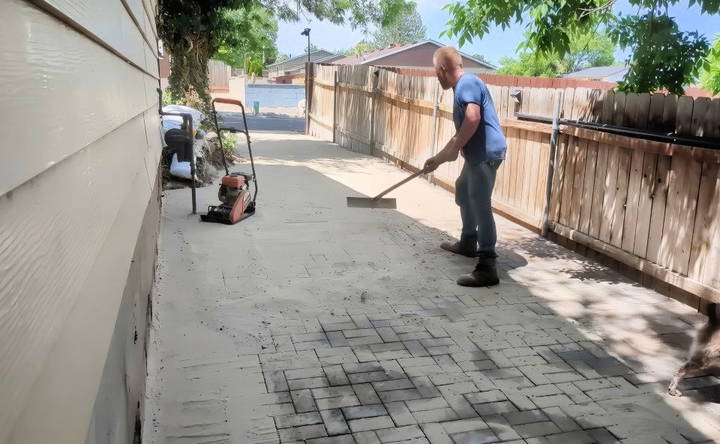
- Run the Compactor Over the Pavers: Once you're satisfied with the layout, run a plate compactor over the entire surface to set the pavers. This step embeds the pavers into the sand layer and minimizes any slight height variations.
- Add Sand Between Pavers: Sweep fine sand over the surface, filling in the gaps between pavers. Repeat this process until all gaps are full. This helps lock the pavers together and prevents weeds from growing in the gaps.
6. Securing the Edges
Edges are vulnerable to shifting over time, so securing them with concrete is essential.
- Concrete Edge Restraint: Use concrete along the outermost edges to hold the pavers in place. This is especially important for edges that don't have natural boundaries like walls or fences.
- Allow for Expansion: At points where the driveway meets structures like walls, leave a small gap. This gap acts as a cushion, allowing pavers to expand and shift slightly without pressing against solid surfaces.
Tip: Avoid cementing pavers near large tree roots. Trees can cause movement over time, so consider using flexible stakes or removable pavers in these areas.
7. Final Touches
To finish up your paver driveway:
- Sweep Sand Across Surface: Spread dry sand across the pavers one final time and use a broom to fill in any remaining gaps. This sand stabilizes the surface and prevents movement.
- Clean the Surface: Use a leaf blower to remove excess sand and debris from the top of the pavers.
- Wet the Surface: Lightly spray the driveway with water. This will help the sand settle into the cracks more firmly.
Maintenance Tips for a Long-Lasting Paver Driveway
A paver driveway is durable, but regular maintenance will ensure it looks and functions great for years.
- Resand Annually: To prevent pavers from shifting, add sand to the gaps yearly. This keeps the surface stable and reduces weed growth.
- Seal the Pavers: Sealing the pavers can protect them from stains, weathering, and wear. Sealant also enhances the color of the pavers.
- Address Stains Quickly: Oil stains and spills can happen, especially if you park vehicles on your driveway. Clean these immediately to prevent long-term discoloration.
Cost Breakdown and Savings
A professionally installed paver driveway for a similar size can cost between $8,000 and $30,000, depending on labor costs and material quality. By going the DIY route, costs can drop significantly:
- Pavers: Purchased on sale for around 25 cents each.
- Sand: If available from your city, sand can be free, significantly reducing material costs.
- Other Materials: Including stakes, PVC pipes, and concrete for the edges, can add about $200 to the total cost.
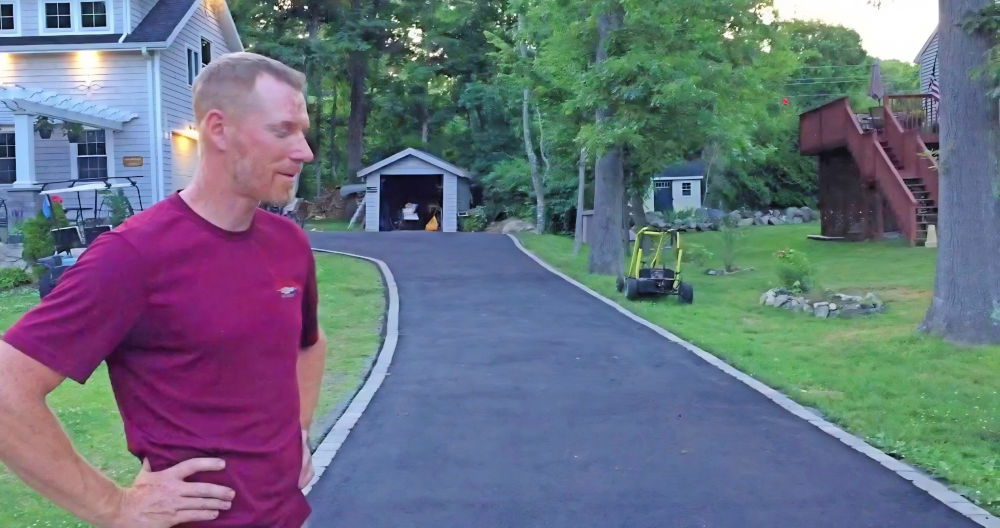
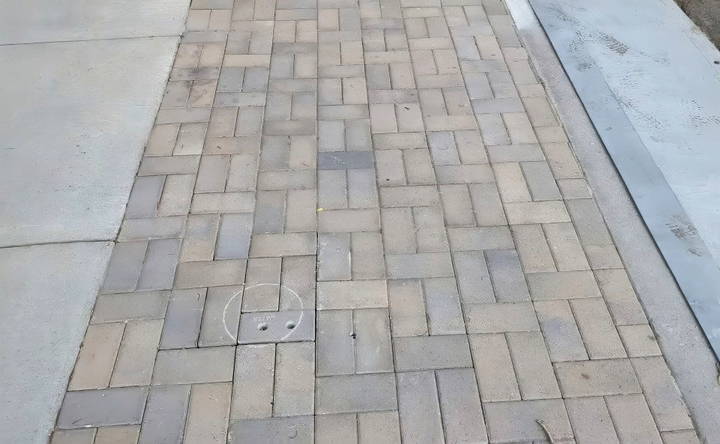
In this case, the entire project cost roughly $1,400, a fraction of the professional estimate.
Final Thoughts
Installing a DIY paver driveway is labor-intensive, but the results are rewarding both visually and financially. Following these steps, you can build a stable, beautiful driveway that enhances your home's exterior. This project demands attention to detail, from careful leveling to compacting each layer, but the end result is worth every bit of effort.
Whether you're looking for a long-lasting solution for your driveway or just want to save money, a DIY paver project is an excellent choice that adds value and functionality to your property. With the right materials, some patience, and a bit of muscle, you'll be driving on a driveway you built yourself, for a fraction of the cost.
FAQs About DIY Paver Driveway
Discover all you need to know about building your own paver driveway with these FAQs. Expert tips and guidance for a successful DIY project.
For clay-heavy or poorly draining soil, excavate deeper and add a crushed rock or gravel layer under the sand. This stabilizes the base and improves drainage, preventing issues like shifting or sinking.
Polymeric sand can help lock pavers together, reduce weed growth, and deter ants. However, for high-movement areas, regular sand may be preferable, as polymeric sand can degrade under heavy load or extreme temperatures.
If the driveway has a notable slope, adding a low retaining wall can help manage soil stability and prevent erosion. Retaining walls also add aesthetic value and help maintain a clean edge.
Consider sprinkling boric acid or borax over the sand before placing pavers, as this deters ants from nesting. For weeds, regular maintenance and polymeric sand (if applicable) can also help reduce growth.
Yes, as long as the asphalt is in good condition. Lay a thin layer of sand over the asphalt before placing pavers. This method can save time and prevent the need for excavation.
Spring and early fall are ideal, as moderate temperatures help with ground stability and reduce the risk of overheating when using machinery. Many stores also have paver sales in spring, which can cut costs.
For driveways, choose pavers at least 60mm thick. Thinner pavers may crack under vehicle weight, especially if the base is not adequately compacted.
Ensure a slight slope away from the home to channel water toward the driveway’s edges. Adding expansion gaps with wood or drainage pipes can also help, especially near gas or water lines.
If you notice uneven settling or gaps forming between pavers shortly after installation, it may be due to inadequate compaction. Running a plate compactor over each layer (base, sand, and pavers) minimizes these issues.
Sealing is optional. It can protect against stains, weathering, and erosion, especially if you have frequent vehicle traffic. However, some sealers can wear unevenly, so choose a high-quality, UV-resistant option.
Though possible, installing a paver driveway solo can be labor-intensive. Consider having a helper for tasks like leveling, compacting, and handling materials.


