Seamless gutters are a fantastic choice for homeowners who want to protect their homes from water damage while enhancing their house's aesthetic appeal. Installing them yourself can seem daunting, but with the right tools and a clear understanding of the process, you can successfully complete the project on your own. In this guide, you will learn about how to Install DIY seamless gutters.
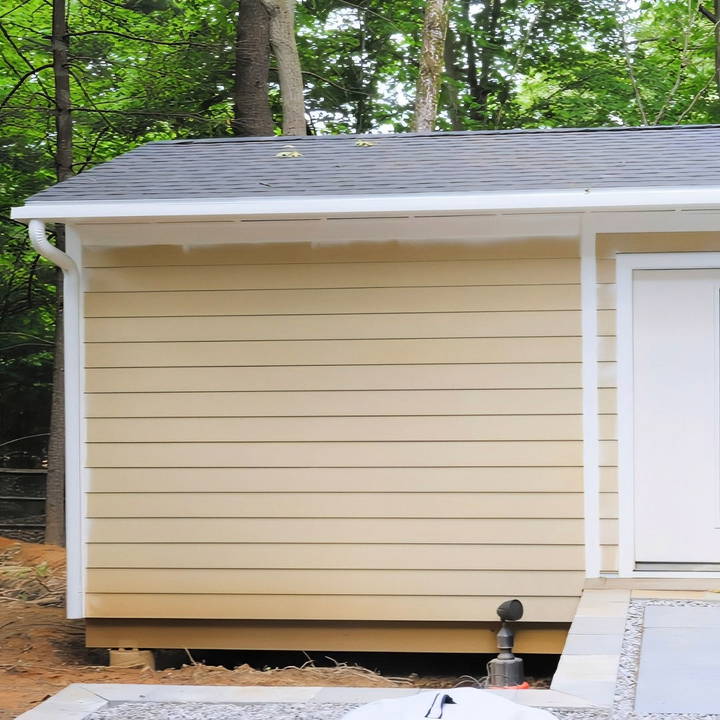
Why Choose Seamless Gutters?
When deciding between standard sectional gutters and seamless gutters, seamless gutters have several advantages that make them worth considering:
- Reduced Leakage Risk: Seamless gutters are continuous, with no joints or seams along the length of the gutter. This significantly reduces the risk of leakage, which is common in sectional gutters where seams can fail over time.
- Enhanced Aesthetic Appeal: With no visible seams, seamless gutters offer a much cleaner and more polished look than their sectional counterparts. This is particularly important for long runs of gutter, where the multiple seams in standard systems can detract from the home's appearance.
- Durability: Without seams that can deteriorate, seamless gutters are typically more durable and require less maintenance over the years. By avoiding leaks, they prevent water damage to your home's siding, foundation, and landscaping.
- Custom Fit: Seamless gutters are measured and cut to the exact dimensions of your home, ensuring a perfect fit. This custom approach helps maximize efficiency in water collection and drainage.
Now that we know why seamless gutters are a superior option, let's dive into the process of installing them.
Tools and Materials You Will Need
Before getting started, gather all necessary tools and materials:
- Seamless gutters (pre-measured and cut to fit your home)
- Downspout adapters
- End caps
- Mounting brackets
- Downspouts and elbows
- Leaf guards (optional but recommended)
- Tight bond gutter sealant
- Self-tapping screws
- A power drill with a nut driver bit
- A level
- A tape measure
- A hole saw (ideally a 3-inch for downspouts)
- Aviation snips or an angle grinder
- Ladders or scaffolding for safe access
Step by Step Instructions
Learn how to install seamless gutters with our step-by-step guide. From planning and installation to drainage checks, we cover it all.
Step 1: Prepare for the Project
Before starting the installation, it's essential to plan out the gutter system. First, determine the slope of your roof and where the water needs to flow. Proper gutter installation requires a slight downward slope towards the downspouts, which helps the water drain efficiently.
- Tip: Ensure your roof's fascia board is in good condition before installation. The fascia will support the weight of the gutters, so it needs to be sturdy.
Step 2: Measure and Plan the Layout
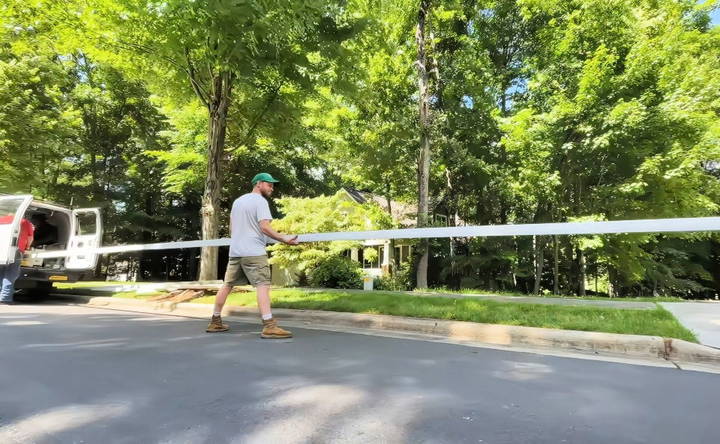
Measure your roofline carefully to ensure that the seamless gutters fit perfectly. Typically, seamless gutters need to be custom-made to the exact length of each section of your roof.
- Pro Tip: Many local companies provide custom seamless gutters for DIY projects. In this case, you can order the gutters pre-cut to your measurements, which eliminates the need for large specialized equipment.
Step 3: Install Downspout Adapters
The first physical step in the installation is to mark where the downspouts will be located. Measure the distance from the edge of the roof to the corner trim where the downspouts will be installed. Transfer this measurement to the gutter, and use a 3-inch hole saw to drill holes for the downspout adapters.
Once the hole is drilled, apply a bead of gutter sealant around the hole and insert the downspout adapter. Secure the adapter using self-tapping screws.
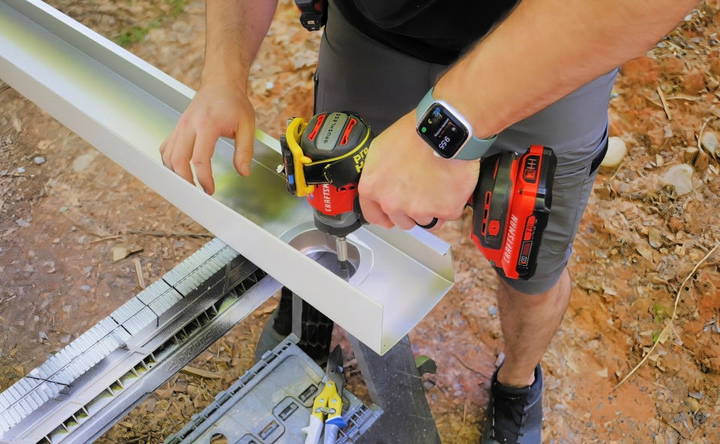
- Pro Tip: Use a power drill with a nut driver bit to make the process faster and more secure.
Step 4: Attach the End Caps
Next, attach the end caps to both ends of the gutter. Similar to the downspout adapters, apply gutter sealant to ensure a watertight seal, and use self-tapping screws to secure the caps in place. It's important to be generous with the sealant to avoid leaks down the road.
Step 5: Install Mounting Brackets
Mounting brackets should be installed on the gutters before attaching them to the house. The brackets will provide the necessary support to hold the gutters in place.
Mount the brackets so that they correspond with the rafter tails or other structural elements that will support the weight of the gutters. Secure the brackets by attaching one end to the rolled lip on the front of the gutter and the other end to the back.
- Tip: Install the brackets while the gutters are still on the ground. This is much easier and safer than working from a ladder.
Step 6: Mount the Gutters to the Roofline
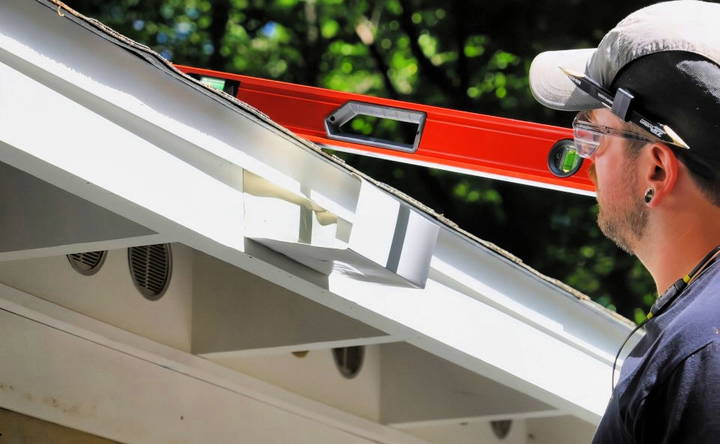
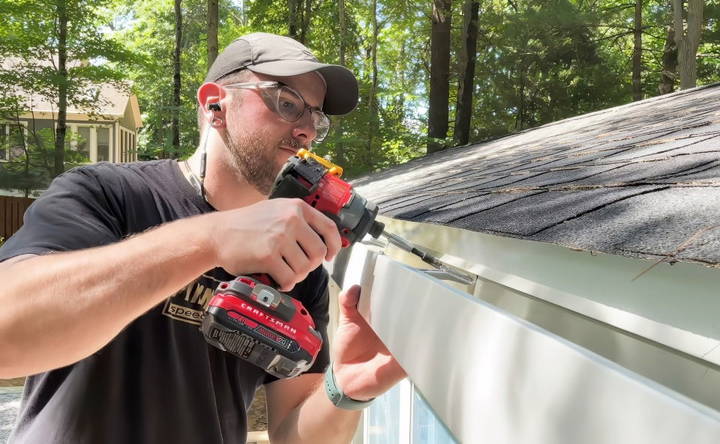
Now it's time to mount the gutters. Starting from the center of the roofline, push the gutter up against the fascia board. The gutter should sit just below the roof's drip edge, ensuring water flows directly into the gutter. Drive the screws into the sub-fascia and rafter tails to secure the gutter in place.
As you work your way out from the center, use a level to make sure the gutter has a slight slope towards the downspouts to allow for proper drainage.
Step 7: Install the Downspouts
Once the gutters are secured, it's time to install the downspouts. Start by attaching an elbow to the downspout adapter you installed earlier. Use self-tapping screws to hold the elbow in place.
Measure the distance between the two elbows and cut a piece of downspout to fit. You can use aviation snips or a power tool, such as a brushless angle grinder, to cut the aluminum downspouts. Attach the downspout to the elbow using screws.
Finally, install downspout bands to secure the downspout to the house. Space the bands evenly along the length of the downspout, making sure to install at least one band below the elbow for extra support.
Step 8: Check for Proper Drainage
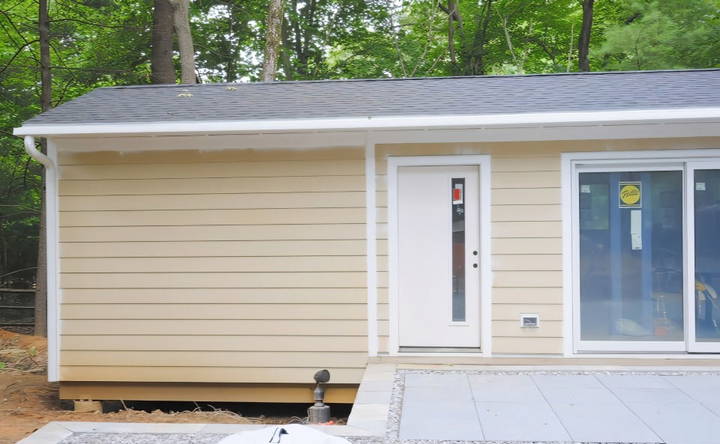
Once the installation is complete, it's important to check that the gutters are functioning properly. Ideally, a good rain will help you see if the gutters are sloped correctly, but you can also use a hose to pour water into the gutter and watch how it flows.
The water should drain smoothly toward the downspouts, with no standing water remaining in the gutter.
Step 9: Install Leaf Guards (Optional)
Leaf guards are a useful addition, especially if your house is surrounded by trees. They prevent leaves and debris from clogging the gutters, reducing maintenance in the long run.
To install leaf guards, start at one end of the gutter and secure the guards with self-tapping screws. Overlap the sections slightly to ensure full coverage, and continue down the length of the gutter.
Even with leaf guards installed, you will still need to check and clean your gutters once or twice a year, especially in areas with heavy tree coverage.
Common Challenges and Solutions
- Ensuring Proper Slope: A common mistake is failing to install the gutters with the right slope. Without enough pitch, water will pool in the gutters, causing them to sag or overflow. Use a level and periodically check the slope as you secure the gutters to ensure proper drainage.
- Handling Gutter Leaks: Leaking gutters can occur if the sealant is not applied generously or if seams are not properly sealed. Always double-check the end caps and downspout adapters for watertight seals, and reapply sealant as necessary.
- Safety Considerations: Working on ladders can be dangerous, especially when handling long sections of gutters. Always ensure that ladders are secure and positioned on a stable surface. If possible, have someone assist you with holding the gutters in place during installation.
Conclusion
Installing seamless gutters on your own is a manageable project with the right tools and careful planning. By following the steps outlined above, you can ensure that your new gutter system is functional, durable, and aesthetically pleasing.
Not only will seamless gutters enhance the look of your home, but they will also protect your foundation and landscaping from water damage. With proper installation, your gutters will be a long-lasting addition to your home's exterior.
FAQs About DIY Seamless Gutters
Learn all about DIY seamless gutters with our FAQ guide. Find answers to common questions to help you install gutters efficiently.
Seamless gutters are custom-made in long, continuous sections without any joints or seams. This reduces the chance of leaks and builds a cleaner look compared to sectional gutters, which are pieced together and more prone to leakage.
Yes, you can! While seamless gutters typically require specialized machinery, some companies offer DIY seamless gutter kits. You’ll need to measure carefully and follow the installation steps to ensure proper drainage and stability.
Use a level to check the slope while installing the gutters. They should slope slightly toward the downspouts, ensuring water flows smoothly. A proper slope prevents water from pooling in the gutters, which can lead to damage.
An angle grinder or aviation snips are effective tools for cutting aluminum downspouts. Be sure to measure carefully before cutting and avoid using abrasive tools that could strip protective coatings on the metal.
Leaf guards are optional but highly recommended if your house is near trees. They prevent leaves and debris from clogging the gutters, reducing the need for regular cleaning. However, small debris may still require occasional clearing.
If you have leaf guards, use a leaf blower to clear any debris. Without guards, a hand tool or gutter scoop will work, but be cautious about exposed screws that may snag leaves or injure your hands.
Yes, it’s a good practice to seal screws on gutters to prevent leaks. However, screws on downspouts may not need sealing, as they generally don’t carry water. Pay close attention to sealing any areas that directly contact water.
Pop rivets are a common alternative to self-tapping screws. Some installers prefer rivets for their cleaner appearance and more secure fit, although both options can protrude slightly inside the gutter and potentially catch debris.
Search for “DIY seamless gutters” or “seamless gutter suppliers” in your area. Many local companies specialize in providing custom gutters for homeowners who want to install them themselves.
Not necessarily. Gutters are most commonly installed along the eaves of a roof. Gable ends typically don't need gutters unless there's a specific drainage concern for those areas. Always consider your roof's design and water flow.


