Learn how to install LED recessed lighting in an existing ceiling with this step-by-step guide. Perfect for DIY home lighting upgrades and easy installation tips. Follow this comprehensive guide to install LED wafer lights in ceilings that do not have attic access and lack existing wiring, ideal for older homes or areas without current ceiling lighting.
Tools and Materials Needed
Before starting, gather the following tools and supplies to streamline your project. This is a big help to avoid interruptions.
Essential Tools
- 6” LED Wafer Lights: Thin, versatile lights that fit snugly into the ceiling without the need for attic access or large canisters.
- 6” Hole Saw (both abrasive and toothed varieties): Allows you to cut precise holes in the ceiling for the lights.
- Dust Bowl for Hole Saw: Helps capture dust when drilling, minimizing mess.
- Non-contact Voltage Tester: Ensures your wiring is safe to handle.
- Wire Strippers: For removing insulation from wires during the installation process.
- Wire Fishing Tape: Helps thread the wiring through the ceiling and walls.
- 54” Flex Bit & 16” Self-feeding Spade Bits: Useful for drilling through tight spaces if access to wiring is limited.
- Screwdrivers and Other Small Tools: Basic tools like a screwdriver will be needed for mounting fixtures and connecting wires.
With these tools in hand, you're ready to start planning your installation.
Step by Step Instructions
Learn how to install LED recessed lighting in your ceiling with our step-by-step guide. From layout planning to final testing, get it perfect and lasting!
Step 1: Planning the Lighting Layout
The first step is deciding how many lights to install and where to place them. This part requires measuring and a bit of math to ensure even, effective lighting.
- Calculate the Spacing: A common recommendation is to space the lights at half the ceiling height. For instance, if the ceiling is 8 feet high, place lights approximately 4 feet apart. Avoid overcrowding; a room with a few well-placed lights often looks better than one with too many fixtures.
- Consider Symmetry: Place lights in a pattern that suits the room's function and layout. Symmetry often works best in square or rectangular rooms, while larger or oddly shaped spaces might need a custom approach.
- Mark the Ceiling: After deciding on the layout, use a pencil to mark where each light will go. This makes installation easier and helps you visualize the end result.
For this example, we'll assume a 14 x 14-foot room where four recessed lights are adequate for balanced lighting.
Step 2: Cutting Holes for the Lights
With the layout finalized, it's time to cut the ceiling holes.
- Drill a Pilot Hole First: This small hole helps confirm there are no obstructions like joists or pipes. If you hit a joist, slightly adjust the location to avoid it.
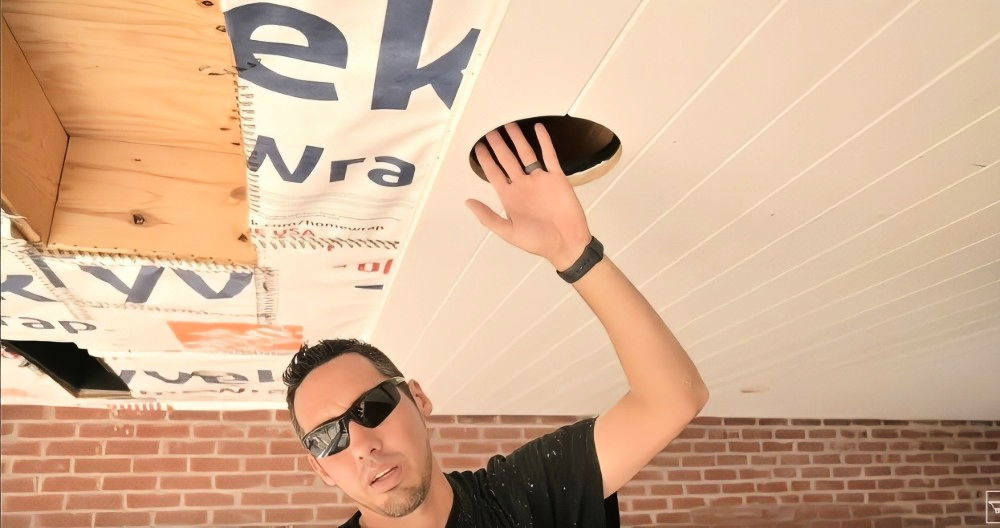
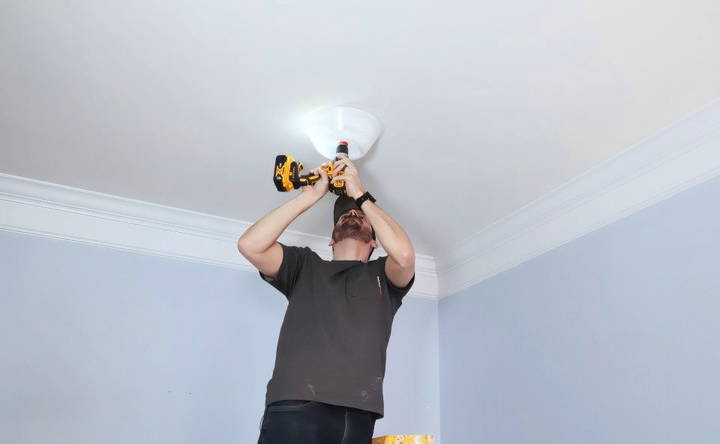
- Use a Dust Bowl with the Hole Saw: Attach the dust bowl to the hole saw to catch any dust created by cutting. A dust bowl minimizes cleanup and is particularly helpful if you're drilling directly above yourself.
- Set the Drill to Low Speed: For safety, operate your drill at a low speed, especially if you're using a large hole saw. If you feel the saw “catching” or tugging, slow down. This prevents the saw from jerking and causing injury.
- Keep Your Face and Body Clear of the Hole Saw: When drilling overhead, avoid standing directly below to prevent debris from falling on you. Additionally, using a side handle for your drill can provide more control and prevent kickback.
After the holes are cut, you're ready to move on to wiring.
Step 3: Determining Power Source and Wiring Setup
For this installation, we'll assume you have no existing ceiling wiring. Here's how to safely bring power to your new lights.
- Identify a Switch: Locate a switch in the room that controls an outlet or another light. If it's convenient, you can often tap into this switch to provide power for your recessed lights.
- Turn Off the Power: Safety first! Shut off the power to the room's existing switch at the circuit breaker to avoid any chance of electric shock.
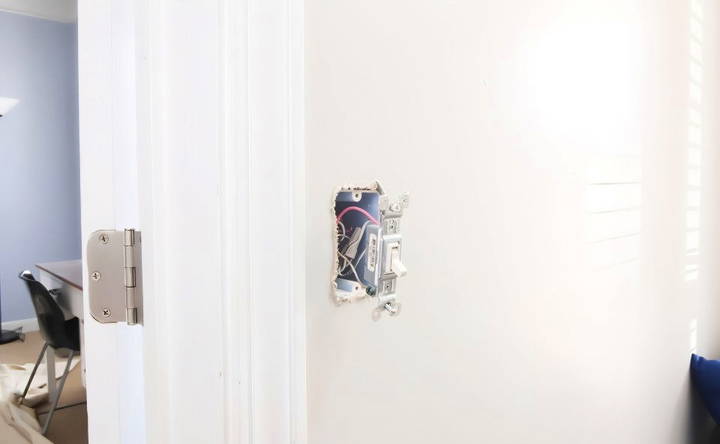
- Check Wire Direction: With the power off, carefully remove the switch from its electrical box and look to see which direction the wires are running. Ideally, they'll run upward or sideways, allowing easier access to fish wires through the ceiling.
- Use a Voltage Tester: Use a non-contact voltage tester to confirm that the power is indeed off. Even if you've switched the breaker off, a voltage tester ensures safety by checking the wires directly.
- Decide on a Wiring Path: For situations without attic access, consider routing wires from the switch to the nearest light hole. If solid joists obstruct your path, you may need to drill through them.
Safety Note: Always confirm that you're following local electrical codes. If unsure, consider consulting a professional electrician.
Step 4: Running Wiring Through the Ceiling
If your wiring plan requires threading wires through solid joists, here's how to manage it.
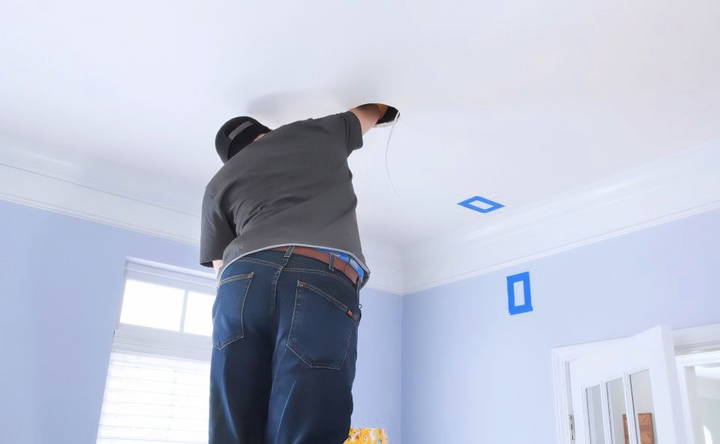
- Drill Through Joists or Floor Trusses: Use a self-feeding spade bit or a flex bit to drill through joists. With a flex bit, you can navigate through tight spaces, making it easier to pull wiring without opening large sections of the ceiling.
- Fish Tape Through Holes: Feed your fish tape through the first hole, aiming toward the next hole in the series. Attach the wiring to the fish tape, then pull it through the holes.
- Use Exploratory Holes if Needed: Before drilling blindly, consider using exploratory holes and a flashlight or phone camera to check for obstructions like pipes or hidden wiring.
- Secure the Wiring: As you pull the wiring through each hole, make sure it's not pinched or caught on any obstacles. This keeps your setup safe and reliable for the long term.
Step 5: Connecting the LED Wafer Lights
With your wiring in place, it's time to connect and mount the LED lights.
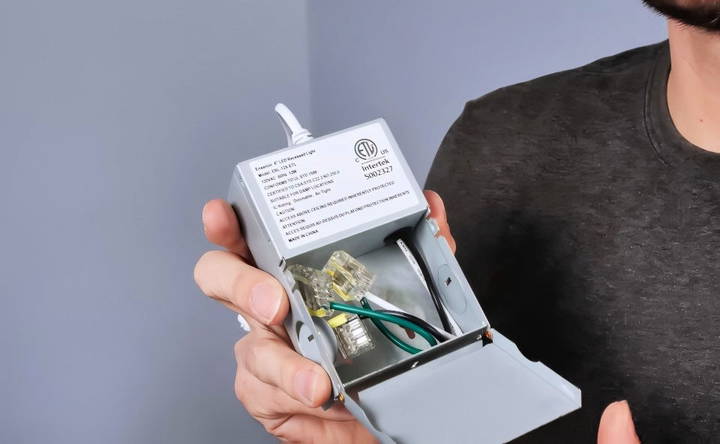
- Open the Junction Box: Most wafer LED lights come with a small junction box. This box makes wiring straightforward by providing clear sections for each wire type (ground, neutral, and hot).
- Strip the Wires: Use wire strippers to carefully remove about half an inch of insulation from each wire end. This bare wire will be connected to the matching wire inside the junction box.
- Insert Wires into Push Connectors: Many LED lights have push-in connectors, simplifying the connection process. Insert each wire (ground, neutral, and hot) into its respective connector in the junction box.
- Secure and Mount the Junction Box: Once all connections are secure, close the junction box and place it into the ceiling cavity. The small size of LED wafer lights means they don't need a large canister, saving space and reducing installation effort.
Step 6: Installing the LED Wafer Lights
With the junction boxes installed and wiring securely in place, you're ready to install the LED wafer lights in the ceiling. LED wafer lights are ideal for rooms without attic access because they require minimal clearance and fit flush to the ceiling, creating a sleek look.
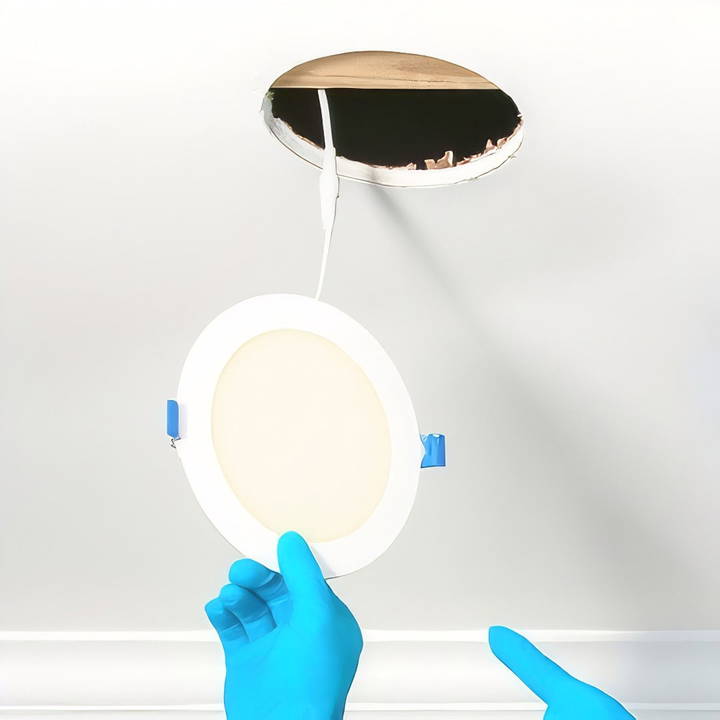
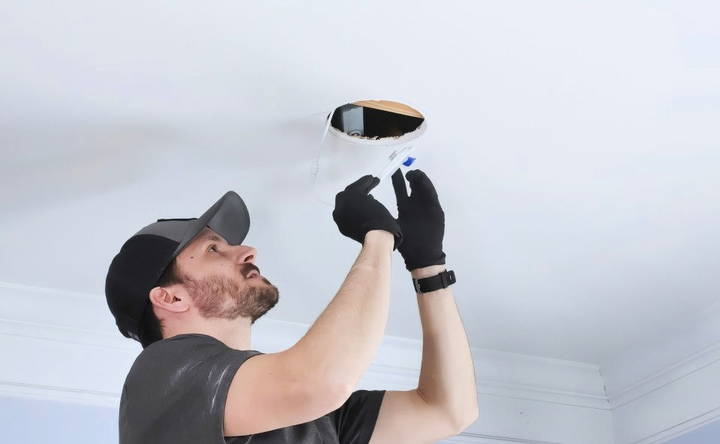
- Remove the Protective Plastic: Many LED lights come with a protective plastic film. Peel this off carefully to prevent dust and fingerprints from marring the surface. Wearing gloves during installation can help avoid smudges on the lights and keep the ceiling clean.
- Connect the LED Light to the Junction Box: Each LED light has a pigtail connector that attaches to the junction box. Connect the pigtail to the box by aligning the connectors and securing them until they click into place. Double-check each connection for a secure fit.
- Fit the Light into the Ceiling: Gently fold any excess wiring and the junction box up into the ceiling cavity, making sure the wires aren't pinched. LED wafer lights have spring-loaded clips that hold them in place. To install:
- Squeeze the clips inward to compress them.
- Insert the light into the hole and release the clips once the light is flush with the ceiling.
- The clips will expand, securing the light in place without additional hardware.
- Adjust for a Snug Fit: Check that the light sits flush against the ceiling with no gaps. If needed, adjust the clips or reposition the light to ensure it's level and secure.
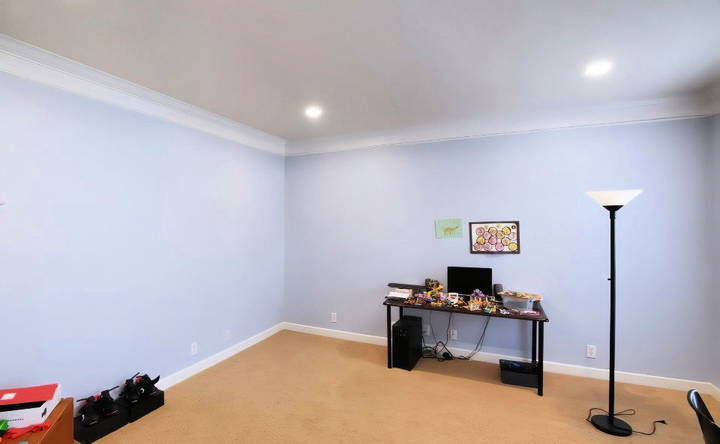
- Repeat for Each Light: Follow the same process for each remaining light, connecting it to the junction box and fitting it securely in the ceiling. Once all lights are in place, your room will have an even distribution of light.
Step 7: Testing the Lights
Once all your lights are installed, it's time to turn the power back on and test your new setup.
- Switch on the Circuit Breaker: Return to the breaker panel and turn the circuit back on. If you installed the lights in a room with other electrical fixtures, double-check that everything powers on as expected.
- Test the Switch: Flip the switch that controls the new recessed lights to confirm they're functioning correctly. The lights should turn on without flickering or dimming.
- Inspect for Consistency: Take a moment to check each light for consistent brightness and alignment. Any light that's dim or flickering may have a loose connection, so you'll want to address that before moving on.
- Troubleshooting Tips:
- Loose Connections: If a light isn't turning on, switch off the breaker, open the junction box, and check for secure wire connections.
- Light Placement: Adjust the placement if any light appears crooked or isn't sitting flush with the ceiling.
Step 8: Patch and Paint (if needed)
If you had to cut additional exploratory holes for wiring, you might need to patch and paint these areas to restore the ceiling.
- Patch Small Holes: For minor exploratory holes, use a patch kit or drywall compound to fill them in. Sand smooth once the compound dries for a seamless look.
- Touch Up Paint: After patching, apply paint to match the ceiling's color. Allow the paint to dry fully before using the lights extensively, as new paint can sometimes react to light heat.
Step 9: Optional Enhancements for Your New Lighting
Recessed lighting can be customized with additional features for improved functionality and ambiance. Here are a few popular options:
- Add a Dimmer Switch: Dimmers allow you to control the light intensity, which is perfect for multi-functional rooms where you might want both bright task lighting and softer mood lighting. Look for dimmer switches compatible with LED lights, as some standard dimmers may cause LED lights to flicker.
- Smart Bulbs or Switches: Consider integrating your recessed lighting with a smart home system. Smart switches and bulbs let you control your lights with voice commands or via an app, adding convenience and automation to your setup.
- Ceiling Fan with Light Kit: If your room needs additional airflow, you could add a ceiling fan with a light kit. A fan with built-in lighting can provide supplemental illumination and circulate air, which is especially helpful in rooms like living areas or home gyms.
Maintenance and Tips for Long-Lasting LED Recessed Lighting
LED wafer lights are known for their durability and energy efficiency, but following a few maintenance tips can ensure they stay bright and functional for years.
- Avoid Frequent On-Off Switching: Although LEDs are energy-efficient, turning them on and off frequently can shorten their lifespan. Try to avoid flicking the switch rapidly.
- Clean the Lights Periodically: Dust can accumulate on the LED covers, reducing brightness over time. Every few months, dust the lights with a microfiber cloth or gently vacuum them with a brush attachment to keep them looking clear and bright.
- Monitor for Flickering: If you notice any flickering, it may be a sign of a loose connection, a dimmer issue, or a compatibility problem with the switch. Address these issues promptly to avoid potential electrical issues.
- Check Compatibility with Insulation: If your recessed lighting is near insulation, make sure the LED lights are rated for insulation contact (IC-rated). This ensures they can safely handle the warmth insulation may generate.
Conclusion
Installing LED recessed lighting in an existing ceiling without attic access is entirely achievable with the right tools, planning, and patience. LED wafer lights are an excellent choice for this type of project since they fit into tight spaces and eliminate the need for bulky canisters. With their energy efficiency, modern design, and long lifespan, recessed LED lights can bring lasting style and functionality to any room.
By following this step-by-step guide, you should be able to transform any dark or poorly lit space into a bright, welcoming environment. Whether you're upgrading a living room, bedroom, or multipurpose space, the finished result will be well worth the effort! Enjoy your newly illuminated room and the satisfaction of completing a rewarding DIY project.
If you want more tips on home renovations or lighting upgrades, feel free to explore additional resources or reach out with questions!
FAQs About How to Install Led Recessed Lighting in Existing Ceiling
Learn how to install led recessed lighting in your existing ceiling with our comprehensive FAQs for a seamless and efficient setup.
If you have blown-in or batt insulation, clear a small area around each light's cutout to reduce fire risk. Using IC-rated LED wafer lights is essential as these are designed for contact with insulation, ensuring safe heat dissipation.
To avoid the drill “catching” and jerking, set the drill to reverse mode initially and cut about a third of the way through. Then, switch to forward mode to finish the cut smoothly. Adjusting the drill's torque setting also helps prevent sudden spins.
If the junction box is too bulky, add an accessible junction box nearby or use a shallower box compatible with LED wafers. Local codes typically require junction boxes to be reachable without removing fixtures, so position it within easy reach via the light hole if feasible.
For outlets controlled by a switch, you can maintain constant power by connecting a new 14/3 wire between two lights. The black wire provides uninterrupted power to the outlet, while the red carries switched power to the lights.
A warm white (3000K) works well for most living spaces, while a cooler white (4000K–5000K) is preferred for task-heavy areas like kitchens or bathrooms. Avoid 2700K in rooms where bright, clear lighting is essential, as it may feel dim for some tasks.
Yes, placing lights too close to ceiling fan blades can create a strobe effect. Position recessed lights at least 5 feet from the edge of the fan blades to minimize this effect. Check the light’s beam angle, as a wider beam can help distribute light more evenly.
Magnetic fishing tools or flexible fiberglass rods make wire fishing easier without extra ceiling holes. Attaching a weight to a long stick or string can also help guide the wire through ceiling joists.


