Installing a tongue and groove ceiling can add a stunning, rustic charm to any room, making it a popular choice for interior and exterior spaces. This guide will take you through each step, detailing the tools, materials, and techniques to help you achieve a professional-quality finish. The project requires attention to detail and some specialized equipment, but with the right preparation, anyone can create a beautiful, long-lasting ceiling.
Tools and Materials Needed
Before starting, gather the following tools and materials for a smooth installation:
- Moisture Meter: Essential for checking the moisture content of wood boards. Ideally, boards should be around 11-12% moisture content to prevent warping or expansion after installation.
- Laser Level: Helps with accurate measurements over long distances, especially for keeping your layout square across the entire ceiling.
- Finish Nailer (16-gauge): Used for blind nailing the boards into place. Opt for a battery-powered or pneumatic finish nailer for better control.
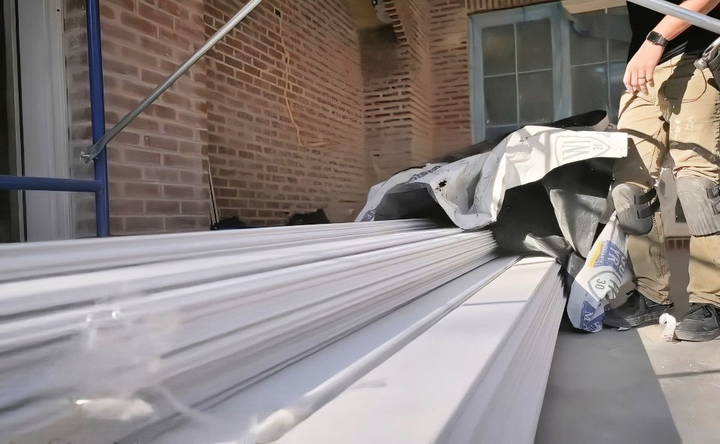
- Tongue and Groove Boards: Typically 1x6 boards, with a tongue on one side and a groove on the other.
- Primer and Brush: To seal all cut ends and prevent moisture infiltration.
- Mallet: A rubber or flooring mallet to tap boards into place without damaging them.
- Router with Plunge Base and Flush Trim Bit: Ideal for making precise cuts around obstacles like speakers or lighting fixtures.
Step by Step Instructions
Learn how to install a tongue and groove ceiling step-by-step. From prep to finishing touches, master this DIY ceiling project with ease.
Step 1: Prepare and Check Materials
- Check Moisture Content: Wood naturally absorbs and loses moisture, which can lead to expansion or contraction. Before installation, use a moisture meter to check the moisture content of each board. Aim for an 11-12% range, and avoid using any boards that exceed 18% as they are likely to expand and cause gaps or buckling later.
- To measure, place the meter prongs on multiple points across the wood surface. If you don't have a moisture meter, most hardware stores offer them for purchase or rent.
- Prime Cut Ends: Wood boards, even if pre-primed, will have exposed wood at the cut ends. Applying an exterior-grade latex primer to these cuts creates a moisture-resistant barrier, preventing swelling or warping. This step is particularly important for exterior ceilings but is still beneficial for indoor installations.
- Inspect the Room for Square: With your laser level, measure from one side of the room to the other, taking readings at multiple points to ensure the space is square. This measurement is essential for maintaining an even pattern across the ceiling. Any minor adjustments at the start will save you from major misalignments later in the project.
Step 2: Cut Boards to Size
- Measure and Mark: Measure the length of the ceiling to determine the exact length of each board. Use your laser to ensure precision, especially in larger rooms, and leave a small expansion gap (about 3/4 inch) around the perimeter to allow for seasonal expansion and contraction.
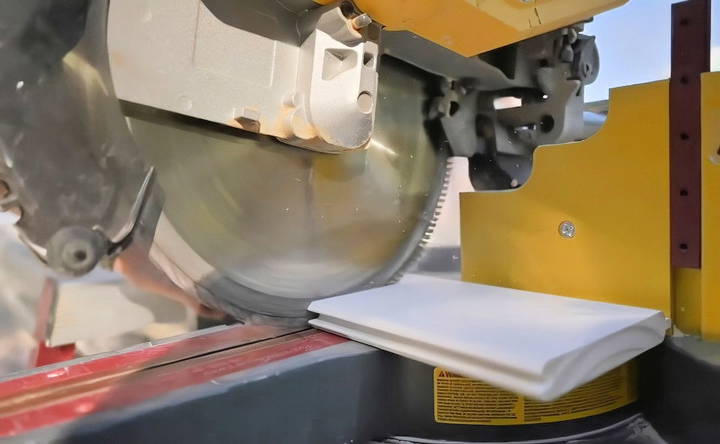
- Batch Cut for Efficiency: Once you've determined the correct length, set up a stop block on your miter saw to ensure consistent cuts. This step will save time and ensure uniformity across your boards, creating a cleaner finish when installed.
- Prime the Ends: After cutting, apply primer to each end to protect against moisture. This quick step makes a big difference in the durability of the installation, particularly in exterior settings.
Step 3: Install the First Board
- Importance of the First Board: The first board sets the tone for the entire installation, so it's essential that it's straight and correctly aligned. A slight misalignment in this first board will become exaggerated across the ceiling.
- Start with a Full or Ripped Board: Depending on your ceiling dimensions, you may need to rip the first board to achieve a balanced look. Measure the ceiling width and divide by the width of your tongue and groove boards. Adjust the first board's width so you don't end up with a very narrow final board on the opposite side.
- Attach the First Board: Position the board, ensuring it's flush and level. Use your finish nailer to blind nail the board into the ceiling, placing the nail at an angle in the tongue. This technique hides the nails under the next board, giving a cleaner, nail-free appearance.
Step 4: Install Remaining Boards
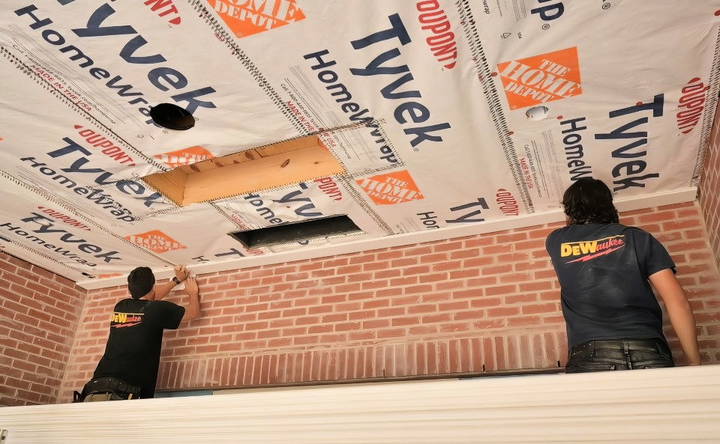
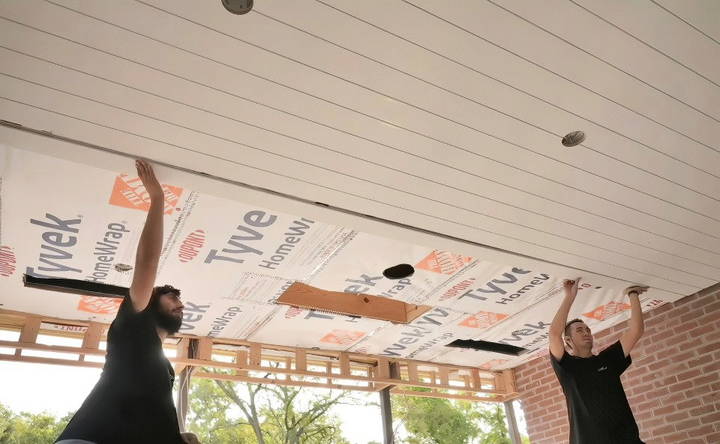
- Align and Attach: Each subsequent board's groove should fit snugly over the previous board's tongue. Start at one end, angle the groove over the tongue, and gently tap the board into place using your mallet.
- Blind Nail Each Board: With each new board, blind nail through the tongue at an angle. Avoid nailing through the chamfered edge, as this can prevent the next board from fitting properly. Blind nailing ensures that nails remain hidden, giving the ceiling a professional look without visible fasteners.
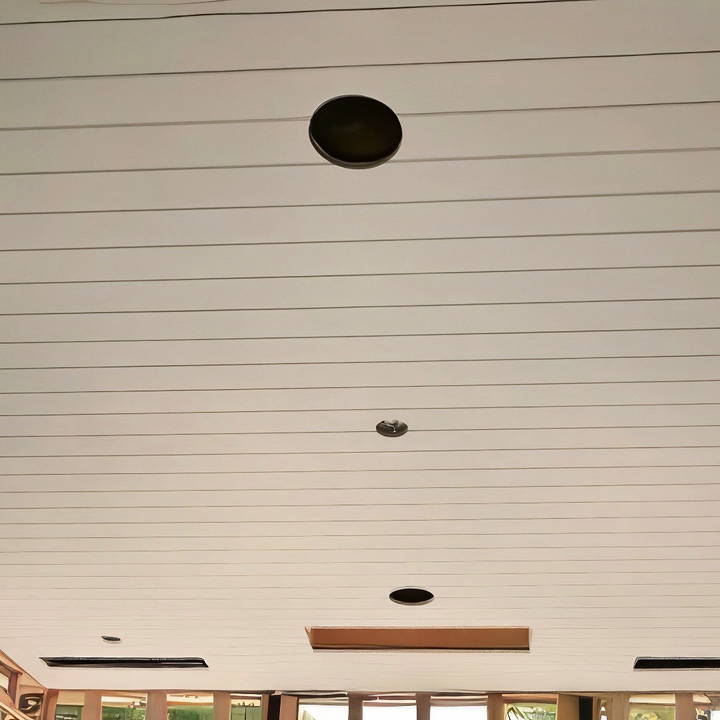
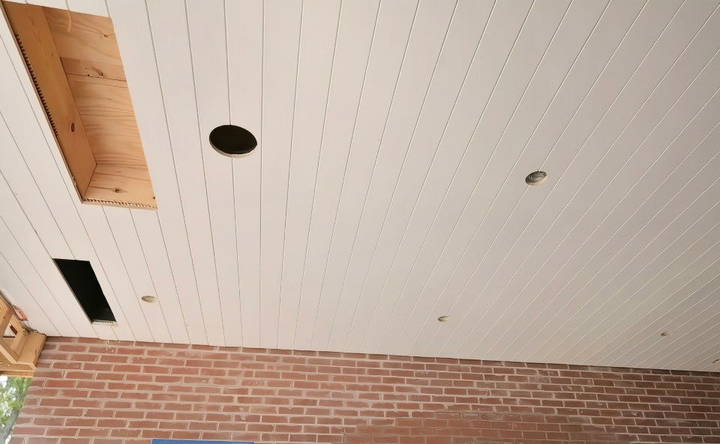
- Adjust for Obstacles: If your ceiling has fixtures, such as speakers or lights, you'll need to notch around these areas. Use a plunge-based router with a flush trim bit to make precise cuts. The bit will follow the contour of the obstacle, making it quick and easy to achieve a perfect fit.
Step 5: Managing Gaps and Finishing Touches
- Maintain an Expansion Gap: Leave an expansion gap along the edges of the ceiling, especially against exterior walls. Wood expands with moisture, and this gap prevents the boards from buckling under environmental changes.
- Filling Nail Holes: If you have any face nails visible, use an exterior-grade wood filler to cover them. Smooth the filler with sandpaper for a seamless finish. This step is particularly important if you plan to stain or paint the ceiling afterward.
Step 6: Cutting and Notching for Fixtures
As you progress, you may encounter fixtures or other obstacles that require precise cuts to maintain the uniformity of your ceiling. This step is especially crucial for creating clean, professional cuts around elements like recessed lighting, speakers, or ceiling fans.
Marking the Area
For each obstacle, align the board where it will go on the ceiling, and use a pencil to mark where the cutout should be. Be as accurate as possible in your measurements, as these notches need to be precise to avoid visible gaps.
Using a Plunge Router and Flush Trim Bit
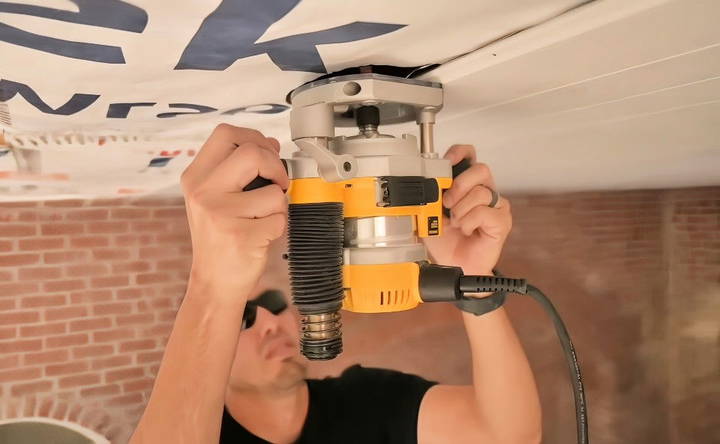
A plunge-based router with a flush trim bit is one of the best tools for cutting around obstacles. Here's how to use it:
- Set the Depth: Adjust the router depth to match the board thickness (usually around 3/4 inch for tongue and groove).
- Guide the Router: Use the router's flush trim bit, which has a small bearing that rides along the edge of the marked area, guiding the cut precisely around the obstacle.
- Cut with Precision: The router follows the contour, leaving a smooth and precise notch without requiring additional adjustments.
Using a router saves significant time compared to using a jigsaw, particularly for circular cuts. The plunge router creates a clean cut and ensures each fixture is perfectly flush with the board.
Step 7: Securing the Ceiling Boards
Secure ceiling boards effectively with our expert tips and solutions. Ensure safety and durability with hassle-free installation techniques.
Continue Blind Nailing
After securing each board with blind nails, continue adding boards, repeating the steps for aligning, tapping into place, and nailing. Check alignment frequently to ensure you stay on track, as small misalignments can add up.
Addressing Problem Boards
Occasionally, you may encounter boards that don't align perfectly or have slight warps. For these cases:
- Apply a Mallet with Caution: Use a mallet to nudge the board into place, but be gentle to avoid damaging the tongue.
- Use a Pry Bar: If the gap persists, use a small pry bar to apply controlled pressure. This approach allows you to align stubborn boards without causing harm.
Creating a Uniform Look
Aim for consistency throughout, checking every few rows for alignment. If you need to adjust slightly, this is best done early on to maintain a seamless look.
Step 8: Finishing Touches
Learn how to install a tongue and groove ceiling with ease. Expert tips on finishing touches for a professional look and flawless installation.
Applying an Expansion Gap Cover
For a polished finish, cover the expansion gap around the ceiling's perimeter with a trim, such as a 1x2 piece. This cover hides the gap and completes the look, especially against uneven walls where the boards may not sit flush. Install the trim using finishing nails and a nail set to keep it discreet.
Fill and Sand Visible Nail Holes
Any visible face nails can be filled with exterior-grade wood filler to maintain the aesthetic. Smooth the filled areas with fine-grit sandpaper after drying to ensure the filler blends seamlessly with the wood.
Sealing or Painting
Depending on the look you desire, consider a final coat to seal the ceiling boards. Some popular options include:
- Clear Sealant: Enhances the natural look of the wood while protecting it from moisture.
- Stain: Adds warmth and character to the wood while maintaining a rustic feel.
- Paint: Provides a more modern, uniform appearance. For exterior applications, choose a high-quality outdoor paint designed to withstand moisture and temperature changes.
A sealed finish protects the wood, preserving its beauty and ensuring it stands up to environmental changes, especially in exterior installations.
Common Challenges and Tips for Success
Installing a tongue and groove ceiling comes with challenges, particularly in larger or exterior spaces. Here are some troubleshooting tips to help you avoid common pitfalls:
- Maintaining Straight Alignment: One of the most critical factors is keeping the boards straight across the entire ceiling. Small misalignments can become magnified with each new row.
- Tip: Use a laser level as you install each board, checking for accuracy across the entire length. Small adjustments early on prevent larger issues as you approach the other side of the room.
- Expansion and Contraction Gaps: Wood naturally expands and contracts with humidity, especially in outdoor installations. Without adequate space, boards can warp or buckle.
- Tip: Always include a 3/4-inch expansion gap around the perimeter. Seasonal changes will cause the boards to shift, and this gap will accommodate that movement without compromising the ceiling's integrity.
- Nail Splitting and Board Damage: Using the wrong nail size or angle can cause boards to split, particularly along the tongue edge.
- Tip: Stick to a 16-gauge finish nailer, which provides the right balance of holding strength without splitting the wood. Aim your nailer at a 45-degree angle into the tongue for effective blind nailing without obstructing the groove.
- Dealing with Warped Boards: Occasionally, you'll encounter a warped board, which can be challenging to align properly.
- Tip: When dealing with warped boards, use a mallet and a pry bar. Applying gradual pressure to align the board can help, but avoid excessive force that could damage the tongue or groove.
- Working Around Fixtures: Precision cutting for fixtures can be challenging and time-consuming without the right tools.
- Tip: Invest in a plunge-based router for clean and accurate cutouts around fixtures. It's especially useful for circular cuts and delivers a professional, seamless fit that a jigsaw may not achieve.
Conclusion
Installing a tongue and groove ceiling is a rewarding project that brings a natural, polished look to any space. By following these steps and using the right tools, you can create a ceiling that's both beautiful and functional, adding value to your home or outdoor area. The process requires attention to detail, especially in measuring, aligning, and preparing materials. Remember to check the moisture content, leave an expansion gap, and work patiently from one end of the ceiling to the other for the best results.
This installation method is versatile, working well in both interior and exterior applications. With careful preparation, even a novice can achieve a professional-grade installation that will last for years. As with any DIY project, don't rush the process, and take the time to ensure each step is done correctly.
FAQs About Installing a Tongue and Groove Ceiling
Get expert answers to FAQs about installing a tongue and groove ceiling. Learn essential tips and techniques for a flawless installation.
If the ceiling isn’t square, create a straight starting line with a chalk line across the starting wall. This line will help maintain a uniform appearance across the ceiling. Adjust the starting board if needed and use this line as a guide to keep boards straight as you install.
Yes, priming the router cut edges is recommended to prevent moisture absorption, especially for exterior applications. The unprimed edges can act like “drinking straws,” soaking in moisture that may lead to warping or swelling over time.
A 16-gauge finish nail, typically 1.5 to 2 inches in length, is ideal for securing tongue and groove boards without splitting. Avoid using brad nails as they are too thin for outdoor environments and can rust quickly in humid conditions.
Yes, adding a small amount of PL Premium adhesive on the back of each board can increase holding strength. This is particularly useful in humid climates or high-traffic areas where extra security is beneficial.
When working around fixtures not flush with the ceiling, use a router with a flush trim bit for precise cuts. Ensure the mounting screws are long enough if the fixture box sits raised, as short screws won’t reach through the wood thickness.
Plywood sheathing provides a solid base, especially if the boards run parallel to the joists. It prevents boards from sagging and adds additional nail support across the ceiling, which is helpful for larger ceiling spans or exterior installations.
Yes, a 3/4-inch expansion gap is essential to allow for seasonal wood movement. Cover this gap with a trim piece, like a 1x2, to complete the look while allowing the wood to expand and contract naturally.
Use a router with a dust extractor attachment. Although some find dust extractors awkward on scaffolding, they help reduce airborne sawdust, making overhead work cleaner and safer.
Caulking isn't generally advised as it can restrict natural wood movement and lead to cracking. The tongue and groove design helps the boards fit snugly without needing caulk; instead, use exterior-grade paint or stain for moisture protection.


