Making something fun and exciting at home can be truly rewarding. One of my favorite DIY projects is learning how to make a bouncy ball. This simple activity not only sparks joy but also teaches you a bit of science. I recall my first time making one; it was such a thrilling experience seeing the ball come to life with just a few ingredients.
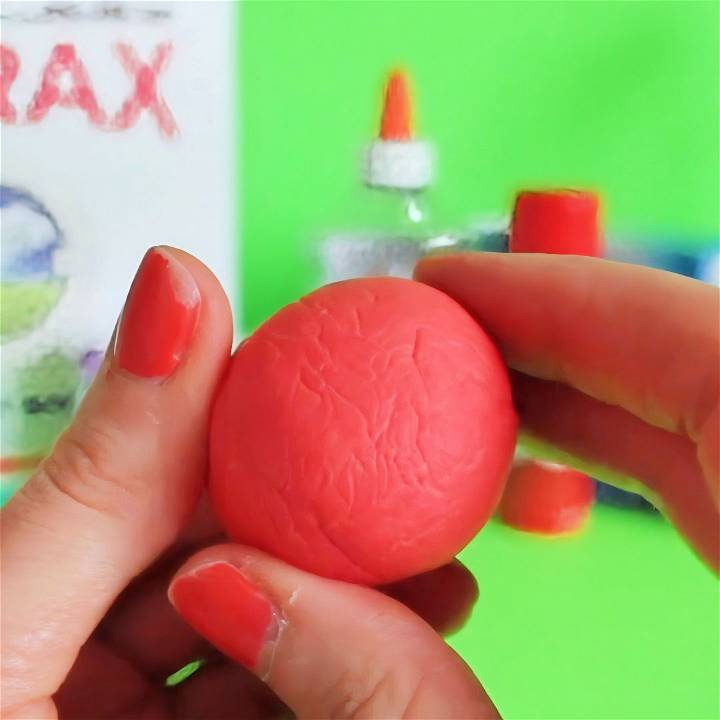
Getting started is easy and enjoyable. All you need are a few basic materials, and you're on your way to bouncing joy. Follow the steps mindfully, and in a short time, you'll have your very own DIY bouncy ball.
I assure you, the sense of accomplishment is worth it. These steps will guide you through the process and provide helpful tips along the way.
Science Behind Bouncy Balls
When we delve into the science behind bouncy balls, we're looking at a fascinating interplay of chemistry and physics. At its core, the creation of a bouncy ball is all about polymers. Polymers are long, repeating chains of molecules that have the ability to stretch and return to their original shape. This is what gives bouncy balls their elasticity.
The Role of Polymers
The primary ingredient in homemade bouncy balls is usually borax (sodium tetraborate). When mixed with glue (polyvinyl acetate), it starts a chemical reaction. The borax acts as a cross-linker to the polymer molecules in the glue, connecting them to form a larger, flexible polymer network. This is what we call a non-Newtonian fluid—a substance that can behave both like a solid and a liquid.
Elasticity and Energy
Elasticity is the property of a material to return to its original shape after being stretched or compressed. When you drop a bouncy ball, it deforms upon hitting the ground, storing potential energy. As it returns to its original shape, this energy is converted back into kinetic energy, causing the ball to bounce back up.
The Perfect Bounce
For the perfect bounce, the ball must not be too hard or too soft. If it's too hard, it won't deform enough to store energy. If it's too soft, it will lose energy to heat and not bounce back effectively. The ideal bouncy ball finds a balance, allowing it to store and release energy efficiently with each bounce.
Temperature Effects
Temperature can affect how well a bouncy ball bounces. In colder conditions, the polymers become stiffer and less flexible, reducing the bounce. In warmer conditions, the polymers are more flexible, which can increase the bounce. However, if it's too warm, the ball may become too soft and lose its bounciness.
Learn the science, tweak ingredient ratios, and make a ball with the best bounce. The secret is in the polymer network and its energy response. Keep experimenting and enjoy the fun science!
Materials Needed and Their Purpose
Before we dive into the steps, let's discuss the materials you'll need. Each ingredient plays a crucial role in the creation of your bouncy ball:
- Borax: Acts as the binding agent that helps solidify the mixture into a bouncy texture.
- Corn Starch: Helps to firm up the mixture, controlling its consistency.
- Glue: The base of your bouncy ball that combines with the Borax solution to make elasticity.
- Food Coloring: Used to customize the color of your ball. This is where you can get creative!
- Hot Water: Dissolves the Borax powder to activate it.
- Two Bowls: One for mixing the Borax solution and another for the glue mixture.
- Measuring Spoons: For accurate measurement of the ingredients.
- Mixing Spoon or Stick: To stir the mixtures.
- Paper Towel: Helps in drying off the excess water from your ball.
With these materials at hand, you're set to start the fun process of making your bouncy ball.
Step by Step Instructions
Learn how to make a bouncy ball at home. Follow these step-by-step instructions: prepare the borax solution, make the glue mixture, combine, and test!
Preparing the Borax Solution
- Mix the Borax and Hot Water: In one of your bowls, combine hot water with Borax. I used about half a cup of hot water and 2 teaspoons of Borax. Stir until the Borax is as dissolved as possible. It might not dissolve entirely, but that's okay.
Making the Glue Mixture
- Mix Glue and Corn Starch: In the other bowl, mix together 2 tablespoons of glue with 1 tablespoon of corn starch. This will start to form the base of your bouncy ball.
- Add Color and Sparkle: Here's where you personalize your bouncy ball. Add a few drops of food coloring or sprinkle some glitter into your glue mixture. Mix well until the color is evenly distributed.
Combining the Mixtures
- Merge the Mixtures: Pour the glue mixture into the bowl with the Borax solution. You'll notice it starts to harden upon contact.
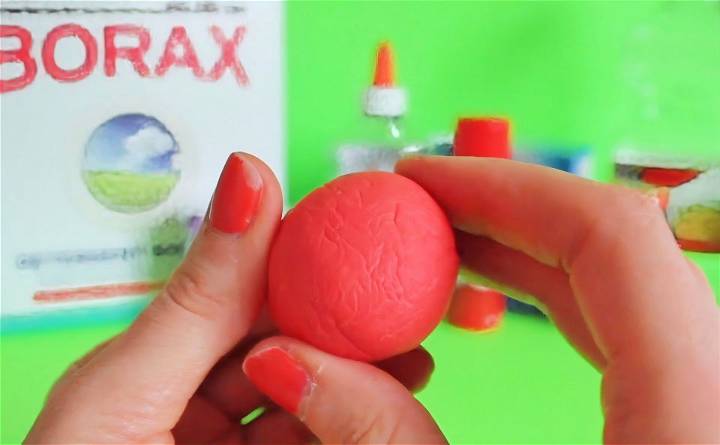
- Shape Your Bouncy Ball: Using your fingers, start squishing and shaping the mixture into a ball. At this stage, it will feel gooey and may seem like it won't form a ball, but keep at it.
- Remove Bubbles: This part is crucial. Gently pat your ball with a paper towel and roll it in your hands to remove as many bubbles as possible. Bubbles can prevent your ball from bouncing properly.
- Final Touches: After removing excess water and ensuring the ball is as smooth as can be, let it sit for a minute or two. This resting period allows it to firm up further.
Testing Your Bouncy Ball
Now, for the moment of truth. Test out your creation by bouncing it on a hard surface. If you followed the steps, you should have a fairly bouncy and colorful ball!
Tips for Success
Here are a few extra tips I discovered during my bouncy ball-making journey:
- Temperature Matters: Ensure the water is hot enough to dissolve the Borax but manageable to avoid burns.
- Patience is Key: The mixture might not come together right away. Keep kneading and shaping it, and you'll get there.
- Customization: Experiment with different colors and amounts of glitter to make each ball unique.
Variations and Customizations
Making homemade bouncy balls is not just a fun activity but also a great way to express creativity. Here's how you can add a personal touch to your bouncy balls and make each one unique.
Choosing Your Colors
You can make your bouncy balls in any color you like! Food coloring is a simple way to add a splash of color. Just a few drops mixed into the glue before adding your borax solution will do the trick. Try mixing colors to make your own custom shades.
Adding Sparkle and Shine
For those who love a bit of sparkle, glitter is your best friend. Mix in a pinch of glitter with your glue to get a bouncy ball that shines and sparkles as it bounces. You can use fine glitter for a subtle effect or chunky glitter for more impact.
Glow-in-the-Dark Fun
Glow-in-the-dark paint can turn your bouncy ball into a nighttime delight. Mix the paint with the glue before you add the borax. Charge your ball under a light, and watch it glow as it bounces in the dark.
Textured Bouncy Balls
To add texture to your bouncy balls, consider mixing in small beads or foam balls with the glue. They'll make a unique pattern and feel to your bouncy ball. Just make sure the additions are small enough to not affect the bounce.
Making Multi-Layered Balls
For a multi-layered effect, partially fill your mold with one color of your glue mixture, let it set slightly, then add another color on top. This will make a cool layered look as you cut through the ball.
Personalized Patterns
Use a toothpick to swirl different colored glue mixtures together for a marbled effect. Don't mix too much, or the colors will blend completely. Just a gentle swirl will make beautiful patterns.
By experimenting with these variations and customizations, you can make a collection of bouncy balls that are as unique as you are.
Troubleshooting Common Issues
Making homemade bouncy balls is usually straightforward, but sometimes you might run into a few hiccups. Here's how to troubleshoot common issues so you can get back to bouncing in no time.
Bouncy Ball Won't Form
If your mixture isn't forming into a ball, it could be due to an imbalance in your ingredients. Make sure you're using the correct ratio of borax solution to glue. Too much borax can make the mixture too hard, while too little won't allow the polymers to link up properly. Adjust your measurements and try again.
Ball Isn't Bouncy
A bouncy ball that doesn't bounce is often too dense or too soft. If it's too dense, consider reducing the amount of borax slightly. If it's too soft, you might need to add a bit more borax to firm it up. Remember, the temperature of your working environment can also affect the bounce, so try working in a warmer area if possible.
Ball Is Too Sticky
Sticky balls usually mean there's too much glue in the mix. Add a small amount of borax solution incrementally until you reach the desired consistency. Knead the mixture thoroughly after each addition to ensure it's well incorporated.
Ball Loses Its Shape Quickly
If your bouncy ball flattens out or loses its shape after a few bounces, it might not have cured long enough. After forming your ball, let it sit for a few minutes to firm up before testing its bounce.
Cracks in the Ball
Cracks can appear if the ball dries out too much or if it was formed with air pockets inside. To prevent this, make sure to knead the mixture well to remove air bubbles before shaping it into a ball. If the environment is very dry, consider covering the ball with a damp cloth as it cures to prevent cracking.
Color Fades or Bleeds
If you're finding that the color of your bouncy ball fades or bleeds, it could be due to the type of dye used. Food coloring is generally safe, but for more vibrant and lasting colors, try using acrylic paint or specially formulated dyes for polymers.
Fixing these issues will boost your homemade bouncy ball's success. Experiment with adjustments until you find the best formula.
FAQs About Homemade DIY Bouncy Balls
Discover everything you need to know about making homemade bouncy balls with our faqs. Learn tips, tricks, and essential steps for the perfect DIY toy!
Yes, when working with Borax, it's important to:
Use it in a well-ventilated area.
Wear gloves if you have sensitive skin, as Borax can irritate.
Never ingest Borax, and wash your hands after handling it.
Supervise children closely to ensure they don't put it in their mouths.
Absolutely! You can substitute Borax with baking soda or use a combination of cornstarch, water, and food coloring for a Borax-free version. This alternative may not be as bouncy but is safer for younger children or those with sensitive skin.
Homemade bouncy balls typically last for a few days to a week, depending on how much they are used. Over time, they may lose their shape or bounciness. To extend their life, store them in an airtight container when not in use.
Get creative with your bouncy balls by:
Using glitter glue for a sparkly effect without the need for separate glitter.
Trying glow-in-the-dark glue for a bouncy ball that lights up at night.
Experimenting with different colors by mixing food coloring into your glue mixture.
Adding small beads or sequins into the mix for a textured look.
To get the most out of your homemade bouncy ball:
Ensure that the Borax solution is fully dissolved before mixing it with the glue.
Roll the ball firmly between your palms to make a smooth, round shape.
Store your bouncy ball in a plastic bag or an airtight container to keep it from drying out.
If the ball starts to lose its shape, you can re-roll it to restore its roundness.
Conclusion
By following this simple guide, you'll find making a DIY bouncy ball both fun and informative. Give it a try; I'm confident it will be a valuable experience you'll enjoy. These steps will help you get started immediately and ensure you succeed on your first try. Happy bouncing!


