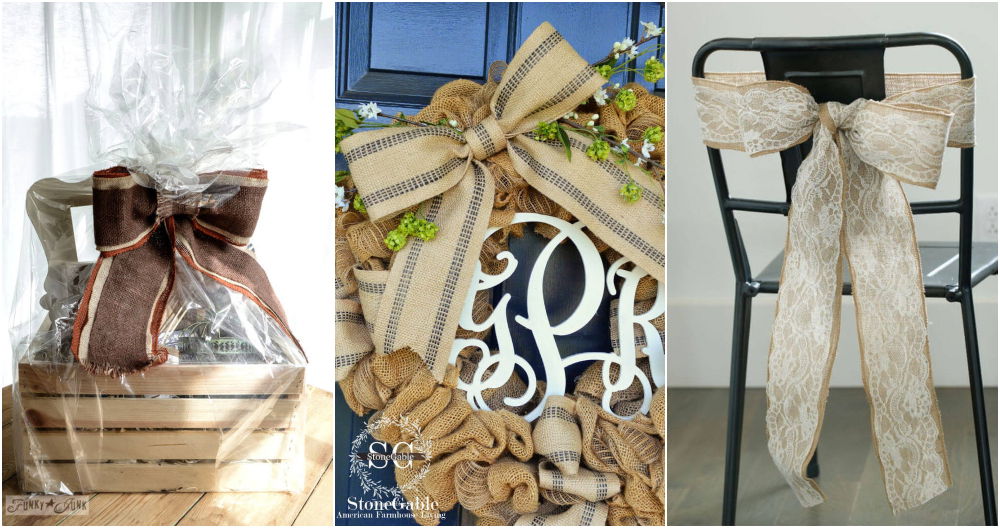
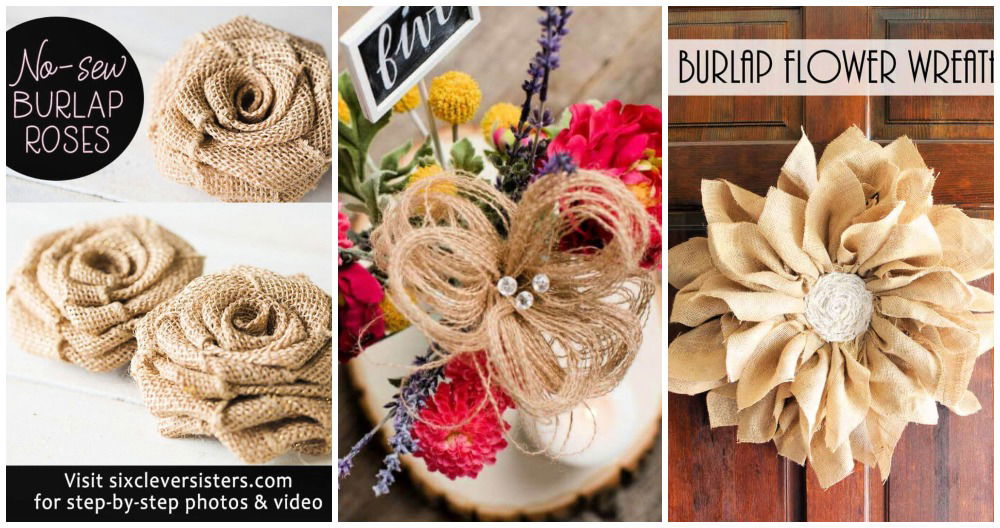
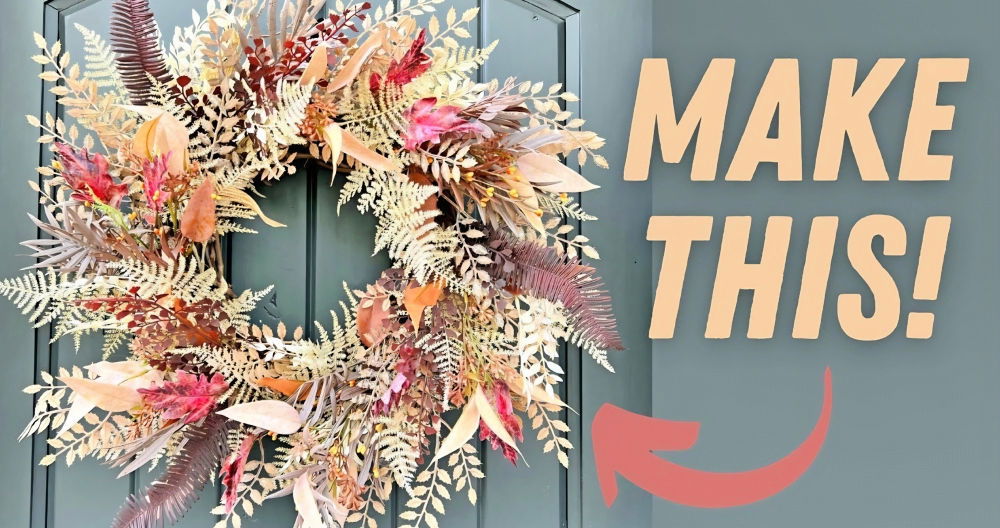
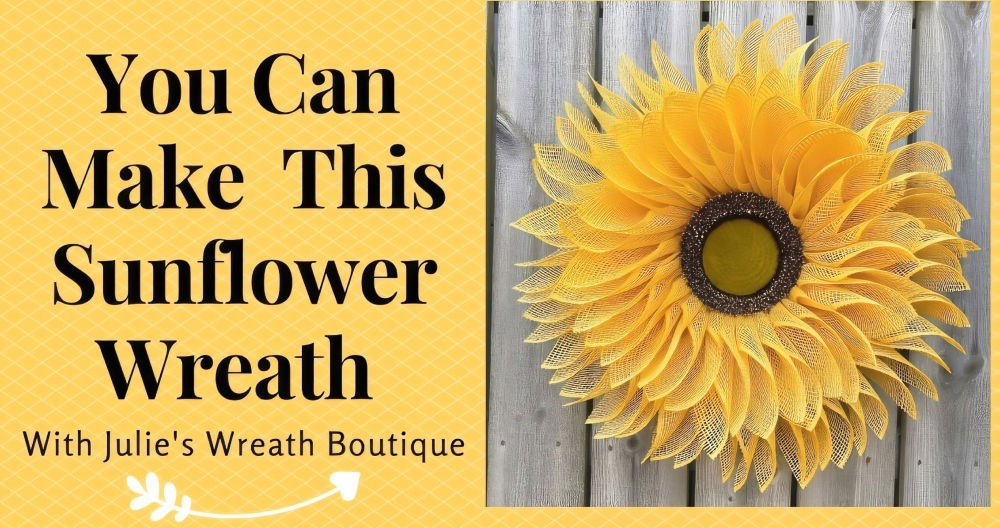
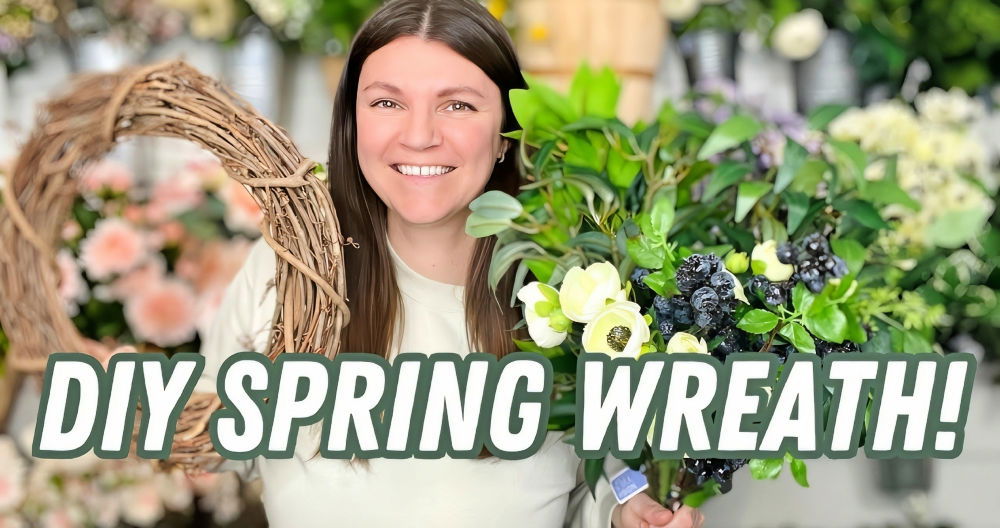
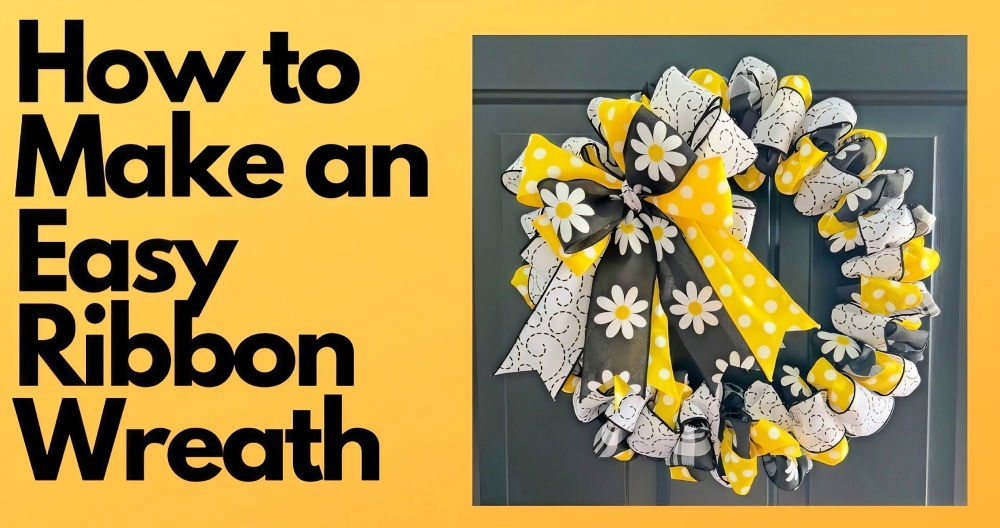
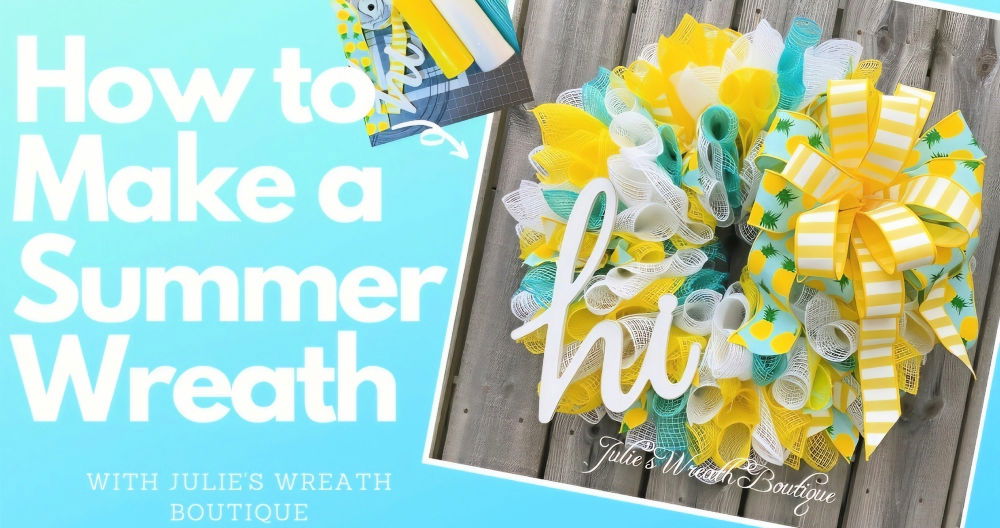
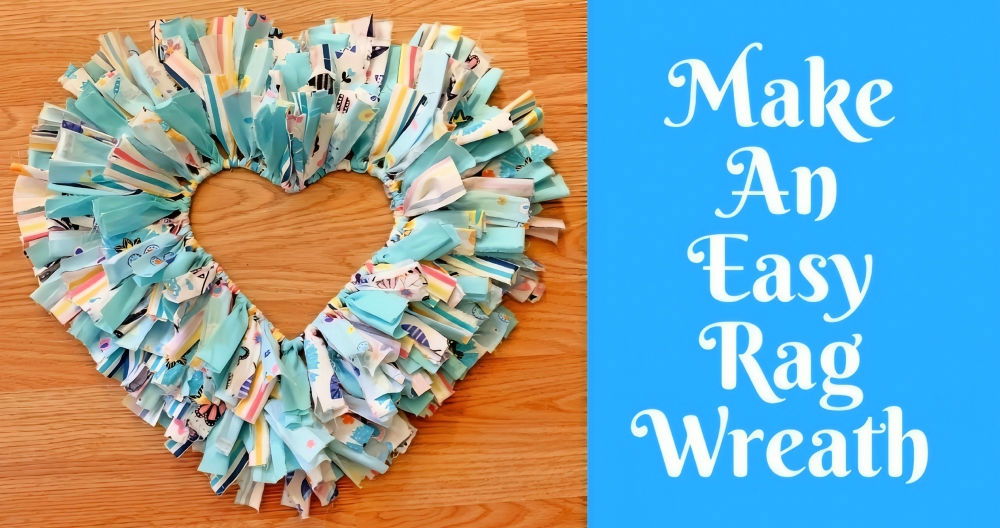
Starting a DIY burlap wreath project is easier than you think. I remember the first time I made one. My friend showed me how to weave the burlap through a wire frame. With her guidance, I maked a lovely wreath that added charm to my front door. The best part is that it only took me an afternoon to complete.
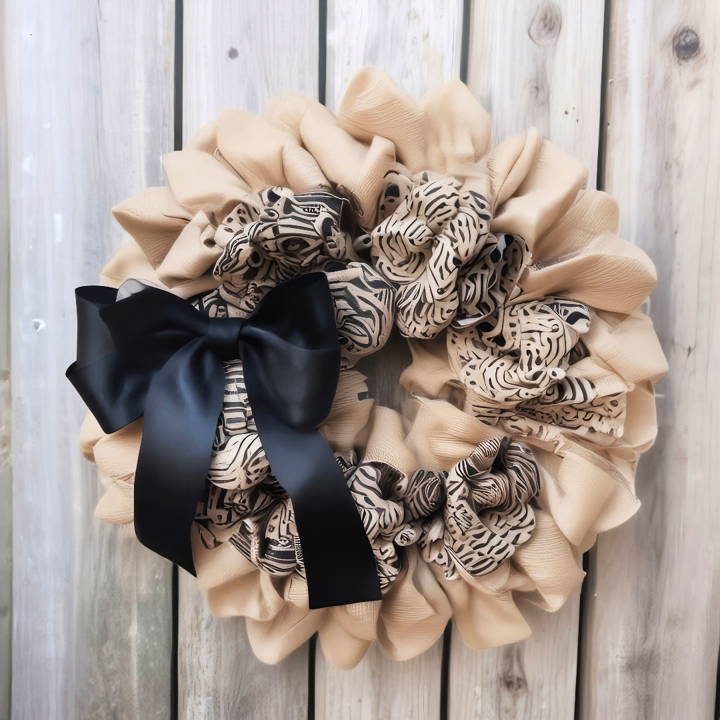
DIY burlap wreaths are affordable and fun to make. They offer a simple way to boost your home decor. Using different ribbons and accents, I personalized mine to match the season. This not only saved me money but also gave me a sense of satisfaction.
With these steps below, you can make your own beautiful DIY burlap wreath.
History of Burlap
Burlap, also known as Hessian in many parts of the world, is a fabric woven from the fibers of the jute plant. Its history is as rich and textured as the material itself.
Origins
The story of burlap begins in India, where the jute plant has been cultivated for thousands of years. Historically, burlap was used primarily for ropes and as a backing for linoleum and carpets. It was first exported from India in the early 19th century.
The Name ‘Burlap'
The term ‘burlap' is believed to have originated in the 17th century, possibly derived from the word ‘borel,' a type of coarse cloth. The name ‘Hessian' comes from the German soldiers of Hesse who used the fabric as part of their uniform.
Global Journey
From India, the use of burlap spread to Europe. In the United Kingdom, particularly in Dundee, Scotland, it was processed in mills and used in various forms. The jute industry flourished, and by the 1900s, ‘Jute Weaver' was a recognized profession in the UK census.
The Fabric of Many Uses
Burlap has been a versatile material throughout history. It's been used for making sacks for shipping goods like coffee beans, as a protective covering in construction, and even in clothing, despite its coarse texture.
Decline and Revival
The advent of synthetic fibers in the 1970s led to a decline in the jute trade. However, with growing environmental concerns, burlap has seen a revival as an eco-friendly alternative for bags, rugs, and other products.
Cultural Significance
In regions like Bengal, jute and burlap have been a significant part of the culture. The fabric's durability and breathability have made it a staple for practical uses, and its rustic charm has found a place in modern crafts and décor.
Understanding burlap's history shows its past role and future potential. Originating in India, this humble fabric has consistently proven its worth.
Gathering Your Materials
Before we dive into the crafting, let's talk about what you'll need and why:
- Dollar Tree Wreath Frame (14 inches in diameter): These frames are affordable and the perfect size for a door wreath.
- 6-inch Burlap (Two rolls of ten yards each): Burlap adds a rustic charm to the wreath. The width and amount ensure full coverage.
- Accenting Burlap or Ribbon (Optional): This is for adding a splash of color or a personal touch to your wreath.
- Zip Ties: These are used to attach the burlap to the frame securely.
- Pair of Scissors: For cutting the burlap and ribbon to the desired lengths.
- Black Chenille Stem (Optional): If you plan to add a bow or other decorations, this will come in handy when attaching them.
- Wire Cutters: Although not mandatory, these are useful for trimming the zip ties.
Step by Step Instructions
Learn how to make a burlap wreath with our step-by-step instructions. From starting off to adding accents and finishing touches, make the perfect DIY décor.
Starting Off
- Initial Setup: Begin by unrolling the first roll of burlap. Choose a section on the wreath frame where you'll start and secure the burlap's end using a zip tie. Ensure the tie is snug but not overly tight, crimp the end, and cut off the excess zip tie.
- The Bubble Method: This is a simple yet effective technique for making fullness and texture. To do this, push a loop of burlap through one section of the frame, forming a "bubble." Adjust the size of the bubble to about 4 inches in height for consistency.
- Repeat the Process: Continue to make bubbles by pushing the burlap through the next section and securing it by slightly twisting and pushing it against the previous bubble. This process does not require any additional securing mechanisms, as the tension between the bubbles will keep them in place. Move from the inner to the outer sections, ensuring even coverage and fullness.
Adding Accents
- Incorporating Decorative Elements: If you're using an accenting burlap or ribbon, now is the time to weave it through the wreath. You can follow a similar looping method, or wrap it around the wreath for a different texture. Secure the ends with zip ties to the frame, ensuring they're hidden beneath the burlap layers.
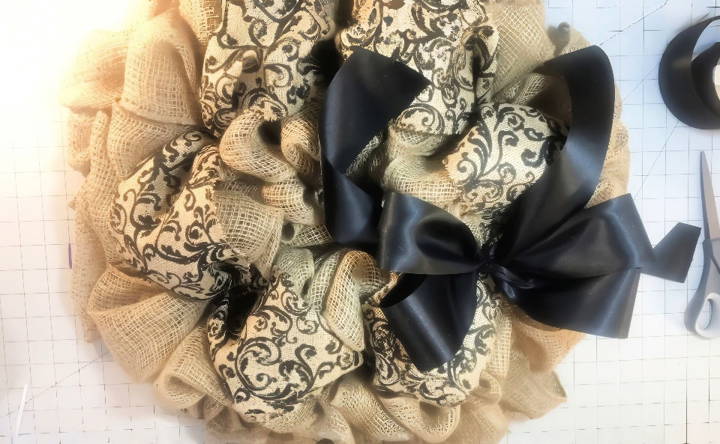
- Making a Bow: Take your ribbon, make two loops (or more if you prefer a fuller bow), and secure the center with a chenille stem or a piece of wire. Adjust the loops to ensure they're symmetrical and fluffy. Trim the tails at an angle for a finished look.
- Attaching the Bow: Choose a spot on the wreath where the bow will be most visible, typically at the top or bottom center. Use the chenille stem or wire to attach the bow securely to the frame. Tuck any excess material under the burlap to hide it from view.
Finishing Touches
- Adjustments: Go around the wreath and fluff the burlap where necessary. Ensure the wreath looks full and even all around.
- Hanging Your Wreath: Attach a piece of floral wire or a ribbon loop at the back of the wreath frame for easy hanging.
Customization Ideas for Burlap Wreaths
Making a burlap wreath is not just about crafting a decorative item; it's an opportunity to express your personal style and creativity. Here are some customization ideas to make your burlap wreath uniquely yours:
Choose Your Color Palette
Burlap naturally comes in earthy tones, but it can be dyed to match any color scheme. Whether you prefer soft pastels for spring or vibrant reds and greens for the holidays, select a palette that reflects the season or complements your home decor.
Add Textural Contrast
Mix in different materials like lace, cotton, or satin ribbons to introduce contrast. This can add depth to your wreath and make it more visually interesting. Consider weaving in some shiny elements like metallic threads or beads for a touch of sparkle.
Incorporate Seasonal Elements
Decorate your wreath with items that represent the current season. For autumn, think of adding dried leaves, pine cones, or small pumpkins. For winter, snowy pine branches and holly berries can make a festive look.
Personalize with Monograms or Names
Adding a monogram or family name to your wreath can personalize it. Use wooden letters or cut shapes from felt to spell out your initials or a meaningful word, and attach them securely to the wreath.
Experiment with Shapes
While circular wreaths are traditional, don't be afraid to try other shapes. A heart-shaped wreath could be lovely for Valentine's Day, or a star shape might be perfect for a patriotic holiday.
Play with Patterns
Burlap can be manipulated into various patterns. From simple braids to complex weaves, experiment with different techniques to make a pattern that stands out.
Attach Functional Elements
Your wreath can be more than just decorative. Attach small clips or hooks, and it can serve as a unique photo display or a place to hang holiday cards.
Go Natural or Go Bold
Some people love the rustic look of plain burlap, while others might enjoy a bold statement. You could leave parts of your wreath undecorated to showcase the burlap's natural beauty or cover it completely with embellishments for a more dramatic effect.
By incorporating these ideas, you can turn a simple burlap wreath into a work of art that showcases your personality and style. There are no rules when it comes to creativity, so have fun and make it uniquely yours!
Troubleshooting Common Issues with Burlap Wreaths
When crafting a burlap wreath, you might encounter a few hiccups along the way. Here's a helpful guide to troubleshooting common issues, ensuring your wreath-making experience is as smooth as possible.
Burlap Fraying
- Solution: Burlap tends to fray easily due to its loose weave. To prevent this, seal the edges by applying a thin layer of clear glue or using a fray check solution. You can also fold the edges over and secure them with hot glue for added durability.
Wreath Form Showing Through
- Solution: If your wreath form is peeking through the burlap, try doubling up the fabric or using more layers in that section. Ensure that each loop or fold of burlap is fluffy enough to cover any gaps.
Uneven Shape
- Solution: An uneven wreath can result from inconsistent looping or bunching of the burlap. To fix this, adjust the loops to be more uniform in size and spacing. Use floral wire or zip ties to secure sections if needed.
Wreath Looks Too Sparse
- Solution: A sparse wreath lacks the fullness that makes it appealing. Add more burlap strips or loops to fill in the empty areas. You can also incorporate additional elements like faux flowers or ribbons to add volume.
Decorations Falling Off
- Solution: Decorations should be attached securely to withstand handling and weather if displayed outdoors. Use wire to fasten heavier items and hot glue for lighter ones. Make sure to let the glue cool and set completely before hanging the wreath.
Burlap Color Fading
- Solution: Burlap can fade if exposed to direct sunlight over time. To preserve the color, spray the wreath with a UV-protectant spray. Alternatively, display your wreath in a shaded area or indoors.
Wreath Not Holding Shape
- Solution: If your wreath isn't maintaining its shape, reinforce the structure with additional wire or use a sturdier wreath form. Pipe cleaners can also be twisted into the burlap and form for extra hold.
Solve these issues to keep your burlap wreath beautiful. Crafting involves learning and experimenting, so try different methods to find what works for you.
Maintenance and Care Tips for Burlap Wreaths
Burlap wreaths are a charming addition to your home decor, but they do require some care to keep them looking their best. Here are some straightforward tips to help you maintain your burlap wreath:
Keep It Dry
Burlap is made from natural fibers that can absorb moisture, which may lead to mold or mildew. To avoid this, keep your wreath dry. If it does get wet, make sure to dry it thoroughly in a well-ventilated area.
Avoid Direct Sunlight
Prolonged exposure to direct sunlight can cause the colors of your burlap wreath to fade. Hang your wreath in a spot that gets indirect light, or if it's on an exterior door, make sure a porch or overhang protects it.
Dust Regularly
Dust can accumulate in your wreath's nooks and crannies. Use a soft brush or a hairdryer on a cool, low setting to blow away dust particles gently.
Store Properly
When storing your burlap wreath, place it in a cool, dry area. Wrap it in a cotton sheet or a plastic bag with air holes to prevent dust buildup and allow the material to breathe.
Handle With Care
Burlap can snag easily. When handling your wreath, be gentle to avoid pulling or tearing the fabric. If you need to move it, support the base rather than holding it by the loops.
Refresh the Look
Over time, the loops and folds of your burlap wreath might flatten. Fluff them up by gently pulling and adjusting them to restore the wreath's fullness.
Spot Clean When Necessary
If your wreath gets a stain, spot-clean it with a damp cloth. Avoid using harsh chemicals or scrubbing too vigorously, as this can damage the fibers.
Follow these care tips to keep your burlap wreath looking beautiful and welcoming for the seasons.
FAQs About How to Make a Burlap Wreath
Learn how to make a burlap wreath with our FAQs guide. It includes tips, tricks, and step-by-step instructions for perfect wreath crafting.
Begin by folding one end of the burlap ribbon in half twice to create a more robust starting point. Attach this folded end to the wreath frame using a pipe cleaner or floral wire, securing it to the backside of the frame. This will be the foundation from which you will create loops or ruffles.
There are three popular techniques for making a burlap wreath:
Push-Up: Push the burlap through the spaces between the wires of the wreath frame and squish it together to create a full effect.
Ruffle: Fold the burlap in half and wrap it around the wires of the wreath frame, pulling it through to create a ruffled effect.
Poof: Make loops of burlap by pushing the ribbon through the different sections of the wreath frame and securing them in place.
To achieve a full and fluffy look, use more burlap ribbon to make depth and fullness with your chosen technique. The tighter you push or ruffle the burlap, the more volume your wreath will have. You can also layer different burlap textures or colors for added dimension.
Absolutely! Burlap wreaths serve as a neutral base that can be adorned with seasonal decorations. Consider adding:
Spring: Tulips, pastel ribbons, or small bird’s nests.
Summer: Sunflowers, patriotic bows, or beach-themed accents.
Fall: Rustic leaves, pumpkins, or plaid ribbons.
Winter: Pinecones, red berries, or a bow in a festive color.
To ensure your burlap wreath maintains its shape, follow these tips:
Use a high-quality, tightly woven burlap ribbon to prevent fraying and sagging.
Secure the burlap firmly to the wire frame using pipe cleaners or floral wire at regular intervals.
If you're adding decorations, attach them securely with floral wire or hot glue to prevent them from falling off.
When not in use, store the wreath in a cool, dry place, and avoid exposing it to prolonged direct sunlight or moisture.
Consider spraying the finished wreath with a fabric stiffener or clear acrylic sealer to add extra rigidity and protection.
Wrapping Up
In conclusion, learning how to make a burlap wreath is a fun and fulfilling project. This DIY burlap wreath adds charm to any space and is perfect for beginners. With the simple steps outlined in this guide, you'll be crafting beautiful wreaths in no time. Enjoy your creative journey!


