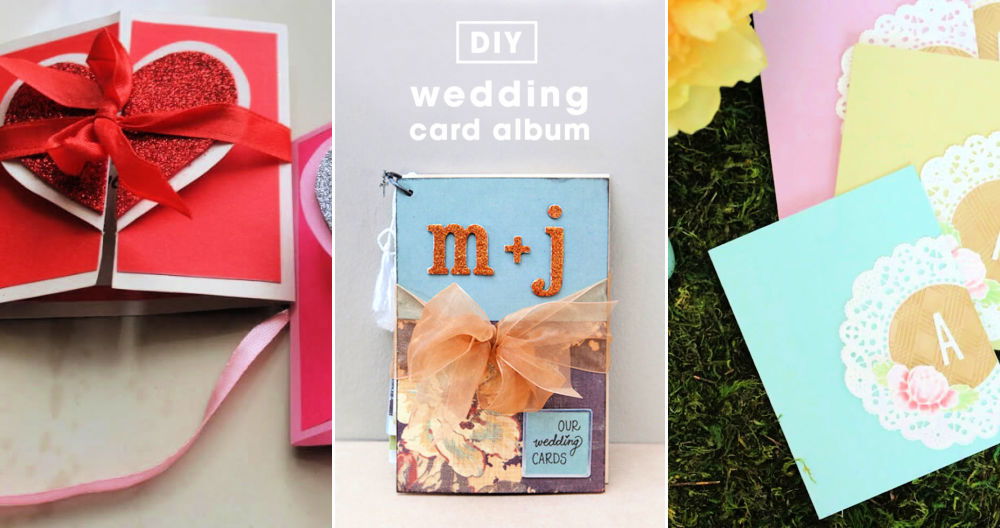
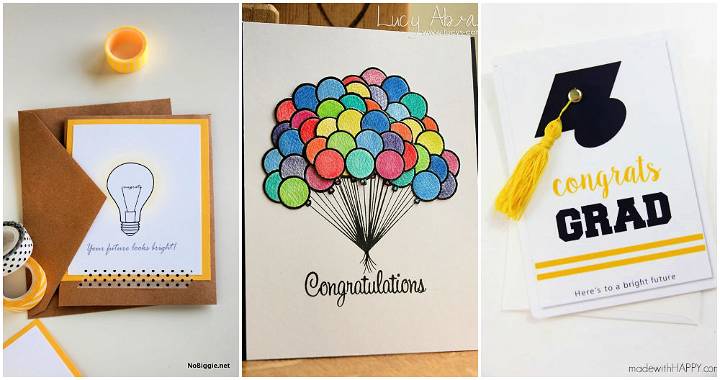
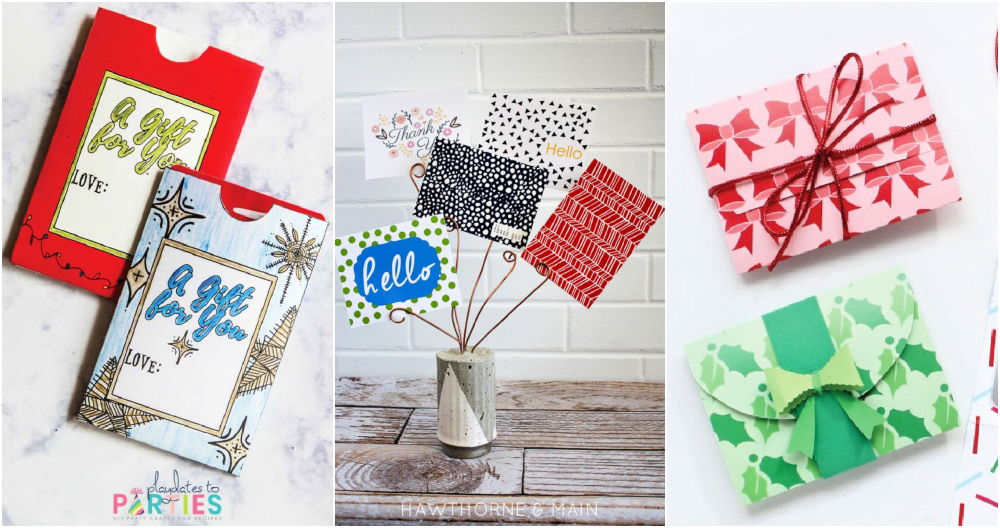
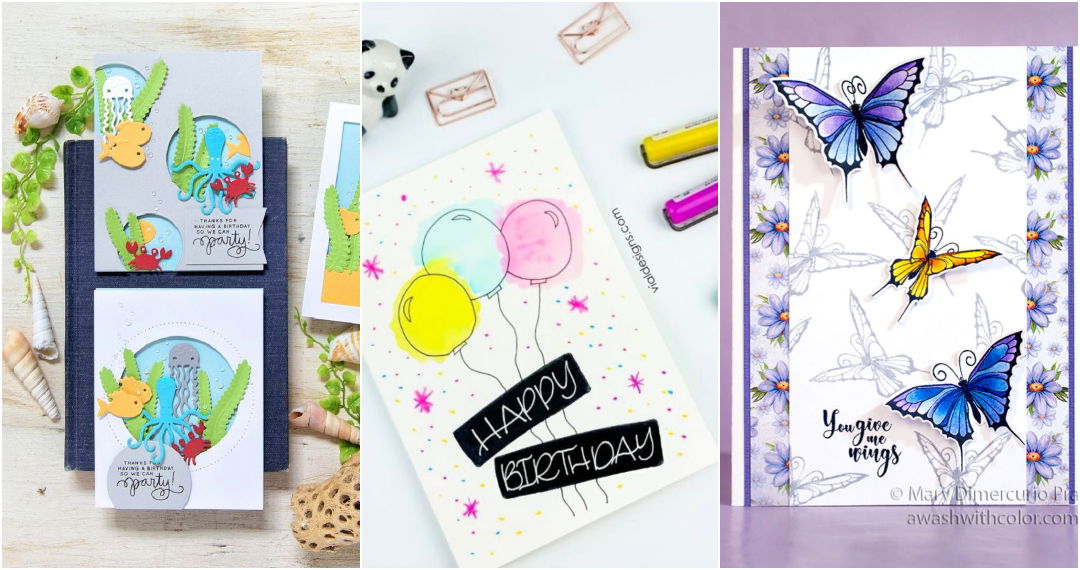
Making beautiful and impressive DIY cards can be a gratifying hobby. Whether you're making a birthday card, a thank-you note, or a holiday greeting, the effort you put into crafting it by hand adds a personal touch that store-bought cards often lack. This guide will walk you through how to make a card that will impress your friends and family with simple and easy-to-follow steps.
Start by gathering your materials, such as cardstock, markers, and any decorations you wish to add. Planning your design first can help you choose the right colors and patterns. Then, follow each step carefully to ensure your card looks polished and professional.
Interested in mastering the skill? Keep reading for detailed instructions that will help you make cards that are truly memorable.
Materials Needed and Why
- Cardstock: This is the backbone of your card. I recommend starting with an 8.5x11 inch size because it's standard and easy to cut into a card base.
- Paper Trimmer: A trimmer ensures clean and straight cuts. It's indispensable for making tidy card bases and panels.
- Acrylic Paint Blocks and Stamps: These are used to transfer ink designs onto your paper. I opted for a user-friendly stamp set called "Happy Blooms" and a few coordinating acrylic blocks.
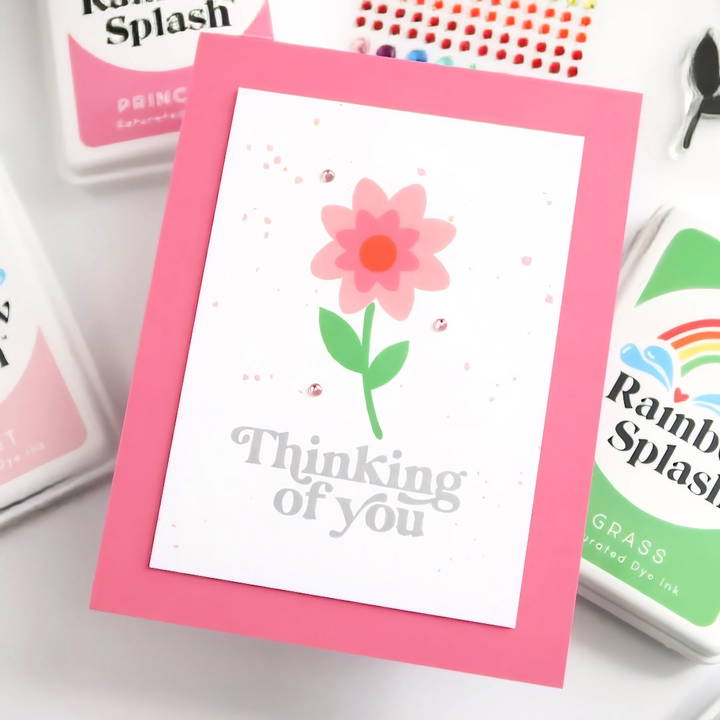
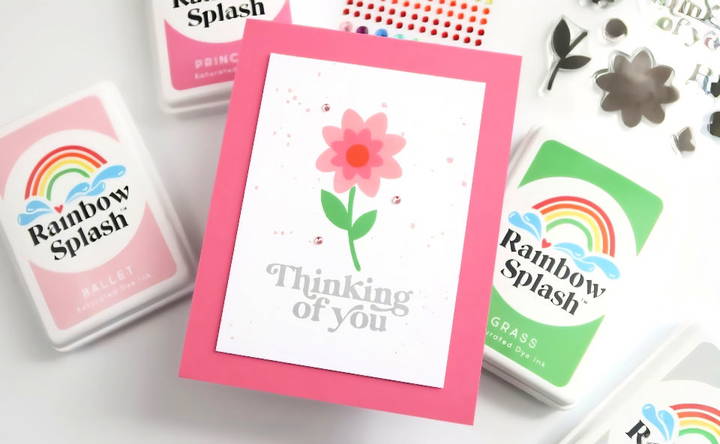
- Ink Pads: Selected a few colors from the "Rainbow Splash" collection. Inks apply color to your stamps, which then transfer the design onto your card.
- Foam Tape: This gives a 3D effect to your card by lifting the stamped panel off the card base.
- A Simple Paintbrush and Water: To add splatters for a finishing touch, showing that even simple tools can make beautiful effects.
Step by Step Instructions
Learn how to make a card with our step-by-step instructions. From preparing the base to adding final touches, make stunning cards with ease!
Step 1: Preparing Your Card Base
Firstly, I took my 8.5x11 inch cardstock and used my paper trimmer to cut it down the middle at 4.25 inches. This gave me two potential card bases. I chose one to work with and folded it in half to make a standard A2 card (4.25x5.5 inches). A firm press along the fold with a bone folder ensures a crisp edge, but you can use the edge of a ruler in a pinch.
Step 2: Stamping the Design
The Happy Blooms stamp set came into play here. I used the largest acrylic block to adhere my chosen floral design. Stamps usually have a slight residue from manufacturing, so I primed mine by gently rubbing my finger across the surface. This ensures a clearer ink transfer. Then, I inked the stamp using the lightest ink color first and carefully pressed it onto a smaller piece of cardstock that would become my card's focal panel.
For beginners, it's useful to practice stamping on scrap paper to get a feel for the right amount of pressure needed. This practice also conditions the stamp for better ink adhesion.
Step 3: Adding Layers and Color
Building on the initial stamp, I used progressively darker inks to stamp additional details onto the flower, making depth and interest. Each layer brought more life to the card. Following the layering steps provided by the stamp set instructions allowed my simple floral design to appear more complex and vibrant.
Step 4: The Finishing Touches
Once the stamping was complete, I added a simple sentiment from the same stamp set. "Thinking of you" seemed appropriate and versatile. A light tap on the ink pad and steady hands were all it took to add this thoughtful touch.
Then came my favorite part — adding ink splatters. By simply wetting a brush, dipping it in a bit of diluted ink, and tapping it over my work area, I maked a whimsical, artistic effect on my card. It's amazing how such a simple technique can elevate the overall design.
Step 5: Assembling the Card
To assemble the card, I used foam tape to attach the stamped panel to my card base. This added a nice lift and made the card feel more substantial. Aligning the panel carefully to ensure even borders around all edges gave it a professional look.
Customization Tips for Handmade Cards
Making a handmade card is a thoughtful way to show someone you care. Here are some tips to help you customize your cards for any occasion:
- Understand the Recipient: Think about the person you're making the card for. What are their interests, favorite colors, or hobbies? Incorporating these elements can make the card feel more personal and special.
- Choose a Theme: Select a theme that matches the occasion, whether it's a birthday, wedding, or just a simple ‘thank you'. Themes can be anything from floral patterns for a nature lover to sports equipment for an athlete.
- Personal Messages: Write a heartfelt message that speaks directly to the recipient. Use simple language and express genuine sentiments. If you're at a loss for words, a simple “Thinking of you” or “Just because” can be just as meaningful.
- Add Photos: Including a photo in your card can turn it into a cherished keepsake. It could be a memorable moment shared with the recipient or something that reflects their personality.
- Play with Textures: Use different materials like fabric, lace, or embossed paper to add texture and depth to your card. This tactile element can make your card stand out.
- Experiment with Techniques: Try your hand at various card-making techniques such as stamping, stenciling, or watercolor painting. These techniques can add a unique touch to your card.
- Keep it Neat: While customizing, ensure that your card looks tidy. Align elements symmetrically and use a ruler or a cutting mat to make clean cuts and folds.
- Envelope Matching: Don't forget the envelope. Decorate it to match the card or add a special seal for a finishing touch.
The key to customization is making the card as unique as the person receiving it. With these tips, you're well on your way to making a beautiful, personalized card that's sure to be appreciated.
Advanced Techniques for Card Making
For those looking to elevate their card-making skills, mastering advanced techniques can add a professional touch to your handmade cards. Here are some sophisticated methods to explore:
- Embossing: This technique involves making a raised or recessed design on the card. You'll need an embossing pad, embossing powder, and a heat gun. Stamp your design with the embossing pad, sprinkle the powder over it, and then use the heat gun to melt the powder, which will solidify into a raised pattern.
- Die-Cutting: Die-cutting machines allow you to cut intricate designs and shapes. You can use dies to cut out stamped images or make windows in your cards. Layering different die-cuts can produce stunning dimensional effects.
- Shaker Cards: These interactive cards contain a clear window filled with sequins, beads, or other small items that shake around. To make a shaker card, you'll need a clear acetate sheet and foam tape to make a sealed compartment that holds the shaker elements.
- Watercolor Techniques: Watercolor adds a soft, artistic look to cards. Use watercolor paper and experiment with techniques like wet-on-wet, dry brush, or gradients. You can also combine watercolor with other mediums like ink or colored pencils for mixed-media effects.
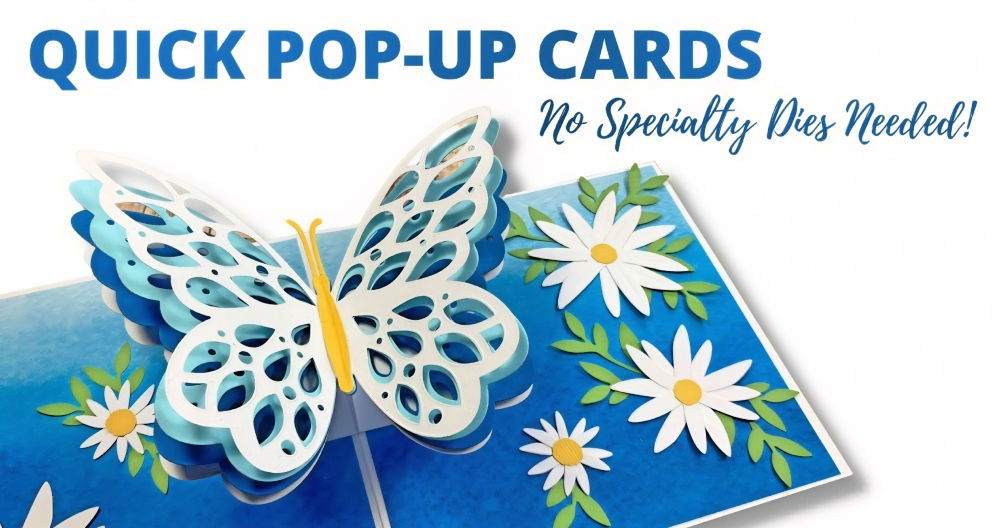
- Interactive Elements: Add elements that move or change, such as sliders, spinners, or pop-ups. These require careful planning and precise cutting but result in a card that's not only beautiful but also fun to play with.
- Heat Foiling: For a touch of luxury, try adding foil accents to your cards. You'll need a laminator or a foiling machine and reactive foil. Print your design using a laser printer, then run it through the machine with the foil to transfer the shiny material onto the card.
- Layering Stamps: Some stamp sets are designed to be layered, making a multi-dimensional image with depth and detail. Practice aligning the stamps and choosing complementary ink colors for a realistic effect.
- Inlaid Die-Cutting: This technique involves cutting a shape out of your card front and then fitting a different piece of paper or cardstock into the gap. It makes a seamless look that's flush with the surface of the card.
Using these advanced techniques, you can make unique, professional cards that impress. Practice each method and combine them for more creativity.
Troubleshooting Common Issues in Card Making
When crafting handmade cards, you might encounter a few hiccups along the way. Here's a helpful guide to troubleshooting common issues, ensuring your card-making process is smooth and enjoyable.
Paper Won't Fold Neatly
- Solution: Use a bone folder or the back of a knife to score the paper first. This will give you a crisp, clean fold. Make sure to align the corners before pressing down the fold.
Decorations Keep Falling Off
- Solution: Ensure you're using the right adhesive for the material. Double-sided tape works well for paper and light embellishments, while glue dots or strong craft glue are better for heavier items.
Ink Smudges on the Card
- Solution: Give the ink ample time to dry before handling the card. If you're left-handed, you might want to start writing from the right side of the card to avoid dragging your hand over wet ink.
Uneven Cut Edges
- Solution: Use a guillotine paper cutter for straight, even cuts. If you don't have one, a ruler and a sharp craft knife can do the job—just be sure to cut on a cutting mat.
Stickers or Tape Won't Stick
- Solution: If the surface is too textured or dusty, stickers and tape may not adhere well. Clean the surface with a dry cloth, or choose a different type of adhesive, like a glue stick or spray adhesive.
Colors Don't Match
- Solution: Always test your colors on a scrap piece of paper first. This way, you can see how they look together before committing to the final design.
Embellishments Are Too Bulky
- Solution: If your card won't close because of bulky decorations, consider using flatter embellishments or adjust the placement so that the card can fold more easily.
Card Looks Too Busy
- Solution: Sometimes less is more. Try removing one or two elements or use a simpler color scheme. A clean and simple design can often be more impactful.
Card making is an art, not a science. Don't be afraid to experiment and learn from any mistakes. Each problem you solve will make you a better cardmaker!
FAQs About How to Make a Card
Discover answers to frequently asked questions about making a card, from materials to design tips. Perfect for crafters and hobbyists alike!
The best choice for a card base is cardstock, which is a thick, durable paper. It comes in various colors and textures, so you can choose one that suits your design or occasion. If you’re in a pinch, any heavy paper will do, even upcycled materials like old artwork.
Absolutely! While tools like paper trimmers and scoring boards make the process easier, they’re not necessary. You can fold your card neatly by measuring and marking the center of the paper, then using a ruler and a dull knife or the edge of scissors to make a clean fold.
There are many ways to decorate your card:
Draw or write directly on the card with pens, markers, or paints.
Cut out shapes from different colored papers and glue them on.
Use stamps with ink to add patterns or messages.
Attach ribbons, buttons, or fabric for texture.
Add stickers or printed images for easy decoration.
When writing a message inside your card, keep it personal and heartfelt. Think about the recipient and what you want to convey. Start with a greeting, express your sentiments, and end with a closing that reflects your relationship. If you're stuck, there are plenty of message ideas and templates online that can inspire you.
To make your card stand out, consider the following tips:
Choose a theme that resonates with the occasion or the recipient's interests.
Experiment with shapes and sizes. Cards don't have to be rectangular; try circular or irregular shapes for a fun twist.
Incorporate interactive elements like pull-tabs or pop-ups. There are many tutorials online that can guide you through making an interactive element.
Add personal touches such as a handwritten note or a small keepsake.
Use layers and textures to add depth to your card. Different paper types, such as vellum or textured cardstock, can enhance the visual appeal.
Consider the envelope as part of the presentation. Decorate it to match or complement your card for a cohesive look.
Reflections on the Cardmaking Process
Wrapping up, learning how to make a card that will impress is a fun and rewarding activity. With a bit of creativity and some handy tips, your handmade cards can add a personal touch that sets them apart. So grab your supplies and start crafting. Your friends and family will surely appreciate the effort!


