Making a DIY cardboard box car is a fun and creative project that is perfect for kids, family activities, or even just to pass the time. This tutorial will guide you step-by-step on how to make your very own cardboard box car—specifically, a Jeep-inspired model. The project is affordable, with most supplies coming from household items and local dollar stores, and the total cost should be under $20.
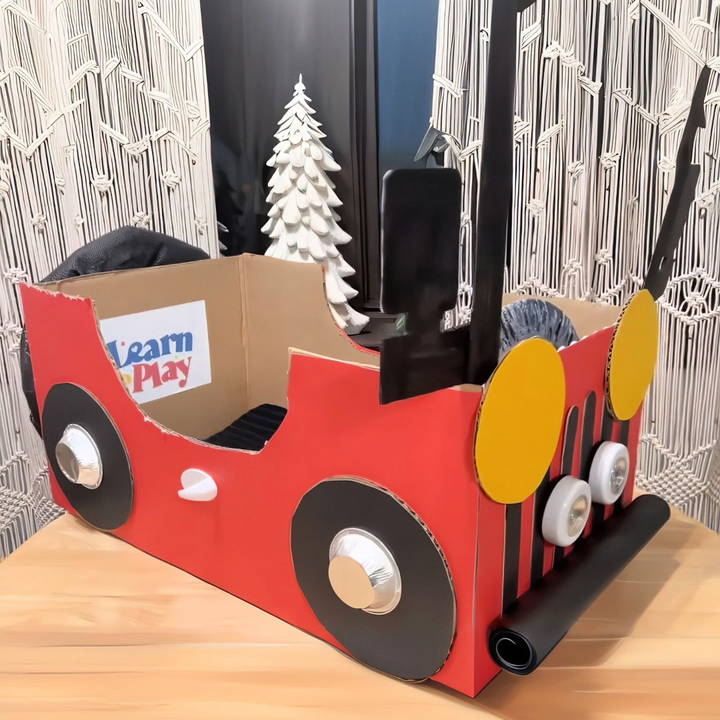
Let's dive into the full details of how to make a cardboard box car!
Materials Needed
Before we begin, you'll want to gather the materials needed to make your Jeep. Most of these items can be found at home, and others can be easily purchased from a local store or Dollar Tree.
Here's what you'll need:
- A large cardboard box (this will serve as the base of the car)
- Red and black poster boards (for decorating and covering the car)
- Hot glue gun and glue sticks (for assembling the car)
- Scissors or a craft knife (for cutting the cardboard and poster board)
- Circular cardboard pieces (for the wheels and steering wheel)
- Popsicle sticks (for detailing the grill and other accents)
- Pie tins or aluminum foil (for hubcaps)
- A paper towel roll (for the bumper or grille)
- Bubble wrap and shelf liner (for making a spare tire)
- Push lights (optional but great for working headlights)
- Cardstock in various colors (for headlights, mirrors, etc.)
- Markers or permanent markers (for coloring and detailing)
- Optional fun accessories: Toy keys, doormats, or additional small gadgets for the interior.
Step by Step Instructions
Learn how to make a DIY cardboard box car with our step-by-step instructions. Perfect for creative projects and fun activities at home.
Step 1: Prepare the Box
The first step in making your cardboard car is preparing the base structure. Here's what you need to do:
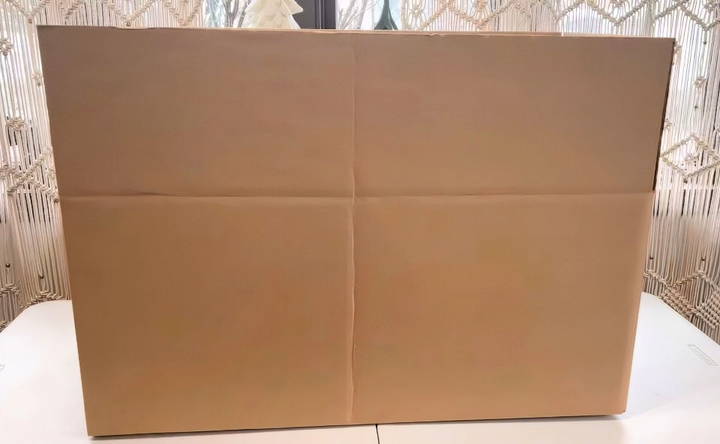
- Choose a large box: Find a large cardboard box. This will be the base of your car. Tape the bottom of the box securely to keep it stable.
- Cut the sides and flaps: Start by cutting off both the front and back flaps of the box, and also remove the side flaps. This will give the box a more defined car shape and make it easier to decorate.
- Outline and cut the doors: Trace the outline of car doors on both sides of the box using circular cardboard or another round object to guide you. Use your craft knife or scissors to cut out these doors on each side.
Step 2: Cover the Box with Poster Board
Now that the basic structure of the car is ready, it's time to give it a Jeep-like look by covering it with poster boards.
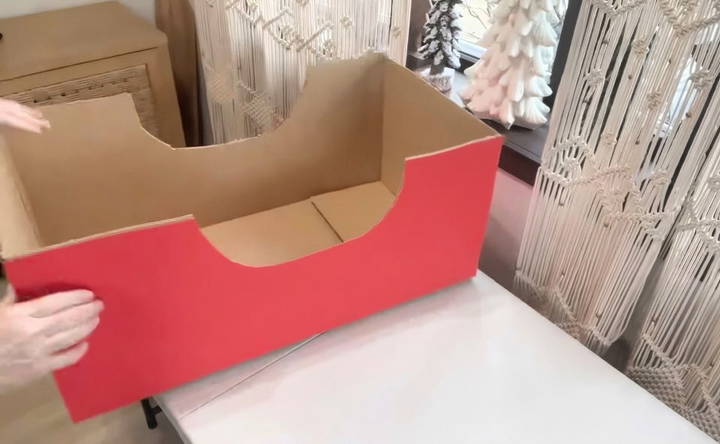
- Measure and cut the poster boards: Lay the box on its side, and place the red poster board over it. Trace the outline of the box on the poster board and cut it out to fit the sides. Do this for both the front and back as well.
- Glue the poster boards onto the box: Using a hot glue gun, attach the red poster boards onto the sides, front, and back of the car. Make sure the boards are aligned properly for a smooth finish. Trim any excess poster board to keep the look clean and neat. Pro Tip: Hot glue works better than tape for this project, as it holds the poster board firmly in place and gives a cleaner, more polished look.
Step 3: Make the Tires
No car is complete without wheels, and the same goes for your cardboard box Jeep! Here's how to make the wheels:
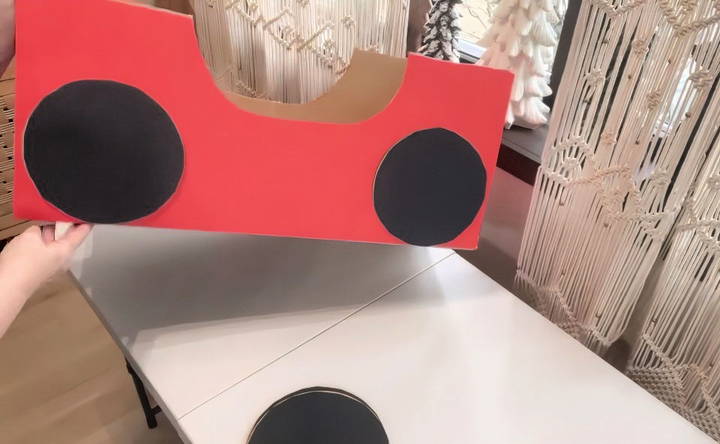
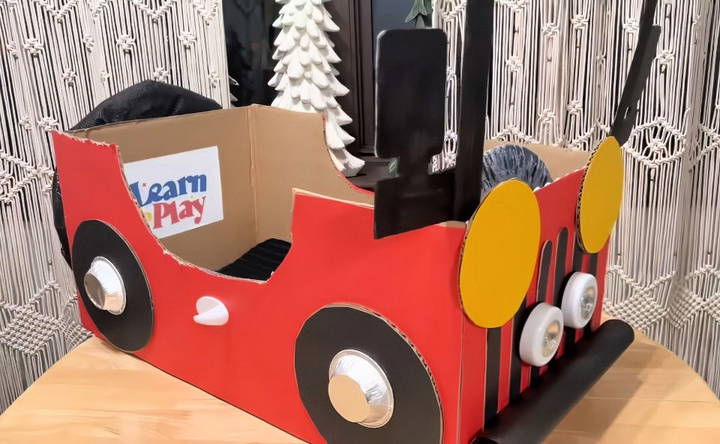
- Make the tire base: Use smaller circular cardboard pieces to form the base of your tires. You'll need four pieces—two for each side of the car.
- Cover the tires: Take your black poster board and trace around the circular cardboard pieces. Cut out four black circles and hot glue them onto each tire base.
- Attach the tires to the car: Once the tires are ready, attach them to the sides of the car using the hot glue gun. Place two tires on each side, making sure they are aligned properly.
- Add hubcaps: To give your tires a realistic look, use pie tins or small aluminum foil circles as hubcaps. Glue these onto the center of each tire.
Step 4: Add Headlights and Grille
Next, you'll want to add some details to the front of the car to make it resemble a Jeep.
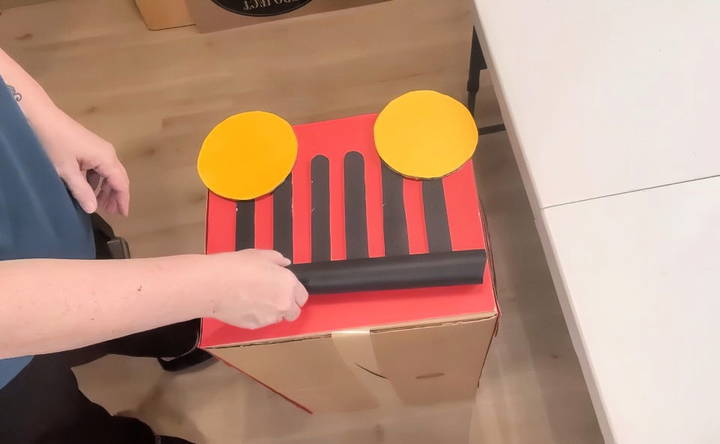
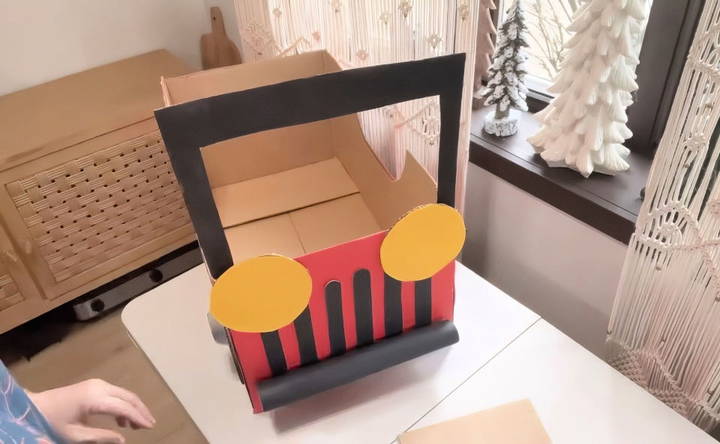
- Headlights: Trace a bowl or another circular object onto a piece of cardboard to make two headlight bases. Use yellow cardstock to cut out smaller circles, and glue them onto the headlight bases for a bright, realistic look. Attach the headlights to the front of the car with hot glue.
- Grille: For the grille, cut out several short popsicle sticks and glue them vertically onto a piece of poster board. This will make the iconic Jeep grille look. Once assembled, glue the grille onto the front of the car under the headlights.
- Bumper: To make a bumper, cut a paper towel roll in half and glue it across the front of the car just below the grille. You can also cover it with black poster board or leave it as is for a simple, rugged look.
Step 5: Make the Spare Tire
Since this is a Jeep-inspired cardboard car, a spare tire on the back is a must. Here's how to make one:
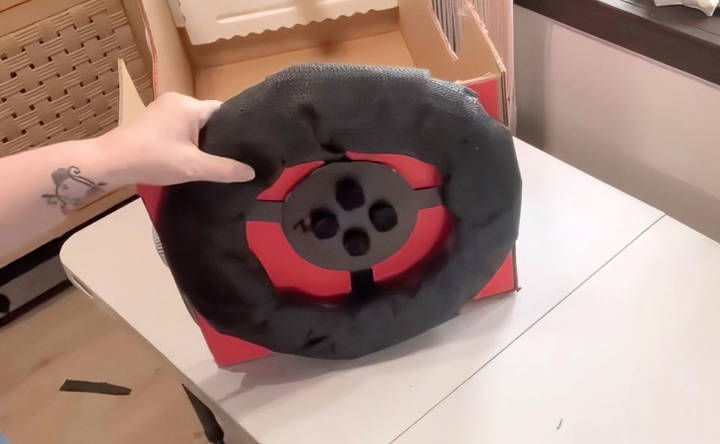
- Build the tire structure: Take a metal ring (or any circular object that's sturdy), and wrap it with bubble wrap to give it thickness.
- Cover the tire: Once the bubble wrap is in place, cover the entire tire with a shelf liner or black poster board. This will give it a finished, tire-like appearance.
- Attach the tire: Glue the spare tire onto the back of your cardboard Jeep. For added detail, you can glue popsicle sticks onto a circular cardboard piece and attach it to the center of the spare tire to mimic lug nuts.
Step 6: Build the Steering Wheel and Windshield
No car is complete without a steering wheel and windshield. Let's add those final touches:
- Steering wheel: Cut out a circular cardboard piece for the steering wheel. For the center of the steering wheel, use a toilet paper roll or another cylindrical object. Glue the steering wheel onto the dashboard (the inside front of the box). You can decorate it with a steering wheel cover or shiny paper for added effect.
- Windshield: To make a windshield, trace the front of your car onto an extra piece of cardboard and cut out a window frame. If you run out of poster board, you can use markers to color the frame. Attach the windshield frame to the front of the car with glue.
Step 7: Add Side Mirrors
Side mirrors will give your Jeep a complete look. Here's how to make them:
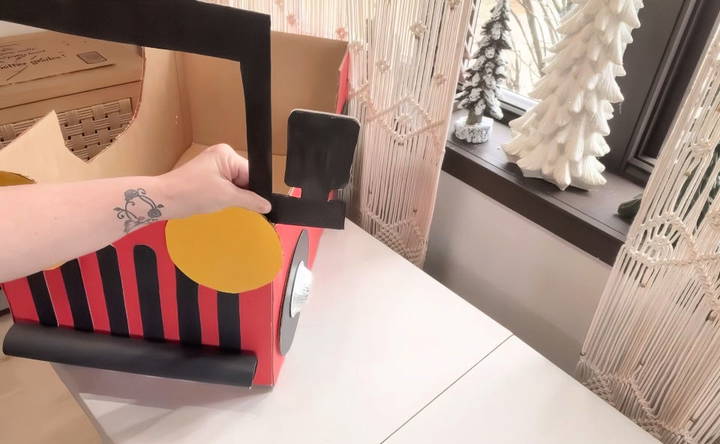
- Cut out mirror shapes: Draw two mirror shapes freehand onto a piece of cardboard, then cut them out.
- Add the mirror surface: For the mirror surface, use white cardstock or silver foil. Cut out small rectangles and glue them onto the cardboard mirrors.
- Attach the mirrors: Glue the side mirrors onto the sides of the car, just below the windshield.
Step 8: Finishing Touches and Optional Accessories
Your cardboard Jeep is almost ready! Here are a few more finishing touches you can add to make it more fun and functional.
- Push lights for headlights: If you want working headlights, purchase battery-powered push lights from the Dollar Tree and glue them to the front of the car. They'll not only add functionality but also give a cool effect for movie nights or playtime.
- Interior details: For an added touch, place a small doormat inside the car as a floor mat. You can also attach toy keys, light switches, or small plastic knobs inside the car for kids to interact with.
- Handles and gadgets: For door handles, use plastic knobs or hooks. You can also add a few other fun details, like a dashboard or cup holder, for a more realistic feel.
Conclusion
Congratulations! You've successfully built a DIY cardboard box car, Jeep edition. This project is fun and easy, making it a perfect weekend activity for kids or a creative addition to movie night. It's budget-friendly, customizable, and will leave plenty of room for imagination.
Whether your kids are pretending to drive off on a big adventure or simply playing in the driveway, this cardboard Jeep will be a hit!
FAQs About DIY Cardboard Box Car
Discover answers to FAQs about DIY cardboard box car projects, from materials needed to creative design tips. Get inspired and start crafting today!
A large cardboard box works best for making a cardboard car, as it provides enough space for cutting doors and fitting in details like tires and steering wheels. For reference, it should be big enough to comfortably sit a child.
While tape is an option, using a hot glue gun is recommended. It provides a cleaner look and stronger hold, especially for attaching poster board and smaller parts like the tires and accessories.
To prevent the car from tearing easily, consider reinforcing areas like the doors and windshield with extra layers of cardboard. Alternatively, you could use stronger adhesive materials like heavy-duty glue.
If you run out of poster board, you can use markers to color large areas or repurpose other materials, like wrapping paper or fabric, to cover the remaining sections.
Yes, many people have used these DIY cars as decor for themed parties or classroom settings. It's a great way to add a personal touch to vehicle or transportation-themed events.
To prevent sagging, especially if the car will be used over several days, reinforce the bottom with extra layers of cardboard or a wooden board to distribute weight more evenly.
Yes! You can easily add battery-powered push lights for functional headlights or other small gadgets like toy keys and light switches to make the car interactive for kids.
Absolutely! By adjusting the size of the box and accessories, you can make a larger car for older kids or a smaller one for younger children, making the project adaptable for all ages.
Use sharp scissors or a craft knife for precise cuts. Make sure to supervise children if they're helping, and always cut on a safe surface to avoid damaging floors or tables.
Depending on your crafting experience and how detailed you want the car to be, the project typically takes about 1-2 hours to complete.


