Making a coloring book can be a fun and satisfying process. Start by brainstorming ideas and selecting a theme. This helps to keep the coloring book cohesive and enjoyable for all readers. Next, sketch out your designs. Make sure each page is unique and engaging. Use simple lines that are easy to color in. After sketching, outline your drawings with a pen or marker for cleaner lines.
Once your drawings are ready, scan them to your computer. Use an editing program to refine your designs and arrange them into a coloring book format. It's important to maintain high resolution for a professional finish. Finally, consider the printing options. You can choose to print your coloring book at home or use a professional printer.
Consider selling your work online or at local stores. Check out the next section for detailed steps on how to make a coloring book, from concept to print.
Materials You'll Need
- Computer with Internet Access: To use Canva and access Amazon KDP.
- Canva Account: Ideally Canva Pro, but the free version works too.
- Amazon KDP Account: Necessary for publishing your book.
Step by Step Instructions
Learn step-by-step instructions on how to make a coloring book using Canva. From conceptualizing to publishing on Amazon KDP, we cover it all!
Step 1: Conceptualizing Your Coloring Book
Before diving into Canva, you need a solid concept for your book. Here's what I decided for mine:
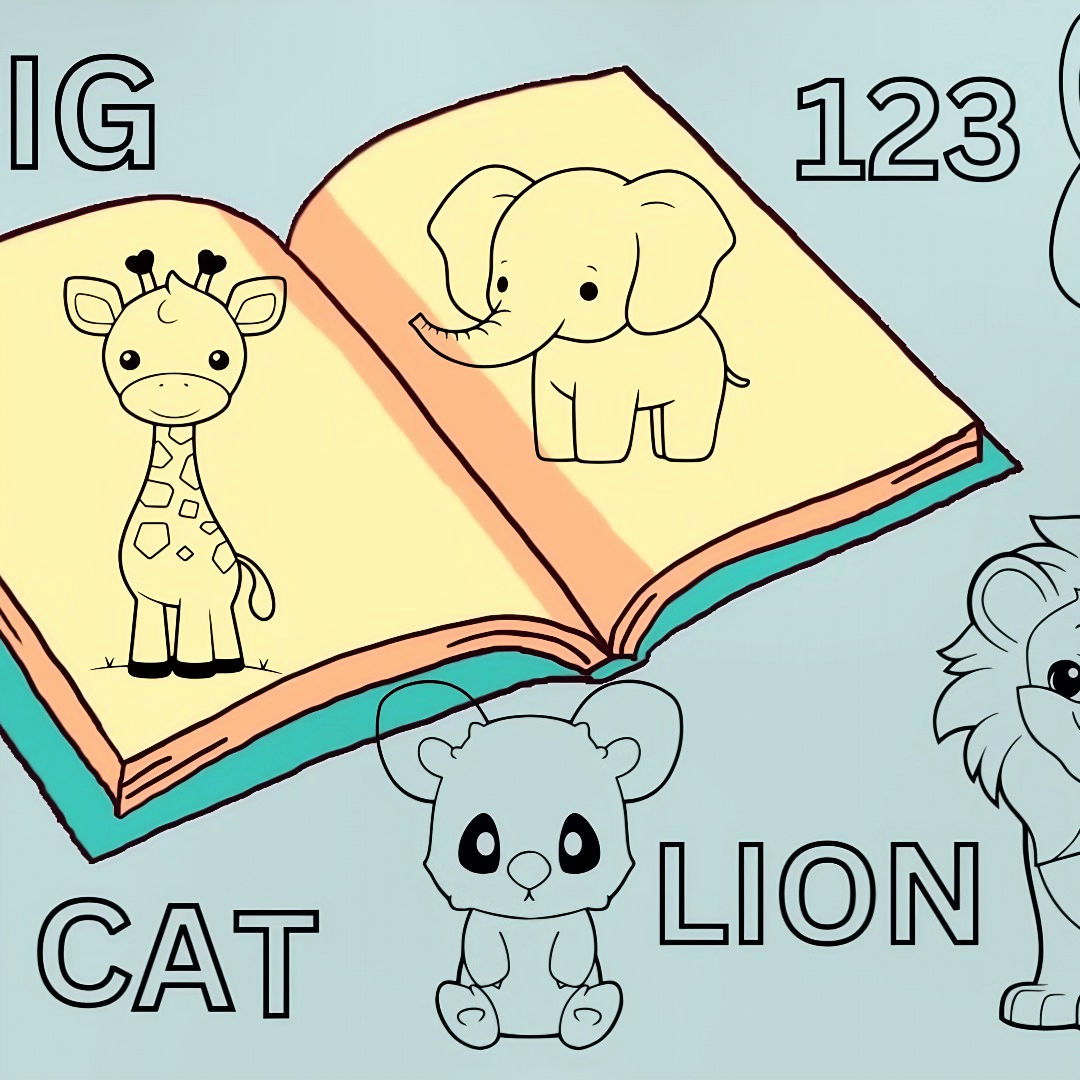
- Theme: Cute animals, fun and educational for young children.
- Structure: One animal per page, arranged in alphabetical order.
- Dimensions: 8.5 x 8.5 inches (square).
- Pages: 54 pages (26 animal illustrations with a blank page on the back of each and a few extra pages for titles and content list).
Step 2: Setting Up Your Book on Canva
Learn how to set up your book on Canva, make a new design, and set up margins correctly for a professional-looking result.
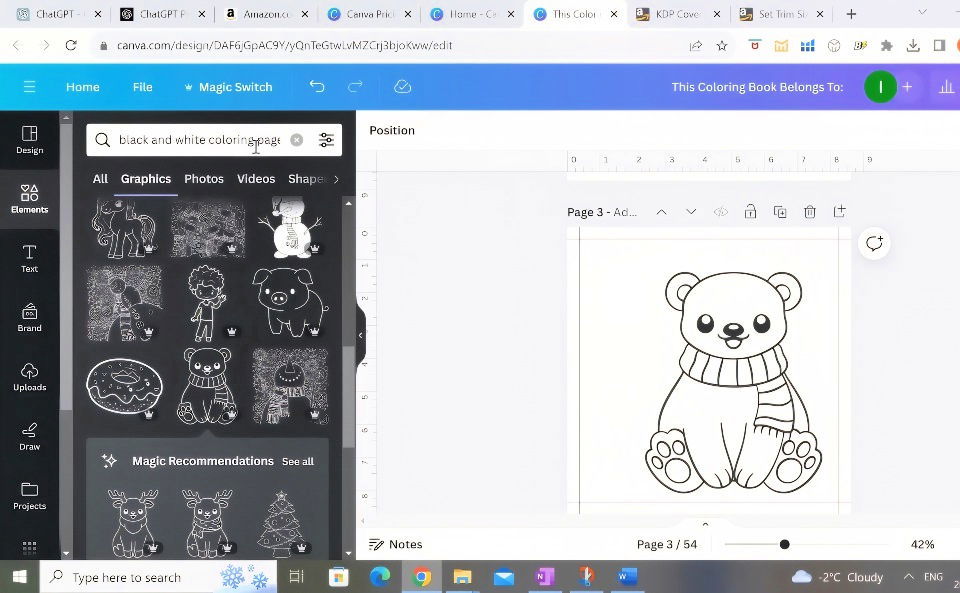
Make a New Design
- Go to Canva Dashboard: Click "Make a Design" > "Custom Size."
- Input Dimensions: Change units to inches. Enter 8.625 x 8.75 inches (to account for bleed).
Setting Up Margins
This is crucial to ensure your designs don't get cut off.
- Enable Rulers: Press Shift + R to display rulers.
- Drag Margins: Make margins of 0.375 inches (both inside and outside).
- Duplicating Pages: Make the total number of pages needed by duplicating the initial setup page. This ensures consistent margins across all pages.
Step 3: Designing Your Animal Pages
Learn how to design your animal pages using Canva elements, AI tools like chatgpt, and adding engaging text. Perfect for stunning and interactive content!
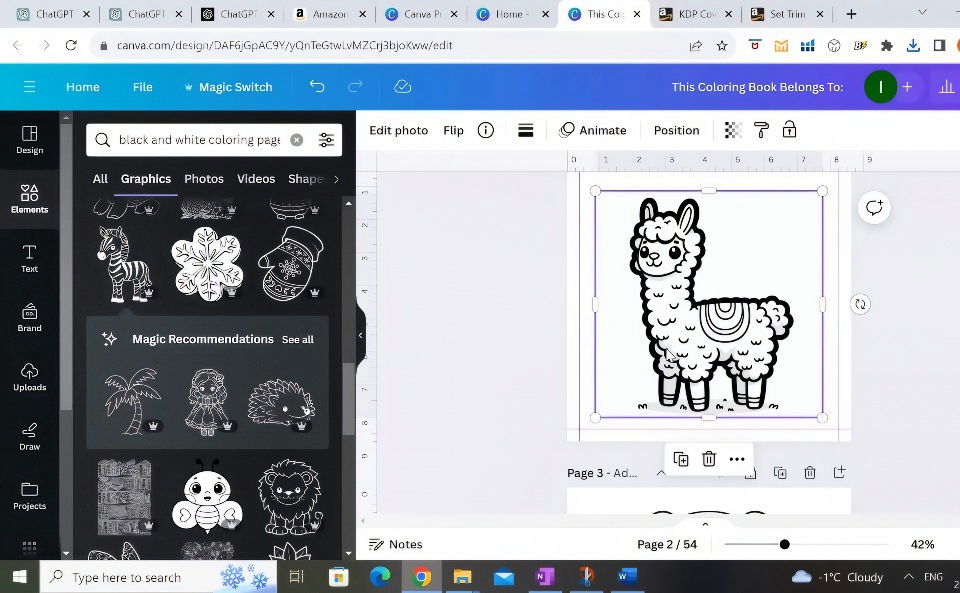
Using Canva Elements
You can find ready-made elements within Canva.
- Search for Elements: Search for “black and white coloring pages animals” in the Elements tab.
- Add and Align: Insert these images onto each page and adjust as per your design.
Using AI Tools Like ChatGPT
For more specific or unique designs:
- Generate Art on ChatGPT: Use ChatGPT to make simple black-and-white animal illustrations.
- Download and Upload: Download the graphics and upload them to Canva. Use Canvas background remover to clean up any unwanted backgrounds.
Adding Text
- Animal Names: Add the name of the animal below each image using a "hollow" text effect in Canva for an additional coloring option.
Step 4: Completing the Design
Optimize your project with our guide on completing the design, adding final touches, and saving & downloading with ease.
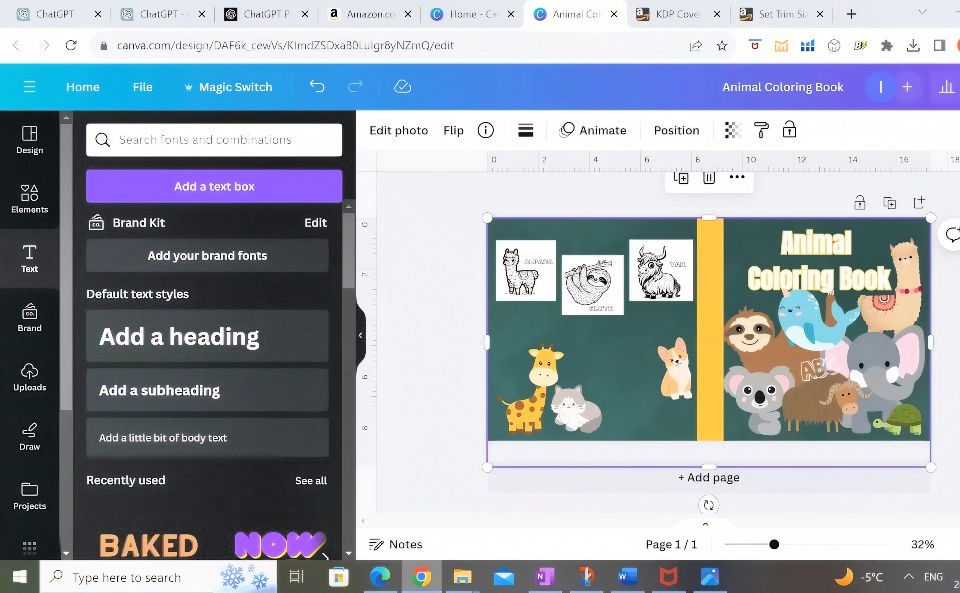
Adding Final Touches
- Enhancements: Add small decorative elements like leaves or shapes to make the pages more engaging.
- Title Page: On the first page, make a "This Book Belongs To" section for the kids to personalize.
Saving & Downloading
- Download as PDF: When you're satisfied, download your project as a print-ready PDF. Ensure you select PDF Print with the "flatten PDF" option.
Step 5: Making the Cover in Canva
Learn how to make a stunning cover in Canva with our guide! From setting up the template to designing and final checks, get your cover ready for download.
Setting Up the Cover Template
- Use Amazon KDP Cover Calculator: Input your book's specifications to get the correct dimensions for your cover.
- Make on Canva: Use the dimensions provided by the cover calculator to set up a new design in Canva.
- Upload the Template: Upload the PNG template from KDP to Canva and resize it to fit perfectly.
Designing the Cover
- Background and Elements: Choose a vibrant background and add animal illustrations that complement the interior.
- Title and Subtitle: Use large, easy-to-read fonts for the book title and subtitle.
Final Checks and Download
- Check Margins: Ensure none of the critical design elements fall within the margin area.
- Download: Download the cover design as a PDF as well.
Step 6: Publishing on Amazon KDP
Discover how to publish on Amazon KDP. learn about uploading files and final finishing steps for a seamless self-publishing experience.
Uploading Files
- Log in to KDP: Go to your Amazon KDP account and click "Make" > "Paperback".
- Enter Details: Fill in the necessary information like book title, author name, and description.
- Upload Manuscript and Cover: Upload the interior PDF and the cover PDF to KDP.
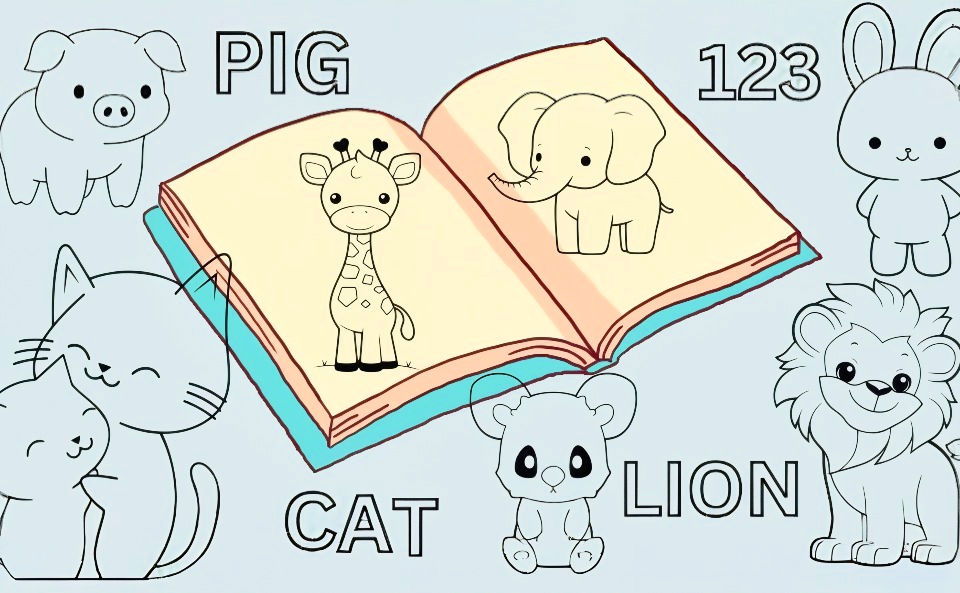
Finishing Steps
- ISBN and Pricing: Amazon KDP assigns a free ISBN. Set your book's price ensuring it covers the printing costs and gives you a fair royalty.
- Preview: Use the online previewer to check your book.
- Publish: Once everything looks good, click on "Publish".
FAQs About How to Make a Coloring Book
In one easy guide, learn everything you need to know about making a coloring book, from design to publishing, with FAQs!
Designing engaging coloring pages involves:
Theme Selection: Pick a strong theme to maintain consistency throughout the book.
Image Sourcing: Use free vector images or create original drawings.
Editing: Adjust the images’ fill color to white and the border color to black for clarity.
Layout: Arrange the images thoughtfully on the page, considering the book’s size and binding.
Yes, you can make a coloring book digitally by:
Using Design Platforms: Platforms like Canva offer templates and tools to design coloring books easily.
Customization: Customize templates with your own images and text to fit your theme.
Printing: Save your designs as PDFs and print them out for physical copies.
To make your coloring book unique:
Incorporate Learning: Add elements like spelling or counting to combine fun with education.
Interactive Elements: Include activities like mazes or puzzles related to the theme.
Personal Touch: Add a personal story or inspiration behind the book to connect with the audience.
For publishing and distribution:
Self-Publishing: Platforms like Amazon KDP allow you to self-publish and distribute your coloring book globally.
Local Printing: Consider local printing services for professional quality and binding.
Marketing: Use social media and online marketplaces to promote and sell your coloring book.
Ensuring the quality of your coloring book's images is crucial for a professional look. Here's how you can achieve that:
High-Resolution Artwork: Make or source images at a high resolution to prevent pixelation when printed.
Clean Line Work: Use a fine pen for hand-drawn images or vector lines in digital art to ensure lines are crisp and clear.
Test Printing: Print a sample page to check how your images look on paper. Adjust the contrast and brightness if necessary.
Professional Scanning: If you're drawing by hand, use a professional scanner or scanning service to digitize your artwork without losing detail.
File Format: Save your digital images in a print-friendly format like PDF or TIFF to preserve quality during printing.
Conclusion
Wrapping up, learning how to make a coloring book from concept to print offers a rewarding, creative venture. From the initial concept to the final print, each step is crucial. Get started and showcase your artistic flair, turning your ideas into a beautiful, tangible coloring book.


