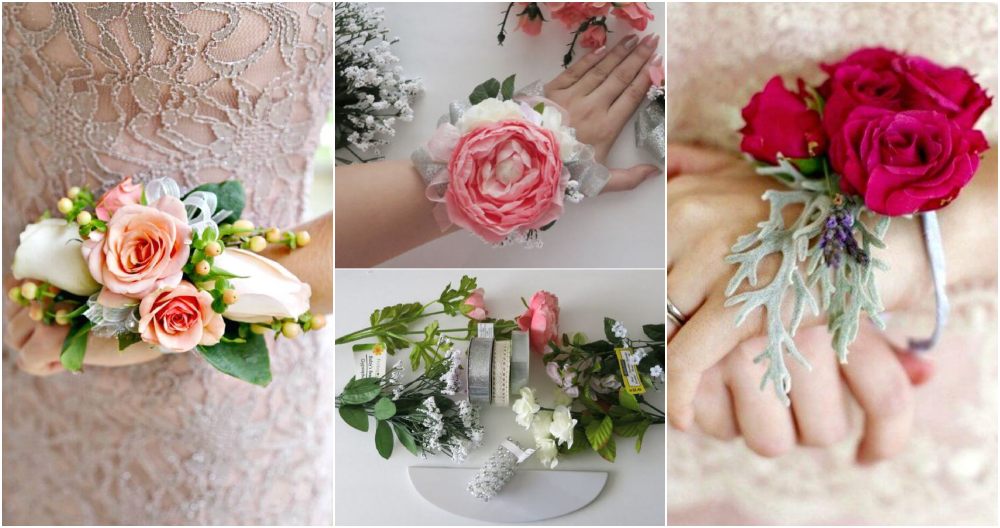
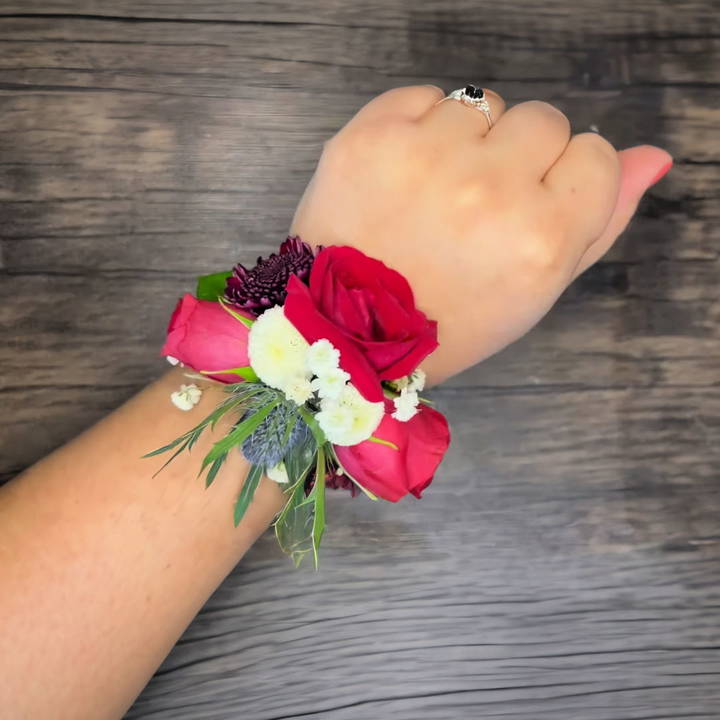
Corsages are a beautiful accessory for special events such as proms, weddings, or other formal occasions. Not only are they elegant, but they are also surprisingly easy to make at home with just a few materials. In this guide, we'll go through two methods for making a flower corsage: one using Oasis cold glue and another using hot glue. Both techniques are beginner-friendly, inexpensive, and can be done using flowers and supplies that are readily available at grocery stores or craft shops. By the end of this guide, you'll know how to make stunning corsages perfect for any event.
What You'll Need
Before we start making the corsage, it's important to gather all the necessary materials. Here's a list of what you'll need for both methods:
For the First Corsage (Using Oasis Cold Glue):
- Fresh flowers (mini carnations, spray roses, baby's breath, etc.)
- Greenery (small leaves)
- Oasis cold glue (this glue is designed specifically for flowers and won't damage them)
- Slap bracelet or wrist cuff
- Ribbon (to cover the base of the slap bracelet)
- Floral finishing spray (like Hawaiian Floral Mist or Crowning Glory)
- Scissors
For the Second Corsage (Using Hot Glue):
- Fresh flowers (similar types as in the first corsage)
- A pre-made fabric bow (can be purchased from a craft store like Dollar Tree)
- Hot glue gun (preferably a low-temp glue gun to avoid damaging the flowers)
- Metal cuff (or another sturdy base)
- Scissors
Once you have everything ready, we can start with the first method!
Step by Step Instructions
Learn how to make a corsage with step-by-step instructions using oasis cold glue or hot glue. Make stunning corsages with ease!
How to Make a Corsage with Oasis Cold Glue
Learn how to make a corsage with oasis cold glue in 5 easy steps. Perfect for special occasions. Tips for long-lasting corsages included.
Step 1: Prepare the Slap Bracelet
The first step involves prepping the base of your corsage. Slap bracelets are an ideal choice for a wrist corsage because they are flexible and easy to wear.
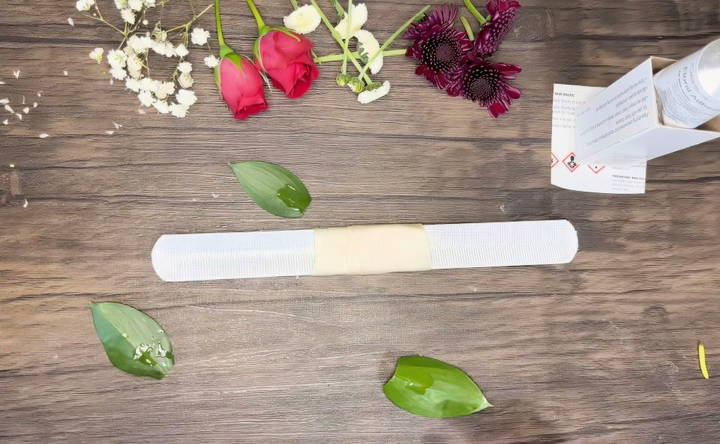
- Remove any attached plastic discs: Many slap bracelets come with a plastic disc for attaching items, but it can get in the way. Remove it to make a flat surface.
- Add the ribbon: Cut a piece of ribbon long enough to cover the center of the slap bracelet. Apply a small amount of hot glue to attach the ribbon to the bracelet. This will serve as the base for the flowers.
Step 2: Prepare the Flowers
The key to making a professional-looking corsage is selecting the right flowers and prepping them properly.
- Choose small flowers: Spray roses, baby's breath, and mini carnations work best because they are lightweight and fit nicely on the wrist. Avoid full-sized roses as they can be too heavy.
- Cut the flowers: Cut your flowers to a short stem length—about 2 to 3 inches—so they fit well on the corsage.
Step 3: Begin Gluing the Greenery
Now it's time to start building the base of your corsage.
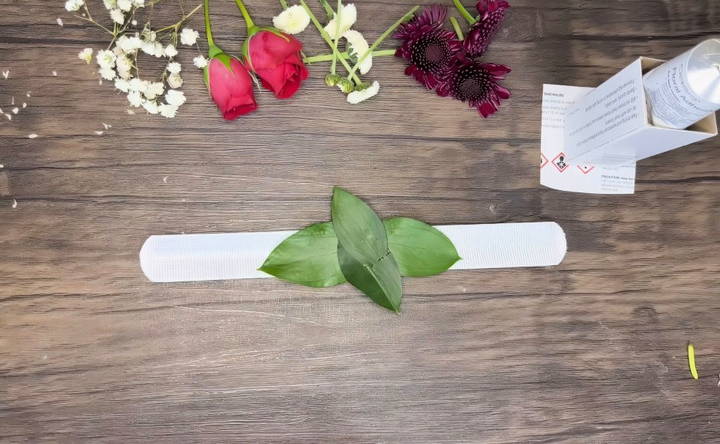
- Apply glue to the leaves: Begin by applying a small amount of Oasis cold glue to individual leaves or small pieces of greenery.
- Wait for the glue to set: Oasis glue works best when it becomes tacky, so let the glue sit for about 30 seconds before attaching it to the ribbon.
- Place the greenery: Stick the glued leaves onto the ribbon, layering them as needed to make a natural look. You can also apply glue directly to the ribbon for extra hold.
Step 4: Add the Flowers
Once the greenery is in place, it's time to add the flowers.
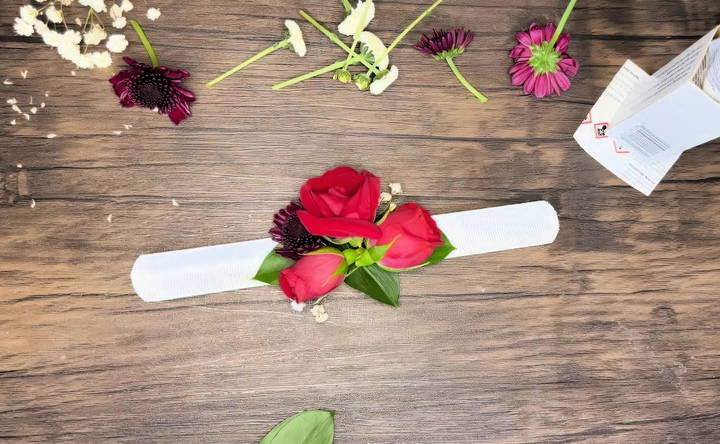
- Glue the flowers: Apply a small dab of glue to the stems of the flowers. Just like with the greenery, wait a few seconds for the glue to become tacky before attaching them.
- Build in layers: Start by adding a few flowers in the center of the corsage and work your way outward, making sure to cover any exposed ribbon. Alternate between different types of flowers for variety.
- Cover the stems: You can place some flowers on top of the others to cover the stems and make a full, lush design.
Step 5: Let It Dry and Finish
Once you're satisfied with the arrangement, it's time to finish up.
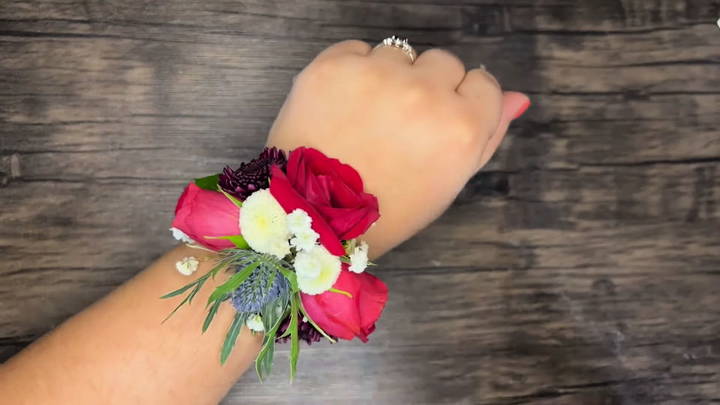
- Allow the corsage to dry: Let the glue dry for at least a couple of hours. Since Oasis glue is strong, your corsage will hold up well.
- Apply floral finishing spray: Use a floral finishing spray like Hawaiian Floral Mist or Crowning Glory to keep the flowers fresh. If you don't have a spray, lightly mist the corsage with water and store it in the fridge until it's time to wear it.
Tips for Long-Lasting Corsages
- Make the corsage 1 to 2 days before the event and store it in the refrigerator to keep it fresh.
- Mist the flowers lightly with water daily if you don't have floral spray.
Now that you've completed your first corsage using Oasis glue, let's move on to the second method using hot glue.
How to Make a Corsage with Hot Glue
If you're in a rush or don't have access to Oasis glue, hot glue can be a quick alternative. However, be aware that it can be slightly more difficult to work with since hot glue sets faster and isn't as flexible with flowers.
Step 1: Prepare the Bow
In this method, we'll start by preparing the bow, which will act as the base for the flowers.
- Choose a pre-made bow: To save time, purchase a fabric bow from a craft store. This eliminates the need for making a bow from scratch.
- Attach the bow to the cuff: Using a low-temp hot glue gun, apply glue to the back of the bow and attach it to the metal cuff. Let it sit for a few minutes to dry before proceeding.
Step 2: Prep and Attach Flowers
With the bow in place, you can now add flowers to the corsage.
- Prepare the flowers: Just like in the previous method, cut the flowers to a short stem length. Fresh flowers work best, but since you're using hot glue, avoid placing the glue directly on delicate petals to prevent burning.
- Glue the flowers to the bow: Apply hot glue to the bottom of the stems and quickly attach them to the bow. It helps to dip the flower stem in glue that has already been applied to a surface, rather than applying the glue directly to the flower.
- Add greenery and leaves: Place leaves in between the flowers to fill in gaps. Be careful, as hot glue can get messy and stick to everything.
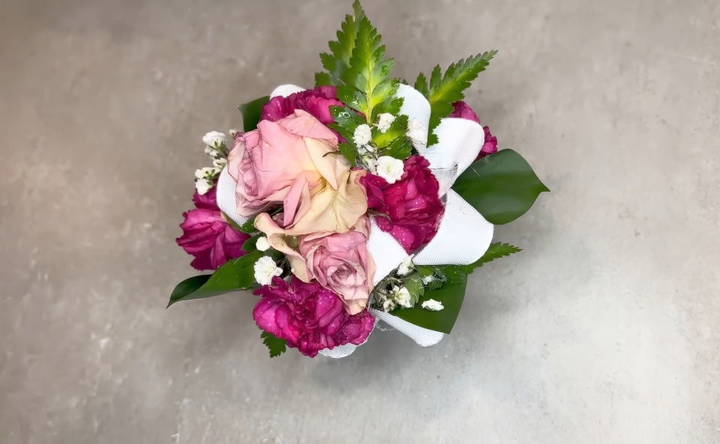
Step 3: Finishing Touches
After you've attached all the flowers and greenery, it's time to complete the corsage.
- Check for balance: Make sure the flowers are evenly distributed and that no stems are sticking out. If needed, add more leaves or small flowers to cover gaps.
- Let it dry: Allow the corsage to dry for a few minutes before moving it. Hot glue dries quickly but can be fragile, especially in cold temperatures.
- Use the corsage on the day of the event: Unlike the Oasis-glued corsage, this one should be made on the day of your event since hot glue can become brittle in the cold.
Final Tips for Success
- For Oasis Glue Corsages: These can be made up to two days in advance and stored in the fridge.
- For Hot Glue Corsages: It's best to make these on the day of the event to avoid issues with the glue.
- Bow Options: If you don't want to make your own bow, pre-made fabric bows are a great alternative and are readily available at stores like Dollar Tree or Michaels.
- Use lightweight flowers: Heavy flowers will weigh the corsage down and can cause it to shift on the wrist. Stick to small, lightweight blooms.
With these simple steps, you can make a beautiful corsage for any event. Whether you choose to use Oasis cold glue for a more professional look or hot glue for a quick and easy fix, the result will be a stunning, custom-made accessory. Have fun experimenting with different flowers and designs to match the occasion!
FAQs About How to Make a Corsage
Find answers to FAQs about how to make a corsage. Discover tips, steps, and materials needed for making beautiful, handmade corsages.
Small, lightweight flowers such as spray roses, mini carnations, and baby’s breath are ideal. Avoid large, heavy blooms like full-sized roses, which can weigh the corsage down and make it uncomfortable to wear.
No, regular glue may damage the flowers and won’t hold up as well. Oasis cold glue is specifically designed for floral arrangements as it’s strong and flower-safe. If you don’t have it, hot glue is an option, but it’s not as reliable.
If using Oasis glue, you can make the corsage 1-2 days in advance. Store it in the refrigerator and mist it lightly with water to keep it fresh. For hot glue corsages, it’s best to make them on the day of the event.
For Oasis-glued corsages, store them in the fridge and lightly mist them with water or use a floral spray like Crowning Glory to help them stay fresh. Hot glue corsages should not be refrigerated as the glue may become brittle.
Yes! A bow is optional. You can make a corsage solely with flowers and greenery by following the same steps for gluing them onto the base. Bows are simply an added decorative element.
If the flowers are moving, check that they were properly glued. Oasis glue should set after 30 seconds, so make sure the glue was tacky when attaching the flowers. Reinforce any loose pieces with a bit more glue.
Yes, artificial flowers can be used and are a great long-lasting alternative. You can still follow the same techniques for gluing the flowers to the base.
To avoid damaging delicate petals with hot glue, apply the glue to a surface and dip the flower stems into it, rather than directly applying glue to the petals. A low-temp glue gun is also recommended.


