If you're looking for a way to add a personal touch to your projects or simply enjoy the satisfaction of crafting your own hardware, learning how to make a DIY hinge can be both fulfilling and highly useful. This guide will take you through a comprehensive, step-by-step process for creating metal hinges using basic tools, without requiring advanced equipment. Whether you're a seasoned DIY enthusiast or a beginner looking for a new project, this tutorial will help you make functional and durable hinges for various applications.
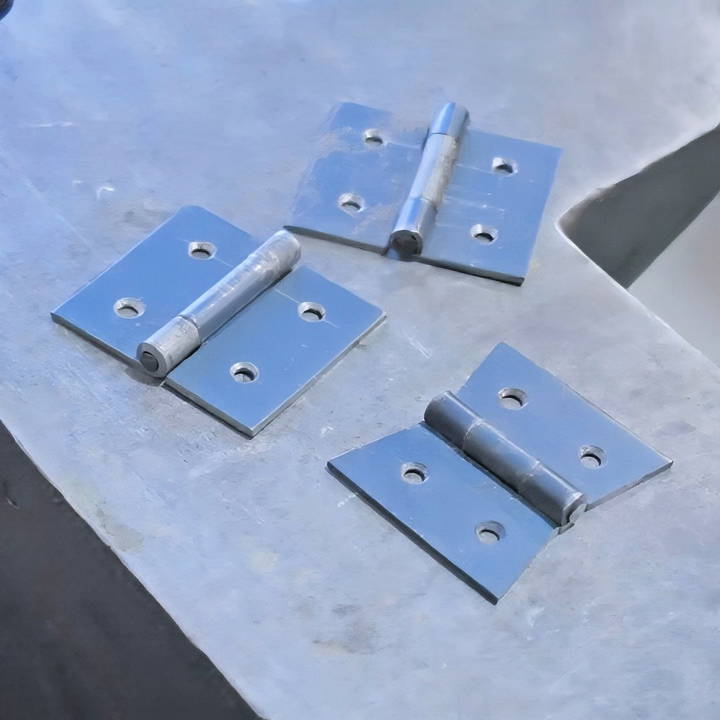
Why Make Your Own Hinges?
There are several reasons why making your own hinges might appeal to you:
- Customization: Make hinges tailored to your project specifications.
- Cost-Effectiveness: Save money on hardware, especially for larger projects.
- Satisfaction: The sense of accomplishment from making something from scratch is priceless.
- Craftsmanship: Handmade hinges can add a unique, authentic feel to your projects.
With a few basic tools and materials, you can make your own hinges, even if you don't have access to specialized machinery. Here's how.
Tools and Materials You'll Need
To begin making your own hinges, you'll need the following tools and materials:
- D2 steel or mild steel: This is the material for your die and hinge. While D2 steel is preferred for its hardness, mild steel will also work.
- Framing nails (3mm): These are used as pins for your hinges.
- Angle grinder or circular saw: For cutting the steel.
- Drill with 7mm and 1/8 inch drill bits: For making holes for the hinge barrel and pin.
- Needle file: For smoothing out rough edges.
- Fly press or vise: To form the hinge roll.
- Oil: Used during the pressing process to ensure smooth forming.
- Hacksaw (optional): If you don't have access to a bandsaw, a hacksaw can be a good alternative.
- Ball peen hammer: For securing the hinge pins.
Step by Step Instructions
Learn to make custom hinges with our detailed DIY guide. Follow the steps from preparing the die to finishing touches for perfect results!
Step 1: Preparing the Die
The first step is to make a die, which is the tool that will form the hinge. In this guide, we use D2 steel, but you can also use mild steel. The thickness of the steel should be 1.6mm, which is equivalent to 16 gauge.
- Drill the hole for the hinge roll: The size of the hinge roll is determined by adding the thickness of the steel (1.6mm) to the diameter of the pin (3mm), giving you 6.2mm. Use a 7mm drill bit to drill a hole in the steel for the hinge barrel. This will ensure that there's enough clearance for the hinge to swivel smoothly.
- Cut the slot for the hinge roll: After drilling, make a cut down to the edge of the hole. Ideally, this should be done with a slitting saw on a milling machine. However, if you don't have access to this equipment, you can use a circular saw or angle grinder. A 1.5mm thick blade is recommended for the cut. Clamp a guide along the steel to ensure that your cut stays straight and precise. Be careful not to overheat the blade, as this can cause it to wear down prematurely.
- Refine the slot: After cutting the slot, you'll want to ensure that it transitions smoothly into the hole. Use a needle file to remove any rough edges or steps. This will make the forming process smoother later on.
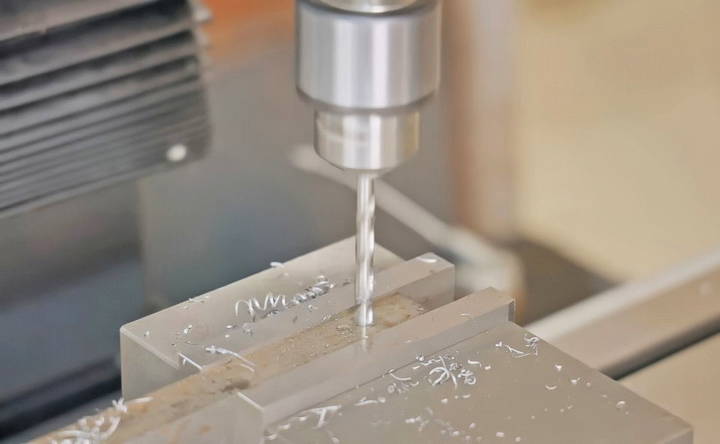
Step 2: Testing the Die
Now that your die is ready, it's time to test it.
- Cut a test blank: Use a piece of steel to make a small blank, which will be formed into a hinge. Slightly round over one edge of the blank to help it fit better into the die.
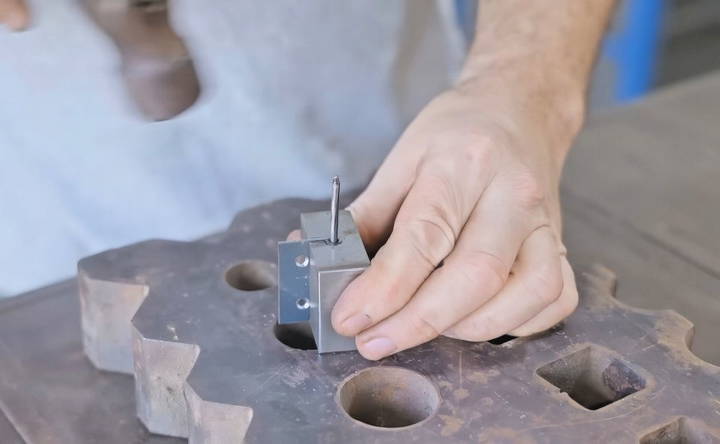
- Form the hinge roll: Place the blank into the die and add a bit of oil on either side of the piece to ensure smooth forming. Use a fly press or any other pressing tool you have available. Gently press the blank into the die, inserting a nail to help guide the forming process. Continue pressing until the roll meets the face of the hinge.
- Drill out the barrel: To clean up the barrel of the hinge, use a 1/8 inch drill bit to ensure that the pin will fit properly. The 3mm pin should have a little clearance, allowing the hinge to swivel freely.
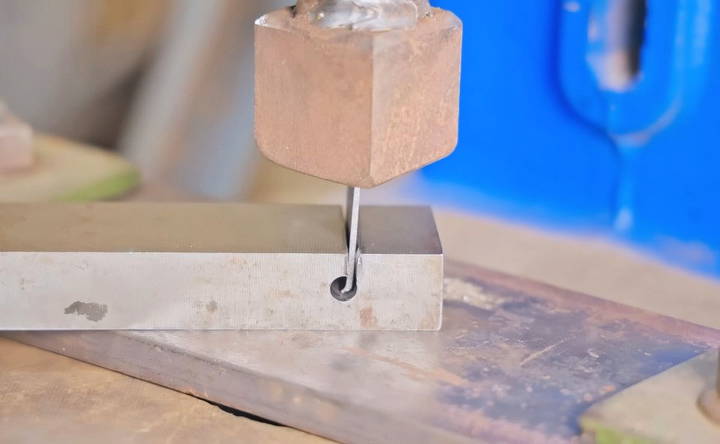
Step 3: Making the Hinges
Once you've tested the die and confirmed that it works, you can begin making your actual hinges.
- Cut the steel strips: Use your shears or angle grinder to cut a strip of steel, then cut the individual blanks for the hinges. You'll need two blanks for each hinge.
- Mark out the hole positions: Using a marker, mark the positions where you'll need to drill holes in the hinge plates for attaching them to your project. Make sure that both sides are marked identically.
- Countersink the holes: Deburr one side of each blank and countersink the holes on the opposite side. This ensures a smooth surface where the screws or nails will sit.
- Cut and file the blanks: If you have access to a bandsaw, you can use it to cut out the shape of the hinge. If not, a hacksaw will work just as well. File the edges down to refine the shape, but don't worry about getting them perfect yet. The final fitting will happen after the rolls are formed.
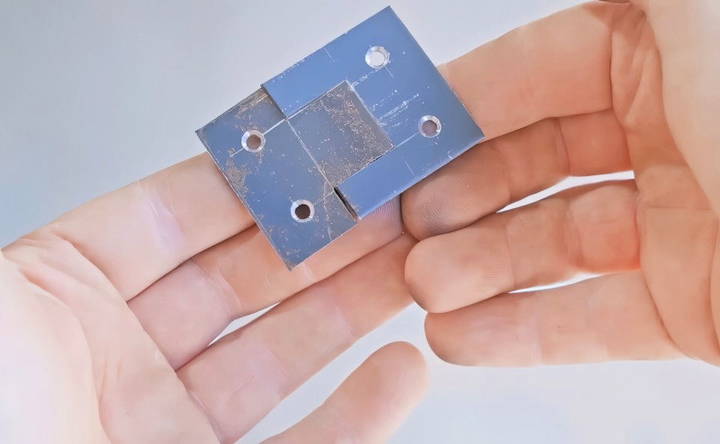
Step 4: Forming the Hinge Rolls
Now that your blanks are cut and prepared, it's time to form the hinge rolls.
- Place the blank into the die: Just like with your test blank, place each blank into the die, making sure that the edges are slightly rounded over. Add oil to the edges to help the forming process.
- Press the rolls: Using your fly press or vise, press the blank into the die. If you're using a vise, it may take a bit more effort, but it should work just fine for smaller pieces. Once the roll is formed, insert the nail to keep the roll neat and finish pressing.
- Clean up the rolls: The ends of the rolls might bulge slightly after being formed. Use a file or grinder to smooth them down. The goal is to ensure that the pin can slide through easily but with minimal clearance.
- Secure the pin: After inserting the pin, trim it so that it sticks out slightly on both ends. Use a ball peen hammer to gently peen the ends of the pin over, securing it in place.
Step 5: Refining the Hinges
Once the rolls are formed and the pin is in place, the two halves of the hinge may need a bit more refining to fit together perfectly. Use a file to remove any high spots or bulges from the forming process.
Step 6: Finishing the Hinges
Now that your hinges are fully formed, you can finish them to suit your project.
- Blackening: If you prefer a more rustic look, you can blacken the hinges using a heat treatment process, which involves heating the steel and then quenching it in oil.
- Painting: For a cleaner, more modern finish, painting the hinges can be a great option. Be sure to use paint that is suitable for metal surfaces and will provide long-lasting protection against rust.
- Brass Hinges: If you're looking for a more elegant finish, brass can be used instead of steel. Brass hinges can add a touch of sophistication to your projects.
Alternative Hinge Designs
There are a variety of hinge designs you can make with this basic technique. For example:
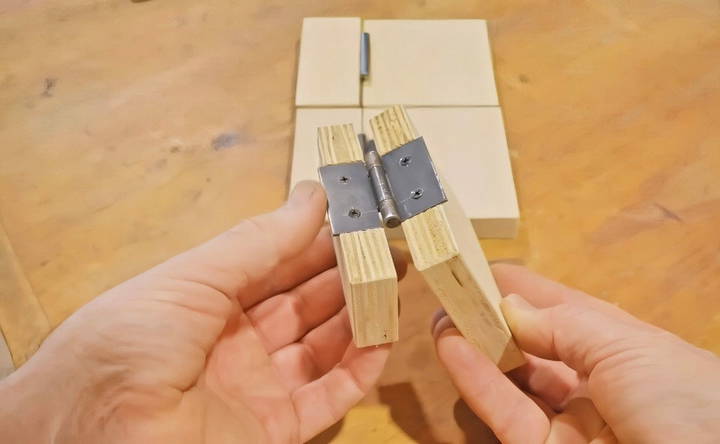
- Butt Hinges: These are the most common type of hinge and can be recessed into the door or cabinet for a clean finish.
- Butterfly Hinges: These decorative hinges sit on the surface of the door and frame, offering a more ornate look.
- Quick and Easy Hinges: If you need to produce a large number of hinges quickly, you can streamline the process by eliminating the need for cutouts or holes during the initial forming phase. Holes can be drilled later on.
Final Thoughts
Making your own DIY hinges is a fun and rewarding project that allows you to make custom hardware for any application. With a few basic tools and materials, you can craft strong, functional hinges that add a personal touch to your projects. Whether you're looking for a rustic, blackened finish or a sleek, modern design, the process of making your own hinges can be adapted to suit your style and needs.
By following the steps outlined in this guide, you can make your own high-quality hinges using simple techniques and tools. Now that you've learned the process, it's time to gather your materials, fire up your tools, and get started on your very own DIY hinge project. Happy crafting!
FAQs About DIY Hinges Using Basic Tools
Discover everything you need to know about DIY hinges using basic tools. Simple steps and FAQs to ease your hinge installation and repair projects.
You can substitute a milling machine with an angle grinder or a circular saw with a thin blade (1.5mm). For cutting the slot in the die, clamp a guide to maintain a straight cut.
D2 steel is recommended for its hardness, but mild steel is also a good alternative. Mild steel may not last as long, but with proper oiling, you can still produce many hinges before needing a replacement.
A vise works well for smaller projects. Although it may require more effort than a fly press, it is still effective for pressing small pieces of steel into the hinge die.
While heat-treating isn’t strictly necessary for smaller projects, it can increase the lifespan of the die, especially if you’re making many hinges. You can heat-treat later when it's more convenient.
Once the hinge is assembled, trim the pin slightly on both ends and peen them over with a ball peen hammer. This prevents the pin from falling out.
Use a file to remove any high spots or bulges maked during the forming process. A few seconds of filing should result in a perfect fit.
Yes, brass hinges can be made using the same method, but ensure you use a tighter pin to keep the hinge secure. Brass hinges may need a different type of forming due to their softer material.
For a simpler approach, use two blanks to form the rolls and fit them together with a pin. You can drill the holes afterward to avoid weakening the structure during the forming process.
If your steel is too tough or the cutting process is slow, consider using a higher-quality blade or applying less heat during cutting to prevent the steel from hardening. Additionally, using a file or chisel after initial cutting can make finishing smoother.


