Making a fleece tie blanket is a fun and straightforward project for anyone interested in crafting. You'll need some basic materials like fleece fabric, scissors, and a ruler. This guide will go through each step, ensuring you can complete your project with ease. Making a fleece tie blanket is a great way to add a personal touch to your home decor or make a thoughtful gift.
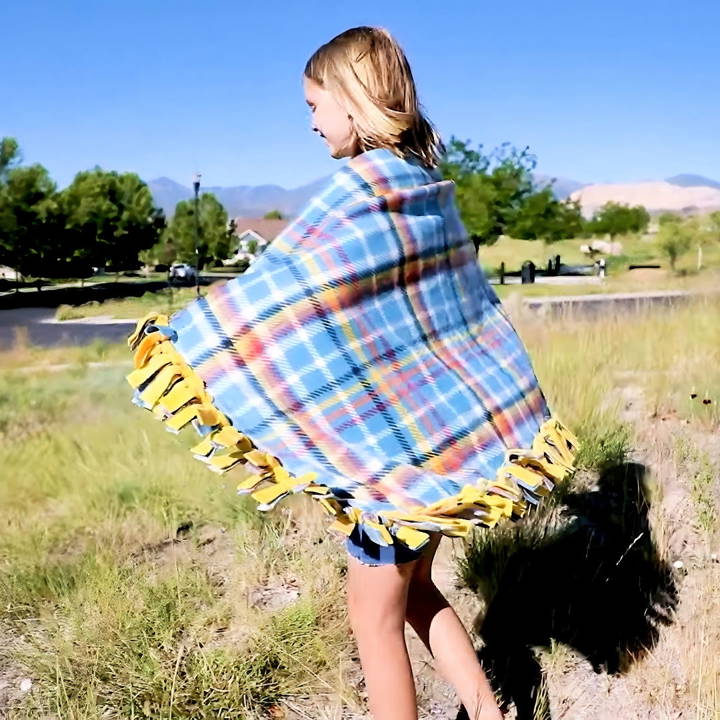
Follow these simple instructions to enjoy a cozy and custom accessory. From selecting the right fabric to tying perfect knots, this process guarantees a rewarding experience.
Ready to get started? Read on to explore detailed steps and tips for making a beautiful fleece tie blanket.
Why You Need Certain Materials
Before diving into the steps, it's crucial to understand why each material is needed. Fleece, for starters, is the heart of this project. Its warmth and softness make it the perfect choice for a cozy blanket.
The ruler, scissors, and rotary cutter, on the other hand, are essential for ensuring your cuts are clean and precise, which is vital for the overall look and longevity of your blanket. Lastly, using the free templates from FleeceFun.com is a game-changer. They simplify measuring and cutting, saving you hours and ensuring uniformity in your ties.
Step by Step Instructions
Learn how to make a fleece tie blanket with our easy, step-by-step guide. Follow these simple instructions to make your cozy DIY project today!
Step 1: Prep the Fleece
The first step is always prepping your materials. For me, snipping off the selvages was an enlightening starting point—it's where I learned the importance of the fleece's edges. The selvages are those factory edges that might have holes or text on them. Getting rid of them using a rotary cutter and mat was not just necessary but therapeutic, enabling a clean workspace and material ready for transformation.
Step 2: Cutting the Corners
Accuracy is key here. Initially, I was baffled at how cutting small squares on each corner could impact the final look of the blanket. But, as I progressed, it became clear. This step prevents the bunching of fabric and ensures a smooth edge all around. It was a simple act but set the tone for the care and precision needed throughout the project.
Step 3: Cutting the Ties
This is where those templates really shine. At first, measuring and cutting each tie felt daunting. Then, I printed out the templates on sturdy cardstock, and suddenly, what seemed like an endless task became quick and easy. The trick is aligning the templates correctly and ensuring you're cutting through both layers of fleece, saving a tremendous amount of time and ensuring each tie was uniform.
Step 4: Tying the Ties
Choosing the tying method was an adventure. Initially, I experimented with the loop pull-through method, appreciating its simplicity and the neat finish it provided. The square knot method was next, but it wasn't exactly my cup of tea. It felt bulkier, and the blanket didn't lie as flat as I wanted. The braid, however, was a revelation. It added an elegant touch to the blanket, though it was slightly more complex. Each method has its place, and understanding the final look you want is crucial.
Post-Project Thoughts
Reflecting on this project, a few insights and tips come to mind:
- The larger your work surface, the better. A big dining table or a clean floor can make organizing and handling your materials much easier.
- Washing the blanket after completion but before gifting or donating is a must—this simple act cleans it up and fluffs it out.
- When choosing fleece, go for no-pill or blizzard fleece. Their quality and texture are perfect for this project, and they handle the tying process well.
- Lastly, always have sharp tools. A dull blade can make cutting fleece more difficult than it needs to be.
Advanced Tying Techniques
Transform a simple fleece tie blanket into personalized art with advanced, easy-to-follow knotting techniques.
The Square Knot
- Step 1: Lay out your fleece flat on the ground and cut strips along each edge, about 1-2 inches wide and 4-5 inches deep.
- Step 2: Take a strip from the top layer and one from the bottom layer and tie them together in a basic knot, just like the first step of tying your shoelaces.
- Step 3: Now, tie these two strips again to make a square knot. Pull gently to secure the knot without stretching the fleece.
The Loop Knot
- Step 1: Cut your strips as you would for the square knot.
- Step 2: Instead of tying the top and bottom strips together, make a loop with the top strip and pull the bottom strip through it.
- Step 3: Tighten the loop by pulling the bottom strip, making a neat, single-loop knot.
The Braided Knot
- Step 1: This time, cut three small strips side by side on each edge of the blanket.
- Step 2: Braid these strips together until you reach the end, then tie a standard knot to secure the braid.
- Step 3: Repeat this process along each side of the blanket for a braided edge.
Tips for Perfect Knots
- Consistency is Key: Make sure all your strips are the same width and length for a uniform look.
- Gentle Tension: When tying your knots, pull just enough to secure them without distorting the fleece.
- Pattern Play: Alternate knot styles or colors for a fun, playful pattern.
Enhance your fleece tie blankets with advanced tying for a unique and sophisticated touch. Handcrafting brings a personal element to each project.
Size Customization
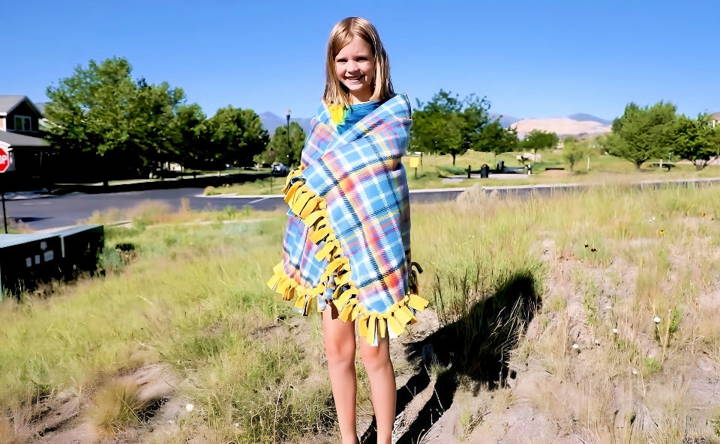
Consider the size when making a custom fleece tie blanket for yourself or as a gift. Whether it's a throw for the couch or a bed-size blanket, here's how to tailor it.
Understanding Blanket Sizes
Before you start cutting and tying, it's important to know the standard blanket sizes:
- Baby: Typically measures about 25x30 inches, ideal for a newborn or as a lap blanket.
- Throw: A common size is 50x60 inches, great for personal use on the couch or as a decorative piece.
- Twin: Usually around 66x90 inches, perfect for a single bed.
- Queen: Around 90x90 inches, suitable for a queen-sized bed.
- King: Approximately 108x90 inches, designed to fit a king-sized bed comfortably.
Calculating Material Needs
Once you've decided on the size, calculate the amount of fleece needed:
- Determine the Final Dimensions: Decide on the width and length of your finished blanket.
- Add for Fringe: Add an extra 8-10 inches to both the width and length to account for the fringe (4-5 inches on each side).
- Purchase Accordingly: Buy enough fleece to meet these dimensions, remembering you'll need two layers for a tie blanket.
Cutting and Tying for Different Sizes
- For Smaller Blankets: Cut smaller fringes (about 1-2 inches wide) to keep the proportions pleasant.
- For Larger Blankets: You may opt for wider fringes (up to 3 inches wide) for a bolder edge.
Tips for Perfect Sizing
- Measure Twice, Cut Once: Always double-check your measurements before cutting.
- Keep It Even: Use a ruler or a cutting mat to ensure your fringes are even and straight.
- Mind the Gap: When tying knots, maintain consistent spacing to avoid bunching or gaps.
Follow these steps to tailor a fleece tie blanket to any size, making it functional and heartfelt. Enjoy the process of making something special.
Personalization Ideas
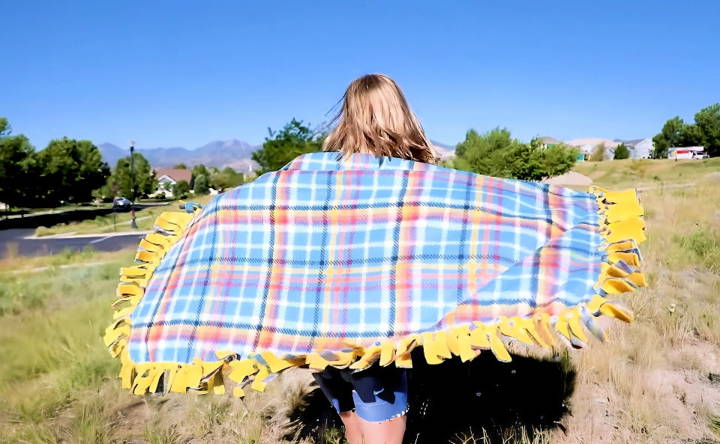
Making a fleece tie blanket personal can turn it into a treasured keepsake. Here are simple, creative methods to achieve this.
Embroidery Accents
- Choose a Design: Pick a simple pattern or initials to add a personal touch.
- Select Thread Colors: Choose colors that complement the fleece for a cohesive look.
- Embroider by Hand or Machine: Use an embroidery hoop to maintain tension if you're doing it by hand.
Fabric Markers for Artwork
- Make Your Art: Draw or write directly on the fleece with fabric markers.
- Set the Ink: Follow the marker instructions to set the ink, usually by ironing.
- Involve Kids: Let children draw their own pictures for a special gift.
Appliqué Shapes
- Cut Out Shapes: Use fabric scissors to cut shapes from complementary fabric.
- Iron-On or Sew: Attach the shapes with iron-on adhesive or by sewing around the edges.
- Layer for Effect: Layer different fabrics to make a 3D effect.
Adding Pockets
- Cut a Pocket Shape: A simple square or rectangle works well.
- Sew or Glue: Attach the pocket to the blanket with fabric glue or a sewing machine.
- Functional and Fun: Pockets can hold a book or remote or keep hands warm.
Themed Blankets
- Choose a Theme: Sports, animals, holidays, and favorite characters are great starting points.
- Gather Accessories: Use themed patches, stickers, or fabric prints.
- Tie It Together: Incorporate colors and elements of the theme in your knots and fringe.
Personalizing your fleece tie blanket adds warmth, coziness, and character. Whether for yourself or as a gift, this effort is always appreciated.
FAQs About Making a Fleece Tie Blanket
Discover FAQs about making a fleece tie blanket, from fabric selection to knot techniques. Perfect for crafting cozy, personalized gifts!
First, lay both pieces of fleece flat, one on top of the other, with the print sides facing outward. Make sure the edges align. Trim any uneven edges or selvages. Then, cut out a square from each corner of the fleece—this will help when tying the knots later.
Cut strips along all four sides of the fleece, making each strip about 1 inch wide and 4-5 inches long. Once all strips are cut, start tying them together. Take one strip from the top layer and one from the bottom, and tie them into a knot. Continue this around the entire blanket.
Yes, there are several methods:
The loop and pull method involves looping the strips and pulling one through the other.
The square knot method uses a basic knotting technique to secure the strips.
The braided method involves braiding the strips for a more decorative edge.
Fleece tie blankets are machine washable. Wash them in cold water on a gentle cycle and tumble dry on low heat. Avoid using fabric softeners or ironing the fleece, as this can damage the material.
There are several creative methods to finish the edges of your fleece tie blanket for a unique look:
Double Looped Fringe: This method involves making two loops with each strip before tying the knot, making a fuller and more textured edge.
Knotted Fringe: Simply tie the strips into knots, which is the traditional and most common method.
Overhand Knotted Fringe: Similar to the knotted fringe but with an overhand knot, giving it a neater appearance.
Braided Edge: For a more intricate look, braid the strips before knotting them at the end. This method takes a bit more time but results in a decorative edge.
Closing Thoughts
In conclusion, how to make a fleece tie blanket is a simple yet fulfilling craft project. By following these steps, you can make a cozy and unique blanket in no time. Enjoy this creative process and the warmth of your new fleece tie blanket.


