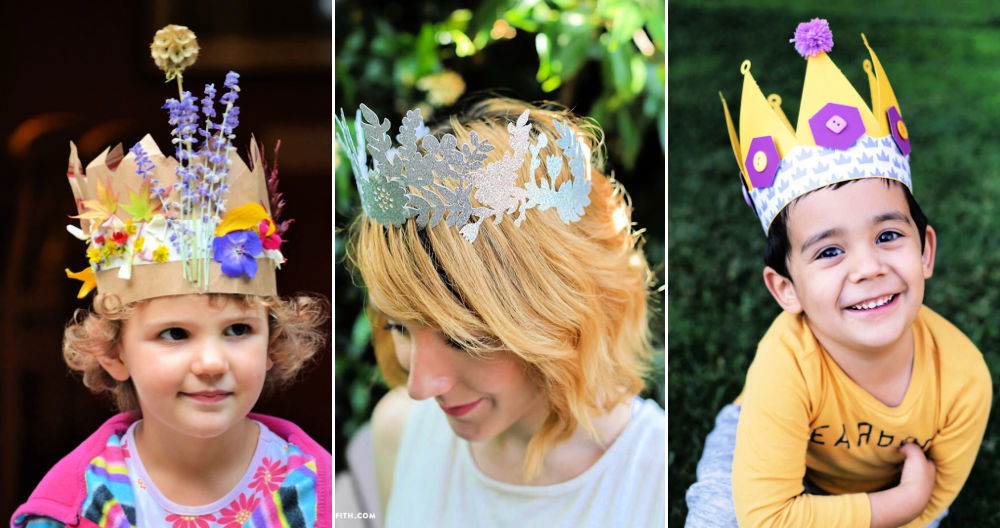
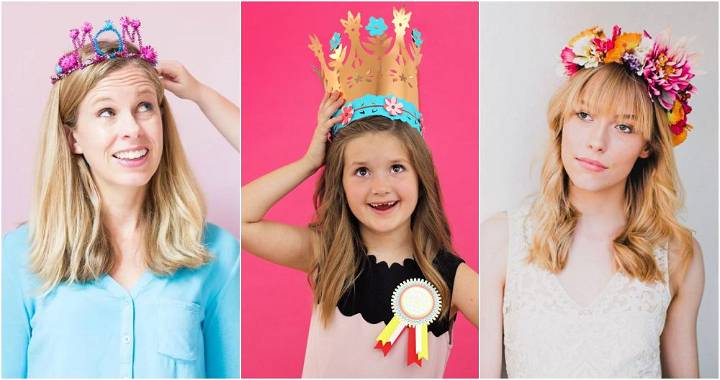
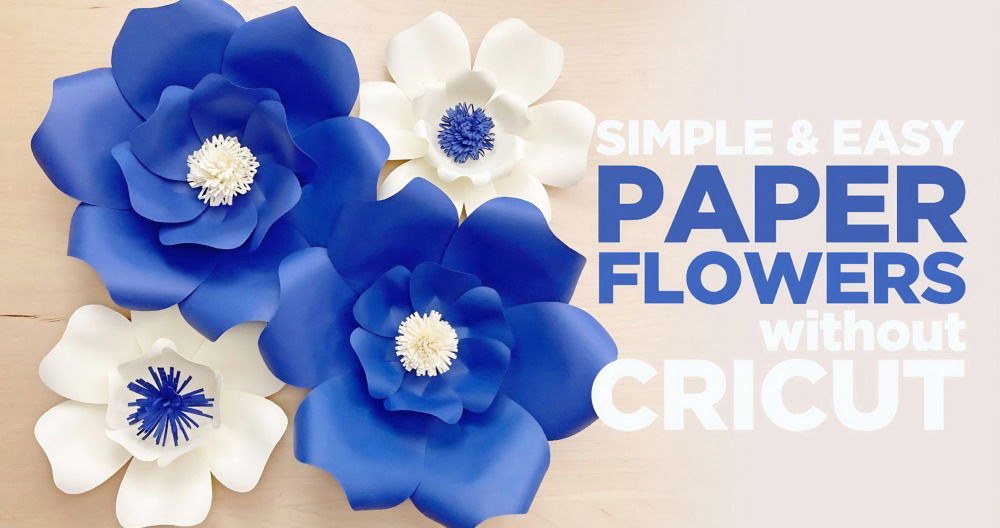
Making something with your hands can be really fulfilling. Making a DIY flower crown is such an enjoyable and easy craft. I remember the first time I made one for a spring festival. The vivid colors and fresh scents brought so much life to the event. I used various flowers and some basic supplies that were easy to find. Anyone can pick this up quickly and have fun with it.
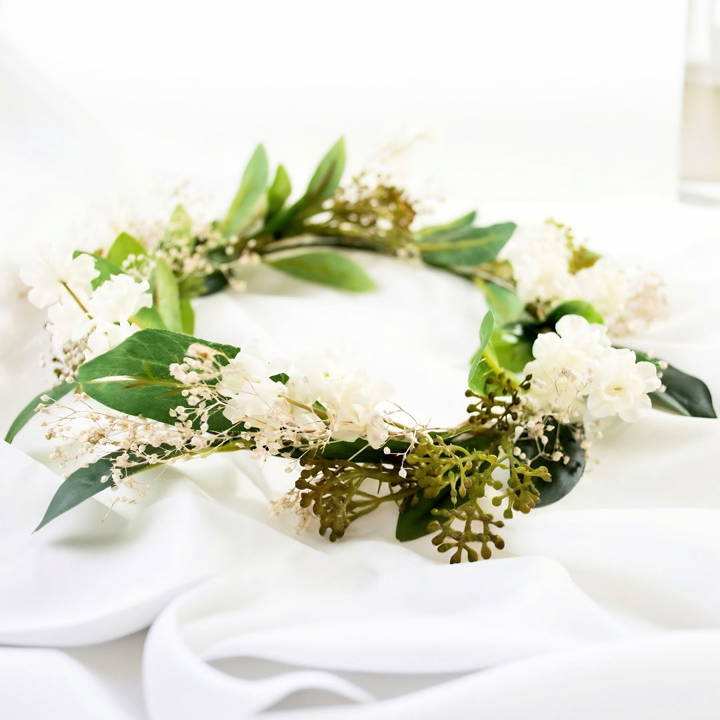
If you need a simple and unique flower crown project for any event, you're in the right place. Follow my guide on how to make your own flower crown. It's a fantastic way to add a personal touch to any occasion. Just gather the materials and follow the steps. This will give you the confidence to make something beautiful and heartfelt.
Materials You'll Need
- Jewelry Wire: This acts as the base of your crown. It's flexible, easy to shape, and holds the structure of your flower crown.
- Floral Tape: Needed for wrapping around the wire, it not only conceals the metallic shine but also provides a sticky base for the flowers and leaves to adhere to.
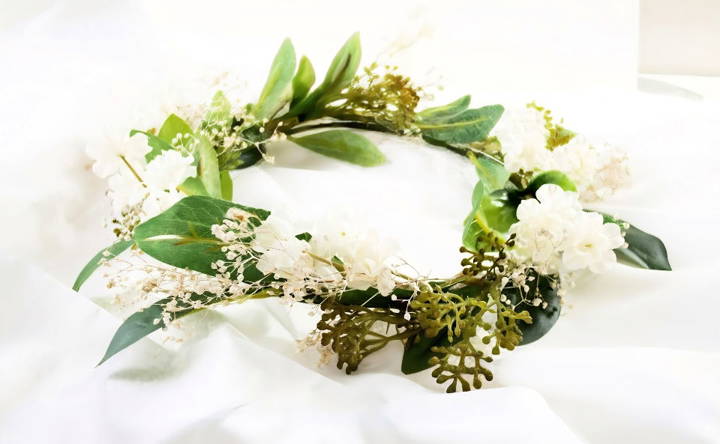
- Leafy Greens: They give your crown a lush, vibrant backdrop, contrasting beautifully with the flowers.
- White Dried Baby's Breath: These add a delicate touch and fill out any gaps between larger elements.
- Little White Flowers: The main highlight of your crown. You can choose any type based on your preference or what's available seasonally.
- Hot Glue Gun: Used for securing your floral elements to the wire, ensuring they stay in place.
- Scissors: For cutting the wire, floral tape, and trimming the flower stems.
Step by Step Instructions
Learn how to make a flower crown step by step with our easy instructions. Perfect for any occasion or DIY project! Quick and beautiful results.
Step 1: Measure and Cut Your Jewelry Wire
Firstly, measure the jewelry wire around your head where you'd like the crown to sit. It's better to add an extra inch for adjustments. Once you've got the length, double it up for extra strength and cut it with scissors.
Step 2: Wrap With Floral Tape
Take your floral tape and start wrapping it around the doubled wire. Floral tape is unique; the more you stretch it, the stickier it gets, helping everything stay in place. Wrap it tightly and ensure the entire wire is covered.
Step 3: Arrange Your Leafy Greens
Before attaching, lay out your leafy greens around the wire to plan their placement. Once satisfied, use the hot glue gun to adhere them to the wire base. This step begins to bring your flower crown to life.
Step 4: Add the Baby's Breath
Distribute the baby's breath evenly around the crown for a whimsical effect. A dot of hot glue will secure these in place. The baby's breath acts as a beautiful filler, making your crown look fuller and more elegant.
Step 5: Place the White Flowers
Now, for the main event - the white flowers. Cut their stems to about an inch long and decide on their arrangement. Keep an even spacing or group them for a more dramatic effect. Once you're happy with the look, glue them onto your crown.
Step 6: Final Touches
After all the glue has dried, try on your crown. If there are any loose elements or if you see areas that could use a bit more greenery or flowers, now is the time to add them. You might also want to wrap some additional floral tape around the crown for extra security.
Customization Ideas
Making a flower crown is a delightful way to express your personal style and creativity. Whether you're making one for a special event or just for fun, here are some customization ideas to make your flower crown uniquely yours:
Choose a Theme
Start by deciding on a theme. Are you going for a romantic, bohemian, or perhaps a vintage look? Your theme will guide the types of flowers and colors you choose.
Select Your Flowers
Pick flowers that match your theme and personal preference. Consider using a mix of sizes and textures to add depth. For example, larger blooms like roses or peonies can be the focal point, while smaller flowers like baby's breath can fill in gaps.
Add Greenery
Incorporate different types of greenery for a lush look. Eucalyptus, ferns, and ivy are great options that also add a lovely fragrance.
Play with Colors
Color is powerful. Use colors that complement your outfit or the season. Soft pastels are perfect for spring, while rich jewel tones suit the fall.
Introduce Non-Floral Elements
For a unique touch, weave in non-floral elements like ribbons, lace, or even small fruits like berries. This adds texture and interest to your crown.
Consider the Size
The size of your crown should match the occasion. A delicate, thin crown might be suitable for a formal event, while a fuller, more robust crown could be ideal for a festival.
Think About Longevity
If you want your crown to last beyond a day, consider using dried flowers or high-quality artificial flowers. They can be just as beautiful and are a lasting memento.
These tips will help you make a unique and beautiful flower crown that connects you to nature's beauty and makes you feel special.
Styling Tips with Visual Guides
When it comes to styling a flower crown, the possibilities are as vast as your imagination. Here are some tips to help you wear your flower crown with flair and confidence:
For Short Hair
- Sleek and Simple: Place the crown on top of your head and secure it with bobby pins. Keep the rest of your hair sleek and straight for a modern look.
- Playful Pixie: If you have a pixie cut, angle the crown towards the back of your head for a whimsical touch.
Medium-Length Hair
- Half-Up, Half-Down: Pull the top half of your hair back and place the crown on the divide. This style is both practical and pretty.
- Loose Waves: Curl your hair into soft waves and set the crown on top, allowing strands to flow naturally around it.
For Long Hair
- Boho Braids: Weave your hair into loose braids and wrap them around the crown for a bohemian vibe.
- Elegant Updo: Gather your hair into a low bun or chignon and nestle the crown in front for a touch of elegance.
Securing the Crown
- Bobby Pins: Use bobby pins that match your hair color to secure the crown in place discreetly.
- Invisible Elastic: An elastic band can be attached to the ends of the crown for a snug fit.
Comfort Tips
- Padding: If the wire of the crown feels uncomfortable, add a bit of padding where it touches your head.
- Balance: Ensure the crown is not too tight or too loose to avoid headaches or slippage.
The key to pulling off a flower crown is to wear it with confidence. It's a statement piece that should make you feel beautiful and connected to nature.
Maintenance and Preservation
Keeping your flower crown looking fresh and extending its life can be simple with the right care. Here's how to maintain and preserve your floral masterpiece:
Immediate Care
- Hydration: As soon as you make your crown, mist it lightly with water to keep the flowers hydrated.
- Refrigeration: Store the crown in the fridge if you're not wearing it immediately. This can help the flowers stay fresh for a day or two.
During Use
- Avoid Heat: When wearing your crown, try to stay out of direct sunlight and heat, which can wilt the flowers quickly.
- Gentle Touch: Handle your crown delicately to prevent bruising the petals.
Long-Term Preservation
- Drying: To preserve your crown, hang it upside down in a warm, dry place away from direct sunlight. This method works well for most flowers and will give your crown a rustic look.
- Pressing: For a different approach, you can press individual flowers from your crown in a heavy book. After a few weeks, they'll be flat and dry, perfect for framing or other crafts.
- Silica Gel: If you want to maintain the flower's shape and color, consider using silica gel. Bury the flowers in the gel, and they'll dry out while preserving most of their original appearance.
Artificial Alternatives
- Faux Flowers: If you prefer a maintenance-free option, use high-quality artificial flowers. They can be just as stunning and last indefinitely.
By following these tips, you can enjoy your flower crown for longer, whether as a wearable accessory or as a cherished keepsake.
FAQs About How to Make a Flower Crown
Learn the essential steps and tips on how to make a flower crown with our comprehensive FAQs. Perfect for any crafting enthusiast!
The time it takes to make a flower crown can vary depending on the complexity of your design and your experience with crafting. On average, it might take anywhere from 30 minutes to an hour. If you’re new to making flower crowns, give yourself some extra time to experiment.
Absolutely! Flower crowns are highly customizable. Feel free to select blooms and foliage that reflect your personal style or match a specific theme. Mixing different colors, sizes, and types of flowers can make a unique and eye-catching crown.
Floral tape is recommended because it’s specifically designed to stretch and stick to itself, securing the flowers in place. However, if you don’t have floral tape, you can use thin green duct tape or even clear adhesive tape in a pinch. Just be aware that these alternatives may not hold as well or look as neat.
To keep your flower crown fresh, lightly mist it with water, wrap it in tissue paper, and store it in the refrigerator. This will help maintain the flowers’ vibrancy and prevent wilting. Just be sure to keep it away from fruits and vegetables, which emit gases that can cause flowers to age faster.
To ensure your flower crown stays in place, you can use hairpins to attach it to your hair. Slide the pins over the floral wire and into your hair, especially if you have a specific hairstyle. For a more secure hold, you can also tie ribbons to the ends of the crown and fasten it beneath your hair at the nape of your neck.
Conclusion: Wear or Share Your Creation
Starting today, you can craft a DIY flower crown that fits any special day. By doing this, you'll not only save money but also gain a new skill. Trust me, the sense of achievement and joy you'll feel is worth it. Give it a try, and you'll be amazed by what you can make!


