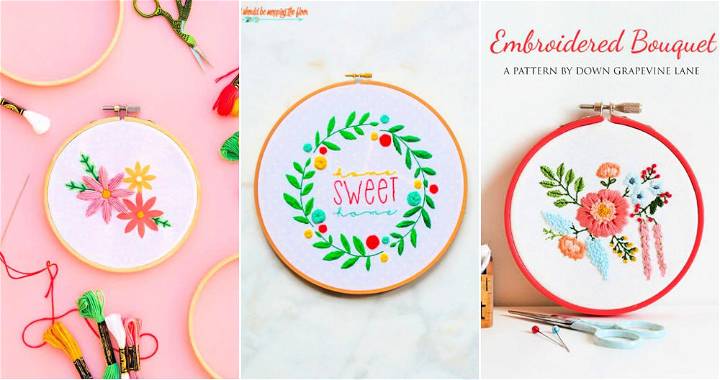
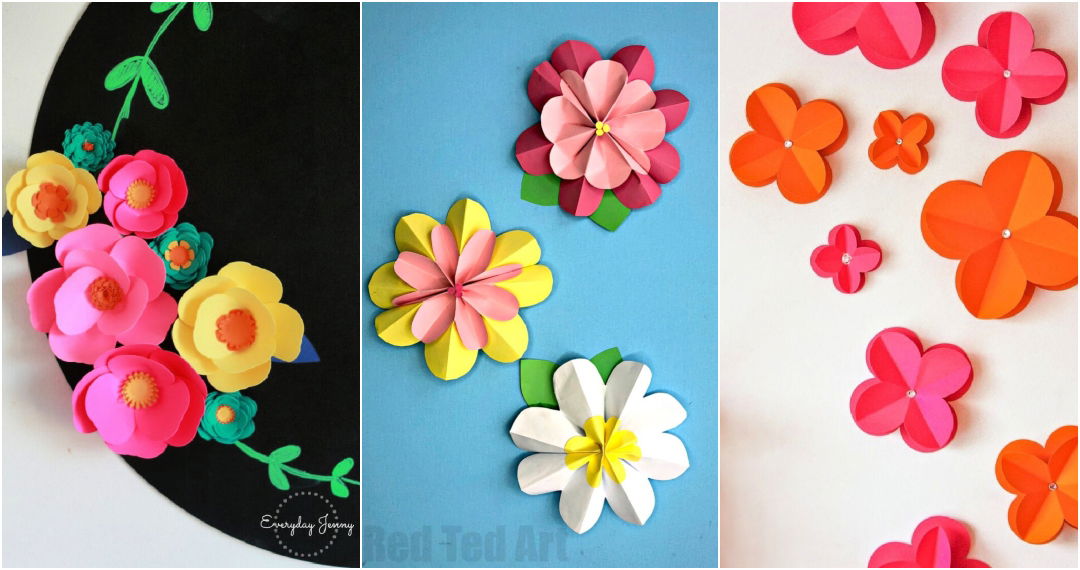
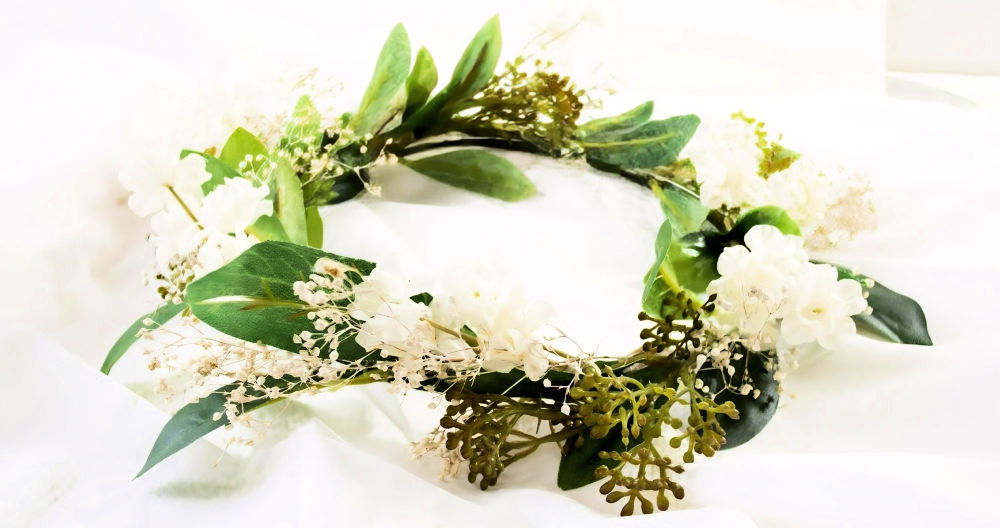
Making a beautiful DIY flower wreath is a wonderful way to add a personal touch to your home decor. The first time I made a flower wreath, I felt excited and a bit nervous. I gathered all the supplies: artificial flowers, a wreath frame, hot glue, and some ribbon. Watching it come together step by step was very fulfilling.
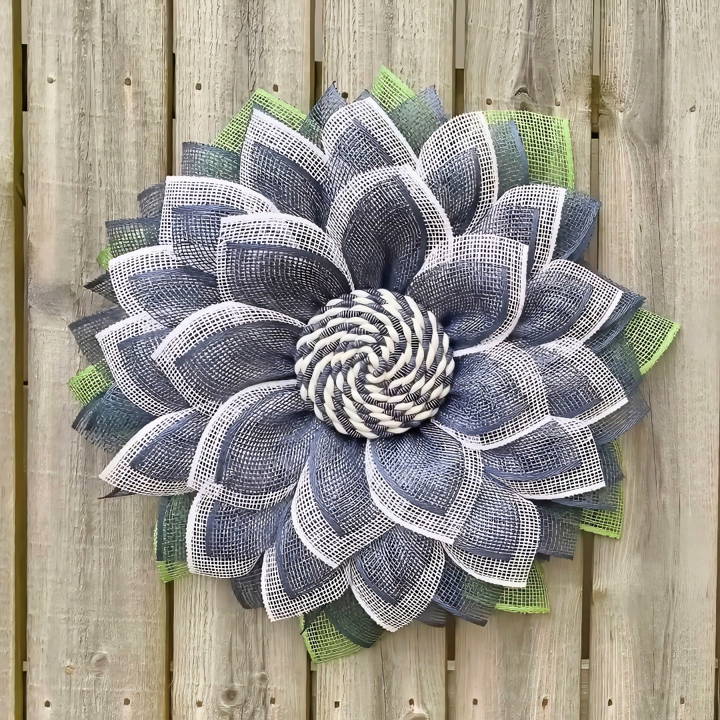
Making your own DIY flower wreath is simpler than it sounds. Start by arranging your flowers on the frame to see how they look. Once you're happy with the design, use hot glue to secure them. Add some ribbon or greenery if you like. Before you know it, you'll have a unique, handmade decoration that brightens your space.
Materials Needed and Their Importance
Before diving into the creative process, gathering the right materials was essential:
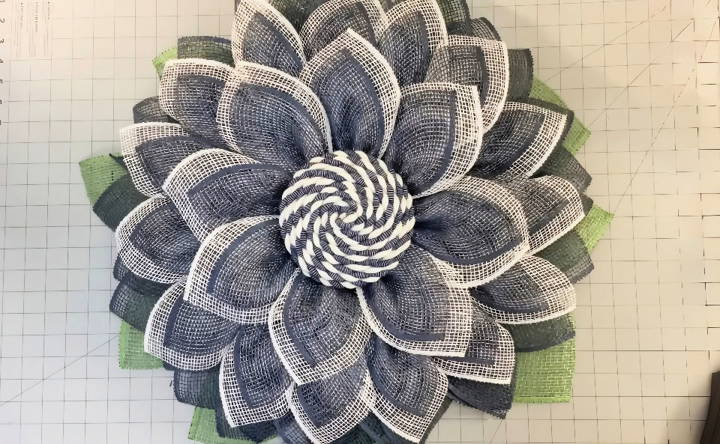
- Navy Blue Poly Burlap: This was the star of the show. Its unique color caught my eye, and I was curious to see how it would transform into a wreath.
- White Poly Burlap: To complement the navy blue and add depth and contrast to the wreath.
- 10-inch Wire Frame: It served as the foundation for the wreath, giving it structure and form.
- Foam Circles: These little guys were from Dollar Tree, a budget-friendly find that would become the center of the wreath.
- Rope from Hobby Lobby: It was meant for the wreath's center, giving a nautical vibe I was aiming for.
Step by Step Instructions
Learn how to make a beautiful DIY flower wreath with these step-by-step instructions. Perfect for any occasion, from crafting petals to final touches.
Cutting the Poly Burlap
Firstly, I cut the poly burlap into 10-inch squares using a wood burner. The glass cutting board beneath ensured precision, and wearing a mask was crucial to avoid inhaling any fumes. This process gave me a neat edge and prevented fraying.
Preparing the Wire Frame
I chose a 10-inch wire frame, though Julie mentioned the size could vary depending on personal preference. I then attached plastic canvas to the frame with zip ties. This addition helped secure the petals later on.
Crafting the Petals
The petals required a blend of navy blue and white poly burlap. Cutting them into precise lengths was key. Julie's technique involved folding and gathering the burlap to make a petal-like appearance.
Adding the Petals to the Frame
Starting from the outer ring, I attached each petal using zip ties. This method was not only efficient but also allowed for adjustments along the way. A total of 15 petals made up the first layer.
Making the Wreath Center
The centers were crafted from foam circles, wrapped in rope for a rustic look. This part required patience and a steady hand to glue the rope around neatly.
Final Touches
The wreath's beauty truly came together with the addition of the leaves, cut from green poly burlap. They provided a natural touch that complemented the navy and white colors.
Challenges and Tips
- Patience with Petals: The process was repetitive, demanding patience. My tip? Enjoy the journey. Putting on some calming music helped me stay relaxed.
- Center Perfection: Achieving a neat center was tricky. My technique involved gradually tightening the rope and securing it with hot glue and pins for extra hold.
Design Variations for DIY Flower Wreaths
When it comes to making your own DIY flower wreath, the possibilities are as vast as your imagination. However, to help you get started and to inspire your creativity, let's explore some of the most popular design variations that are trending in 2024.
Embrace the Blue Hues
This year, the floral industry has seen a significant rise in the popularity of blue flowers. The trend, known as “Matutine,” captures the freshness of the early morning sky with its serene blue tones. Consider incorporating a variety of blue flowers, such as hydrangeas, delphiniums, or cornflowers, into your wreath for a tranquil and refreshing look.
Bold and Vibrant Colors
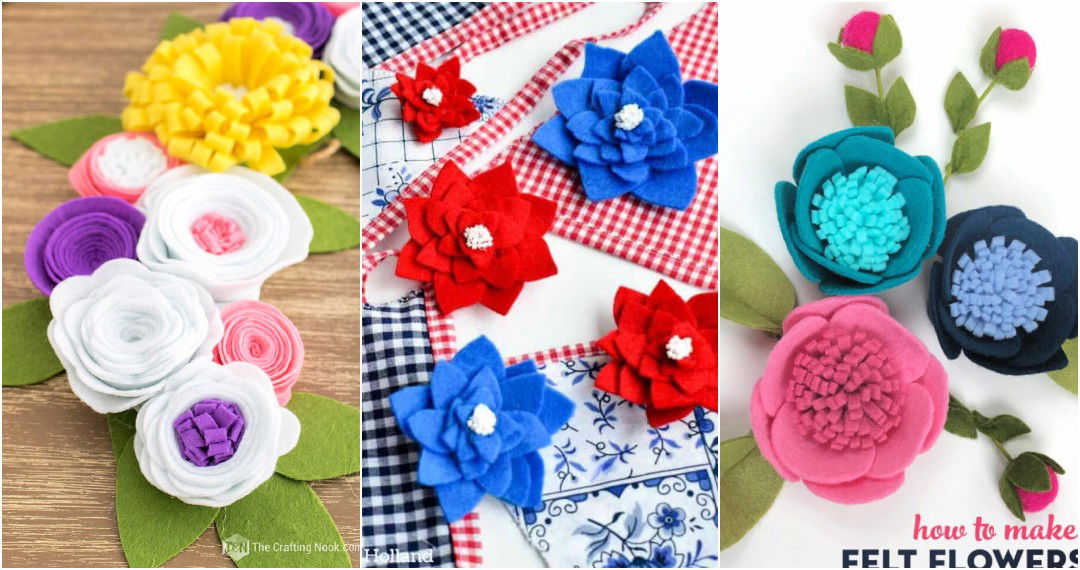
Gone are the days of muted pastels dominating wreath designs. In 2024, bold and vibrant colors are making a statement. Think bright oranges, deep purples, and electric blues. These colors can energize any space and bring a sense of joy and optimism to your home decor.
Whimsical and Playful Designs
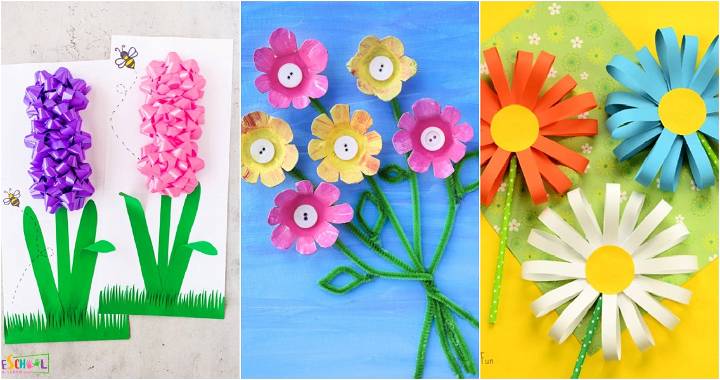
This year's trend encourages whimsical and playful designs. Add elements that reflect your personality or interests, like small figurines, ribbons, or even unconventional materials like colorful buttons or fabric scraps. This personal touch will make your wreath truly one-of-a-kind.
Seasonal Florals and Botanicals
Seasonal blooms are always a good choice for wreaths. For spring, consider tulips, daffodils, ranunculus, and peonies. These flowers not only look beautiful but also symbolize new beginnings and growth, perfect for the season of renewal.
Sustainable and Natural Materials
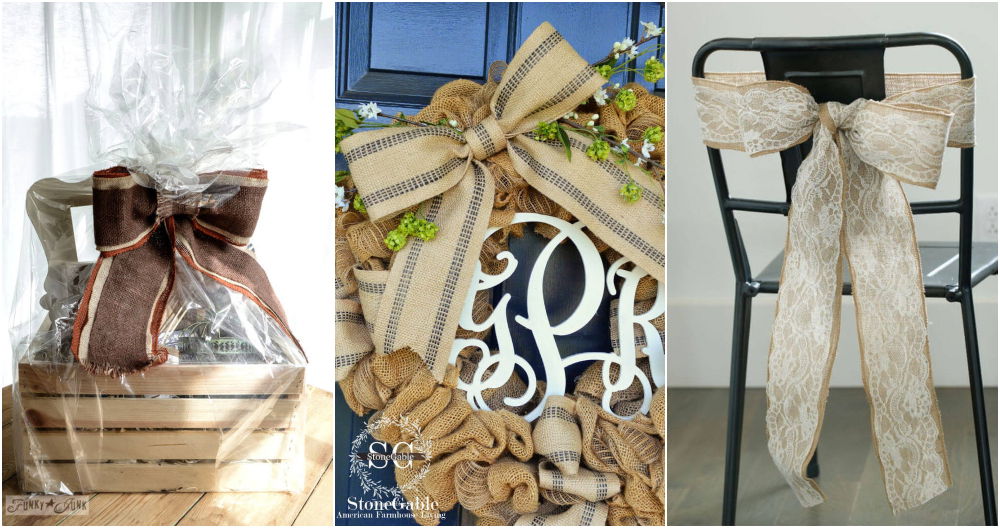
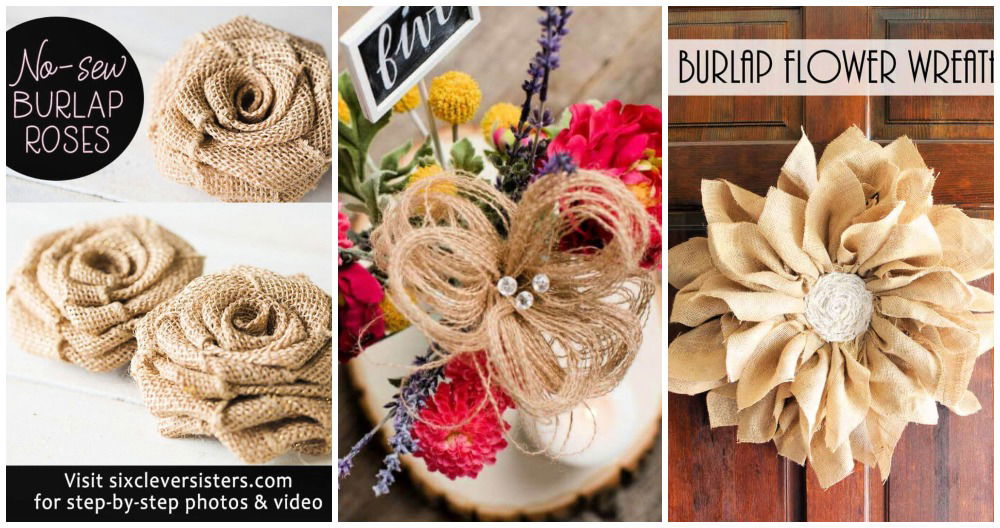
Sustainability is more than a trend; it's a lifestyle choice. Use natural materials like twigs, burlap, or recycled paper to make an eco-friendly wreath. Not only will it look gorgeous, but it will also be kind to the planet.
Personalized Touches
Finally, don't forget to add personalized touches to your wreath. Whether it's a monogrammed letter, a special quote written on a ribbon, or a photo tucked among the flowers, these details will make your wreath special and meaningful.
Use these design ideas to craft a trendy wreath that mirrors your style and the season's spirit. The best wreath brings happiness whenever you see it.
Upcycling Ideas for DIY Flower Wreaths
Upcycling is a fantastic way to breathe new life into items that might otherwise be discarded. It's not only eco-friendly but also adds a unique touch to your DIY projects. Here are some upcycling ideas to consider for your next flower wreath:
Use Old Books or Newspapers
Transform pages from old books or newspapers into beautiful paper flowers. Cut the pages into petal shapes, then layer and secure them with glue to make roses, daisies, or any flower of your choice. This adds a vintage charm to your wreath.
Repurpose Fabric Scraps
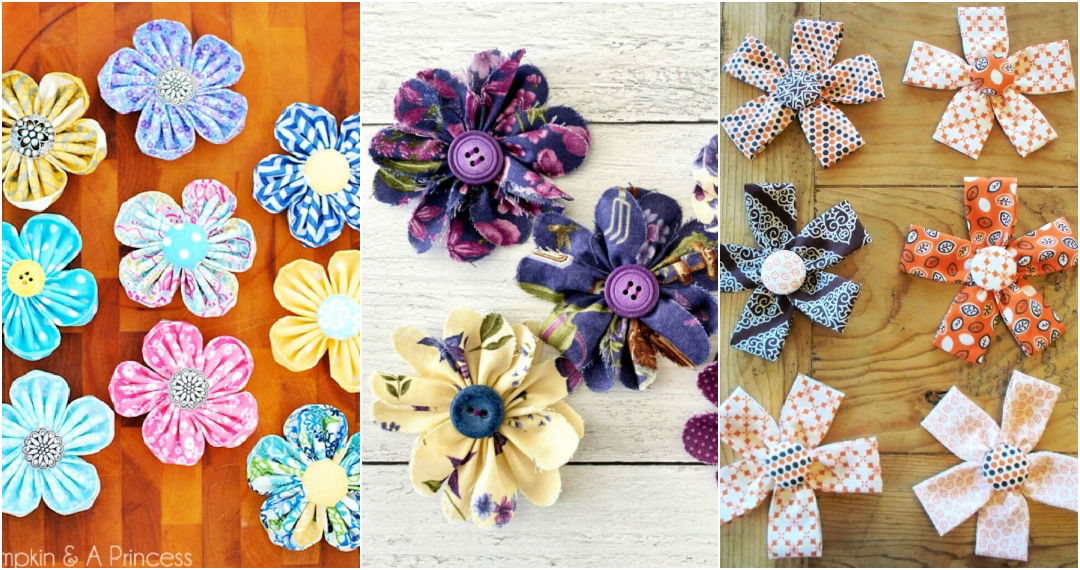
Fabric scraps can be turned into stunning floral additions to your wreath. Use different textures and patterns to make a visually appealing design. You can make fabric rosettes by twisting strips of fabric and securing them with a stitch or hot glue.
Recycle Metal Cans
Aluminum cans can be cut and shaped into metal flowers. Flatten the cans, use a template to cut out flower shapes, and paint them in your desired colors. This gives your wreath a modern and industrial look.
Incorporate Natural Elements
Collect twigs, pinecones, or acorns during your nature walks and use them in your wreath. These elements bring an organic and rustic feel to your creation.
Old Jewelry and Beads
Beads from broken jewelry or unused craft supplies can be used to add sparkle and color to your wreath. They can serve as the centers of your flowers or be scattered throughout for a bit of shine.
Corks and Bottle Caps
Wine corks and bottle caps can be used to make interesting textures and patterns. They can be painted and arranged to form flowers or abstract designs.
Making a unique flower wreath with upcycling ideas makes crafting more sustainable and gives each item a story, turning your wreath into a decoration and conversation piece.
Maintenance and Care for Your DIY Flower Wreath
Taking care of your DIY flower wreath is essential to ensure it remains beautiful and vibrant for as long as possible. Whether you've maked a wreath with fresh, dried, or artificial flowers, each type requires specific care. Here's a straightforward guide to help you maintain your floral creation:
For Fresh Flower Wreaths:
- Water Wisely: If your wreath includes fresh flowers, mist them lightly every other day to keep them hydrated.
- Keep Cool: Store the wreath in a cool place away from direct sunlight to prevent wilting.
- Refresh Regularly: Replace any wilted flowers to keep your wreath looking fresh.
Dried Flower Wreaths:
- Dust Gently: Use a soft brush to carefully remove dust without damaging the flowers.
- Avoid Moisture: Keep the wreath dry. If it gets damp, use a hairdryer on a low setting to gently dry it out.
- Protect from Sunlight: Place your wreath away from direct sunlight to prevent fading.
For Artificial Flower Wreaths:
- Prevent Fading: Keep the wreath out of direct sunlight. Consider using a UV floral protection spray to reduce color fading.
- Clean Debris: Blow off any debris with a hairdryer set on a cool setting.
- Shield from Weather: Use WD-40 or a similar protectant to help your wreath withstand rainy weather.
General Tips:
- Store Properly: When not on display, store your wreath in a dry, cool place, ideally wrapped in a plastic bag or paper to keep dust and moisture out.
- Handle with Care: Always support the base of the wreath when moving it to avoid damage.
- Revive Colors: For dried wreaths, a touch of hairspray can bring back some of the color and add a protective layer.
Follow these simple tips to enjoy your DIY flower wreath for many seasons. Regular maintenance is key to preserving its beauty.
FAQs About DIY Flower Wreath
Explore our faqs about DIY flower wreaths. Get expert tips, materials needed, and step-by-step guidance for making stunning DIY flower wreaths.
Select flowers based on the look you want to achieve and the wreath’s intended use. For a long-lasting wreath, artificial flowers are ideal. If you prefer a natural look and scent, fresh flowers are beautiful but will wilt over time. Dried flowers offer a rustic charm and are more durable than fresh blooms.
Yes, you can make a wreath with fresh flowers. To do so, ensure you have a water source for the flowers, like a soaked floral foam wreath base, to keep them hydrated. Remember, fresh flower wreaths have a shorter lifespan and are best for special occasions or short-term display.
Flowers can be attached to the wreath frame using floral wire or zip ties. Wrap the wire around the base of the flower and then around the frame to secure it. For heavier blooms, you might need to use hot glue in addition to the wire for extra support.
To hang your wreath without causing damage, use an over-the-door wreath hanger. These hangers are designed to fit over the top of your door and provide a hook for the wreath, eliminating the need for nails or screws.
To preserve a wreath made with fresh flowers, you can use a few methods. One way is to mist the wreath with water every day to keep the flowers hydrated. Alternatively, you can use a floral preservative spray, which provides nutrients and antibacterial properties to extend the life of the flowers. If you want to keep the wreath for a longer period, consider drying the flowers. You can do this by hanging the wreath in a warm, dry place away from direct sunlight until the flowers are completely dry. This method will change the appearance of your wreath but can give it a charming, vintage look.
Conclusion
I hope this simple guide helps you make your own DIY flower wreath. Each step is easy to follow and can be done with basic supplies. Give it a try; it's a rewarding and relaxing activity. With these tips, you'll enjoy a beautiful wreath just as much as I did. Have fun making!


