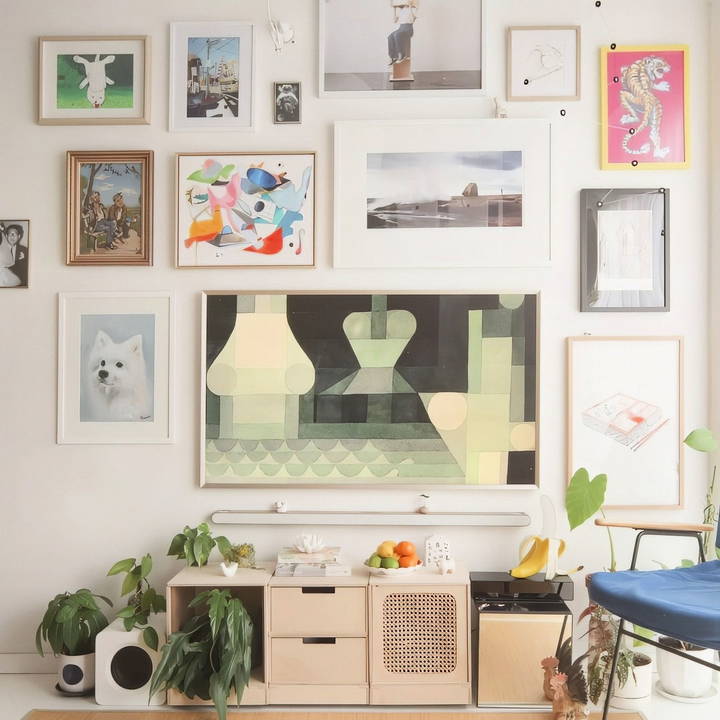
A gallery wall is an excellent way to showcase your favorite pieces of art, share personal memories, and bring your space to life. Whether you live in a cozy apartment or have ample wall space in your home, a gallery wall adds character and creates a focal point in any room. It doesn't have to break the bank, and it's much easier to put together than you might think. This complete guide will show you how to make a DIY gallery wall, covering everything from planning the layout to hanging your artwork.
Why Make a Gallery Wall?
A gallery wall can transform a bland wall into an exciting and visually captivating feature. It allows you to express your personality, reflect your tastes, and showcase meaningful memories or favorite artwork. Beyond its aesthetic appeal, it can also be practical. For example, in small spaces, a gallery wall can serve as a visual boundary between living areas or create the illusion of a larger room by drawing the eye upward.
If you're concerned about how much it might cost or the amount of time it could take, don't worry! A gallery wall doesn't need to be expensive or time-consuming. With a few thoughtful choices and some DIY tips, you'll have a gallery wall that looks professionally curated.
Step by Step Instructions
Learn how to make a stunning DIY gallery wall with step-by-step instructions, from choosing a focal point to hanging and maintaining artwork.
Step 1: Choose Your Focal Point
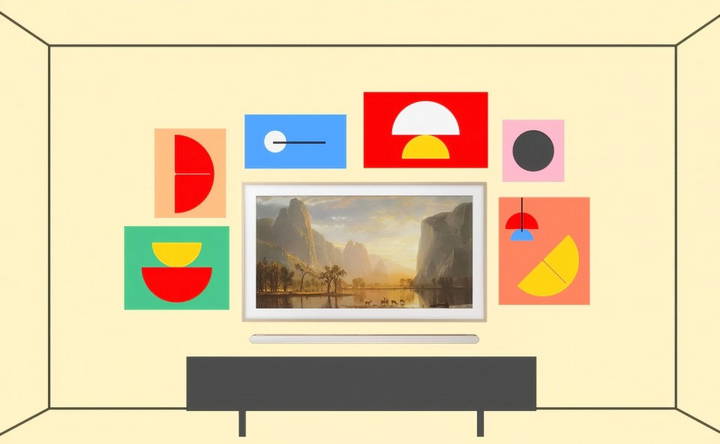
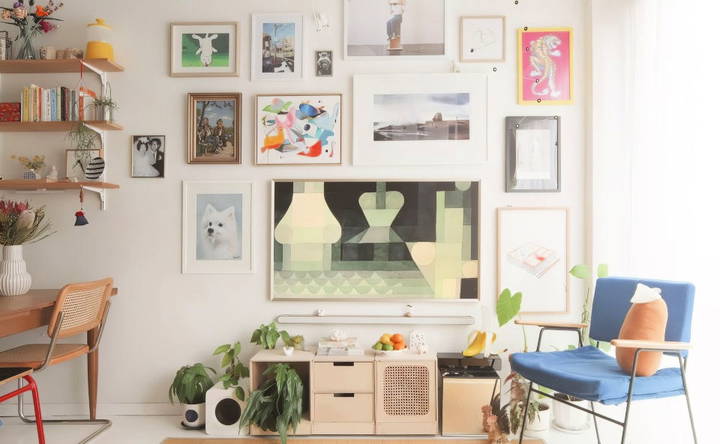
Before you start hanging pictures, consider where you want the focal point of your gallery wall to be. In many cases, the largest or most important piece of art should be the centerpiece. If you're incorporating a TV into the gallery, like the Samsung Frame TV used in the example from Never Too Small's guide, you can use it as the focal point around which your other art pieces are arranged.
- Pro Tip: If you're using a TV as part of the gallery, ensure it doesn't dominate the display. One rule of thumb is to place the TV about 140-160 cm from the ground and ensure it's centered. This gives a balanced look and allows the other artwork to shine alongside it.
Step 2: Planning the Layout
There's no "one-size-fits-all" layout for a gallery wall, but sticking to some general rules will help the arrangement feel cohesive. A well-planned layout ensures that your gallery wall looks intentional rather than chaotic.
Steps to Plan Your Layout:
- Measure the Wall Space: Measure the height and width of the wall space you plan to use for your gallery. This gives you a sense of how much room you have to work with. A helpful guideline is to leave some breathing room between each piece to avoid overcrowding.
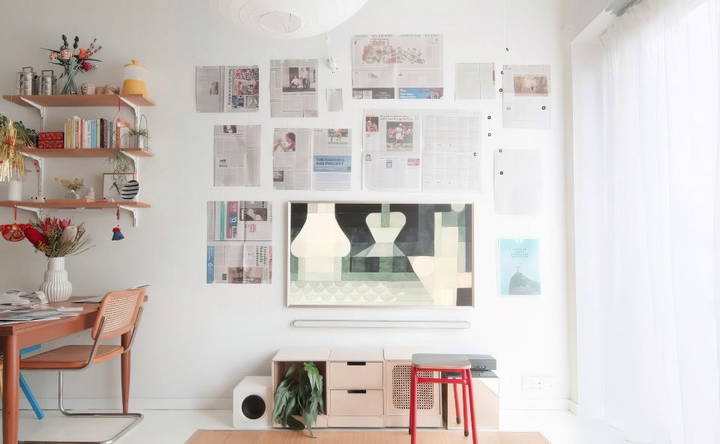
- Cut Paper Templates: Trace each frame's outline onto a piece of newspaper or butcher paper, then cut them out. This method allows you to experiment with placement without committing to nails in the wall. You can easily rearrange the templates until you're satisfied with the layout.
- Consider Spacing: Aim to leave 10-20 cm between each piece of artwork. This keeps the gallery connected but avoids a cramped appearance. If you're working around a focal point like a TV or soundbar, leave a gap of about 20-30 cm between the bottom of the TV and any furniture beneath it, such as a console table or cabinet.
- Symmetry vs. Asymmetry: Decide if you want a more structured, symmetrical look or a casual, asymmetrical arrangement. A symmetrical gallery wall tends to be more formal, with pieces aligned perfectly, whereas an asymmetrical layout feels more relaxed and artistic.
- Start from the Center: It's easier to start hanging your art from the center (or the focal point) and work outward. This ensures that everything flows naturally from the center, rather than looking lopsided.
Step 3: Selecting Artwork and Frames
Your gallery wall is an expression of you, so there are no strict rules on what to include. You can mix different types of art, such as:
- Family photos
- Paintings or drawings
- Posters or prints
- Textures, such as woven pieces or tapestries
- Personal memorabilia (tickets, postcards, etc.)
Don't feel limited to traditional framed pieces. Feel free to mix it up with 3D objects like small sculptures, plants, or decorative plates.
Frame Selection:
- Use a mix of frames to add visual interest. Different textures, colors, and sizes can create an eclectic look. You can mix metallic frames, wooden frames, and even frameless pieces like canvas prints for variety.
- For a more minimalist approach, stick to one frame color or material. This will create a more uniform and cohesive look.
Color Palette:
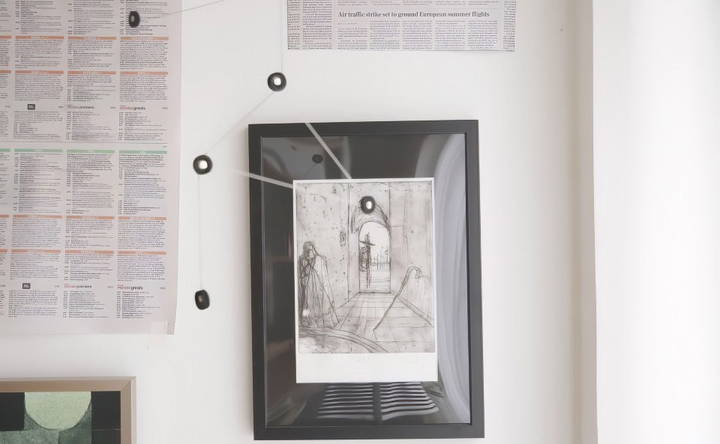
Consider selecting art pieces that complement the color scheme of the room. Even if your pieces are eclectic, having a unified color palette can tie everything together.
Step 4: Hanging the Art
Now that you have your layout and frames ready, it's time to hang the art.
Tools You'll Need:
- Hammer
- Nails or picture hooks
- Level (to ensure everything is straight)
- Pencil or tape for marking positions
- Toothpaste (for filling accidental nail holes—yes, it works!)
Steps for Hanging:
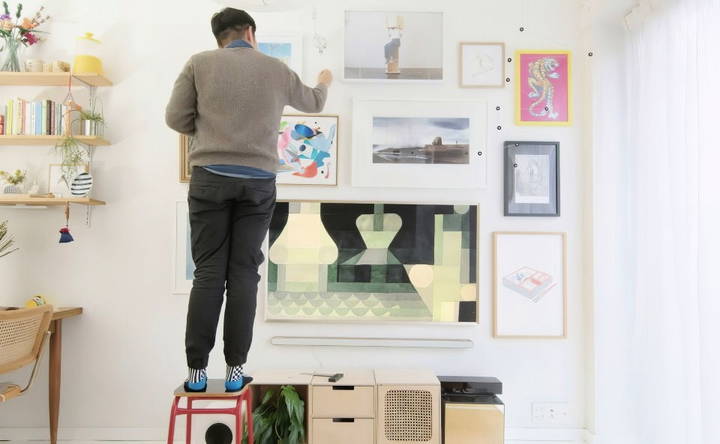
- Mark the Nail Holes: Use your paper templates to decide where each piece will go. Mark the exact spot where the nail will be placed. If you're worried about putting too many holes in the wall, consider using adhesive hooks or hanging strips designed for art.
- Hammer at an Angle: When using nails, hammer them into the wall at a 45-degree angle. This ensures they are secure and won't pull out easily. For heavier frames, use wall anchors or picture hooks.
- Check the Level: After hanging each piece, use a level to make sure it's straight. Even slight tilts can affect the overall balance of the wall.
- Fill Any Mistakes: Made a mistake? No problem. You can either use a multi-purpose filler from the hardware store or apply a small amount of toothpaste into the nail hole to cover it.
Step 5: Adding Decorative Elements
Once your art is up, consider adding decorative elements to complement the gallery wall:
- Plants: Adding greenery on the floor or on shelves below the gallery wall softens the space and adds a natural element.
- Books and Figurines: Display books or small figurines on a nearby console table or shelf to create a layered look. You can even use soundbars, like the Samsung Ultra Slim Soundbar mentioned in the guide, as an additional display surface.
- Lighting: Consider adding accent lighting, such as picture lights or wall sconces, to highlight your artwork and make the gallery wall pop.
Step 6: Maintaining and Evolving Your Gallery Wall
One of the great things about a gallery wall is that it can evolve over time. You're not locked into one arrangement or set of artwork. Feel free to swap out pieces, add new ones, or rearrange the layout as your tastes change.
- Seasonal Refresh: Change out artwork seasonally for a fresh look, or rotate art pieces to keep the gallery feeling new.
- Swapping Art with Friends: This is a budget-friendly way to get new art without buying anything. Trade pieces with friends or family to refresh your wall without spending a dime.
Final Thoughts
Making a DIY gallery wall is a fun and rewarding project that allows you to personalize your living space. By planning the layout, choosing meaningful artwork, and following a few simple hanging techniques, you'll have a gallery wall that looks both curated and spontaneous.
Remember, your gallery wall is an extension of your personality. Don't worry about making it perfect—sometimes the imperfections add the most charm! Whether you're showcasing family photos, cherished memories, or artistic treasures, a gallery wall is a timeless way to make your space uniquely yours.
For more ideas and tips on home décor, be sure to explore the world of design inspiration!
FAQs About DIY Gallery Wall
Discover tips and answers to common questions on making your own DIY gallery wall, ensuring a stunning and personalized display in your home.
For drywall, nails or picture hooks work well, while concrete or brick walls require specialized tools like masonry nails, wall anchors, or adhesive hooks. Always use the right tool to avoid damaging the wall and ensure that the artwork is secure.
Yes! In fact, using a TV, especially a framed one like Samsung’s The Frame, as the centerpiece can be very effective. Make sure to leave enough space (20-30 cm) between the TV and other items for balance.
Trace each frame onto newspaper and use these paper cutouts to arrange the layout on the wall. This allows you to experiment with placement without committing to nails until you're sure of the arrangement.
If you make a mistake, filling nail holes with toothpaste is a quick and easy fix. For a more polished look, use multi-purpose filler from a hardware store.
Yes, but you’ll need specialized tools like masonry nails or adhesive strips designed for heavier objects. You can also use picture rails to avoid drilling directly into the wall.
To create balance, start with your largest piece as the focal point, then arrange smaller pieces around it. Leave 10-20 cm between each piece to prevent overcrowding.
A color scheme isn't required, but it can help create cohesion. You can choose complementary colors or stick to neutral tones if your pieces are varied in style.
Always use a level when hanging each piece to ensure they are straight. If a frame still looks crooked, adjust the nail or hook slightly until it hangs correctly.


