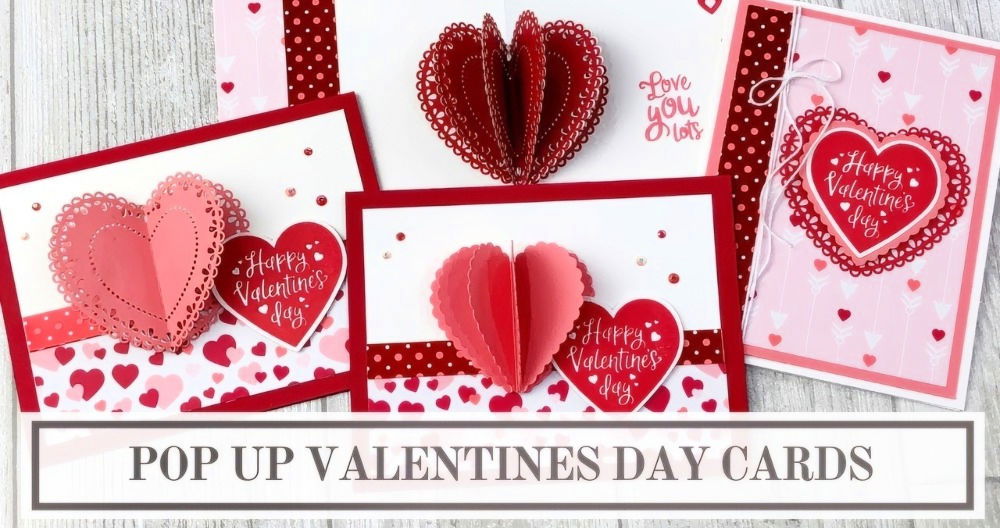
Crafting a handmade "Get Well Soon" card is a thoughtful way to send comfort and positive energy to someone who is feeling under the weather. Whether you're an experienced crafter or a beginner, making a heartfelt card doesn't require advanced skills—just creativity and a few essential materials.
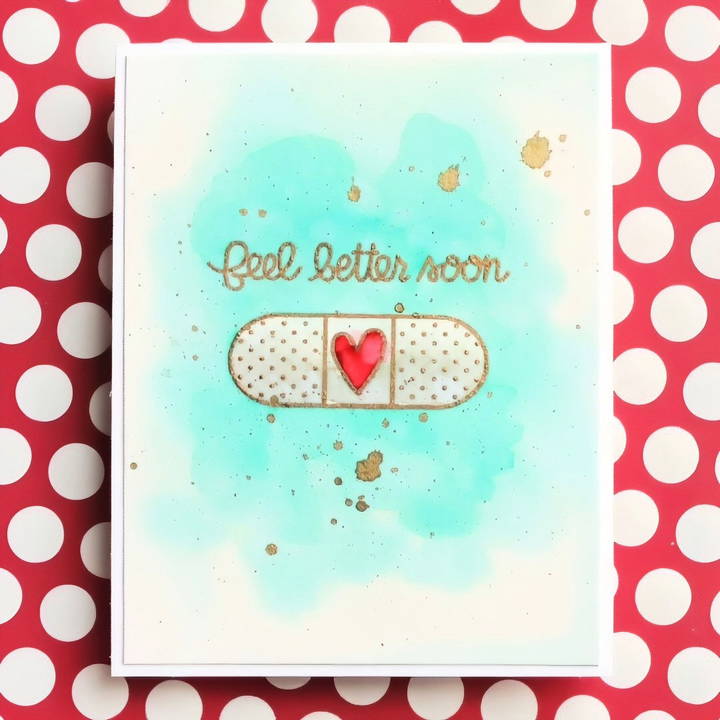
The process of making two different "Get Well Soon" cards, was based on a project that used a popular stamp set, Healthy Vibes by Paper Smooches. In this guide, you will find an easy way how to make a get-well-soon card that's thoughtful and unique to lift someone's spirits.
Materials Needed
Before we begin, here are the materials and tools you'll need to craft your card:
Essential Tools:
- Watercolor Paper (140 lb. Cold Press by Strathmore recommended)
- VersaMark Ink (a sticky ink great for embossing)
- Embossing Powder (Rich Pale Gold by WOW! is a great option)
- Heat Tool (to melt embossing powder)
- Distress Inks (Various colors such as Tumbled Glass, Peacock Feathers, Pumice Stone, and Festive Berries)
- Watercolor Brushes (one small and one larger)
- Stamp Set (Healthy Vibes by Paper Smooches or any alternative set)
- Glossy Accents and Wink of Stella Glitter Brush Pen (for embellishments)
- Tombow Xtreme Adhesive (for card assembly)
Optional Materials:
- Powder Tool (EK Success Powder Tool)
- Kuretake Gansai Tambi Watercolor Palette (for gold splatters)
These materials will allow you to make a beautifully detailed and personalized "Get Well Soon" card, perfect for anyone in need of a little cheer.
Step by Step Instructions
Learn how to make a get-well-soon card with our step-by-step guide. From preparing your card base to adding the final touches, craft a card with ease!
Step 1: Preparing Your Card Base
Begin by cutting down your watercolor paper. A standard card size is 4.25" x 5.5", but you can adjust the dimensions based on your preference.
- Tip: Use 140 lb. Cold Press watercolor paper for a durable and textured surface that's ideal for watercolor techniques.
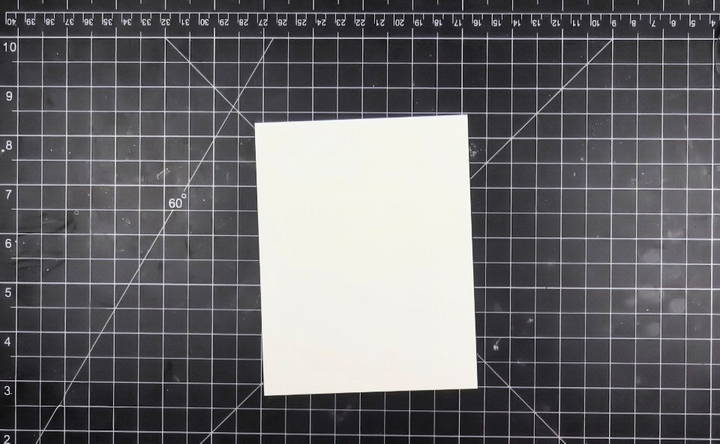
Once you have your base, treat the surface with a powder tool. This step is essential if you plan to do any embossing later, as it ensures that the embossing powder only sticks to the areas you want.
Step 2: Stamping and Embossing
Discover essential tips for choosing your design in stamping and embossing. Make stunning, professional projects with these expert guidelines.
Choosing Your Design
For this project, we are using the bandage image and the "Feel Better Soon" sentiment from the Paper Smooches Healthy Vibes stamp set. You can choose any similar stamp that resonates with your design theme.
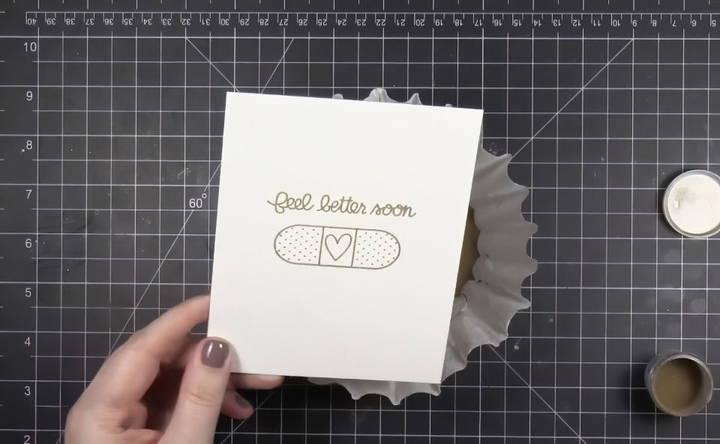
- Stamp the Image: Ink up your stamp with VersaMark Ink, and press it firmly onto your prepared watercolor paper. VersaMark is a sticky ink, ideal for embossing, as it holds embossing powder in place until it's heat-set.
- Applying Embossing Powder: Sprinkle gold embossing powder (or any color of your choice) over the stamped image. Tap off the excess and use a coffee filter to funnel it back into your container for future use.
- Heat-Set the Embossing: Use a heat tool to melt the powder until the image appears smooth and raised. Be careful not to overheat, as doing so may cause the powder to sink into the paper.
Step 3: Adding Color with Watercolor Inks
Watercolor backgrounds provide a soft, inviting feel for a "Get Well Soon" card. We'll be using Distress Inks in shades of Tumbled Glass and Peacock Feathers to make a sky-like background around the bandage.
Steps for Watercoloring:
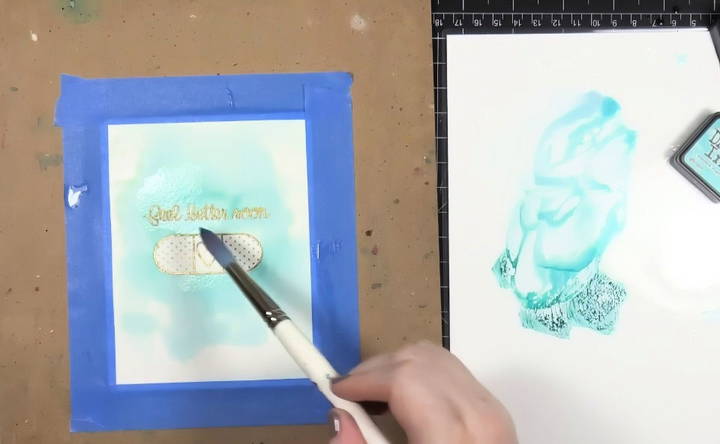
- Wet the Paper: Using a small brush, wet the area surrounding the stamped bandage, but avoid the bandage itself to keep it clear of color.
- Apply the Ink: Begin by mixing a bit of Tumbled Glass ink on a slick surface like laminated cardstock. Apply the ink in light strokes around the wet area. This soft blue shade gives a calming sky effect. If you want a deeper color, add Peacock Feathers to intensify the blue. Switch to a larger brush to help distribute the color more evenly.
- Smooth the Color: As you paint, make sure the colors blend seamlessly. If any puddles form, you can choose to leave them for a more textured look or sop them up for a smoother effect.
- Dry with Heat Tool: Once the background is fully painted, use your heat tool to speed up the drying process. This will lock in the smoothness and prevent additional spreading.
Step 4: Painting the Bandage
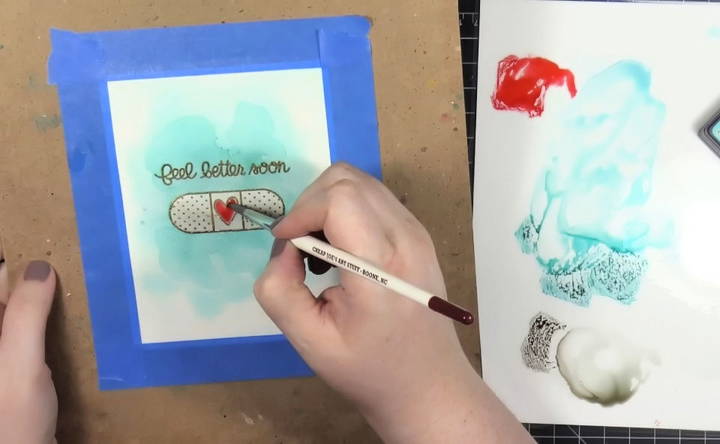
The next step is to add color to the bandage and its heart embellishment.
- Color the Bandage: Use Pumice Stone Distress Ink to color the bandage. This light grey shade works well to give a soft, neutral tone, making the red heart pop against it.
- Paint the Heart: For the heart on the bandage, pick a bright red color like Festive Berries. This striking contrast draws attention to the focal point of the card. You can also experiment with other colors like yellow for a playful twist.
- Water Droplet Technique: To add interest to the bandage area, apply some water droplets over the inked sections. Wait 30 seconds and then blot the area with a paper towel. This technique makes beautiful water spots, enhancing the card's texture.
Step 5: Finishing Touches
Once the watercoloring is complete, it's time to add some sparkle and shine to your card!
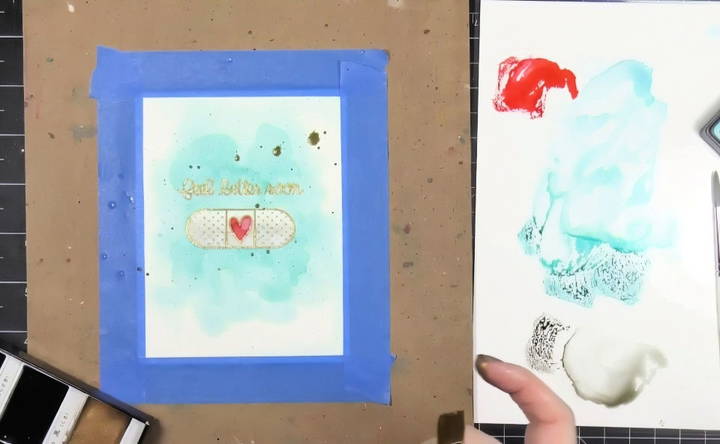
- Gold Splatters: If you have a Kuretake Gansai Tambi palette, use the gold watercolor to flick small gold splatters onto the card. To do this, load your flat brush with the gold paint and use your finger to flick it across the surface. This step adds a luxurious touch to your card.
- Shimmer on the Heart: To make the heart stand out even more, apply a layer of shimmer using the Wink of Stella Glitter Brush Pen. This subtle sparkle gives the card a magical feel.
- Glossy Accents: For an extra dimension, add Glossy Accents to the heart. This thick, clear medium gives a shiny, raised finish, making the heart look like a small gem on your card.
Step 6: Assembling the Card
After your decorated piece has dried (you may need to leave it overnight), it's time to adhere it to your card base.
- Trimming: Trim the edges of your watercolor panel to 4" x 5.25". This will give a small white border when you adhere it to your card base.
- Attach the Card: Use Tombow Xtreme Adhesive to glue the panel to a top-folding card base made of 110 lb. Neenah Solar White cardstock. Make sure to press the edges down evenly for a professional finish.
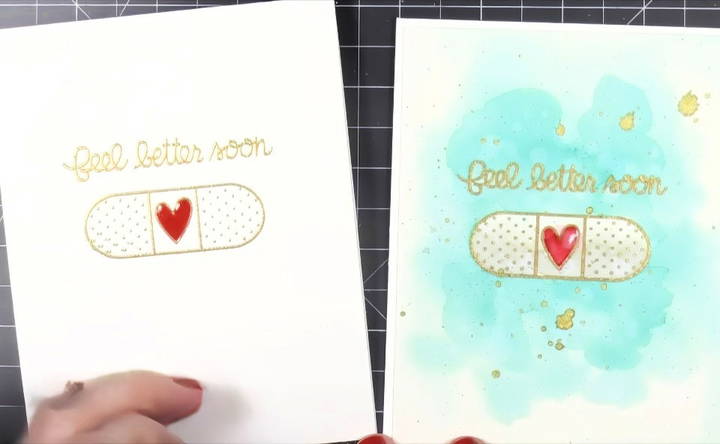
Bonus: Simplified "Get Well Soon" Card
If you're short on time or supplies, you can make a simplified version of the card.
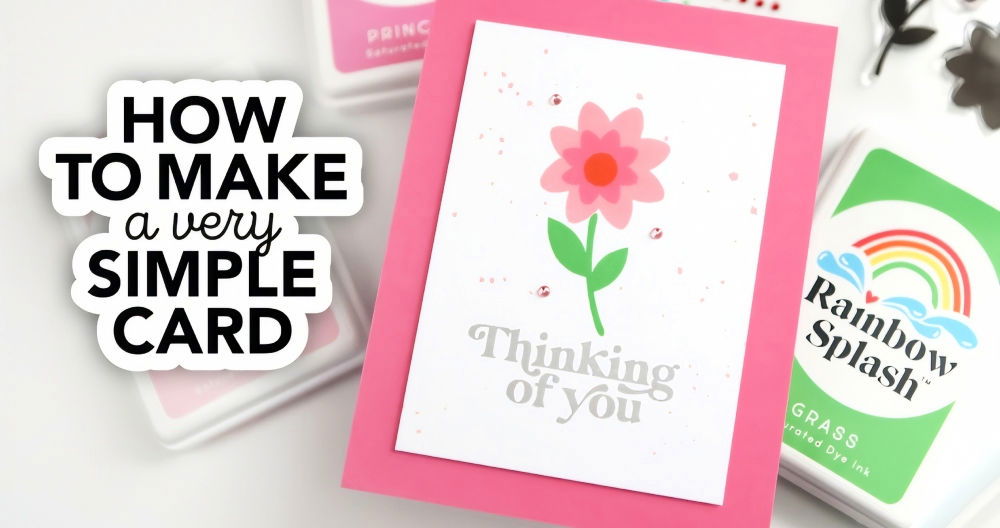
- Skip the Watercolor Background: Use plain white cardstock for the base and simply stamp the bandage image and sentiment in a vibrant color.
- No Embossing Needed: You can skip the embossing and watercolor steps for a cleaner, minimalist look. This simple version is quick to replicate and still carries the same heartfelt message.
FAQs About How to Make a Get Well Soon Card
Learn how to make a get well soon card with our FAQs. Discover tips, materials, and steps to make a heartfelt card.
A powder tool helps reduce static and prevents embossing powder from sticking to unwanted areas on your card. It ensures a cleaner, more precise embossed image by drying out the paper’s surface.
While any watercolor paper can work, 140 lb. Cold Press watercolor paper is recommended. It’s thick, durable, and ideal for absorbing water and inks without warping.
If you notice harsh lines between your watercolor inks, add more water to soften them. You can also use a larger brush to distribute the color evenly.
To prevent warping, move the heat tool around constantly rather than focusing on one spot. You can also heat both the front and back of the paper to minimize bending.
You can skip the embossing and simply stamp your design using colored ink. This creates a clean, minimalist look, which is still impactful.
One method is to wet selected areas of the card and layer the same color over it. This creates natural variations and added depth without changing your color palette.
After applying your watercolor background, use a clean brush to drop water onto the inked areas. Let the water sit for about 30 seconds, then blot with a paper towel to lift some of the color and create textured spots.
Yes! You can still make beautiful cards using hand-drawn elements or stencils. One commenter even made a similar card without using stamps and had great results.
Using a paper trimmer with a sharp blade ensures clean, straight edges. If your cuts often end up jagged, check the sharpness of your blade and replace it if necessary.
For a quick card, skip complex techniques like watercoloring and embossing. Opt for simple stamping, or use pre-made elements like stickers or die-cuts to decorate your card base.
Conclusion
Making a handmade "Get Well Soon" card is a wonderful way to show you care. Whether you opt for a detailed card with embossing and watercolor or a simplified design, the effort you put into crafting something personal will surely brighten someone's day. With the techniques outlined in this guide—stamping, embossing, watercoloring, and embellishing—you can design a card that stands out and delivers a message of warmth and healing.
So, gather your crafting supplies and let your creativity flow.


